1. Vigtige sikkerhedsinstruktioner
Please read all instructions carefully before using the Caso Coffee Compact Electronic coffee machine. Keep this manual for future reference.
- Elektrisk sikkerhed: Sørg for, at voltagDen angivne strømstyrke på apparatet stemmer overens med din lokale elnetforsyning.tage før tilslutning. Apparatet, ledningen eller stikket må ikke nedsænkes i vand eller andre væsker.
- Varme overflader: The coffee machine's heating plate and carafe will become hot during and after operation. Always use the handle when touching the carafe. Allow the appliance to cool completely before cleaning.
- Børn og kæledyr: Keep the appliance out of reach of children and pets. This appliance is not intended for use by persons with reduced physical, sensory or mental capabilities, or lack of experience and knowledge, unless they have been given supervision or instruction.
- Korrekt brug: Use the appliance only for its intended purpose of brewing coffee. Do not operate the appliance with a damaged cord or plug, or after the appliance malfunctions or has been damaged in any manner.
- Ventilation: Ensure adequate ventilation around the appliance during operation. Do not place it on or near hot gas or electric burners, or in a heated oven.
2. Produktet er slutview
Familiarize yourself with the components of your Caso Coffee Compact Electronic coffee machine.

Figur 2.1: Front view of the Caso Coffee Compact Electronic coffee machine, showcasing dens kompakte design og rustfri stålfinish.

Figur 2.2: Vinklet view of the coffee machine, highlighting its sleek profile and integrated components.

Figur 2.3: Close-up of the control panel with LCD display, showing the various buttons for operation.

Figur 2.4: Indre view of the coffee machine's grinding mechanism and integrated filter basket.
Komponenter:
- Integreret kværn: Til friske kaffebønner.
- Vandtank: With clear level indicator.
- Glaskaraffel: With handle and capacity markings.
- Kontrolpanel: With LCD display and intuitive buttons.
- Aftagelig filterkurv: For nem rengøring.
Kontrolpanelets funktioner:
- Power knap: Til at tænde/slukke maskinen.
- Grind Level Button (%): Adjusts the fineness of the coffee grind (two adjustable levels).
- Quantity Buttons (+/-): Selects the number of cups (up to 4).
- Timer Button (Clock icon): Sets the current time and programs delayed brewing.
- Start knap: Starter brygningsprocessen.
3. Opsætning
- Udpakning: Carefully remove all packaging materials and check for any damage. Retain packaging for future transport if needed.
- Indledende rengøring: Before first use, clean all removable parts (carafe, filter basket, grinder components) with warm soapy water. Wipe the exterior of the machine with a damp cloth. Run one or two cycles with only water to rinse the internal system.
- Placering: Place the coffee machine on a stable, flat, heat-resistant surface, away from direct sunlight and heat sources. Ensure there is sufficient space around the unit for ventilation.
- Påfyldning af vand: Open the water tank lid and fill the water tank with fresh, cold water up to the desired level, corresponding to the number of cups you wish to brew. Do not exceed the maximum fill line.
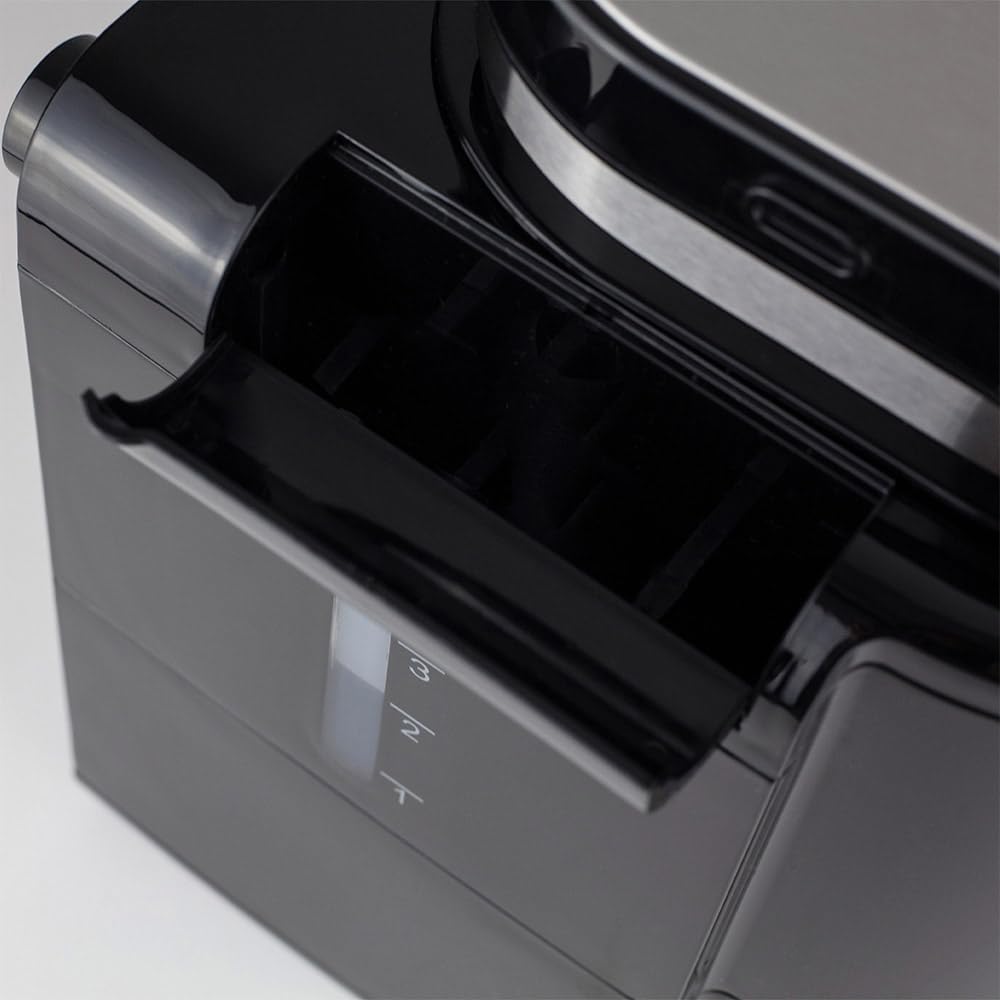
Figur 3.1: Side view illustrating the water tank with its clear level indicator.
- Adding Coffee:
- Til kaffebønner: Open the grinder lid and pour the desired amount of fresh coffee beans into the grinder chamber.

Figur 3.2: Adding fresh coffee beans into the integrated grinder.
- Til malet kaffe: If using pre-ground coffee, ensure the grinder is empty and clean. Place the ground coffee directly into the filter basket.
- Til kaffebønner: Open the grinder lid and pour the desired amount of fresh coffee beans into the grinder chamber.
4. Betjeningsvejledning
4.1. Brewing Coffee from Beans:
- Ensure the water tank is filled and coffee beans are in the grinder.
- Placer den tomme glaskande på varmepladen.
- Press the Power button to turn on the machine. The LCD display will illuminate.
- Brug +/- buttons to select the desired number of cups (1-4).
- Tryk på % button to cycle through the two available grind levels (fine or coarse), depending on your preference for coffee strength and aroma.
- Tryk på Starte button to begin the grinding and brewing process. The machine will automatically grind the beans and then brew the coffee.
4.2. Brygning med formalet kaffe:
- Sørg for, at vandtanken er fyldt.
- Tilsæt den ønskede mængde formalet kaffe direkte i filterkurven.
- Placer den tomme glaskande på varmepladen.
- Tryk på Power-knappen for at tænde for maskinen.
- Brug +/- buttons to select the desired number of cups.
- Tryk på Starte button. The machine will bypass the grinding process and proceed directly to brewing.
4.3. Brug af timerfunktionen:
The integrated timer allows you to program the machine to start brewing at a specific time.
- Indstilling af den aktuelle tid:
- With the machine on, press and hold the Timer knappen, indtil tidsvisningen blinker.
- Brug +/- buttons to set the current hour, then press Timer igen for at bekræfte.
- Brug +/- buttons to set the current minute, then press Timer for at bekræfte og afslutte tidsindstillingstilstand.
- Programming Delayed Start:
- Prepare the machine with water and coffee (beans or ground) as described in sections 4.1 or 4.2.
- Tryk på Timer button once. The display will show "PROG" or a similar indicator.
- Brug +/- buttons to set the desired brewing start time.
- Tryk på Timer button again to confirm the programmed time. The machine will now be in standby mode, waiting for the set time to begin brewing.
4.4. Hold varm-funktion:
After brewing, the machine automatically activates a keep warm function for 30 minutes, maintaining the coffee's temperature. After 30 minutes, the machine will automatically shut off for safety and energy saving.
5. Vedligeholdelse og rengøring
Regelmæssig rengøring sikrer optimal ydeevne og forlænger levetiden på din kaffemaskine.
- Før rengøring: Always unplug the coffee machine from the power outlet and allow it to cool completely before cleaning any parts.
- Karaffel og filterkurv:
- Remove the glass carafe and filter basket after each use.
- Discard used coffee grounds.
- Wash the carafe and filter basket with warm, soapy water. Rinse thoroughly and dry. These parts may also be dishwasher safe (check product specifications for confirmation).
- Rengøring af kværn: The integrated grinder is fully removable for easy cleaning.
- Carefully remove the grinder assembly from the top of the machine.
- Brush away any residual coffee grounds. The grinding mechanism can be rinsed under running water, but ensure it is completely dry before reassembling.
- Refer to Figure 2.4 for a visual reference of the grinder area.
- Udvendig rengøring: Tør kaffemaskinens udvendige overflader af med en blød, tør klud.amp klud. Brug ikke slibende rengøringsmidler eller skuresvampe, da de kan beskadige overfladen.
- Afkalkning: Mineralaflejringer fra vand kan ophobes over tid og påvirke ydeevnen. Afkalk din maskine regelmæssigt (f.eks. hver 2.-3. måned eller oftere i områder med hårdt vand).
- Use a commercial descaling solution suitable for coffee machines, or a mixture of white vinegar and water (1:2 ratio).
- Hæld afkalkningsopløsningen i vandbeholderen.
- Kør en bryggecyklus uden kaffe.
- After the cycle, run 2-3 cycles with fresh water to rinse out any descaling residue.
6. Fejlfinding
If you encounter issues with your coffee machine, refer to the following table before contacting support.
| Problem | Mulig årsag | Løsning |
|---|---|---|
| Maskinen tænder ikke. | Ikke tilsluttet; problem med stikkontakten. | Kontrollér netledningens tilslutning; prøv en anden stikkontakt. |
| Kaffe brygges ikke. | No water in tank; carafe not correctly placed; filter basket clogged. | Fill water tank; ensure carafe is correctly seated; clean filter basket. |
| Kværnen virker ikke. | No beans; grinder clogged; grinder assembly not properly installed. | Add beans; clean grinder thoroughly; ensure grinder is securely in place. |
| Kaffen smager svagt eller for stærkt. | Incorrect coffee-to-water ratio; wrong grind level. | Adjust coffee quantity or water level; experiment with grind settings. |
| Maskinen er utæt. | Water tank or carafe not properly seated; overfilled water tank. | Ensure all components are correctly positioned; do not overfill water tank. |
7. Specifikationer
Technical details for the Caso Coffee Compact Electronic coffee machine.
| Feature | Detalje |
|---|---|
| Mærke | CASO design |
| Modelnummer | 1848 |
| Farve | Rustfrit stål, sort |
| Dimensioner (L x B x H) | 26 x 17.5 x 27.5 cm |
| Vægt | 2.2 kg |
| Kapacitet | 960 ml (up to 4 cups) |
| Magt | 600 W |
| Voltage | 230 volt |
| Materiale | Rustfrit stål |
| Særlige funktioner | Integrated Grinder, LCD Display with Timer, Automatic Shut-off (30 min), Keep Warm Function (30 min), Two Adjustable Grind Levels, Processes Ground Coffee, Removable Grinder for Easy Cleaning. |

Figur 7.1: Product dimensions: 26 cm (width) x 17.5 cm (depth) x 27.5 cm (height).
8. Garanti og support
Your Caso Coffee Compact Electronic coffee machine comes with a manufacturer's warranty. For detailed warranty information, please refer to the warranty card included with your product or visit the official CASO Design webwebsted.
If you require technical support, have questions about operation, or need to arrange for service, please contact CASO Design customer service. Contact details can typically be found on the manufacturer's webwebsted eller i produktemballagen.
Hav venligst modelnummeret (1848) og købsdatoen klar, når du kontakter support.


