1. Vigtige sikkerhedsinstruktioner
Please read all instructions carefully before using this projector and retain them for future reference. Improper operation may result in electric shock, fire, or other hazards.
- Strømkilde: Use only the power adapter supplied with the projector. Ensure the voltage matcher den lokale strømforsyning.
- Ventilation: Do not block any ventilation openings. Ensure adequate airflow around the projector to prevent overheating.
- Placering: Placer projektoren på en stabil, plan overflade. Undgå at placere den i direkte sollys, i nærheden af varmekilder eller i omgivelser med høj luftfugtighed eller støv.
- Vand og fugt: Do not expose the projector to rain, moisture, or immerse it in water. If liquid enters the device, disconnect power immediately and contact support.
- Rensning: Tag projektorens stik ud af stikkontakten før rengøring. Brug en blød, tør klud. Brug ikke flydende rengøringsmidler eller rengøringsmidler på sprayform.
- Service: Forsøg ikke selv at udføre service på dette produkt. Overlad al service til kvalificeret servicepersonale. Åbning af casing kan udsætte dig for farlige mængdertage eller andre farer.
- Øjenbeskyttelse: Se ikke direkte ind i projektorlinsen, når lamp er tændt, da det skarpe lys kan forårsage øjenskader.
2. Pakkens indhold
Bekræft, at alle nedenstående varer er inkluderet i din pakke. Hvis der mangler eller er beskadigede varer, bedes du kontakte kundesupport.
- DBPOWER T22 Portable Video Projector
- Fjernbetjening
- HDMI kabel
- AV-kabel
- Strømkabel
- Brugermanual
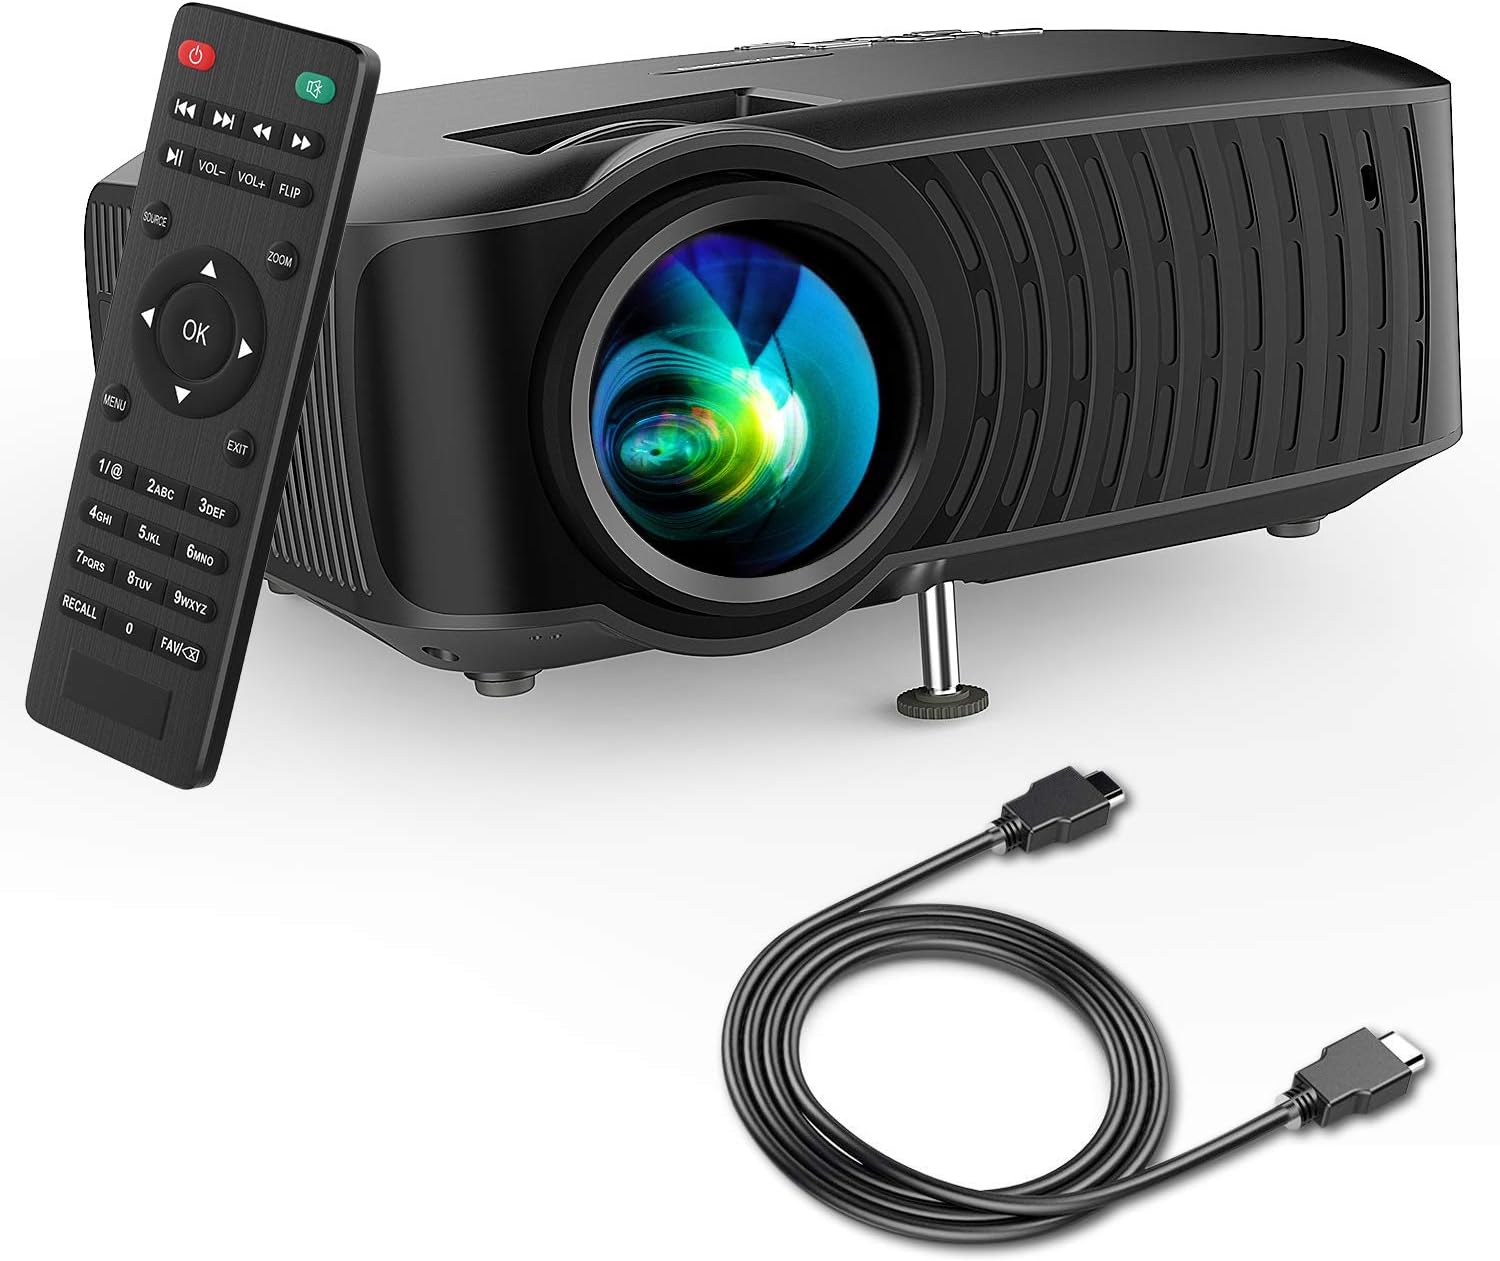
Image: The DBPOWER T22 Portable Video Projector, its remote control, and an HDMI cable, representing the typical package contents.
3. Produktet er slutview
Familiarize yourself with the various parts of your DBPOWER T22 projector.
3.1 Forside og side View

Billede: En side view of the DBPOWER T22 projector with dimensions indicating its compact and portable design (21.8cm length, 17.2cm width, 9.16cm height).
- Projektionsobjektiv: Sender billedet ud på skærmen.
- Fokusring: Justerer billedets klarhed.
- Keystone Correction Ring: Korrigerer trapezformet billedforvrængning.
- Ventilationsporte: For heat dissipation. Do not block.
- Justerbar fod: Raises or lowers the front of the projector.
3.2 Rear Panel and Connectivity
The rear panel provides various input and output ports for connecting external devices.
- HDMI-port: Connects to devices like laptops, Blu-ray players, game consoles, and TV sticks.
- USB-port: Tilsluttes USB-flashdrev til afspilning af medier.
- AV-port: Connects to older devices using the included AV cable.
- SD-kortplads: Til afspilning af medier direkte fra et SD-kort.
- Lydudgang (3.5 mm jackstik): Tilsluttes eksterne højttalere eller hovedtelefoner.
- Strømindgang: Tilsluttes strømadapteren.
3.3 Fjernbetjening
The remote control allows convenient operation of the projector from a distance.
- Power knap: Tænder/slukker projektoren.
- Kildeknap: Selects input source (HDMI, AV, USB, SD).
- Navigationsknapper (op/ned/venstre/højre): Navigates menus.
- OK knap: Bekræfter valg.
- Menu-knap: Giver adgang til projektorindstillinger.
- Afslut-knap: Afslutter den aktuelle menu eller funktion.
- Volumen +/-: Justerer højttalervolumen.
- Flip-knap: Rotates the projected image.
- Zoom knap: Adjusts image zoom (digital zoom).
4. Opsætning
4.1 Tænd/sluk
- Connect the power cable to the projector's power input, then plug the other end into a power outlet.
- Press the power button on the projector or the remote control to turn it on. The indicator light will change.
- Tryk på tænd/sluk-knappen igen for at slukke.
4.2 Justering af billedfokus og keystone
Achieve a clear and rectangular image by adjusting the focus and keystone correction.

Image: Diagram showing the manual keystone correction and focus rings on the side of the projector, with examples of de-focused and focused images, and trapezoidal correction.
- Fokus: Drej på Fokus ring until the projected image appears sharp and clear.
- Keystone-korrektion: If the image appears trapezoidal (wider at the top or bottom), rotate the Keystone-korrektionsring to make the image rectangular. The projector supports ±15° manual keystone correction.
4.3 Tilslutning af eksterne enheder
The DBPOWER T22 supports multiple input sources.
- HDMI: Connect an HDMI cable from your device (e.g., laptop, game console, Amazon Fire TV Stick) to the projector's HDMI port.
- USB: Indsæt et USB-flashdrev i USB-porten.
- AV: Brug det medfølgende AV-kabel til at tilslutte enheder med AV-udgang.
- SD-kort: Insert an SD card into the SD card slot.
- Smartphones: For iOS devices, an external Lightning to HDMI adapter is required. For Android devices, an external Micro USB/Type-C to HDMI adapter is required. (Adapters not included).
5. Betjening af projektoren
5.1 Valg af indgangskilde
After connecting your device, you need to select the correct input source.
- Tryk på Kilde button on the remote control or the projector.
- Use the navigation buttons to select the desired input source (e.g., HDMI, USB, AV, SD).
- Trykke OK for at bekræfte.
5.2 Medieafspilning (USB/SD)
When a USB drive or SD card is inserted, the projector will display a media browser.
- Naviger gennem mapper og files using the remote control's navigation buttons.
- Vælg en file (e.g., video, photo, music, text) and press OK at spille.
5.3 Lydudgang
The projector features an improved built-in speaker system. For enhanced audio, you can connect external speakers.

Image: An illustration of the DBPOWER T22 projector highlighting its stereo speakers, indicating that external speakers are not always necessary for an enjoyable audio experience.
- Indbygget højttaler: The projector's internal speaker provides audio. Adjust volume using the VOL +/- knapper på fjernbetjeningen.
- External Speakers/Headphones: Connect a 3.5mm audio cable from your external audio device to the projector's Audio Out port.
5.4 Projector Settings (Menu)
Tryk på Menu button on the remote to access settings such as Picture Mode, Aspect Ratio, Sound Mode, and other system preferences.
6. Vedligeholdelse
6.1 Rengøring af linsen
Use a professional lens cleaning cloth or lens paper to clean the projector lens. Avoid touching the lens directly with your hands.

Billede: En eksploderet view of the projector lens assembly, highlighting the tempered glass lens and the importance of a dust cover to protect it from scratches and dust.
6.2 Rengøring af projektorhuset
Wipe the projector body with a soft, dry cloth. Do not use abrasive cleaners or solvents.
6.3 Heat Dispersion System
The projector features an advanced cooling system to ensure stable operation and extend lamp life. Ensure ventilation ports are clear.

Billede: En intern view of the DBPOWER T22 projector, illustrating the advanced heat dispersion system with air flowing through cooling fins to maintain optimal operating temperature.
6.4 Lamp Liv
LED lamp in your DBPOWER T22 projector has an extended lifespan of over 50,000 hours, significantly reducing the need for lamp udskiftning.
7. Fejlfinding
Hvis du støder på problemer, kan du se følgende almindelige problemer og løsninger.
| Problem | Mulig årsag | Løsning |
|---|---|---|
| No image or "No Signal" message | Forkert inputkilde valgt; løs kabelforbindelse; enhed ikke tændt. |
|
| Sløret billede | Fokus ikke justeret; projektoren er for tæt på/langt fra skærmen. |
|
| Trapezoidal image | Projektoren er ikke vinkelret på lærredet. |
|
| Ingen lyd eller lav lydstyrke | Volume too low; mute enabled; external audio device issues. |
|
| Fjernbetjening virker ikke | Dead batteries; obstruction; remote not pointed at IR receiver. |
|
8. Specifikationer
Detailed technical specifications for the DBPOWER T22 Portable Video Projector.
| Feature | Detalje |
|---|---|
| Mærke | DBPOWER |
| Modelnummer | T22 |
| Lysstyrke | 120 ANSI Lumens (80% brighter than most market projectors) |
| Kontrastforhold | 2000:1 |
| Understøttet opløsning | 1080P (Fuld HD) |
| Indbygget skærmopløsning | 800 x 480 |
| Display Type | LCD |
| Lamp Liv | 50,000 timer |
| Projektionsstørrelse | 32-176 tommer |
| Projektionsafstand | 1-5.2 meter |
| Keystone korrektion | Manual ±15° |
| Forbindelsesteknologi | HDMI, USB, AV, SD Card |
| Indbygget højttaler | Yes (Improved system) |
| Produktdimensioner | 21.59 x 17.02 x 9.14 cm |
| Varens vægt | 1.9 kg |
| Wattage | 24 watt |
9. Garanti og support
DBPOWER products are designed and manufactured to the highest quality standards. For warranty information, technical support, or customer service inquiries, please refer to the contact information provided with your purchase or visit the official DBPOWER webwebsted.
Officiel Webwebsted: www.dbpower.co (Bemærk venligst: URL may vary by region. Refer to product packaging for specific regional support details.)


