Indledning
The Lutron Caseta Original Smart Dimmer Switch provides convenient control over your lighting. This dimmer is designed for use with dimmable LED, incandescent, and halogen bulbs, offering adjustable brightness levels. It integrates with various smart home systems when connected to a Lutron Smart Hub (sold separately) and does not require a neutral wire for installation.
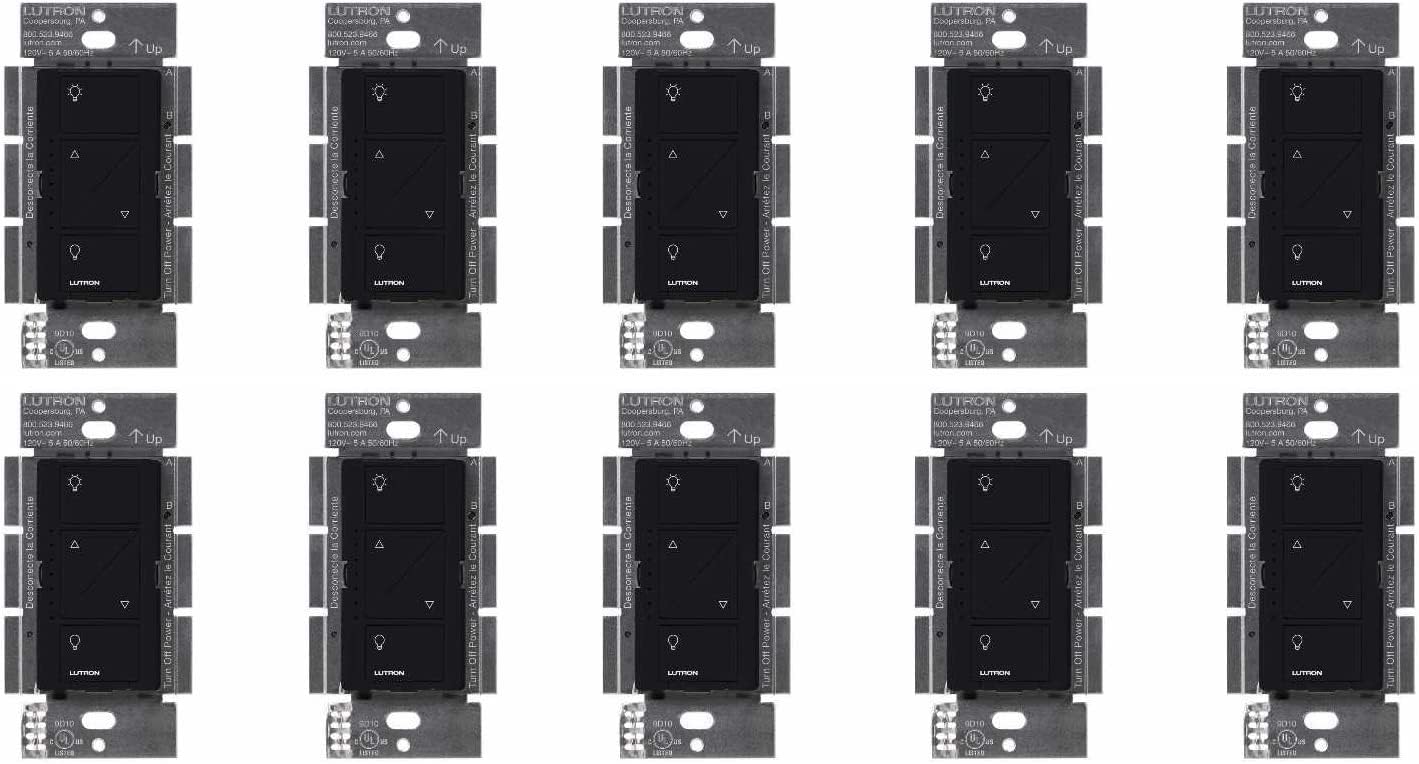
Image: Lutron Caseta Original Smart Dimmer Switch, showcasindens design.
Sikkerhedsoplysninger
ADVARSEL: FARE FOR STØT. May result in serious injury or death. Turn off power at the circuit breaker or fuse before installing. All wiring must be performed in accordance with national and local electrical codes. If you are unsure about any part of these instructions, consult a qualified electrician.
Hvad er der i æsken
- Dimmer Switches (10 units for this pack)
Opsætning og installation
This section provides instructions for installing your Lutron Caseta Smart Dimmer Switch. Ensure power is off at the circuit breaker before beginning.
Generelle installationstrin
- Sluk for strømmen: Locate your circuit breaker panel and turn off the power to the switch location. Verify power is off by attempting to turn on the light.
- Fjern eksisterende switch: Carefully remove the wall plate and unscrew the existing switch from the wall box.
- Identificér ledninger:
- Jordledning: Typically a bare copper or green wire.
- Hot/Load Wires: The Lutron Caseta dimmer does not require a neutral wire. Identify the wires connected to your existing switch.
- Wire the Caseta Dimmer: Connect the wires from the wall box to the Caseta dimmer as instructed below.
- Monter lysdæmperen: Secure the Caseta dimmer into the wall box using the provided screws.
- Fastgør vægplade: Install the new wall plate (sold separately) over the dimmer.
- Gendan strøm: Tænd for strømmen igen ved afbryderen.
Ledningsdiagram Eksample
Billede: Eksample wiring diagram for a Lutron Caseta dimmer.
3-Way Installation with Pico Remote
For 3-way applications where lights are controlled from two locations, you can replace one switch with the Caseta dimmer and the other with a wireless Pico remote (sold separately) mounted over the existing backbox.
Video: This video demonstrates the 3-way installation process for the Lutron Caseta Dimmer, showing how to replace existing switches and integrate with a Pico remote.
Betjeningsvejledning
The Lutron Caseta dimmer offers multiple ways to control your lights:
- Manuel kontrol: Use the buttons directly on the dimmer switch.
- Lutron App: Control lights remotely via the free Lutron app on your smartphone or tablet.
- Stemmestyring: Integrate with smart home assistants like Alexa, Apple Home, or Google Assistant (Lutron Smart Hub required).
- Pico Remote: Use a wireless Pico remote for convenient control from anywhere in your home.
Dimmer Button Functions

Image: Diagram illustrating the functions of each button on the Caseta Smart Dimmer: top button for on, bottom for off, up/down arrows for dimming/brightening, and LEDs indicating brightness level.
App og stemmestyring
With the Lutron Smart Hub (L-BDG2-WH, sold separately), you can connect your Caseta dimmers to the Lutron app and various smart home platforms for advanced control.
Video: This video highlights the benefits of Caseta smart lighting, including app and voice control capabilities.
Adjusting the Dimming Range
To optimize bulb performance and prevent flickering, you may need to adjust the low-end trim of your dimmer. This ensures the dimmer operates within the optimal range for your specific LED bulbs.
- Gå ind i programmeringstilstand: Pull the front accessible service switch (FASS) out to the open position.
- Hold Off Button: Push and hold the OFF button on the dimmer for approximately 6 seconds until the LED bar blinks.
- Adjust Low-End: Release the OFF button and use the up/down arrows to adjust the low-end level until the desired minimum brightness is achieved without flickering.
- Gem indstilling: Push the FASS back into the closed position to save the new trim level.
Opretholdelse
The Lutron Caseta dimmer is designed for long-term, maintenance-free operation. Periodically clean the surface with a soft, damp klæde. Undgå at bruge slibende rengøringsmidler eller opløsningsmidler.
Fejlfinding
- Lights Not Turning On/Off: Ensure power is restored at the circuit breaker. Check wiring connections.
- Lys flimrende: Adjust the dimming range (low-end trim) as described in the 'Adjusting the Dimming Range' section. Ensure your bulbs are dimmable.
- Dimmer Not Responding to App/Voice: Verify the Lutron Smart Hub is connected and online. Check app settings and smart assistant integration.
- Pico Remote Not Working: Ensure the Pico remote is properly paired with the dimmer. Check the battery in the Pico remote.
Specifikationer
| Produktdimensioner | 1.13 x 2.93 x 4.69 tommer; 4.96 ounce |
| Varemodelnummer | PD-6WCL-BL |
| Driftstilstand | Automatisk, slukket, smart switch |
| Nuværende vurdering | 2 Amps |
| Operation Voltage | 120 volt |
| Kontakttype | Normalt åben |
| Kredsløbstype | 3-vejs |
Garanti og support
For warranty information and technical assistance, please refer to the official Lutron website or contact Lutron customer support. Lutron offers 24/7 support for their products.
Video: Lutron provides 24/7 customer support for their products.
Besøg Lutron Store for flere produkter og information.


