Indledning
This user manual provides comprehensive instructions for the assembly, operation, and maintenance of your Amazon Basics Single Computer Monitor Stand. This desk-mounted arm is designed to enhance your workspace ergonomics and free up valuable desk space by securely holding a single computer monitor.
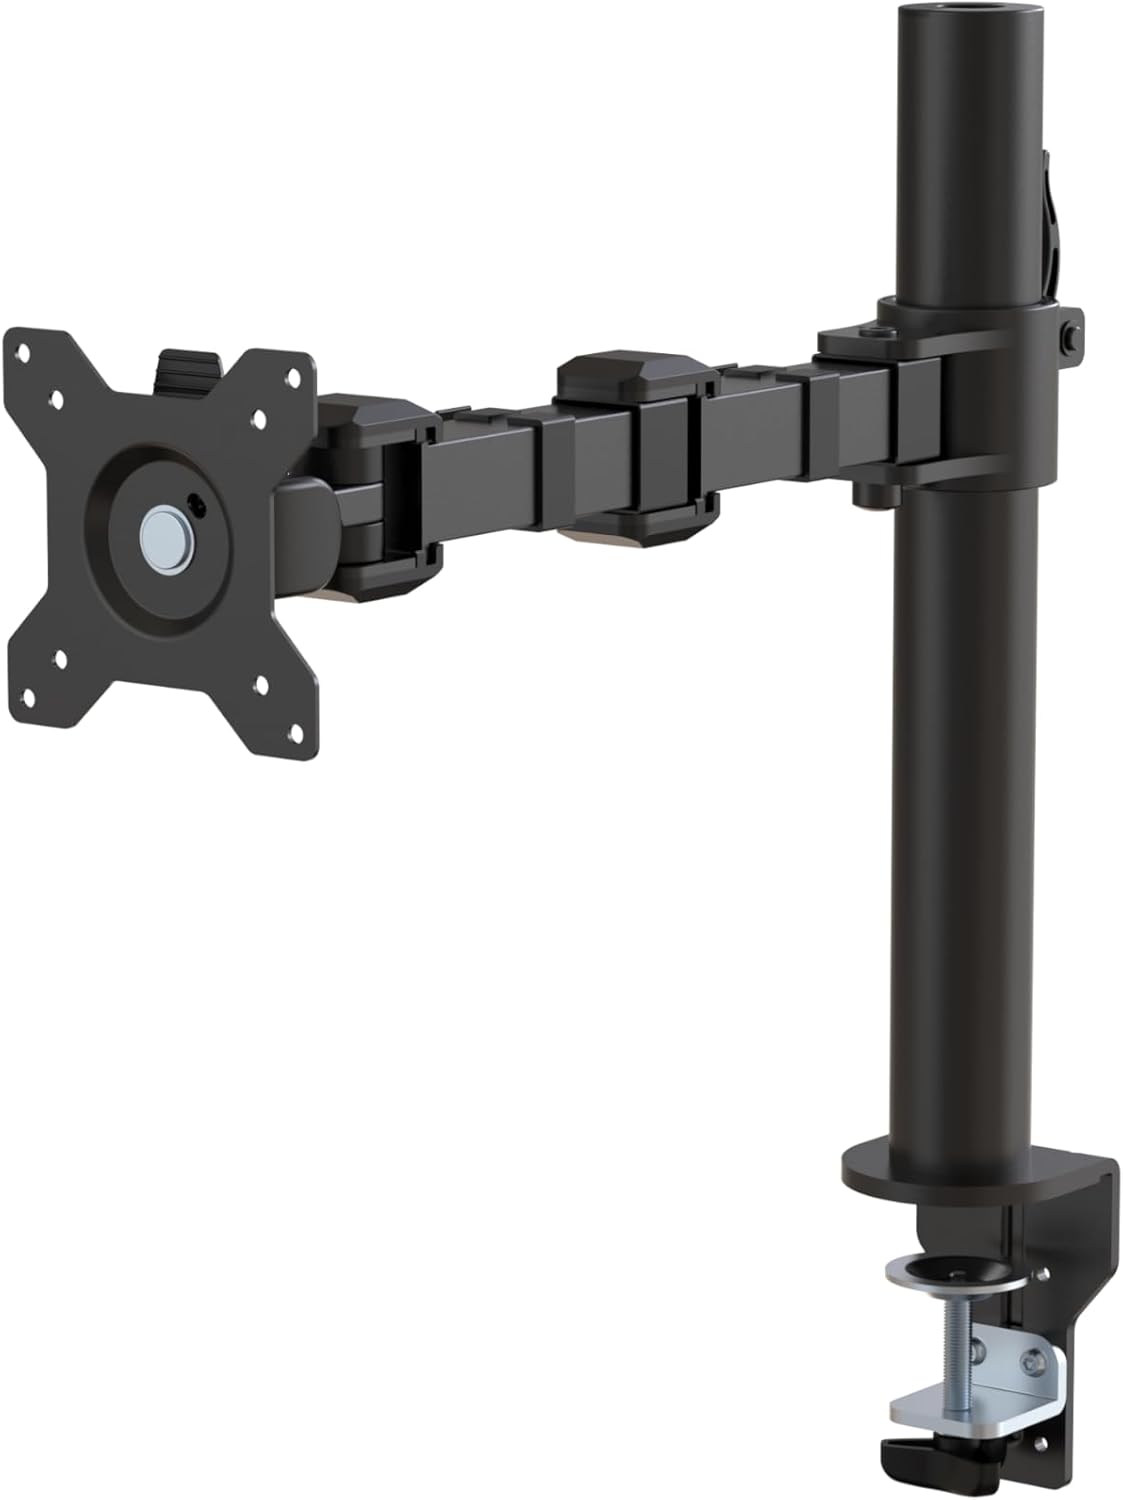
Figur 1: Overview of the Amazon Basics Single Computer Monitor Stand.
Vigtige sikkerhedsoplysninger
- Læs alle instruktioner omhyggeligt før montering og brug.
- Overskrid ikke den maksimale vægtkapacitet på 10 kg.
- Ensure your desk surface is stable and can support the combined weight of the monitor arm and your monitor.
- Verify that the desk thickness is between 0.8 to 3.9 inches (2 cm to 10 cm) for proper clamp installation.
- Use only the provided hardware. If any parts are missing or damaged, contact customer support.
- Hold børn og kæledyr væk under montering.
- Kontrollér regelmæssigt alle skruer og forbindelser for at sikre, at de forbliver stramme og sikre.
Pakkens indhold
Kontroller venligst, at alle komponenter er til stede, før monteringen påbegyndes:
- Monitor Arm Assembly (Pre-assembled arm and VESA plate)
- Skrivebord Clamp Grundlag
- Monteringsstang
- Hardware Kit (Screws for VESA mounting, Allen keys)
- Kabelhåndteringsklip
- Brugermanual
Opsætningsinstruktioner
Trin 1: Fastgør skrivebordsunderlagamp Grundlag
Placer skrivebordet clamp base on your desk edge. Ensure the desk thickness is compatible (0.8 to 3.9 inches). Tighten the clamp screw securely until the base is firmly attached to the desk. Do not overtighten.

Figure 2: Securely attaching the desk clamp base to your desk.
Step 2: Install Mounting Pole
Insert the mounting pole into the hole on the desk clamp base. Secure it by tightening the set screw on the side of the clamp base using the provided Allen key.
Step 3: Attach Monitor Arm to Pole
Slide the monitor arm assembly onto the mounting pole. Adjust the height to your desired position and tighten the height adjustment screw on the arm collar to secure it.
Trin 4: Fastgør VESA-pladen til skærmen
The monitor arm features a detachable VESA plate. Remove the VESA plate from the arm by lifting it up. Align the VESA plate with the mounting holes on the back of your monitor (compatible with 100x100mm and 75x75mm VESA patterns). Use the appropriate screws from the hardware kit to secure the plate to your monitor. Ensure the screws are tightened firmly but do not overtighten.

Figure 3: The detachable VESA plate for easy monitor attachment.
Trin 5: Monter skærmen på armen
Carefully slide the monitor (with the attached VESA plate) onto the monitor arm. Ensure it clicks securely into place. You may need to adjust the tension screws on the arm joints to support the monitor's weight and allow for smooth movement.

Figure 4: Monitor securely mounted on the arm, viewed forfra.

Figure 5: Top-down perspective of the monitor mounted, showcasing desk space optimization.
Trin 6: Kabelstyring
Utilize the integrated cable management system to route your monitor cables (power, video, etc.) along the arm and down the pole. This helps maintain a tidy workspace and prevents cable clutter.
Betjeningsvejledning
The monitor arm offers a full range of motion to customize your viewoplevelse:
- Højdejustering: The horizontal arm can be adjusted from 7.9 to 14.2 inches high along the pole. Loosen the height adjustment screw on the arm collar, slide the arm to the desired height, and re-tighten.
- Vip: Adjust the screen tilt from -15 to +85 degrees to reduce glare and optimize viewing vinkler.
- Drejelig: Swivel the monitor left or right up to 180 degrees at various joints for collaborative vieweller skærmdeling.
- Rotation: Rotate the monitor 360 degrees to switch between landscape and portrait modes without removing the monitor.

Figure 6: Visual representation of the flexible screen adjustment capabilities: Tilt (-85/+15 degrees), Swivel (±180 degrees), and Rotation (360 degrees).
Ergonomisk positionering
Proper monitor positioning is crucial for ergonomic comfort and reducing strain. Adjust the monitor arm so that the top of your monitor screen is at or slightly below eye level when you are sitting upright. Your eyes should be approximately an arm's length away from the screen. Ensure your wrists are straight and your forearms are parallel to the floor when typing.

Figure 7: Comparison of correct and incorrect sitting postures, highlighting the importance of proper monitor height.
Opretholdelse
- Rensning: Tør skærmarmen af med en blød kludamp klud. Undgå slibende rengøringsmidler eller opløsningsmidler, der kan beskadige overfladen.
- Tæthedskontrol: Periodically check all screws and connections, especially the desk clamp and VESA plate screws, to ensure they are tight and secure. Re-tighten if necessary.
- Smøring: No lubrication is required for the moving parts.
Fejlfinding
| Problem | Mulig årsag | Løsning |
|---|---|---|
| Monitor arm sags or does not hold position. | Tension screws are too loose. | Tighten the tension screws on the arm joints using the provided Allen key until the arm holds the monitor's weight. |
| Monitor wobbles on the arm. | VESA plate screws are loose or desk clamp is not secure. | Ensure the VESA plate screws attaching the monitor are tight. Re-tighten the desk clamp skrue. |
| Cannot adjust monitor height. | Height adjustment screw is too tight. | Loosen the height adjustment screw on the arm collar, adjust height, then re-tighten. |
Specifikationer
| Feature | Detalje |
|---|---|
| Modelnummer | DLB111-US290 |
| Produktdimensioner | 20 x 18.13 x 4.5 tommer |
| Varens vægt | 5.59 pund |
| Materiale | Legeret stål |
| Farve | Sort |
| Monteringstype | Bordplade Clamp Monter |
| Kompatibel skærmstørrelse | 13 til 30 tommer |
| Maksimal vægtkapacitet | 22 pund (10 kg) |
| Desk Thickness Compatibility | 0.8 til 3.9 tommer |
| VESA-kompatibilitet | 75x75mm, 100x100mm |
| Højdejusteringsområde | 7.9 to 14.2 inches (horizontal arm) |
| Tilt vinkel | -15 til + 85 grader |
| Rotation | 360 grader |
Garanti og support
This product is backed by an Amazon Basics limited 1-year warranty.
For detailed warranty information or technical support, please refer to the official documentation or contact Amazon Basics customer service.
- Brugermanual (PDF): Download brugermanual
- Garanti (PDF): Download garantioplysninger


