1. Introduktion
This manual provides detailed instructions for the safe and effective operation of your BENNING CM 12 True RMS Digital Power Clamp Multimeter. Please read this manual thoroughly before using the device and keep it for future reference. The BENNING CM 12 is designed for demanding measurement tasks in industrial and commercial environments, offering precise measurements of AC, AC+DC True RMS, inrush current, and more, with data logging and Bluetooth connectivity.
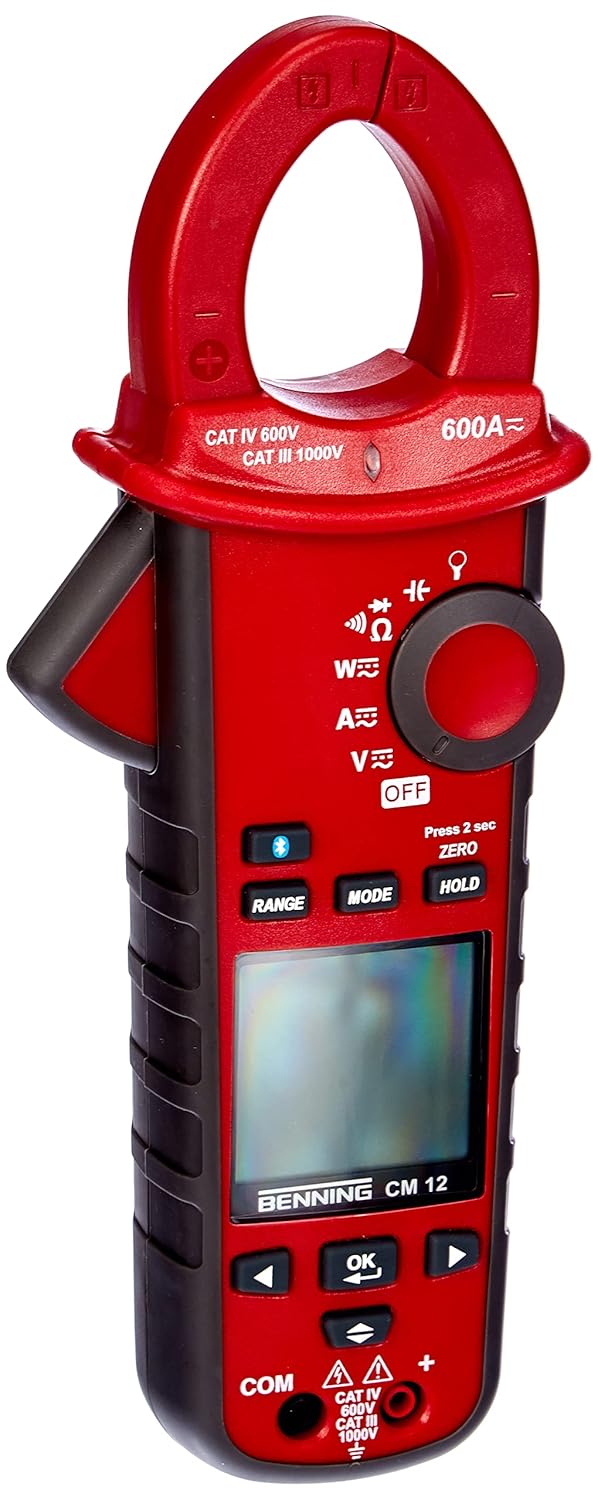
Figur 1: The Benning CM 12 True RMS Digital Power Clamp Multimeter. This image displays the main unit with its red casing, clamp jaw, display screen, and control buttons.
2. Sikkerhedsoplysninger
Always observe the following safety precautions to prevent personal injury and damage to the instrument:
- Brug ikke måleren, hvis den ser beskadiget ud, eller hvis isoleringen på testledningerne er kompromitteret.
- Sørg for, at den korrekte funktion og det korrekte område er valgt, før du foretager målinger.
- Overskrid ikke de maksimale inputgrænser for nogen funktion.
- Vær forsigtig, når du arbejder med voltagover 30V AC RMS, 42V peak eller 60V DC, da disse udgør en risiko for stød.
- Afbryd altid strømmen til kredsløbet og aflade alle højspændingsledninger.tage capacitors before performing resistance, continuity, diode, or capacitance tests.
- Overhold lokale og nationale sikkerhedsforskrifter.
3. Produktkomponenter
The BENNING CM 12 package includes the following items:
- BENNING CM 12 Digital Power Clamp Multimeter
- Testledninger (røde og sorte)
- AAA-batterier (6 medfølger)
- Bæretaske
- Brugervejledning (dette dokument)

Figur 2: Red and black test leads. These leads are used for voltage, resistance, continuity, and other measurements.

Figur 3: Six AAA batteries. These batteries power the Benning CM 12 multimeter.

Figur 4: Black carrying case. This case provides protection and portability for the multimeter and its accessories.
4. Opsætning
4.1. Batteriinstallation
- Find batteridækslet på bagsiden af enheden.
- Brug en skruetrækker til at åbne batterirummet.
- Insert six (6) AAA batteries, ensuring correct polarity as indicated inside the compartment.
- Sæt batterirummets dæksel på igen og fastgør det med skruen.
4.2. Første opstart
Turn the rotary switch to any measurement function (e.g., V~ for AC Voltage) to power on the device. The display will illuminate, indicating the device is ready for use.
5. Betjeningsvejledning
The BENNING CM 12 offers a variety of measurement functions. Select the desired function using the rotary switch.
5.1. AC/DC strømmåling (Clamp Fungere)
- Turn the rotary switch to the 'A~' (AC Current) or 'A=' (DC Current) position.
- Tryk på clamp trigger to open the jaw.
- Omslut en enkelt leder med clamp kæbe. Sørg for, at kæben er helt lukket.
- Aflæs den aktuelle værdi på displayet.
- For AC+DC True RMS measurements, ensure the appropriate mode is selected if available via the MODE button.
5.2. bindtage-måling (AC/DC)
- Insert the red test lead into the 'VΩ' input jack and the black test lead into the 'COM' input jack.
- Turn the rotary switch to 'V~' (AC Voltage) eller 'V=' (DC-volumentagog).
- Tilslut testledningerne parallelt til det kredsløb eller den komponent, der testes.
- Læs bindtage -værdi på displayet.
5.3. Resistance and Continuity Measurement
- Ensure the circuit is de-energized before measurement.
- Insert test leads as for voltage måling.
- Turn the rotary switch to 'Ω' (Resistance/Continuity).
- Tilslut testledningerne på tværs af komponenten.
- For continuity, the meter will beep if resistance is below approximately 30Ω - 100Ω.
5.4. Diodetest
- Sørg for, at kredsløbet er spændingsløst.
- Insert test leads as for voltage måling.
- Turn the rotary switch to the 'Diode' symbol.
- Forbind den røde ledning til anoden og den sorte ledning til katoden på dioden. En fremadrettet voluminiumledningtage drop (approx. 0.8V) will be displayed. Reverse the leads for an open circuit reading.
5.5. Måling af indkoblingsstrøm
This function measures the initial surge of current when a device (e.g., motor, lamp) is first turned on.
- Turn the rotary switch to the 'A~' position.
- Press the 'INRUSH' button (if dedicated) or activate via 'MODE' button.
- Clamp the meter around the power conductor of the device.
- Turn on the device to measure the inrush current.
5.6. Power Measurement (W) and Power Factor
The BENNING CM 12 can simultaneously detect current (A) and voltage (V) to calculate active power (W) and power factor in AC/DC networks.
- Turn the rotary switch to the 'W' (Power) position.
- Connect the test leads for voltage measurement and clamp the jaw around the current conductor.
- The display will show active power (W) and power factor.
5.7. Data Logger Function (LOG) and Bluetooth Interface
The device features a data logger capable of storing 10,000 readings with a sampling rate from 1 second to 10 minutes. It also includes a Bluetooth interface for data connection to smartphones or tablets via the "BENNING MM-CM Link" app.
- Download and install the "BENNING MM-CM Link" app from your device's app store (iOS and Android compatible).
- Activate Bluetooth on your smartphone/tablet and on the BENNING CM 12 (refer to the device's specific button for Bluetooth activation, usually a dedicated button or a long press of 'MODE').
- Par enheden med appen.
- Use the app to configure logging parameters (sampling rate, start/stop logging) and to view/export recorded data.
5.8. Low-Pass Filter (HFR)
The HFR (High-Frequency Rejection) low-pass filter is used for accurate measurements on clocked motor drives or other noisy environments by filtering out high-frequency interference.
- Activate the HFR filter via a dedicated button or by pressing the 'MODE' button in relevant measurement functions (e.g., AC Voltage or Current).
- The display will typically show an indicator when the filter is active.
5.9. Total Harmonic Distortion (THD) Measurement
The THD function assesses network quality by measuring the total harmonic distortion of voltage or current waveforms.
- Select the THD function using the rotary switch or 'MODE' button in AC Voltage/Current modes.
- Connect the meter as appropriate for voltage eller strømmåling.
- The display will show the THD value.
5.10. Two-Pole Rotary Field Testing
This function is used to determine the phase sequence in three-phase systems.
- Turn the rotary switch to the 'Rotary Field' symbol (if dedicated) or select via 'MODE' button in a relevant AC voltage funktion.
- Connect the test leads to two phases of the three-phase system.
- The display will indicate the phase sequence (e.g., L1-L2, L2-L3).
6. Vedligeholdelse
6.1. Rensning
Tør sagen af med annonceamp en klud og et mildt rengøringsmiddel. Brug ikke slibemidler eller opløsningsmidler. Sørg for, at enheden er slukket og frakoblet alle kredsløb, før den rengøres.
6.2. Udskiftning af batteri
Når indikatoren for lavt batteriniveau vises på displayet, skal batterierne udskiftes som beskrevet i afsnit 4.1. Fjern batterierne, hvis enheden ikke skal bruges i længere tid, for at forhindre lækage.
6.3. Opbevaring
Store the multimeter in its carrying case in a cool, dry environment, away from direct sunlight and extreme temperatures. Remove batteries for long-term storage.
7. Fejlfinding
| Problem | Mulig årsag | Løsning |
|---|---|---|
| Måleren tænder ikke. | Døde eller forkert installerede batterier. | Kontroller batteripolariteten; udskift batterierne. |
| Ingen aflæsning eller "OL" (Overbelastning) vises. | Incorrect range selected, open circuit, or measurement exceeds range. | Select appropriate range, check circuit connections, ensure measurement is within device limits. |
| Upræcise aflæsninger. | Dårlig forbindelse til testledninger, ekstern interferens eller lavt batteri. | Ensure secure connections, move away from strong electromagnetic fields, replace batteries. |
| Problemer med Bluetooth-forbindelse. | Bluetooth not activated on device/phone, app issues, or out of range. | Ensure Bluetooth is on for both devices, restart app, move closer to the meter. |
8. Specifikationer
| Feature | Detalje |
|---|---|
| Modelnummer | CM 12 |
| Måletype | True RMS (AC, AC+DC) |
| Indløbsstrøm | Ja |
| Indlæs Profile Indspilning | Yes (single-phase and three-phase) |
| Effektmåling | Active Power (W), Power Factor |
| Kontinuitetstest | 30 Ω - 100 Ω |
| Diodetest | 0.8 V |
| Rotary Field Testing | To-polet |
| Lavpasfilter | HFR (High-Frequency Rejection) |
| Harmonic Measurement | THD (Total Harmonic Distortion) |
| Datalogger | 10,000 readings, 1s - 10min samplang hastighed |
| Interface | Bluetooth (iOS and Android app "BENNING MM-CM Link") |
| Strømkilde | 6 AAA batterier (medfølger) |
| Produktdimensioner | 11.42 x 5.12 x 2.76 tommer |
| Varens vægt | 1.3 pund (590 gram) |
| Fabrikant | Benning |

Figur 5: Dimensional view of the Benning CM 12 Multimeter, indicating its approximate height of 11 inches (27 cm).
9. Garantioplysninger
BENNING products are manufactured to high-quality standards. For specific warranty terms and conditions, please refer to the warranty card included with your product or visit the official BENNING webwebsted. Gem din købsbevis til garantikrav.
10. Kundesupport
If you encounter any issues or have questions regarding your BENNING CM 12, please contact BENNING customer support. You can find contact information on the official BENNING webwebstedet eller gennem din lokale distributør.
- Webwebsted: www.benning.de (Tjek venligst din regionale webwebsted)
- E-mail: Der henvises til website for specific contact emails.
- Telefon: Der henvises til website for specific contact numbers.


