Indledning
This manual provides detailed instructions for the installation, operation, maintenance, and troubleshooting of your MOEN Noell Single-Handle Kitchen Faucet with Side Sprayer. Please read all instructions carefully before beginning installation and retain this manual for future reference.
Sikkerhedsoplysninger
- Sluk altid for hovedvandforsyningen, inden du installerer eller vedligeholder vandhanen.
- Brug sikkerhedsbriller og handsker under installationen for at forhindre skader.
- Sørg for, at alle forbindelser er sikre for at forhindre lækager.
- Hvis du er usikker på nogen del af installationsprocessen, skal du kontakte en kvalificeret VVS-installatør.
Pakkens indhold
Kontroller, at alle komponenter er til stede, før installationen påbegyndes:
- Faucet Body (Single-Handle)
- Sidesprøjte med slange
- Monteringshardware
- Dækplade (Escutcheon)
- Varmt- og koldtvandsforsyningsledninger
- Installationsvejledning
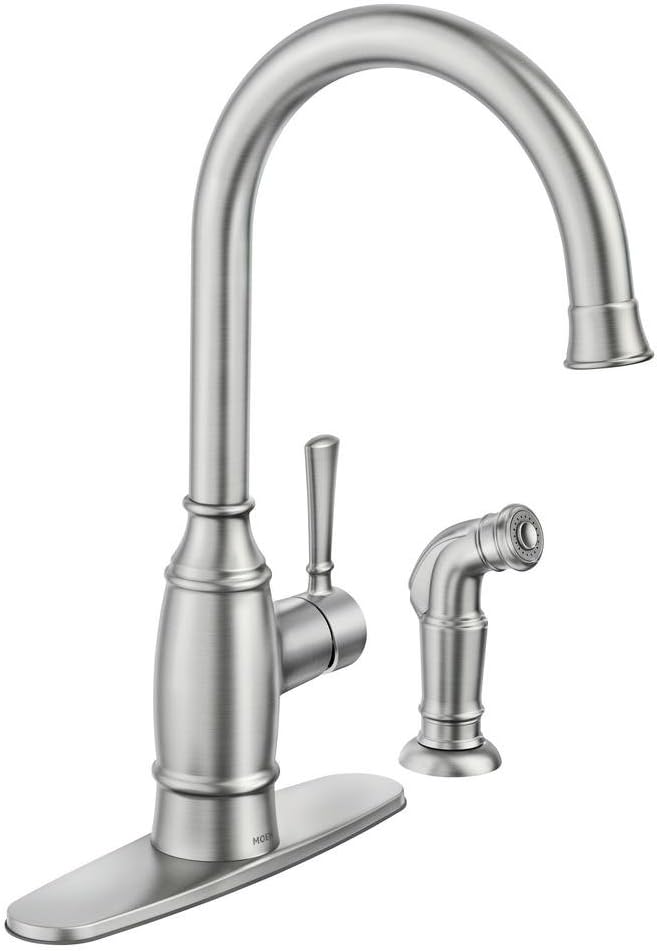
Image: MOEN Noell Single-Handle Kitchen Faucet with Side Sprayer, showcasing the main faucet body, single handle, and separate side sprayer unit.
Specifikationer
| Mærke | Møn |
| Modelnavn | 87506SRS |
| Finish Type | Spot modstå rustfrit |
| Materiale | Rustfrit stål |
| Antal håndtag | 1 |
| Installationstype | Single Hole (Deck Mount) |
| Hulantal | 1 (or 2-4 with included deck plate) |
| Tudhøjde | 14.75 tommer |
| Tud rækkevidde | 8.21 tommer |
| Varens vægt | 4.1 pund |
| Produktdimensioner | 15.3 x 9 x 3.5 tommer |
| Hose Length (Sprayer) | 24 tommer |

Image: Dimensional diagram of the faucet, indicating spout height, spout reach, and overall faucet height for installation planning.
Opsætning og installation
Dette afsnit giver en generel overview of the installation process. Refer to the detailed instructions included with your product for specific steps and diagrams.
Før du begynder:
- Turn off the hot and cold water supply valves under the sink.
- Ryd området under vasken for adgang.
- Fjern din gamle vandhane, hvis det er relevant.
Installationstrin:
- Klargør vasken: Ensure the mounting surface is clean and dry. If using the deck plate, place it over the sink holes.
- Installer vandhanen: Insert the faucet body through the main hole in the sink or deck plate. Secure it from underneath with the provided mounting hardware (washer and mounting nut). Tighten firmly but do not overtighten.
- Tilslut vandforsyningsledninger: Attach the hot and cold water supply lines from the faucet to the corresponding shut-off valves. Use a wrench to tighten connections, ensuring they are snug to prevent leaks.
- Install Side Sprayer: Insert the side sprayer base into its designated hole on the sink or deck plate. Secure it from underneath with its mounting nut. Connect the sprayer hose to the designated port on the faucet body.
- Test for lækager: Slowly turn on the hot and cold water supply valves. Check all connections for leaks. Run the faucet and sprayer for a few minutes to flush out any debris and check for proper operation.

Image: The MOEN Noell faucet installed in a kitchen setting, demonstrating its appearance and functionality with water flowing.
Betjeningsvejledning
Faucet Handle Operation:
- Vandflow: Lift the single handle to turn on the water and increase flow. Push down to turn off the water.
- Temperaturkontrol: Move the handle to the left for hot water and to the right for cold water. Adjust the handle position to achieve the desired water temperature.
Side Sprayer Operation:
- To activate the side sprayer, ensure the main faucet handle is in the 'on' position.
- Squeeze the lever on the side sprayer to divert water flow from the main spout to the sprayer. Release the lever to return water flow to the main spout.

Image: A hand demonstrating the use of the side sprayer, showing water being directed into the sink for rinsing.
Vedligeholdelse og rengøring
Proper care will help maintain the finish and performance of your MOEN Noell faucet.
- Rengøring af finishen: For the Spot Resist Stainless finish, clean with a soft, damp klud og mild sæbe. Skyl grundigt med varmt vand og tør med en blød klud.
- Undgå slibemidler: Brug ikke slibende rengøringsmidler, stærke kemikalier eller skuresvampe, da disse kan beskadige overfladen.
- Vedligeholdelse af belufter: Periodically unscrew the aerator from the end of the spout and rinse out any debris or mineral deposits. This helps maintain optimal water flow.

Billede: Nærbillede view highlighting the Spot Resist Stainless finish, designed to resist fingerprints and water spots, making cleaning easier.
Fejlfinding
Hvis du støder på problemer med din vandhane, kan du se følgende almindelige problemer og løsninger:
- Lav vandgennemstrømning:
Mulig årsag: Clogged aerator or mineral buildup in supply lines.
Løsning: Fjern og rengør perlatoren. Kontroller forsyningsledningerne for knæk eller blokeringer. - Lækager fra vandhanebunden:
Mulig årsag: Loose mounting nut or worn O-rings.
Løsning: Ensure the mounting nut under the sink is securely tightened. If leaks persist, contact Moen customer support for replacement parts. - Side Sprayer Not Working or Leaking:
Mulig årsag: Sprayer hose kinked, diverter valve issue, or damaged sprayer head.
Løsning: Check the sprayer hose for kinks. Ensure the main faucet is on. If the sprayer head is damaged, it may need replacement. - Excessive Splashing:
Mulig årsag: Water stream is too concentrated.
Løsning: Consider replacing the aerator with one designed for wider water dispersion. Ensure the aerator is clean and free of debris. - Loose Gooseneck Spout:
Mulig årsag: Internal retaining ring or component is damaged or loose.
Løsning: This often requires internal adjustment or replacement of specific parts. Contact Moen customer support for guidance.
Garantioplysninger
Moen products are manufactured under the highest standards of quality and workmanship. Moen offers a limited lifetime warranty to the original consumer purchaser against leaks, drips, and finish defects during normal residential use. Other components are warranted for a specific period. For complete warranty details and to register your product, please visit the official Moen webwebstedet eller kontakt Moens kundeservice.
Support og kontakt
For further assistance, technical support, or to order replacement parts, please contact Moen directly:
- Webwebsted: Besøg www.moen.com for produktinformation, ofte stillede spørgsmål og supportressourcer.
- Kundeservice: Se kontaktoplysningerne på Moen website or in your product packaging for phone and email support.


