1. Introduktion
This manual provides essential information for the safe and efficient operation of your AUNA Basswaver X12L Active Car Subwoofer. Please read these instructions carefully before installation and use, and retain them for future reference. The AUNA Basswaver X12L is designed to enhance your vehicle's audio system with powerful bass reproduction.
2. Sikkerhedsinstruktioner
- Sørg for tilstrækkelig ventilation omkring subwooferen for at forhindre overophedning.
- Disconnect the vehicle's battery before performing any electrical connections to avoid short circuits.
- All wiring should be securely connected and insulated to prevent electrical hazards.
- Do not expose the subwoofer to moisture or extreme temperatures.
- Avoid placing objects on top of the subwoofer that could obstruct sound or ventilation.
- Kontakt en professionel installatør af bilstereo, hvis du er usikker på installationstrinnene.
- Operating the subwoofer at excessively high volumes for prolonged periods can cause hearing damage.
3. Pakkens indhold
Kontroller venligst pakkens indhold ved udpakning. Hvis der mangler eller er beskadigede dele, skal du kontakte din forhandler.
- 1 x AUNA Basswaver X12L Active Car Subwoofer Unit
- 1 x 12V Power Cable
- 1 x engelsk brugervejledning
4. Produktet er slutview
The AUNA Basswaver X12L features a robust design with dual 12-inch woofers and integrated amplification, housed in a low-resonance bass reflex enclosure. It includes an atmospheric blue LED effect illumination.
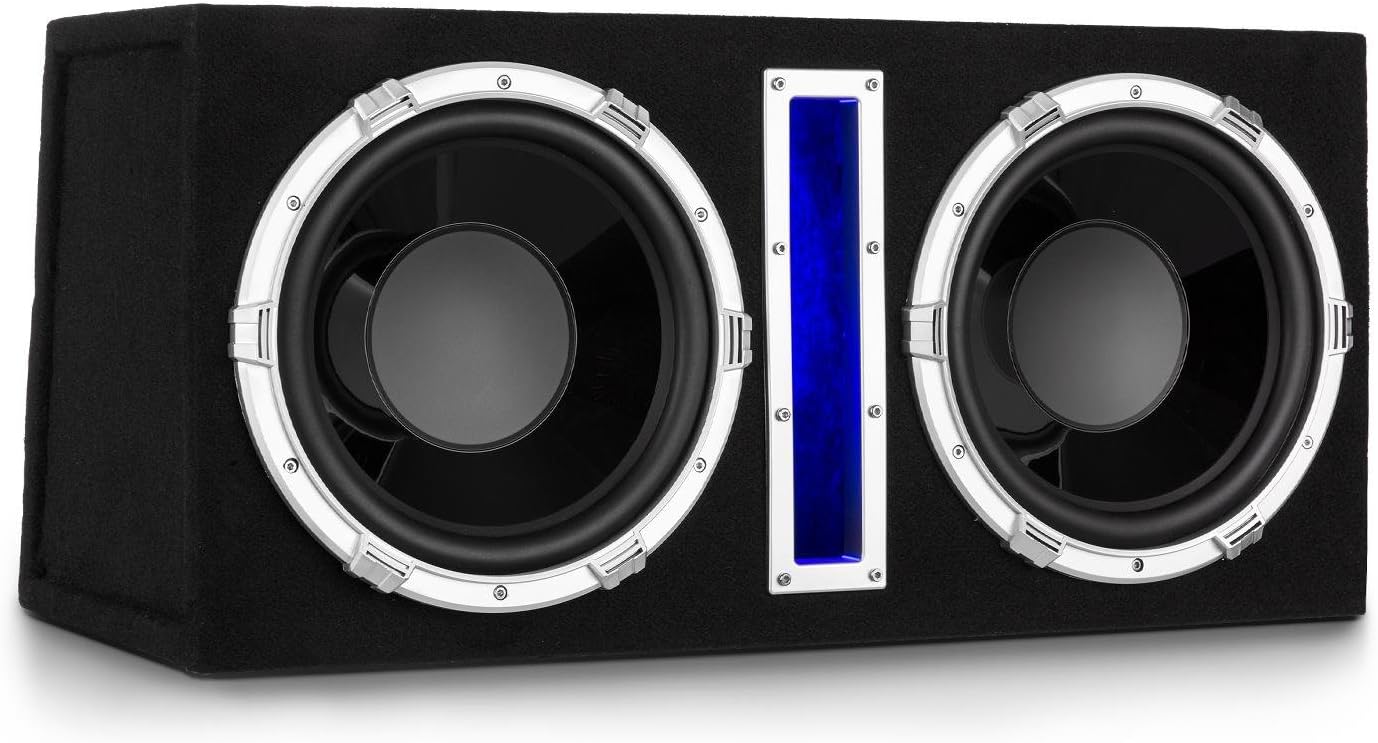
Figur 4.1: Front view of the AUNA Basswaver X12L Active Car Subwoofer, showcasing the dual 12-inch woofers and central blue LED light strip.

Figur 4.2: Detaljeret view of the subwoofer's front panel, highlighting the silver trim around the woofers and the illuminated blue LED strip.
Bagpaneltilslutninger og betjeningselementer
The rear panel provides all necessary connections and controls for power, audio input, and sound customization.

Figur 4.3: Rear panel of the subwoofer, showing power terminals, high-level input, RCA line inputs, MP3 input, volume control, crossover switch, and frequency adjustment knob.
- Strømterminaler: GND (Ground), +12V (Power), REM (Remote Turn-On).
- Sikring: 12V/15A fuse for protection.
- High SPK / High IN: High-level speaker inputs for connection to car stereo speaker outputs.
- LIN / RIN: Stereo RCA line inputs for connection to car stereo RCA outputs.
- MP3 IN: 3.5mm jack input for direct connection of MP3 players, smartphones, or tablets.
- MP3 Volume: Rotary knob to adjust the volume of the MP3 input.
- Crossover switch: Selects between "FULL BASS" (full range) and "FREQ" (low-pass filter active).
- FREQ (frekvens): Rotary knob to adjust the low-pass filter frequency (50Hz - 250Hz) when "FREQ" is selected.
- Power LED: Indikerer strømstatus.
5. Opsætning og installation
Korrekt installation er afgørende for optimal ydeevne og sikkerhed. Det anbefales at få denne enhed installeret af en kvalificeret fagmand.
5.1 Placering
Place the subwoofer securely in the trunk or cargo area of your vehicle. Ensure it is stable and will not shift during driving. The angled back of the enclosure is designed for flexible placement.

Figur 5.1: Example placement of the AUNA Basswaver X12L in a vehicle's trunk, demonstrating its compact fit.
5.2 Ledningsforbindelser
Før du foretager nogen tilslutninger, skal du frakoble den negative pol på dit køretøjs batteri.
- Strøm (+12V): Connect the supplied 12V power cable to the +12V terminal on the subwoofer. Run this cable directly to the positive terminal of your car battery. An inline fuse (not supplied, but typically included in car audio wiring kits) should be installed as close to the battery as possible for protection.
- Jord (GND): Connect a short, heavy gauge wire from the GND terminal to a clean, unpainted metal surface on the vehicle's chassis. Ensure a good electrical contact.
- Fjerntænding (REM): Connect a wire from the REM terminal to the remote output of your car stereo. This wire tells the subwoofer to turn on and off with your car stereo. If your stereo does not have a remote output, you can connect it to an accessory wire that turns on with the ignition, but this is less ideal.
- Lydindgang:
- RCA Line Input (LIN/RIN): If your car stereo has RCA pre-outs, connect them to the LIN and RIN inputs on the subwoofer using RCA cables. This is the preferred method for best sound quality.
- High-Level Speaker Input (High SPK / High IN): If your car stereo does not have RCA pre-outs, connect the speaker outputs of your car stereo directly to the High SPK / High IN terminals. Ensure correct polarity (+ to + and - to -).
Once all connections are made, reconnect the negative terminal of your vehicle's battery.
6. Betjeningsvejledning
After successful installation, you can power on your car stereo. The subwoofer should turn on automatically via the remote wire (REM). The blue LED illumination will activate.
6.1 Valg af lydkilde
- Car Stereo Input: If using RCA or high-level inputs, the subwoofer will receive its signal from your car stereo. Adjust the bass levels on your car stereo as desired.
- MP3-indgang: To play music directly from an external device (MP3 player, smartphone, tablet), connect it to the 3.5mm MP3 IN jack.
6.2 Adjusting Sound Settings
- MP3 Volume: If using the MP3 input, use the "MP3 VOLUME" knob on the rear panel to adjust the output level of the connected device.
- Crossover (FREQ):
- Set the "CROSSOVER" switch to "FULL BASS" for the subwoofer to reproduce the full range of bass frequencies it receives.
- Set the "CROSSOVER" switch to "FREQ" to activate the low-pass filter. Use the "FREQ" rotary knob to adjust the cutoff frequency between 50Hz and 250Hz. This allows you to tailor the subwoofer's output to blend seamlessly with your main speakers, ensuring only low frequencies are reproduced by the subwoofer.
Experiment with the frequency setting to find the optimal balance for your vehicle's acoustics and personal preference.
7. Vedligeholdelse
To ensure the longevity and optimal performance of your subwoofer, follow these maintenance guidelines:
- Rensning: Use a soft, dry cloth to wipe down the exterior of the subwoofer. Do not use abrasive cleaners, solvents, or waxes.
- Ventilation: Ensure that the subwoofer's ventilation areas are not blocked by debris or other objects.
- Forbindelser: Kontrollér regelmæssigt alle ledningsforbindelser for at sikre, at de er fastgjorte og fri for korrosion.
- Miljø: Avoid exposing the subwoofer to direct sunlight, extreme heat, or excessive moisture.
8. Fejlfinding
If you experience issues with your AUNA Basswaver X12L, refer to the following common problems and solutions:
| Problem | Mulig årsag | Løsning |
|---|---|---|
| No power / Subwoofer does not turn on. |
|
|
| Ingen lyd fra subwooferen. |
|
|
| Forvrænget eller dårlig lydkvalitet. |
|
|
| Subwoofer overheats. |
|
|
9. Specifikationer
Technical specifications for the AUNA Basswaver X12L Active Car Subwoofer:
| Model | C8-Basswaver X12L |
| Mærke | auna |
| Højttaler type | Active Subwoofer (Woofer) |
| Subwoofer diameter | 2 x 30 cm (12 Inches) |
| Max effekt | 2100W |
| RMS udgangseffekt | 100 watt |
| Frekvensrespons | 50 Hz - 250 Hz |
| Impedans | 4 Ohm |
| Stemmespole | 1.5 tommer |
| Magnet | 8.5 oz |
| Input bindtage | 12 volt |
| Forbindelsesteknologi | RCA, High-Level, 3.5mm MP3 Jack |
| Særlige funktioner | Integreret Amplifier, Blue LED Illumination, Adjustable Low-Pass Filter |
| Produktmål (B x H x D) | 76.5 x 35.5 x 30 cm |
| Varens vægt | 17 kilo |

Figur 9.1: Dimensional diagram of the AUNA Basswaver X12L, indicating its width (76.5 cm), height (35.5 cm), and depth (30 cm).
10. Garanti og support
Your AUNA Basswaver X12L Active Car Subwoofer comes with a manufacturer's warranty. Please refer to the warranty card included with your purchase or contact your retailer for specific warranty terms and conditions.
For technical support, troubleshooting assistance beyond this manual, or inquiries regarding spare parts, please contact the auna customer support team or your authorized dealer. Contact information can typically be found on the manufacturer's webwebstedet eller din købsdokumentation.


