Instruktionsmanual
Model: C1301-7LTW-L | Mærke: Cooper
Indledning
This manual provides comprehensive instructions for the installation, operation, and maintenance of the Cooper C1301-7LTW-L Toggle Switch. Please read this manual thoroughly before installation and use to ensure proper function and safety. Keep this manual for future reference.
Vigtige sikkerhedsoplysninger
WARNING: RISK OF ELECTRIC SHOCK. SERIOUS INJURY OR DEATH MAY RESULT.
- Always turn OFF power at the circuit breaker or fuse box before installing, servicing, or removing the switch.
- Verify power is OFF with a voltage tester, før du fortsætter.
- All wiring must comply with national and local electrical codes. If you are unsure about any part of these instructions, consult a qualified electrician.
- Installer ikke med våde hænder eller mens du står på våde eller våde stederamp overflader.
- Denne enhed er kun designet til indendørs brug.
- Sørg for, at alle ledningsforbindelser er sikre og korrekt isolerede.
Produkt overview
The Cooper C1301-7LTW-L is a durable and reliable single-pole toggle switch designed for industrial and residential applications. It features a longer, wider strap for improved contact with the wallboard, reducing floating installations. The industrial design cam action mechanism ensures quiet operation. Built-in wire strippers and loopers facilitate quicker and easier installation.
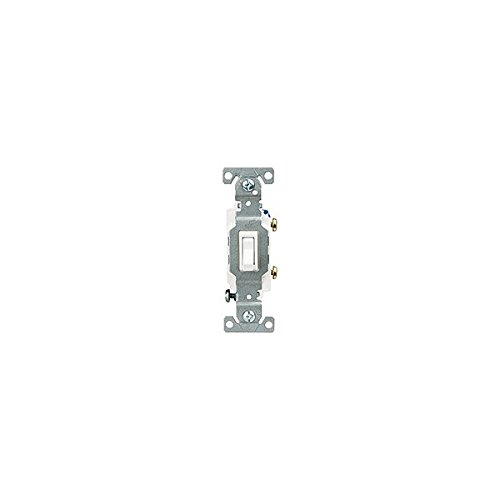
Figure 1: Cooper C1301-7LTW-L Toggle Switch. This image displays the Cooper C1301-7LTW-L Toggle Switch, showing its compact design and terminal screws. The switch features a white toggle lever and a metal mounting strap with screw holes at the top and bottom.
Specifikationer
| Attribut | Værdi |
|---|---|
| Model | C1301-7LTW-L |
| Mærke | Cooper |
| Voltage | 120 volt |
| Nuværende vurdering | 15 Amps |
| Materiale | Metal |
| Produktdimensioner | 12.5 x 11.8 x 13.8 tommer; 2.4 ounce |
| Fabrikant | Cooper Wiring Devices |
Installationsvejledning
Follow these steps carefully to install your toggle switch:
- Sluk for strømmen: Locate the circuit breaker or fuse that controls the power to the switch location. Turn it OFF. Verify power is OFF using a voltage tester.
- Fjern den gamle kontakt (hvis relevant): Carefully remove the wall plate and unscrew the old switch from the electrical box. Disconnect the wires, noting which wire was connected to which terminal.
- Forbered ledninger: If necessary, use the built-in wire stripper on the new switch to strip approximately 1/2 inch of insulation from the ends of the circuit wires. For solid #14 wire, push-in terminals are available. For #10 solid or stranded wire, use the side wire terminals. The built-in wire looper can assist in forming loops for screw terminals.
- Tilslut ledninger:
- Connect the incoming hot wire to one of the brass screw terminals.
- Connect the outgoing load wire to the other brass screw terminal.
- Connect the bare copper or green insulated ground wire to the green ground screw terminal.
- For single-pole applications, typically two brass terminals and one green ground terminal are used.
- Monter kontakten: Carefully fold the wires into the electrical box. Insert the switch into the box and secure it with the mounting screws provided. The longer, wider strap helps ensure a secure fit.
- Installer vægplade: Attach the wall plate over the switch and secure it with its screws.
- Gendan strøm: Turn the power back ON at the circuit breaker or fuse box.
- Test drift: Test the switch to ensure it functions correctly.
Betjeningsvejledning
The Cooper C1301-7LTW-L is a simple toggle switch. To operate:
- Push the toggle lever UP to turn the connected device or light ON.
- Push the toggle lever NED to turn the connected device or light SLUKKET.
The industrial design cam action mechanism ensures a quiet and smooth switching action.
Opretholdelse
The Cooper C1301-7LTW-L Toggle Switch requires minimal maintenance:
- Rensning: To clean the switch and wall plate, ensure power is OFF at the circuit breaker. Use a soft, damp cloth with mild soap and water. Do not use abrasive cleaners or solvents.
- Inspektion: Periodically inspect the switch and wall plate for any signs of damage, loose connections, or discoloration. If any issues are observed, turn off power and consult a qualified electrician.
Fejlfinding
| Problem | Mulig årsag | Løsning |
|---|---|---|
| Switch does not turn ON/OFF connected device. | No power to the circuit; loose wire connection; faulty switch. | Check circuit breaker/fuse. Turn OFF power and check wire connections. If connections are secure and power is present, the switch may be faulty and require replacement. |
| Switch feels loose in the wall box. | Mounting screws are not tightened sufficiently. | Turn OFF power. Tighten the mounting screws. The wider strap design helps prevent this. |
| Switch laver en summende lyd. | Loose wire connection; incompatible load (e.g., certain types of LED lights). | Turn OFF power and check all wire connections. If the issue persists, consult a qualified electrician. |
Garanti og support
For information regarding warranty coverage and technical support for your Cooper C1301-7LTW-L Toggle Switch, please refer to the documentation included with your purchase or visit the official Cooper Wiring Devices website. You may also contact their customer service directly for assistance with product inquiries, troubleshooting, or warranty claims.
Note: This manual is for informational purposes only and does not supersede local electrical codes or professional installation requirements.


