Indledning
This instruction manual provides essential information for the safe and efficient use of your PLUS TX-700NW Non-Maintenance LCD Display Delivery Locker. Please read this manual thoroughly before installation and operation, and retain it for future reference.
Sikkerhedsoplysninger
Vigtig sikkerhedsmeddelelse: This delivery locker can be secured to a wall to prevent tipping. While it can be used without wall fixation, there is a risk of tipping if children or pets open the doors, or if heavy items are placed inside. If connecting multiple delivery lockers horizontally, ensure proper connection methods are followed. Incorrect connection may cause the locker to tilt or items to fall.
Produkt overview
The PLUS TX-700NW is a delivery locker designed for apartment buildings, offering a convenient and secure solution for parcel reception. Key features include:
- Auto Standby Function: Automatically switches from power-saving mode to active use mode with a single button press.
- Tamper Forebyggelse: If an incorrect password is entered 4 consecutive times, an alarm sounds, and the system locks for approximately 1 minute.
- Batteridrevet: Uses 2 AA batteries per door. Includes a low battery notification function and emergency unlock keys.
- Klar LCD-skærm: Easy to confirm and input 4-digit passwords, minimizing input errors. Each door includes 2 emergency unlock keys.
- Acrylic Window: Allows visual confirmation of stored items.
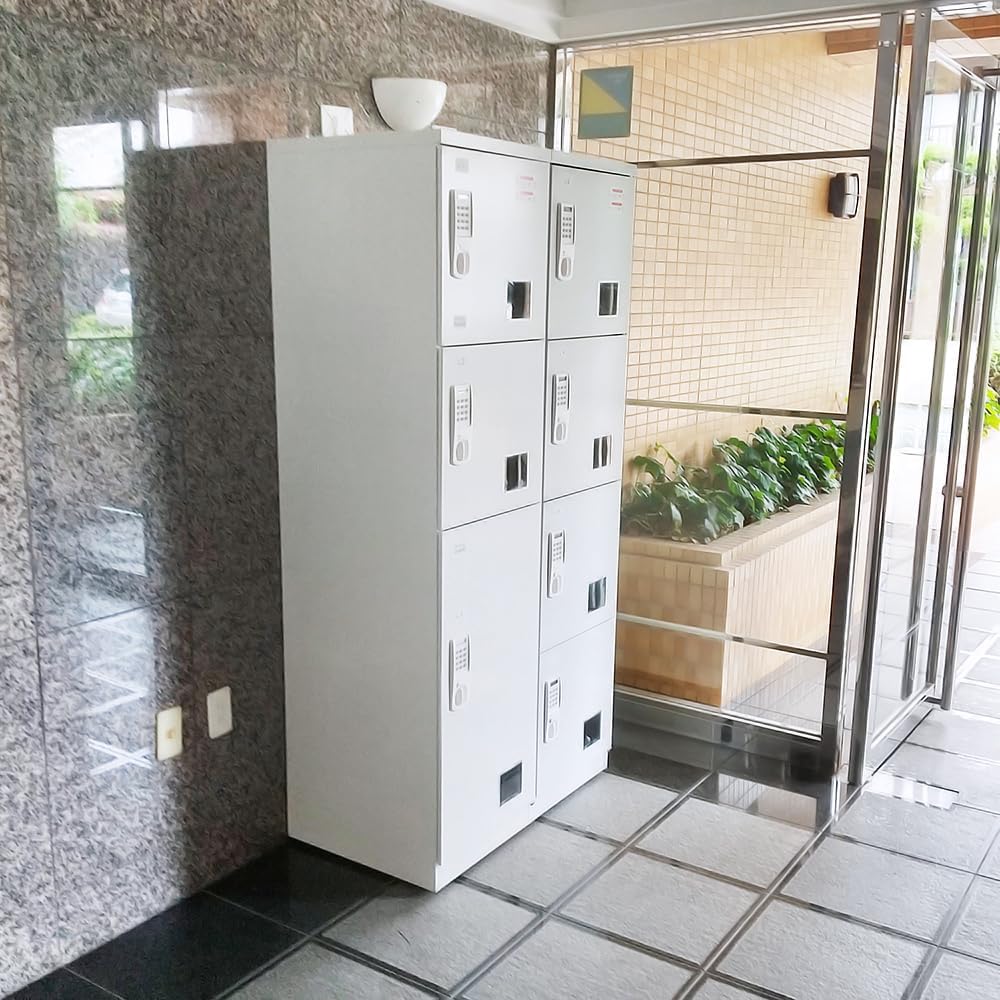
Image: PLUS TX-700NW Delivery Locker installed in an apartment entrance, showing its sleek design and multiple compartments.
Opsætning
1. Placement and Stability
Place the delivery locker on a flat, stable surface. For enhanced stability and safety, especially in areas with children or pets, wall-mounting is recommended. Ensure the chosen location does not obstruct pathways or emergency exits.
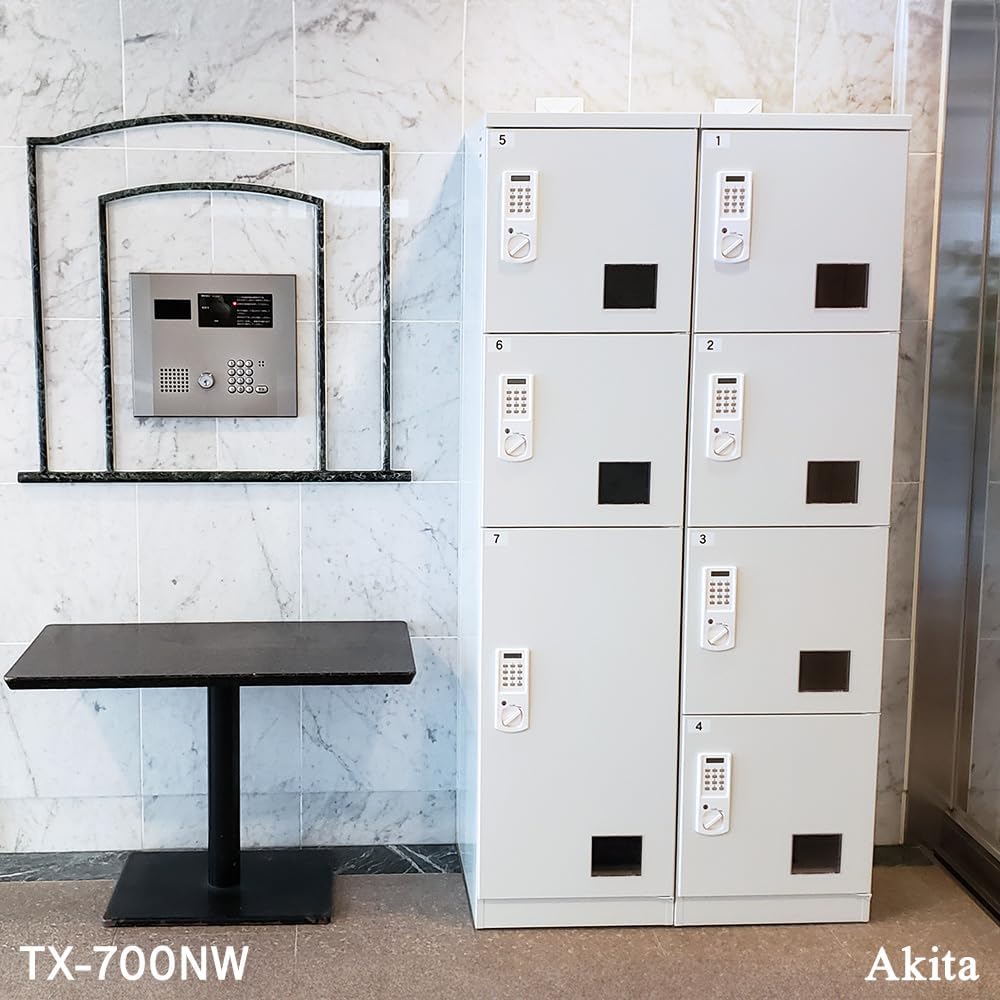
Image: A PLUS TX-700NW delivery locker positioned in an apartment hallway, demonstrating a typical installation environment.
2. Batteriinstallation
Each door requires 2 AA batteries. Open the battery compartment, insert the batteries according to the polarity markings, and close the compartment securely. The LCD display will activate upon successful battery installation.
3. Indstilling af indledende kode
Refer to the quick guide sticker on the locker door for initial code setting instructions. It typically involves pressing the 'C' button, entering a 4-digit code (not 0000), pressing the lock button, and turning the lever to the left to secure.

Billede: Nærbillede view of the LCD display and keypad, illustrating the interface for setting and entering codes.
Betjeningsvejledning
1. Receiving a Parcel
- The delivery person selects an available compartment.
- They place the parcel inside and close the door.
- They enter a unique 4-digit password (not 0000) on the keypad, press the lock button, and turn the lever to the left to secure the door.
- The delivery person leaves a notification with the password for the recipient.
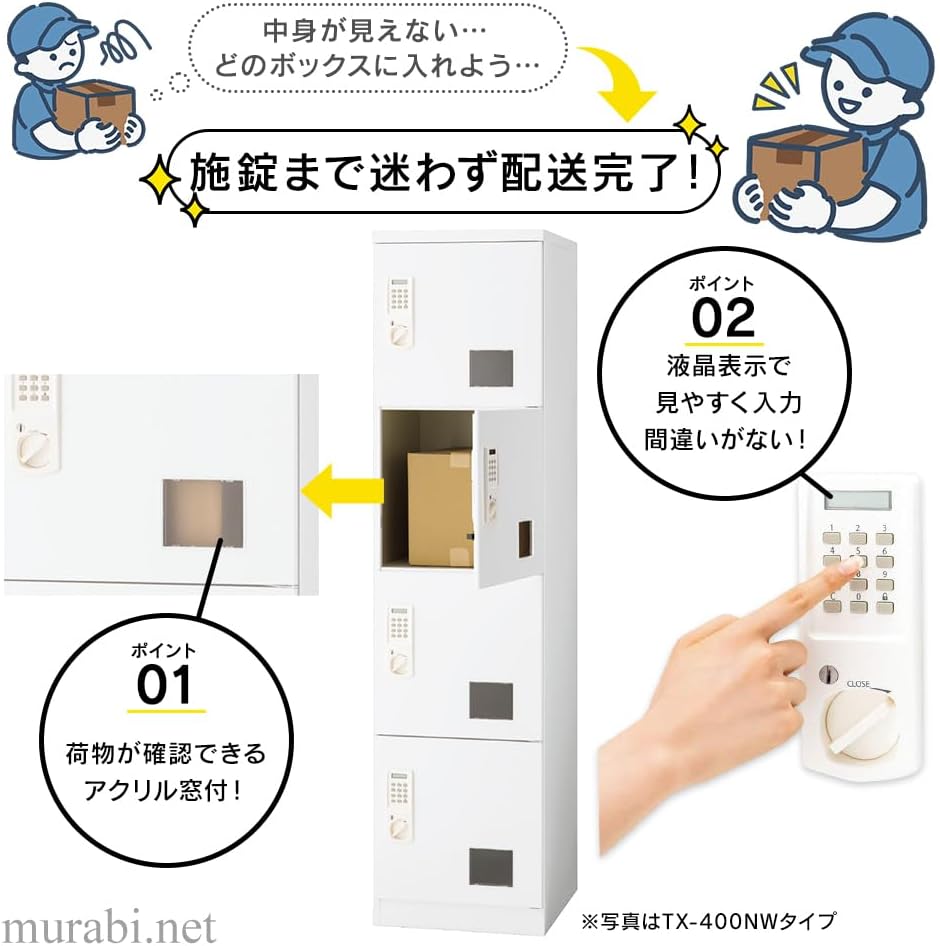
Image: A visual guide demonstrating the process of a delivery person placing a parcel into the locker and securing it with a code.
2. Retrieving a Parcel
- Locate the compartment containing your parcel.
- Enter the 4-digit password provided by the delivery person on the keypad.
- Press the unlock button and turn the lever to the right to open the door.
- Retrieve your parcel and close the door securely.

Image: A diagram illustrating the simple steps for locking and unlocking the delivery locker using the keypad and lever.
3. Using the Acrylic Window
Each compartment features a small acrylic window. This allows users to visually confirm if a parcel is inside before attempting to open the door, enhancing convenience.

Image: A close-up of the acrylic window on a locker door, designed for visual confirmation of parcel presence.
Opretholdelse
1. Rensning
Tør de udvendige overflader af med en blød, damp cloth. Avoid using abrasive cleaners or solvents, as these may damage the finish. For the LCD display, use a soft, dry cloth.
2. Udskiftning af batteri
When the low battery indicator appears on the LCD display, replace the batteries promptly. Use 2 new AA batteries per door. Ensure correct polarity during installation.
3. Emergency Key Usage
In case of battery failure or forgotten password, use the provided emergency unlock keys. Each door has its own set of keys. Keep these keys in a safe and accessible location, separate from the locker.
Fejlfinding
| Problem | Mulig årsag | Løsning |
|---|---|---|
| Door does not open with correct code. | Low battery; incorrect lever turn. | Replace batteries. Ensure the lever is turned fully to the unlock position. |
| Alarm sounds after multiple attempts. | Incorrect password entered 4 times. | Wait approximately 1 minute for the system to reset, then re-enter the correct password. Use emergency key if password is forgotten. |
| LCD-skærmen er tom. | No batteries or dead batteries. | Install new AA batteries. |
| Locker feels unstable. | Not properly secured or placed on uneven surface. | Ensure the locker is on a flat surface. Consider wall-mounting for added stability. |
Specifikationer
| Feature | Detalje |
|---|---|
| Model | TX-700NW |
| Mærke | PLUS |
| Farve | Hvid |
| Materiale | Stål |
| Slutte | Painted (Water-repellent processing) |
| Montering påkrævet | No (Pre-assembled) |
| Produktdimensioner | 51.5 cm (dybde) x 90 cm (bredde) x 180 cm (højde) |
| Batteribrug | Yes (AA x 2 per door) |
| Batterier medfølger | Ja |
| Anbefalet brug | Leveringskasse |
Garanti og support
For warranty information and customer support, please refer to the documentation included with your product or contact PLUS customer service directly. Keep your purchase receipt for warranty claims.
Kontaktoplysninger: Please visit the official PLUS website or refer to the contact details provided in your product packaging for support.
Yderligere ressourcer
Officielle produktvideoer
Video: "OITOKO Usage Method" - This video demonstrates the setup and usage of a related delivery bag, which can be used in conjunction with the delivery locker for smaller items or alternative delivery methods. It shows how to secure the bag to a door handle and how to fold it for storage.


