1. Introduktion
This manual provides essential information for the proper installation, operation, and maintenance of your STINGER Select SSPRCA3 Performance Series 3-Foot Coaxial Interconnect cable. Please read these instructions carefully before use to ensure optimal performance and longevity of the product.
The SSPRCA3 is designed to transmit audio signals with clarity and minimal interference, making it suitable for various audio applications, particularly in car audio systems.
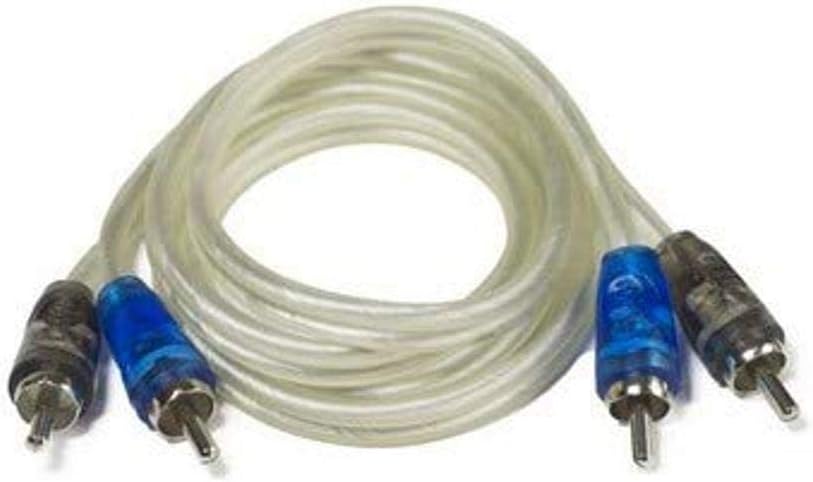
Image 1.1: STINGER Select SSPRCA3 Coaxial Interconnect Cable
2. Produktet er slutview
The STINGER Select SSPRCA3 is a high-quality coaxial interconnect cable engineered for reliable audio signal transfer. Its design focuses on reducing noise and maintaining signal integrity.
Nøglefunktioner:
- RCA Paired Male to Male: Equipped with standard male RCA connectors on both ends for easy connection to compatible audio components.
- Coaxial Cable Design: Utilizes a coaxial structure to provide superior shielding against electromagnetic interference (EMI) and radio frequency interference (RFI), ensuring a clean audio signal.
- 4mm Cable Diameter: A robust yet flexible cable diameter for durability and ease of installation.

Image 2.1: SSPRCA3 Cable in Retail Packaging
3. Specifikationer
| Attribut | Detalje |
|---|---|
| Mærke | STINGER |
| Model | SSPRCA3 |
| Connector Type | Coaxial, RCA (Male to Male) |
| Kabeltype | Koaksial |
| Kabellængde | 3 fod |
| Kabel diameter | 4 mm |
| Farve | Clear Jacket, Chrome Connectors with Blue/Black Accents |
4. Opsætning og installation
The SSPRCA3 coaxial interconnect cable is designed for straightforward connection between audio components. Follow these steps for proper installation:
- Identify Audio Components: Determine the audio source (e.g., head unit, pre-amp) and the destination (e.g., amplifier, equalizer) that require an RCA connection.
- Locate RCA Ports: Identify the corresponding male RCA input and output ports on your devices. RCA ports are typically color-coded (red for right channel, white/black for left channel).
- Tilslut kablet: Gently push the male RCA connectors of the SSPRCA3 cable onto the female RCA ports of your audio components. Ensure a firm and secure connection. Match the color coding (e.g., red connector to red port, black/white connector to black/white port) for correct channel assignment.
- Før kablet: Route the cable away from power wires or other sources of electrical interference to minimize noise. Avoid sharp bends or kinks in the cable, as this can damage the internal conductors.
- Bekræft forbindelsen: Once connected, ensure all connections are snug. Loose connections can lead to signal loss or intermittent audio.

Image 4.1: SSPRCA3 Cable Connectors
5. Betjeningsvejledning
The STINGER Select SSPRCA3 is a passive component and does not require active operation. Once properly installed as described in Section 4, it will facilitate the transmission of audio signals between your connected devices. Ensure that both the source and destination audio components are powered on and configured correctly for audio output and input, respectively.
The quality of the audio signal will depend on the proper functioning of all connected components and the integrity of the cable connection.
6. Vedligeholdelse
To ensure the longevity and optimal performance of your SSPRCA3 cable, consider the following maintenance guidelines:
- Hold rent: Periodically inspect the RCA connectors for dust or debris. Use a soft, dry cloth to gently wipe them clean. Avoid using harsh chemicals or abrasive materials.
- Undgå fysisk stress: Do not bend the cable sharply, crimp it, or place heavy objects on it. Excessive physical stress can damage the internal wiring and outer jacket.
- Sikre forbindelser: Ensure that the RCA connectors remain securely attached to their respective ports. Loose connections can degrade audio quality.
- Opbevaring: If storing the cable, coil it loosely to prevent kinks and store it in a clean, dry environment away from extreme temperatures.
7. Fejlfinding
If you experience issues with your audio system after installing the SSPRCA3 cable, consider the following troubleshooting steps:
- Ingen lydoutput:
- Verify that both the audio source and destination components are powered on and functioning correctly.
- Check all RCA connections to ensure they are firmly seated and correctly matched (e.g., red to red, black/white to black/white).
- Ensure the correct input source is selected on your audio receiver or amplivligere.
- Test with a different known-good RCA cable if available, to rule out a cable fault.
- Poor Audio Quality (Static, Hum, Distortion):
- Ensure the cable is routed away from power cables or other sources of electrical interference.
- Check for any damage to the cable jacket or connectors.
- Verify that the ground connections of your audio components are secure.
- Ensure the volume levels are appropriately set on all components to avoid clipping or distortion.
- Intermitterende lyd:
- Inspect all connections for looseness. Re-seat the RCA connectors.
- Check for any signs of internal cable damage, such as kinks or sharp bends.
If problems persist after performing these checks, consult the user manuals for your audio components or contact STINGER customer support.
8. Garanti og support
Specific warranty information for the STINGER Select SSPRCA3 Performance Series Coaxial Interconnect is typically provided with your purchase documentation or can be found on the official STINGER webwebsted. Gem venligst din købsbevis til garantikrav.
For technical support, product inquiries, or warranty service, please refer to the contact information provided by STINGER or visit their official webwebsted. Du kan også besøge STINGER Store on Amazon for yderligere produktinformation.


