Indledning
This manual provides detailed instructions for the installation, setup, and operation of your LUX Kono KN-S-MG1 Smart Thermostat. Please read this manual thoroughly before beginning installation or operation to ensure proper functionality and safety.
The LUX Kono KN-S-MG1 is a programmable smart thermostat designed to personalize your home comfort and optimize energy savings through features like geofencing and remote control via the LUX app.
Sikkerhedsoplysninger
ADVARSEL: Fare for elektrisk stød
- Always turn off power to the heating and cooling system at the main circuit breaker or fuse box before installing or servicing the thermostat.
- Improper wiring can cause damage to the thermostat or the HVAC system.
- Installationen bør udføres af en kvalificeret tekniker, hvis du er usikker på nogle trin.
- Sørg for, at alle ledningsforbindelser er sikre og isolerede.
Pakkens indhold
Bekræft at alle varer er til stede i din pakke:
- LUX Kono KN-S-MG1 Smart Thermostat
- Monteringsudstyr (skruer, vægankre)
- LUX Power Bridge (for systems without a C-wire)
- Installationsvejledning (dette dokument)
Installation
Before installation, ensure the power to your HVAC system is turned off at the circuit breaker.
1. Fjern den gamle termostat
- Sluk for strømmen til dit HVAC-system ved afbryderen.
- Fjern dækslet på din gamle termostat.
- Tag et billede af ledningsforbindelserne til reference.
- Disconnect the wires one by one, labeling each wire with the corresponding terminal letter (e.g., R, C, Y, G, W).
- Remove the old thermostat's backplate from the wall.
2. Wiring the Kono KN-S-MG1
The Kono KN-S-MG1 requires a C-wire for continuous power. If your system does not have a C-wire, use the included LUX Power Bridge.
Kompatibilitet:
- Forced air, gas, oil & electric furnaces (up to 2 Heat/1 Cool stagr)
- Heat pump systems (with or without auxiliary/emergency heat)
Refer to the wiring diagram specific to your HVAC system type. Connect the labeled wires to the corresponding terminals on the Kono backplate.
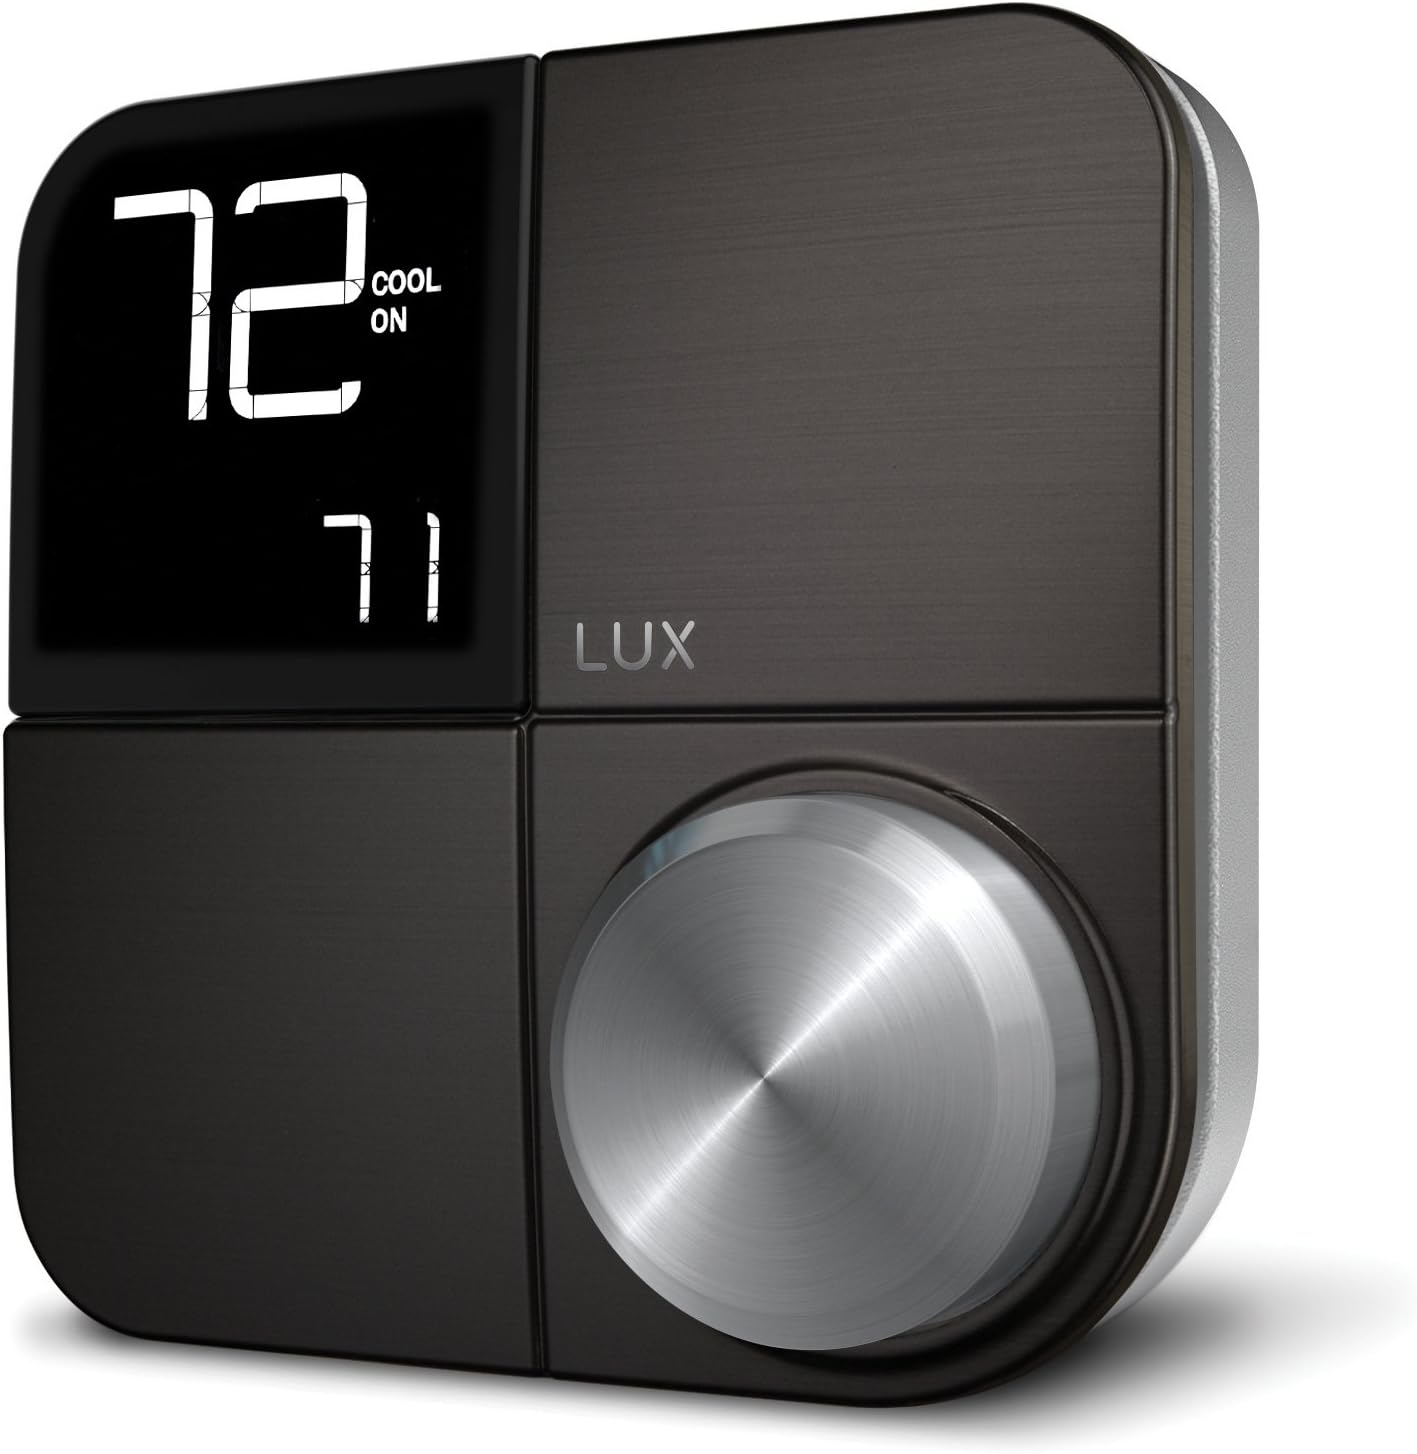 Billede: Forside view of the LUX Kono KN-S-MG1 Smart Thermostat, displaying its digital screen and control knob.
3. Montering af termostaten
- Mount the Kono backplate to the wall using the provided screws and anchors. Ensure it is level.
- Carefully push any excess wire back into the wall opening.
- Align the Kono thermostat body with the backplate and gently push it into place until it clicks securely.
 Image: The LUX Kono KN-S-MG1 Smart Thermostat installed on a wall, blending into a modern dining room environment.
Første opsætning og Wi-Fi-forbindelse
- Tænd: Restore power to your HVAC system at the circuit breaker. The thermostat display should illuminate.
- Download the LUX App: Download the official LUX app from your smartphone's app store.
- Opret konto: Follow the in-app instructions to create a new user account or log in if you already have one.
- Opret forbindelse til Wi-Fi: The app will guide you through connecting your Kono thermostat to your home Wi-Fi network. Ensure your Wi-Fi network is 2.4GHz compatible.
- Systemkonfiguration: The app will prompt you to configure your HVAC system type (e.g., conventional, heat pump) and other settings.
Betjeningsvejledning
Grundlæggende betjening
- Justering af temperatur: Use the control knob on the thermostat or the LUX app to set your desired temperature.
- Systemtilstand: Switch between Heat, Cool, Auto, and Off modes using the thermostat interface or the app.
- Ventilatortilstand: Select Fan On (continuous operation) or Fan Auto (fan runs only when heating/cooling) via the thermostat or app.
Programmering skemaer
The Kono KN-S-MG1 allows you to create custom heating and cooling schedules to optimize comfort and energy usage. Schedules are typically managed through the LUX app for ease of use.
- Open the LUX app and navigate to the scheduling section.
- Create daily or weekly schedules with different temperature settings for various times of the day (e.g., Wake, Away, Home, Sleep).
- Save your schedules to activate them on the thermostat.
Avancerede funktioner
- Geofencing (Home & Away Aware): This feature uses your smartphone's location to automatically adjust the thermostat when you leave or approach your home, saving energy when away and ensuring comfort upon return. Enable and configure this feature within the LUX app.
- Fjernbetjening: Control your thermostat from anywhere using the LUX app on your smartphone.
- Stemmestyring: The Kono KN-S-MG1 supports integration with certain smart home platforms like Android and Vera for voice control. Note: This product does NOT work with Amazon Alexa or Apple HomeKit.
Opretholdelse
- Rensning: Tør termostatens yderside af med en blød kludamp klæde. Brug ikke slibende rengøringsmidler eller opløsningsmidler.
- Softwareopdateringer: Ensure your LUX app and thermostat firmware are up to date for optimal performance and new features. Updates are typically managed through the LUX app.
- Ingen batterier påkrævet: The Kono KN-S-MG1 is powered by your HVAC system (C-wire) or the LUX Power Bridge, so no battery replacement is necessary.
Fejlfinding
| Problem | Mulig årsag | Løsning |
|---|---|---|
| Termostatdisplayet er tomt. | Ingen strøm til termostaten. | Check the circuit breaker for your HVAC system. Ensure the C-wire or LUX Power Bridge is correctly installed and connected. |
| HVAC-systemet reagerer ikke på termostaten. | Incorrect wiring; system mode incorrect; power issue. | Verify wiring connections. Ensure the system mode (Heat/Cool/Auto) is correctly selected. Check power to the HVAC unit. |
| Cannot connect to Wi-Fi or app shows "no internet". | Incorrect Wi-Fi password; router issues; 5GHz network. | Ensure correct Wi-Fi password. Restart your router. Confirm your Wi-Fi network is 2.4GHz. Re-attempt Wi-Fi setup through the LUX app. |
| Temperature not maintained as programmed. | Incorrect schedule settings; geofencing interference; system limitations. | Review your schedules in the LUX app. Check geofencing settings. Ensure your HVAC system is functioning correctly. |
For further assistance, please contact LUX customer support.
Specifikationer
| Mærke | LUX |
| Modelnavn | KN-S-MG1 |
| Produktdimensioner | 2.8 x 6.5 x 6 tommer |
| Varens vægt | 9.6 ounce |
| Farve | Sort |
| Materiale | Plast |
| Strømkilde | Electric (System C-wire or LUX Power Bridge) |
| Voltage | 230 volt (AC) |
| Forbindelsesteknologi | Wi-Fi (2.4 GHz) |
| Controller type | Android, Vera (Note: Does NOT work with Amazon Alexa or Apple HomeKit) |
| Speciel funktion | Geofencing: Home & Away Aware |
| Display Type | LCD med baggrundsbelysning |
| Kontroltype | Button Control, Voice |
| Monteringstype | Vægmontering |
| UPC | 021079170098 |
Garanti og support
For warranty information and technical support, please refer to the official LUX website or contact LUX customer service directly. Keep your purchase receipt as proof of purchase.
 Image: The retail packaging for the LUX Kono Smart Thermostat, showing the product image and key features.


