1. Introduktion
This manual provides essential information for the proper installation, operation, and maintenance of your Lowrance XSONIC AIRMAR SS60 20 DEG Thru-Hull Transducer. Please read this manual thoroughly before attempting installation or use to ensure optimal performance and safety.
The Lowrance XSONIC AIRMAR SS60 is a high-performance, stainless steel thru-hull transducer designed for marine applications, providing accurate depth and temperature readings. It features a 20-degree tilted element for optimal beam alignment on hulls with a deadrise between 16 and 24 degrees, eliminating the need for a fairing block.
2. Sikkerhedsoplysninger
- Always disconnect power to the vessel's electrical system before installing or servicing any electronic equipment.
- Wear appropriate personal protective equipment (PPE) during installation, including eye protection and gloves.
- Ensure the installation location is free from obstructions and provides adequate clearance for the transducer and cable.
- Consult a qualified marine technician if you are unsure about any aspect of the installation process.
- Do not modify the transducer or its cable. Unauthorized modifications can void the warranty and create safety hazards.
3. Pakkens indhold
Kontroller, at alle dele er til stede i pakken, før installationen påbegyndes:
- Lowrance XSONIC AIRMAR SS60 20 DEG Thru-Hull Transducer
- Monteringsudstyr (møtrikker, skiver, pakninger)
- Installationsvejledning (dette dokument)
4. Opsætning og installation
Proper installation is crucial for the performance of your SS60 transducer. This section outlines the general steps for thru-hull mounting.
4.1. Valg af monteringssted
- Select a location on the hull where water flow is smooth and free from turbulence caused by strakes, keels, or propellers.
- The transducer should be mounted as far aft and as close to the centerline of the boat as possible.
- Ensure the chosen location is accessible from inside the hull for securing the transducer.
- Verify that the hull deadrise at the chosen location is between 16 and 24 degrees to match the 20-degree tilt of the transducer element.
4.2. Drilling the Mounting Hole
- Mark the center of the chosen mounting location on the hull.
- Using a hole saw of the appropriate diameter (refer to the transducer's specific dimensions, typically around 2 inches or 51mm), drill a pilot hole from the inside out, then complete the hole from the outside in to prevent gelcoat chipping.
- Smooth any rough edges around the hole.
4.3. Transducer installation
- Apply a marine-grade sealant (e.g., 3M 5200) generously to the transducer's shaft and the hull around the drilled hole to ensure a watertight seal.
- Insert the transducer from the outside of the hull, ensuring the arrow or marking on the transducer body points towards the bow of the boat. This aligns the tilted element correctly.
- From inside the hull, place the rubber washer, then the stainless steel washer, and finally thread the locking nut onto the transducer shaft.
- Hand-tighten the locking nut, then use a wrench to tighten it securely. Do not overtighten, as this can damage the hull or transducer.
- Wipe away any excess sealant. Allow the sealant to cure according to the manufacturer's instructions before launching the vessel.
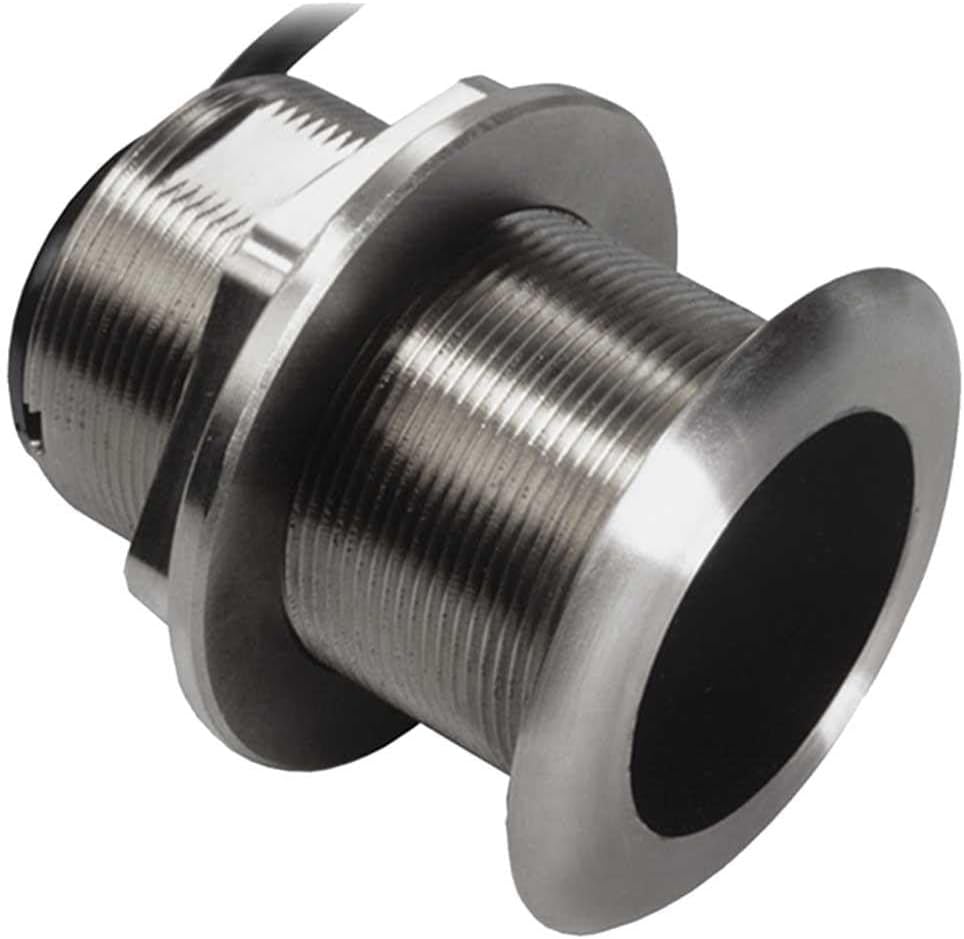
Figur 1: Lowrance XSONIC AIRMAR SS60 20 DEG Thru-Hull Transducer. This image shows the stainless steel body of the transducer with its threaded shaft and the 20-degree tilted element at the bottom, designed for flush mounting through the boat's hull.
4.4. Cable Routing and Connection
- Route the 10-meter (33.0 ft) transducer cable away from engine noise, other electrical cables, and sharp objects.
- Secure the cable using cable ties or clamps every 18 to 24 inches (45 to 60 cm) to prevent chafing and movement.
- Connect the black 9-pin connector of the transducer cable to the corresponding port on your compatible Lowrance fish finder or sonar module. Ensure the connection is secure.
5. Betjening
Once installed and connected, the SS60 transducer operates in conjunction with your Lowrance fish finder unit. Refer to your fish finder's instruction manual for specific operational details and settings.
- Tænd: Turn on your Lowrance fish finder unit. The unit should automatically detect the connected SS60 transducer.
- Sonar Frequencies: The SS60 operates at 50/200 KHz. Select the appropriate frequency on your fish finder for the desired depth and detail.
- 50 KHz: Provides deeper penetration and wider coverage, ideal for deep water fishing.
- 200 KHz: Offers higher resolution and better target separation in shallower water.
- Temperaturvisning: The integrated analog/digital temperature sensor will provide water temperature readings to your fish finder display.
- Juster indstillinger: Optimize your fish finder's sensitivity, range, and other sonar settings for the best possible view af undervandsmiljøet.
6. Vedligeholdelse
Regelmæssig vedligeholdelse sikrer transducerens levetid og optimale ydeevne.
- Rensning: Periodically inspect the transducer face for marine growth, dirt, or debris. Clean gently with a soft cloth and mild soap and water. Avoid abrasive cleaners or tools that could scratch the transducer surface.
- Antifoulingmaling: If your vessel is kept in water, apply a thin coat of water-based anti-fouling paint specifically designed for transducers to the active face of the transducer. Do not use solvent-based paints, as they can damage the transducer material.
- Kabelinspektion: Regularly check the transducer cable for any signs of wear, cuts, or damage. Ensure all connections are secure and free from corrosion.
- Hull Inspection: During routine hull maintenance, inspect the transducer's mounting for any signs of leaks or loosening.
7. Fejlfinding
If you experience issues with your SS60 transducer, consider the following common troubleshooting steps:
| Problem | Mulig årsag | Løsning |
|---|---|---|
| No depth reading or erratic readings |
|
|
| Forkert temperaturaflæsning |
|
|
| Intermitterende signaltab |
|
|
If problems persist after attempting these solutions, contact Lowrance customer support or a certified marine electronics technician.
8. Specifikationer
| Feature | Detalje |
|---|---|
| Model | XSONIC AIRMAR SS60 20 DEG |
| Varenummer | 000-13786-001 |
| Transducertype | Gennem-Hull |
| Materiale | Rustfrit stål |
| Strømudgang | 600 watt RMS |
| Frekvenser | 50/200 KHz |
| Deadrise vinkel | 20-degree tilted element (for 16-24 degree hull deadrise) |
| Depth/Temperature | Yes (Depth and Analog/Digital Temperature) |
| Stik | Sort 9-benet |
| Kabellængde | 10 meter (33.0 fod) |
| Omtrentlig vægt | 4.4 pund (2 kg) |
| Fabrikant | Navico |
9. Garanti og support
For information regarding the product warranty, please refer to the warranty documentation provided with your purchase or visit the official Lowrance website. Lowrance offers technical support for their products.
If you require assistance with installation, troubleshooting, or have questions about your Lowrance XSONIC AIRMAR SS60 20 DEG transducer, please contact Lowrance Customer Support:
- Lowrance Webwebsted: www.lowrance.com
- Der henvises til website for contact numbers and support resources specific to your region.


