Indledning
This manual provides detailed instructions for the safe installation, operation, and maintenance of your Progress Lighting Verdae Collection 3-Light Clear Seeded Glass New Traditional Outdoor Large Wall Lantern Light. This fixture features a traditional design with clear seeded glass and an Antique Bronze finish, suitable for various exterior settings. The open bottom design facilitates easy lamp udskiftning.
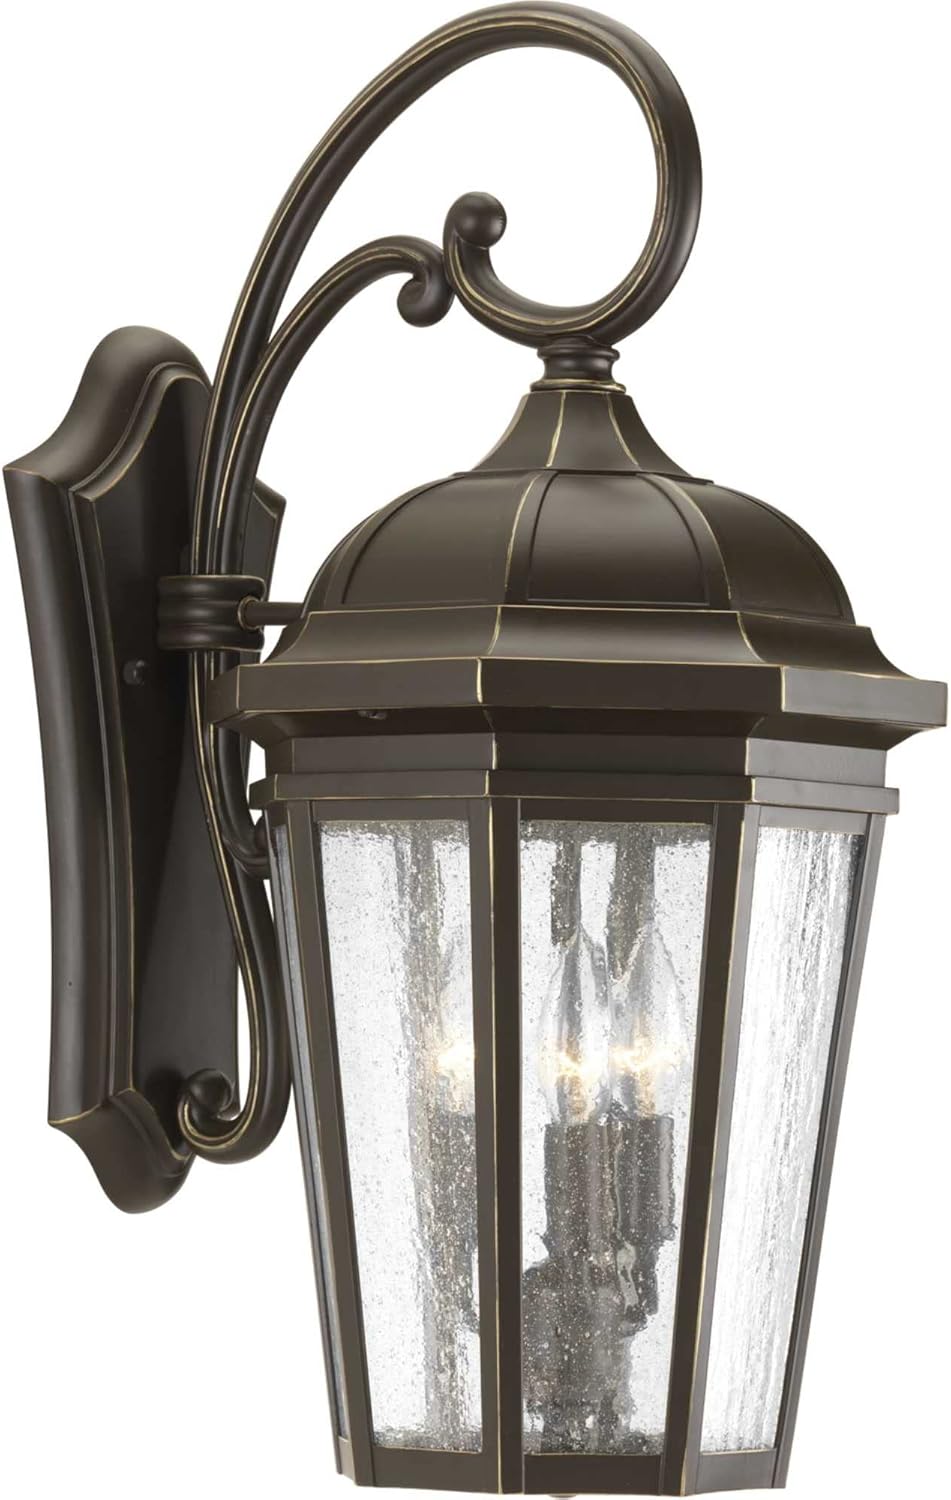
Image 1: The Verdae Collection Outdoor Wall Lantern, showcasing its Antique Bronze finish and clear seeded glass panels.
Sikkerhedsoplysninger
ADVARSEL: Risiko for elektrisk stød. Afbryd strømmen til sikringsboksen eller afbryderen før installation eller service.
- Alle elektriske forbindelser skal være i overensstemmelse med lokale forskrifter, forordninger eller National Electric Code (NEC).
- Kontakt en kvalificeret elektriker, hvis du ikke er bekendt med elektriske ledninger.
- Brug sikkerhedsbriller og passende beskyttelsesudstyr under installationen.
- Håndter glaskomponenter forsigtigt for at forhindre brud.
- Ensure the fixture is securely mounted to a structural element.
- Overskrid ikke det maksimale wattage specificeret for pærerne.
Pakkens indhold
Kontroller, at alle komponenter er til stede, før installationen påbegyndes:
- Outdoor Wall Lantern Fixture (1)
- Monteringshardwaresæt (1)
- Installationsark (1)
Note: Light bulbs are not included and must be purchased separately.
Specifikationer
| Feature | Detalje |
|---|---|
| Modelnummer | P560016-020 |
| Mærke | Fremskridtsbelysning |
| Materiale | Aluminium, glas |
| Slutte | Antik bronze |
| Skærmmateriale | Klart glas med frø |
| Antal lys | 3 |
| Pære base | E12 (Kandelaber) |
| Max Wattage pr. pære | 60 watt |
| Voltage | 120 volt |
| Indendørs/Udendørs brug | Udendørs |
| Installationstype | Hardware-monteret |
| Vandmodstandsniveau | Vandtæt |
| Varens vægt | 6.3 pund |

Image 2: Dimensional drawing of the Verdae Outdoor Wall Lantern, indicating a height of 21-3/4 inches and a width of 10-3/8 inches.
Opsætning og installation
Follow these general steps for installation. Refer to the included installation sheet for detailed, model-specific instructions.
- Forbered til installation: Turn off power at the circuit breaker or fuse box. Ensure the power is completely disconnected before proceeding.
- Montering af monteringsbeslag: Attach the mounting bracket to the electrical junction box using the provided screws. Ensure it is securely fastened.
- Elektriske forbindelser: Connect the fixture's wires to the house wiring according to standard electrical codes (black to black, white to white, ground to ground). Use approved wire connectors and ensure all connections are secure.
- Armaturmontering: Carefully align the fixture with the mounting bracket and secure it in place using the provided hardware. Ensure the fixture is flush against the wall and stable.
- Installer pærer: Insert three E12 base bulbs (max 60W each, not included) into the sockets. The open bottom design allows for easy access.
- Gendan strøm: Når installationen er færdig, og alle komponenter er fastgjort, skal strømmen genoprettes ved afbryderen.
Billede 3: Et nærbillede view of the lantern's base, illustrating the open bottom design for convenient bulb replacement.
Betjeningsvejledning
This outdoor wall lantern operates via a standard wall switch or a remote-compatible switch (if installed). Once the fixture is properly installed and power is restored:
- Flip the wall switch to the 'ON' position to illuminate the fixture.
- Flip the wall switch to the 'OFF' position to turn off the fixture.
- If a remote-controlled switch is used, refer to the instructions provided with your specific remote control system.
Opretholdelse
- Rensning: To clean the fixture, ensure power is off. Wipe with a soft, dry cloth. Do not use abrasive cleaners or solvents, as they may damage the finish or glass.
- Udskiftning af pære: Turn off power at the circuit breaker. Allow bulbs to cool completely. Unscrew old bulbs and replace with new E12 base bulbs (max 60W each). The open bottom design provides easy access for this task.
- Inspektion: Undersøg regelmæssigt armaturet for tegn på slid, skader eller løse forbindelser. Ret eventuelle problemer omgående.

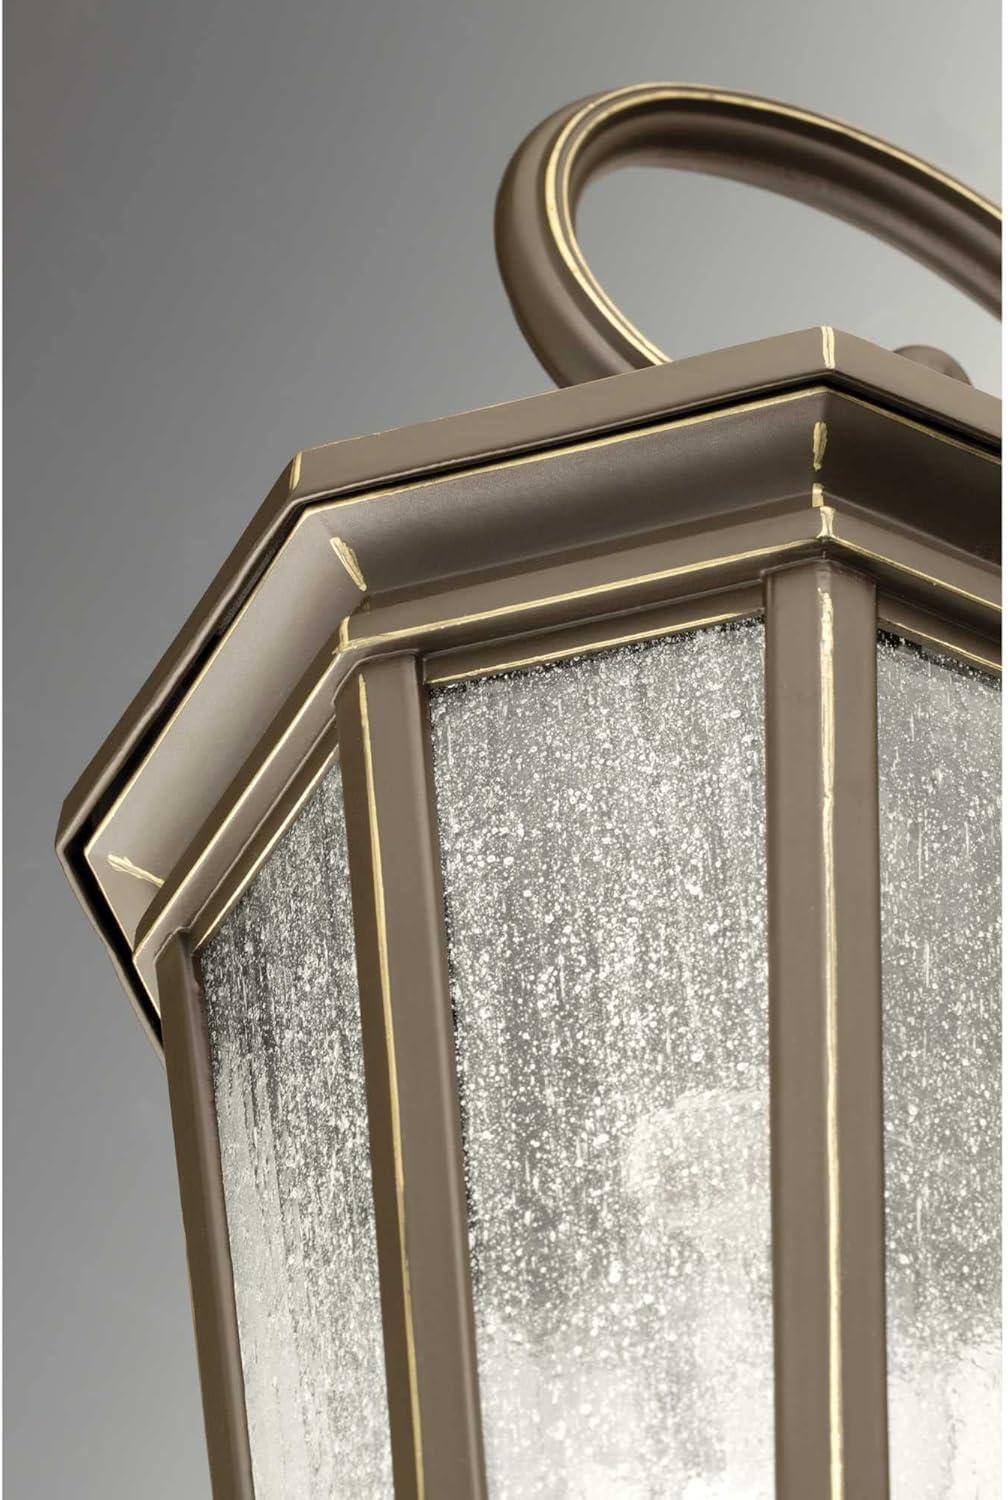
Billede 4: En detaljeret view of the clear seeded glass, which provides a traditional aesthetic and diffuses light.
Fejlfinding
If you encounter issues with your outdoor wall lantern, refer to the following common problems and solutions:
| Problem | Mulig årsag | Løsning |
|---|---|---|
| Lyset tænder ikke | Ingen strøm til armaturet Løse ledningsforbindelser Defekt pære | Kontroller afbryder/sikring Kontroller, at alle ledningsforbindelser er sikre (sluk for strømmen) Udskift pære(r) |
| Lyse flimrer | Løs pære Løs ledningsforbindelse Forkert pæretype/watttage | Spænd pæren Check wire connections (power off) Ensure bulbs meet specifications |
| Glass is broken or cracked | Slagskader | Kontakt kundesupport for reservedele |
Hvis problemet fortsætter efter at have forsøgt disse løsninger, skal du kontakte en kvalificeret elektriker eller Progress Lightings kundesupport.
Garanti og support
Dette Progress Lighting-produkt er dækket af en 1 års begrænset garanti from the date of purchase. This warranty guarantees your complete satisfaction with your purchase and includes professional after-sales customer service support.
The warranty covers defects in materials and workmanship under normal use. It does not cover damage resulting from improper installation, accident, misuse, abuse, or unauthorized modifications.
For warranty claims, technical assistance, or to inquire about replacement parts, please contact Progress Lighting customer service. Refer to the contact information provided on the original packaging or the official Progress Lighting webwebsted.


