1. Produktet er slutview
The Intermatic ST01 is a versatile 7-day heavy-duty programmable timer designed for a wide range of applications. It allows users to set precise ON/OFF schedules for electrical loads, offering convenience and energy savings. This timer is suitable for 120-277 VAC systems and can handle up to 15A, making it ideal for controlling lighting, fans, pumps, and other heavy-duty electrical equipment.
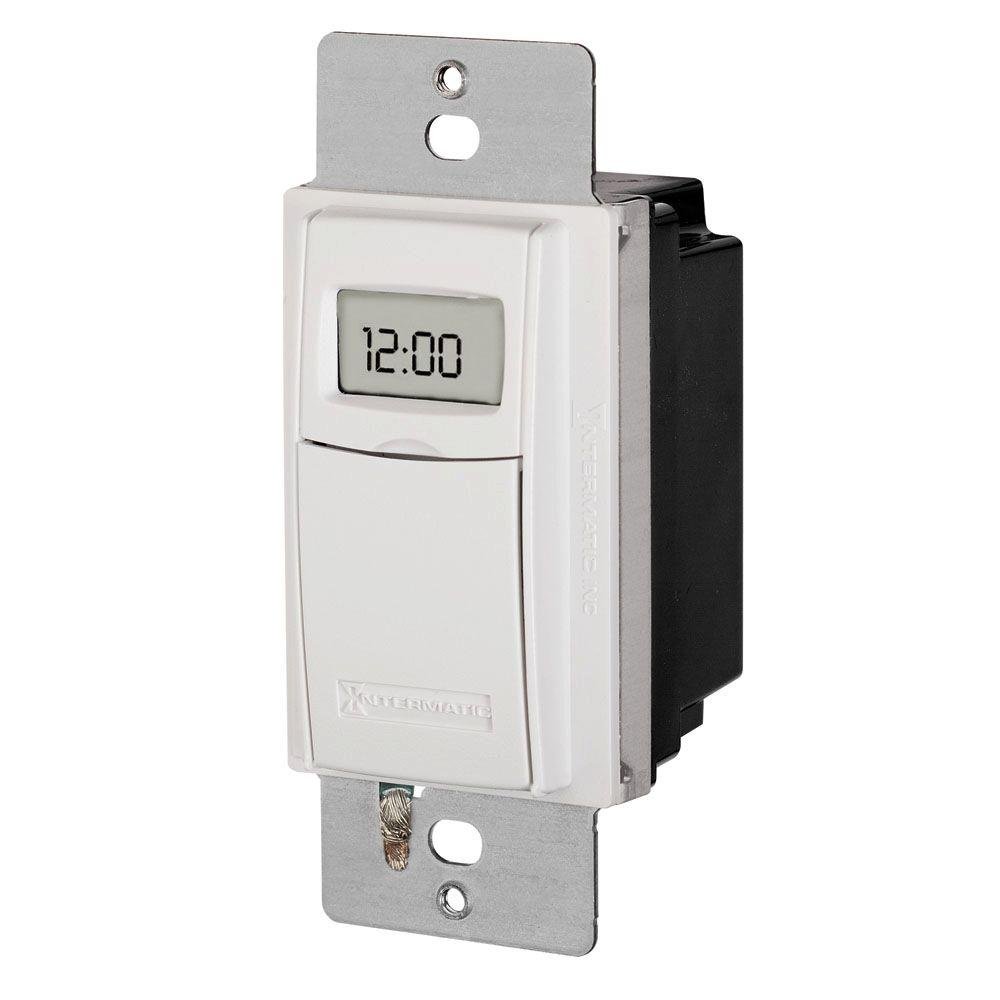
Figur 1: Forside view of the Intermatic ST01 Programmable Timer, showing its digital display and white finish.
2. Vigtige sikkerhedsinstruktioner
Læs og forstå alle instruktioner, før du installerer eller bruger denne timer. Manglende overholdelse af disse instruktioner kan resultere i elektrisk stød, brand eller alvorlig personskade.
- Afbryd strømmen: Sluk altid for strømmen ved afbryderen eller sikringsboksen, før du installerer eller servicerer timeren.
- Uddannet elektriker: Installation should be performed by a qualified electrician or trained personnel in accordance with all national and local electrical codes.
- Kun indendørs brug: This device is intended for indoor use in dry locations only. Do not expose to rain or moisture.
- Korrekt ledningsføring: Ensure all wiring connections are secure and correctly matched to the terminal markings. A neutral wire is required for operation.
- Belastningskapacitet: Do not exceed the maximum electrical ratings of the timer (15A, 120-277 VAC).
- Jording: Ensure the timer is properly grounded.
3. Pakkens indhold
Kontroller, at alle komponenter er til stede, før installationen påbegyndes:
- Intermatic ST01 7-Day Heavy-Duty Programmable Timer
- Instruktionsmanual
- Mounting Screws (typically included with wall plate, not explicitly listed in product data)
4. Nøglefunktioner
- 7-dages programmerbarhed: Allows for different schedules on each day of the week.
- Heavy-Duty Rating: Capable of controlling loads up to 15 Amperes.
- Wide Voltage Område: Operates on 120-277 VAC.
- Digital skærm: Clear and easy-to-read digital time and program display.
- Manuel tilsidesættelse: Provides temporary or permanent manual control over programmed settings.
- Automatic Daylight Saving Time Adjustment: Simplifies time changes.
- Batteri-sikkerhedskopi: Retains program settings during power outages.
5. Tekniske specifikationer
| Specifikation | Værdi |
|---|---|
| Modelnummer | ST01 |
| Voltage | 120-277 VAC |
| Nuværende vurdering | 15 Amperes |
| Produktdimensioner | 2.3 x 4.9 x 3 tommer |
| Varens vægt | 0.01 ounce |
| Farve | Hvid |
| Materiale | Plast |
| Antal indstillinger | 3 (This refers to modes, not programs) |
6. Installationsvejledning
This section provides general guidelines for installing the Intermatic ST01 timer. For detailed wiring diagrams and specific instructions, refer to the diagram included with your product packaging or consult a qualified electrician.
6.1. Forberedelse
- Turn off power to the circuit at the main service panel (breaker or fuse box).
- Sørg for, at strømmen er slukket ved at teste kredsløbet med en voltmeter.tage tester.
- Remove the existing wall switch or cover plate.
6.2. Ledninger
The ST01 timer requires a neutral wire for operation. Identify the Line (hot), Load, and Neutral wires in your electrical box. The timer typically has corresponding colored wires or marked terminals.
- Tilslut Linje (varm) wire from the electrical box to the designated Line terminal/wire on the timer.
- Tilslut Indlæs wire (to the light/appliance) from the electrical box to the designated Load terminal/wire on the timer.
- Tilslut Neutral wire from the electrical box to the designated Neutral terminal/wire on the timer.
- Tilslut Jord wire from the electrical box to the ground screw on the timer or electrical box.
- Brug trådmøtrikker til at sikre alle forbindelser.
6.3. Montering
- Skub forsigtigt den kablede timer ind i vægdåsen.
- Secure the timer to the wall box using the provided mounting screws.
- Fastgør den dekorative vægplade (medfølger ikke) over timeren.
- Gendan strømmen ved afbryderen.
7. Betjeningsvejledning
Once installed and powered, the timer's display will activate. Follow these steps for initial setup and programming.
7.1. Initial Setup: Setting Current Time and Date
- Tryk på "CLOCK" knap. Timecifrene vil blinke.
- Brug "TIME" og "MINUTE" buttons to set the current hour and minute.
- Tryk på "DAY" knappen for at indstille den aktuelle ugedag.
- Trykke "CLOCK" igen for at gemme og afslutte.
7.2. Programmering af tænd/sluk-skemaer
The ST01 allows for multiple ON/OFF programs per day. Refer to the specific button layout on your device for exact programming steps, as these can vary slightly.
- Tryk på "PROG" button. The display will show "1 ON".
- Bruge "TIME" og "MINUTE" buttons to set the desired ON time for program 1.
- Trykke "DAY" to select the days of the week for this program (e.g., Mon-Fri, Sat-Sun, or individual days).
- Trykke "PROG" igen. Displayet vil vise "1 OFF".
- Set the desired OFF time for program 1 using "TIME" og "MINUTE" knapper.
- Repeat steps 3-5 for additional programs (2 ON/OFF, 3 ON/OFF, etc.).
- Tryk på "CLOCK" button to exit programming mode and return to normal operation.
7.3. Manuel tilsidesættelse
The timer typically features a manual override button (often labeled "MANUAL" or "ON/OFF").
- Midlertidig tilsidesættelse: Pressing the manual button usually toggles the current state (ON to OFF, or OFF to ON) until the next programmed event.
- Permanent tilsidesættelse: Some models allow holding the button or pressing it multiple times to enter a permanent ON or OFF state, overriding all programs until manually changed again. Consult your device's specific instructions for this feature.
8. Vedligeholdelse
The Intermatic ST01 timer is designed for long-term, maintenance-free operation. However, a few simple steps can ensure its longevity:
- Rensning: Wipe the surface with a soft, dry cloth. Do not use abrasive cleaners or solvents.
- Batteri-sikkerhedskopi: The timer contains an internal battery for program retention during power outages. This battery is typically long-lasting and not user-replaceable. If the display goes blank or programs are lost frequently during power interruptions, the unit may need servicing or replacement.
- Inspektion: Kontroller regelmæssigt ledningsforbindelserne for tæthed og tegn på slid.
9. Fejlfinding
If you experience issues with your Intermatic ST01 timer, refer to the table below for common problems and solutions.
| Problem | Mulig årsag | Løsning |
|---|---|---|
| Timerdisplayet er tomt. | No power to the timer; incorrect wiring; internal battery depleted. | Check circuit breaker. Verify wiring connections (Line, Neutral). If power is present and wiring is correct, the unit may require replacement. |
| Timeren tænder/slukker ikke på programmerede tidspunkter. | Incorrect programming; manual override engaged; incorrect current time/day. | Review and re-enter program settings. Check if manual override is active. Verify current time and day are set correctly. |
| Load (light/appliance) does not turn ON/OFF. | Load wire not connected; load device faulty; timer faulty. | Ensure load wire is securely connected. Test the load device directly (e.g., plug into a working outlet). If the load works directly, the timer may be faulty. |
| Programmer går tabt efter strømafbrydelsetage. | Internal battery backup is depleted or faulty. | The internal battery is not user-replaceable. The unit may need replacement if this issue persists. |
10. Garantioplysninger
Intermatic products are manufactured to the highest quality standards. This product is covered by a limited warranty against defects in material and workmanship. The specific terms and duration of the warranty are typically provided with the product packaging or can be found on the official Intermatic webwebsted. Gem venligst din købsbevis til garantikrav.
11. Kundesupport
For technical assistance, troubleshooting beyond this manual, or warranty inquiries, please contact Intermatic Customer Support. Have your product model number (ST01) and purchase information ready when contacting support.
You can typically find contact information (phone number, email, or support portal) on the official Intermatic webwebsted: www.intermatic.com


