1. Introduktion
This manual provides essential instructions for setting up, operating, maintaining, and troubleshooting your Apple iPad Air (Model MD785LL/A). Please read this guide thoroughly to ensure proper use and to maximize your device's capabilities. The iPad Air is a versatile tablet designed for various tasks, including web browsing, email, media consumption, and app usage.
2. Produktet er slutview
The Apple iPad Air features a 9.7-inch Retina display, a powerful A6 processor, and a lightweight design. Familiarize yourself with the device's physical components.

Figur 2.1: Forside View of iPad Air. This image shows the front of the iPad Air, featuring its 9.7-inch display with the home screen visible. App icons for FaceTime, Camera, Contacts, Notes, Reminders, App Store, Settings, Safari, Google, Calendar, Messages, Mail, and Clock are arranged on the screen. The Home button is located below the display.

Figur 2.2: Side View of iPad Air. This image illustrates the thin profile of the iPad Air, highlighting its sleek design. The side buttons, typically for volume control and mute/rotation lock, are visible along the edge.
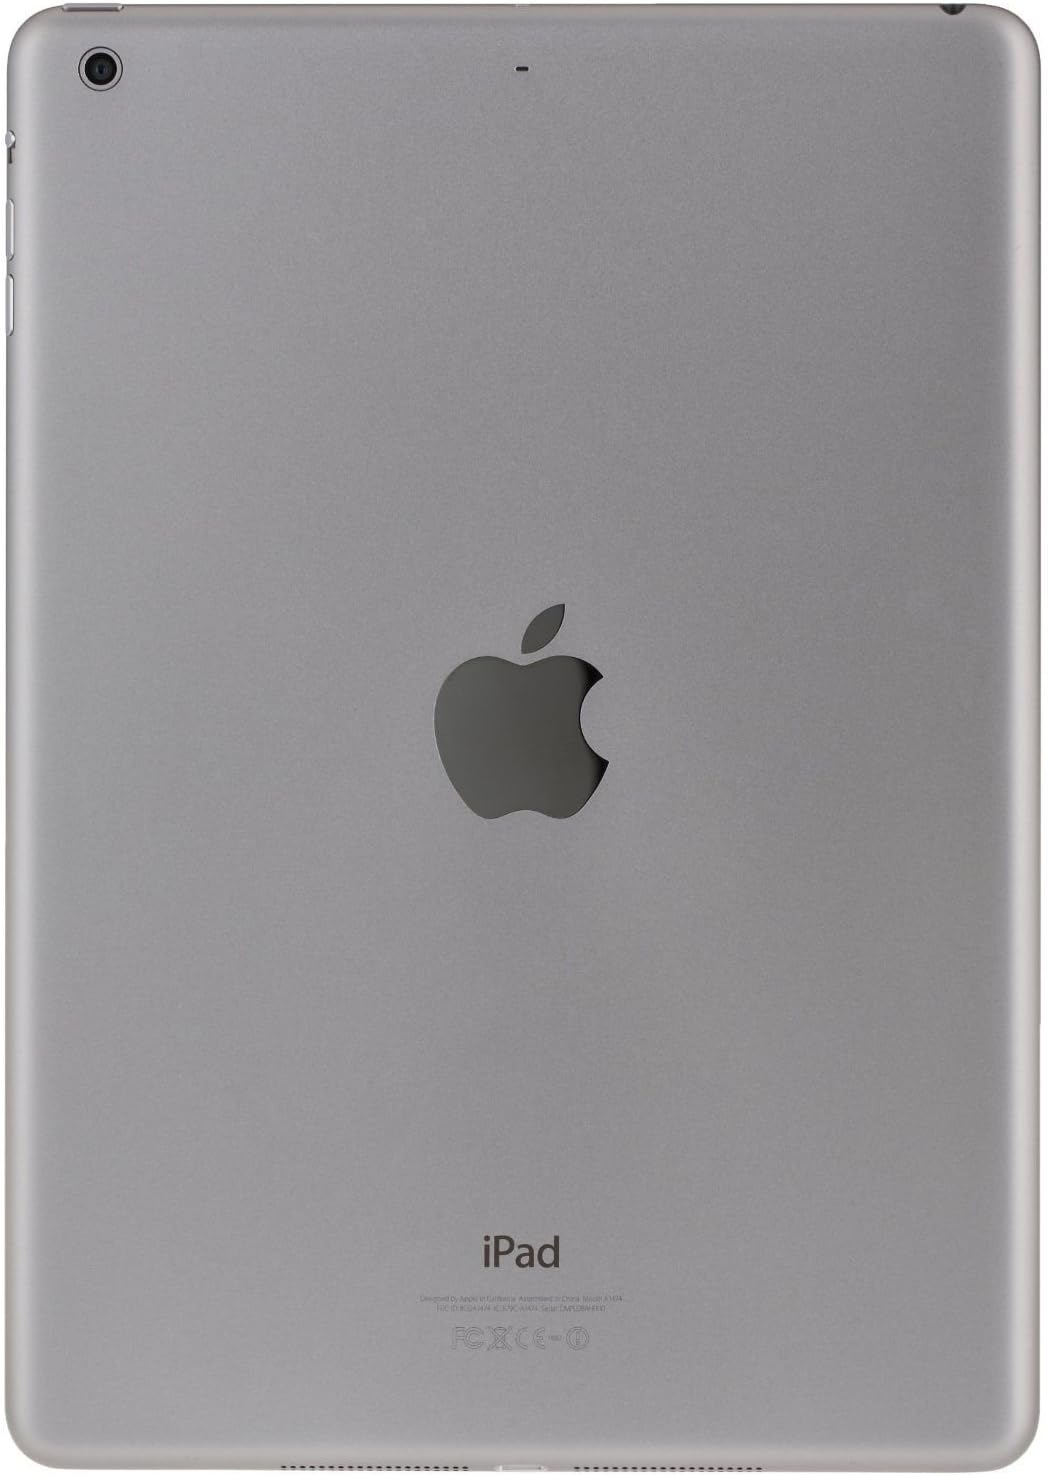
Figur 2.3: Bagside View of iPad Air. This image displays the back of the iPad Air, featuring the prominent Apple logo in the center. The rear camera lens is visible in the upper left corner, and regulatory information is printed at the bottom.
3. Opsætning
3.1 Indledende tænding
- Tryk og hold på Power/Sleep/Wake button (located on the top right edge) until the Apple logo appears.
- Follow the on-screen instructions to begin the setup process.
3.2 Grundlæggende konfiguration
- Sprog og region: Select your preferred language and country/region.
- Wi-Fi-netværk: Connect to a Wi-Fi network. This is required for activation and many features.
- Placeringstjenester: Choose whether to enable or disable Location Services.
- Set Up iPad: You can choose to set up as a new iPad, restore from an iCloud backup, or restore from an iTunes backup.
- Apple ID: Sign in with your existing Apple ID or create a new one. An Apple ID is necessary for downloading apps, using iCloud, and other Apple services.
- Adgangskode: Opret en adgangskode for at sikre din enhed.
- iCloud & Find My iPad: Configure iCloud settings and enable Find My iPad for security.
4. Betjeningsvejledning
4.1 Grundlæggende bevægelser
- Tryk på: Touch the screen briefly with one finger to select an item or activate a button.
- Stryg: Drag one finger across the screen to scroll, navigate between home screens, or reveal hidden options.
- At klemme: Use two fingers to pinch in or out to zoom in or out of photos, web pages, or maps.
- Multi-Touch Gestures: Depending on your settings, you can use four or five fingers to pinch to the Home screen, swipe up to reveal the multitasking bar, or swipe left/right to switch between apps.
4.2 Home Button Functions
- Enkelt tryk: Vender tilbage til startskærmen.
- Dobbelt tryk: Opens the multitasking bar, showing recently used apps.
- Triple Press: Activates Accessibility Shortcut (if configured in Settings).
- Tryk og hold: Activates Siri (if enabled).
4.3 Control Center and Notification Center
- Kontrolcenter: Swipe up from the bottom edge of the screen to access quick settings like Wi-Fi, Bluetooth, brightness, and media controls.
- Notifikations center: Swipe down from the top edge of the screen to view meddelelser og widgets.
4.4 App Store og applikationer
Access the App Store icon on your Home screen to browse, search, and download applications. Many apps are free, while others require purchase. Ensure you are signed in with your Apple ID.
5. Vedligeholdelse
5.1 Cleaning Your iPad Air
- Use a soft, lint-free cloth (e.g., microfiber cloth) to clean the screen and exterior.
- Undgå at bruge slibende materialer, aerosoler, opløsningsmidler eller ammoniakbaserede rengøringsmidler.
- DampSkyl kluden let med vand om nødvendigt, men undgå at fugt kommer ind i åbningerne.
5.2 Softwareopdateringer
Regularly check for and install software updates to ensure your iPad Air has the latest features, security enhancements, and performance improvements. Go to Indstillinger > Generelt > Softwareopdatering.
5.3 Backup-procedurer
It is recommended to regularly back up your iPad Air to iCloud or your computer using iTunes. This protects your data in case of device loss or damage.
6. Fejlfinding
6.1 Enheden svarer ikke
If your iPad Air becomes unresponsive, perform a force restart:
- Tryk og hold på begge Hjem-knap og den Power/Sleep/Wake-knap simultaneously until the Apple logo appears. Release both buttons once the logo is visible.
6.2 Problemer med Wi-Fi-forbindelse
- Ensure Wi-Fi is enabled in Indstillinger > Wi-Fi.
- Prøv at genstarte din Wi-Fi-router.
- Gå til Settings > General > Reset > Reset Network Settings. This will clear all network settings, including Wi-Fi passwords.
6.3 App går ned eller fryser
- Close the app by double-pressing the Home button, then swiping the app's preview card upwards.
- Genstart din iPad Air.
- Check for app updates in the App Store.
- If the issue persists, delete and reinstall the app.
7. Specifikationer
| Modelnavn | iPad Air |
| Modelnummer | MD785LL/A |
| Vise | 9.7-inch Retina display |
| Opløsning | 2048 x 1536 pixel |
| Processor | Apple A6 1.4 GHz |
| Lagerkapacitet | 16 GB Flash-hukommelse |
| RAM-hukommelse | 1 GB |
| Operativsystem | Apple iOS 5 (initial release, upgradable) |
| Batterilevetid | Op til 10 timer |
| Vægt | 1.00 pund (ca. 453 gram) |
| Dimensioner (L x B x H) | 9.4 x 6.6 x 0.29 tommer (ca. 240 x 169.5 x 7.5 mm) |
8. Important Information and Support
8.1 Legal Disclaimer for Returns
If you wish to return the iPad: You must erase all your content, which will remove any activation lock from iCloud. Failure to remove activation lock from the iPad will result in no refund or exchange. To erase content, go to: Settings > General > Reset > Erase All Content and Settings.
8.2 Warranty and Technical Support
For detailed warranty information, technical support, or service, please refer to the official Apple support website or contact Apple customer service directly. Information regarding your specific warranty coverage can typically be found by entering your device's serial number on the Apple support portal.
You can visit the official Apple Support webwebsted for yderligere hjælp: support.apple.com


