1. Introduktion
This manual provides comprehensive instructions for the safe and efficient use of your Onkyo TX-SR252 5.1 Channel AV Receiver. Please read this manual thoroughly before operating the unit and retain it for future reference. This receiver is designed to deliver high-quality audio and video performance for your home entertainment system.
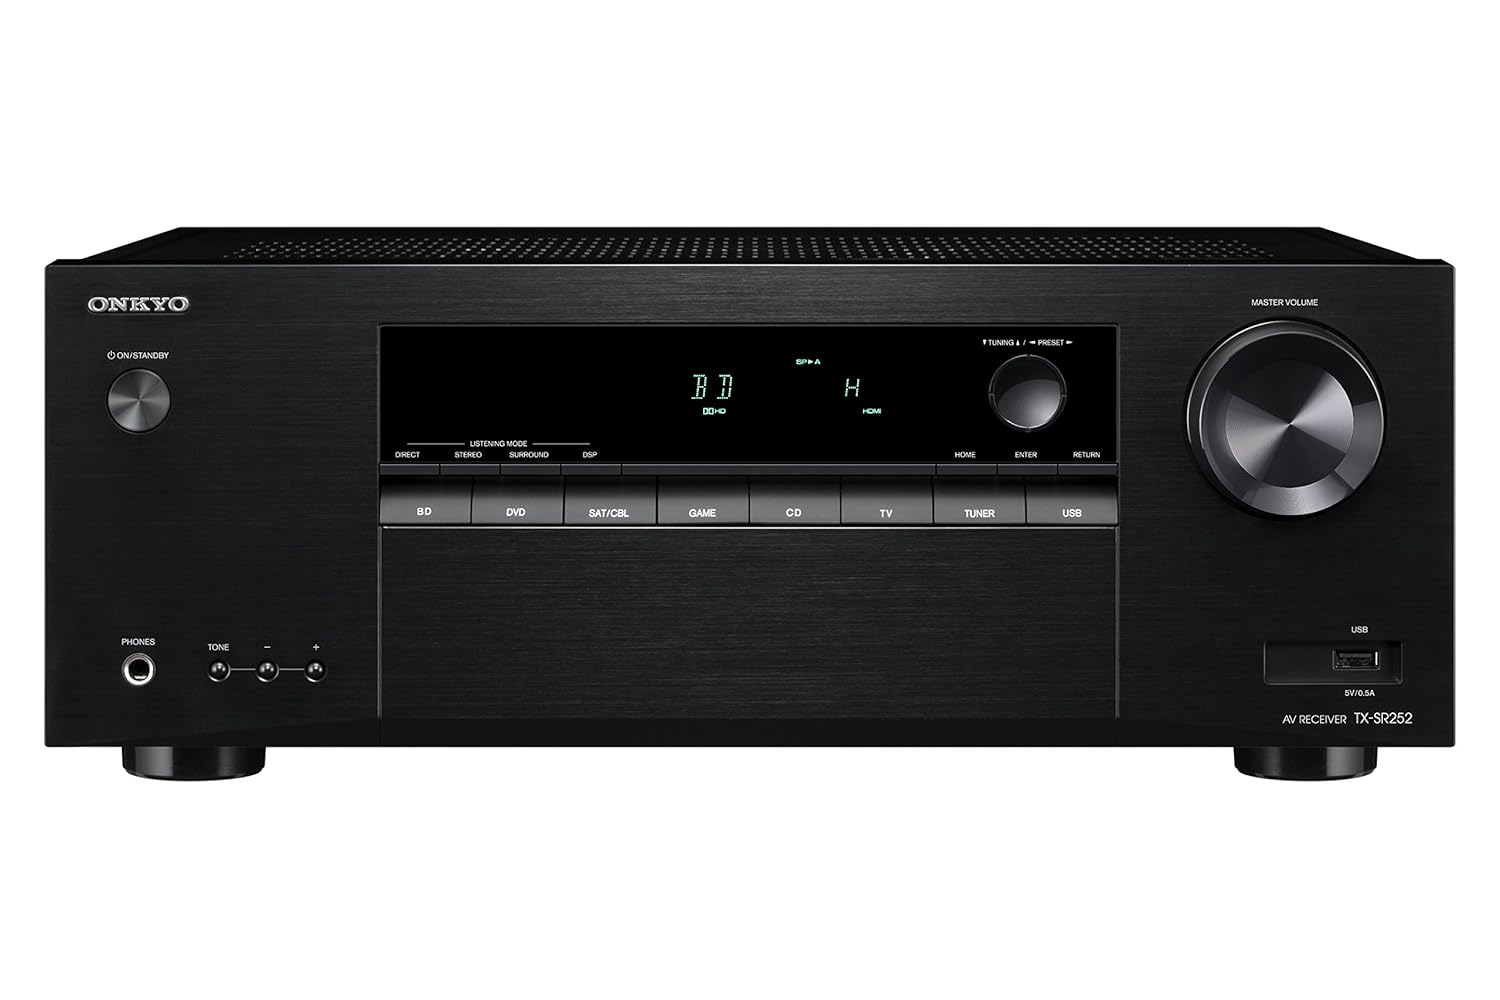
Figur 1.1: Forside view of the Onkyo TX-SR252 AV Receiver, showcasing its sleek black finish, central display, input selection buttons, and large master volume knob.
2. Sikkerhedsoplysninger
For at sikre sikker drift og forhindre skader skal følgende forholdsregler overholdes:
- Strømkilde: Connect the receiver only to an AC power outlet with the specified voltage.
- Ventilation: Ensure adequate ventilation. Do not block ventilation openings. Maintain a minimum distance of 20 cm (8 inches) from the top and 10 cm (4 inches) from the sides.
- Vand og fugt: Do not expose the receiver to rain, moisture, or excessive humidity.
- Fremmedobjekter: Do not insert any objects into the receiver's openings.
- Service: Refer all servicing to qualified service personnel. Do not attempt to open or repair the unit yourself.
- Rensning: Disconnect the power cord before cleaning. Use a dry, soft cloth.
3. Pakkens indhold
Bekræft at alle varer er til stede i pakken:
- Onkyo TX-SR252 AV Receiver
- Remote Control (RC-909R)
- AA Batteries (x2) for remote control
- FM indendørs antenne
- AM-løkkeantenne
- Strømledning
- Lynstartguide (ikke inkluderet i denne digitale manual)
4. Opsætning
4.1. Connecting Your Components
Before making any connections, ensure the receiver is powered off and unplugged from the wall outlet. Connect all cables firmly.

Figure 4.1: Rear panel of the Onkyo TX-SR252 AV Receiver, showing various input and output terminals including HDMI, speaker terminals, and digital audio inputs.
HDMI-forbindelser
Connect your HDMI-compatible devices (e.g., Blu-ray player, game console, set-top box) to the HDMI IN 1-4 ports. Connect your TV or projector to the HDMI OUT (ARC) port. This receiver supports 4K Ultra HD and HDCP 2.2.
- HDMI IN: 4 ports for source devices.
- HDMI OUT (ARC): 1 port for display. Audio Return Channel (ARC) allows audio from your TV to be sent back to the receiver via the HDMI cable.
Højttalerforbindelser
Connect your 5.1 channel speakers to the corresponding terminals on the rear panel. Ensure correct polarity (+ to + and - to -) for each speaker. The receiver supports 6-ohm impedance speakers.
- FRONT L/R: For your main left and right speakers.
- CENTRUM: For the center channel speaker.
- SURROUND L/R: For your left and right surround speakers.
- SUBWOOFER PRE-OUT: Connect an active subwoofer using an RCA cable.
Digital lydindgange
For devices without HDMI, use the digital audio inputs.
- OPTICAL DIGITAL IN: 1 port.
- COAXIAL DIGITAL IN: 1 port.
USB-port
A USB port is located on the front panel for playing MP3, WMA, and AAC audio files fra et flashdrev.
Antenneforbindelser
Tilslut de medfølgende FM- og AM-antenner til radiomodtagelse.
4.2. Indledende konfiguration
After connecting all components and powering on the receiver, follow these general steps:
- Valg af input: Use the input selector buttons on the front panel or remote control to choose the desired source (e.g., BD/DVD, SAT/CBL, GAME, TV).
- Højttaleropsætning: Access the receiver's on-screen menu (if available) or front panel display to configure speaker settings, including size, distance, and level for optimal sound.
- Lydtilstand: Select the appropriate listening mode (e.g., Direct, Stereo, Surround, DSP) based on your content and preference.
5. Betjeningsvejledning
5.1. Grundlæggende betjening
- Tænd/Standby: Press the ON/STANDBY button on the front panel or remote control.
- Lydstyrkekontrol: Use the MASTER VOLUME knob on the front panel or VOL +/- buttons on the remote control.
- Valg af input: Press the corresponding input selector button (e.g., BD/DVD, TV, USB) on the front panel or remote.
- Stum: Press the MUTE button on the remote control to temporarily silence the audio.
5.2. Brug af fjernbetjeningen

Figure 5.1: The Onkyo RC-909R remote control, featuring buttons for input selection, volume, menu navigation, and audio adjustments.
The supplied remote control (RC-909R) provides full functionality for your receiver. Insert the two AA batteries as indicated in the battery compartment.
- Inputvælgere: Dedicated buttons for BD, DVD, SAT/CBL, GAME, CD, TV, TUNER, USB.
- Navigation: Arrow buttons and ENTER for menu navigation.
- Lydjusteringer: Buttons for DIRECT, STEREO, SURR (Surround), DSP, BASS +/-, TREBLE +/-.
- Tuner Functions: PRESET +/-, TUNING +/-, BAND.
5.3. Avancerede funktioner
- Dolby TrueHD and DTS-HD Master Audio: The receiver automatically decodes these high-resolution audio formats when available from your source.
- USB-afspilning: Connect a USB flash drive to the front USB port. Select 'USB' as the input source and use the remote control to navigate and play audio files (MP3, WMA, AAC).
- FM/AM-tuner: Use the TUNER input. Press BAND to switch between FM and AM. Use TUNING +/- to manually tune or PRESET +/- to select stored stations. The receiver supports 30 FM/AM random presets.
- RI (Remote Interactive) Control: If you have other Onkyo components with RI compatibility, you can control them using the TX-SR252's remote control.
6. Vedligeholdelse
- Rensning: Disconnect the power cord. Use a soft, dry cloth to wipe the exterior surfaces. Do not use abrasive cleaners or solvents.
- Ventilation: Periodically check that the ventilation openings are clear of dust and obstructions.
- Udskiftning af batteri: Replace the remote control batteries when its operating range decreases. Use two new AA batteries.
7. Fejlfinding
If you experience issues with your receiver, consult the following table before contacting service personnel.
| Problem | Mulig årsag | Løsning |
|---|---|---|
| Ingen strøm | Netledningen frakoblet. | Ensure power cord is securely plugged into the receiver and wall outlet. |
| Ingen lyd | Incorrect input selected; speakers not connected; Mute is active; volume too low. | Select correct input; check speaker connections; deactivate Mute; increase volume. |
| No picture via HDMI | HDMI cable not connected properly; incorrect input selected on TV/receiver. | Check HDMI cable connections; ensure correct input is selected on both receiver and TV. |
| Fjernbetjening virker ikke | Batteries are depleted or inserted incorrectly; obstruction between remote and receiver. | Replace batteries; ensure correct polarity; remove obstructions; point remote directly at receiver. |
8. Specifikationer
| Feature | Detalje |
|---|---|
| Model | TX-SR252 |
| Strømudgang | 100 W/channel (6 ohms, 1 kHz, 0.7% THD, 1 channel driven, IEC) |
| Højttalerimpedans | 6 ohm |
| HDMI-indgange/-udgange | 4 In / 1 Out (4K Ultra HD / HDCP 2.2 / 4:4:4 Color Space) |
| Digital lydindgange | 1 Optical, 1 Coaxial |
| USB-port | 1 (Front, for MP3/WMA/AAC playback) |
| DAC | 192 kHz/24-bit for all channels |
| Tuner forudindstillinger | 30 tilfældige FM / AM-forudindstillinger |
| Surround Sound | Dolby TrueHD, DTS-HD Master Audio |
| Dimensioner (B x H x D) | 44 x 17 x 33 cm (ca. 17.3 x 6.7 x 13 tommer) |
| Vægt | 7.3 kg (ca. 16.1 lbs) |
| Strømkilde | AC |
9. Garanti og support
Your Onkyo TX-SR252 AV Receiver comes with a 1 års garanti fra købsdatoen. Gem venligst din købsbevis i tilfælde af garantikrav.
For technical support, service, or further inquiries, please contact your authorized Onkyo dealer or visit the official Onkyo webwebsted for regional supportinformation.


