1. Introduktion
This manual provides detailed instructions for the safe and efficient operation of your Crenova XPE350 Mini Portable Projector. Please read this manual thoroughly before using the projector and retain it for future reference. The Crenova XPE350 is designed for home and backyard theater use, offering a compact and portable solution for displaying media from various sources.
2. Produktet er slutview
The Crenova XPE350 is a mini portable projector featuring a 480x320 resolution and 150 lumens brightness. Its compact design makes it suitable for various environments. Below are key components and features.
Figur 2.1: Crenova XPE350 Mini Portable Projector. This image shows the overall design of the projector, highlighting its compact form factor and front lens.

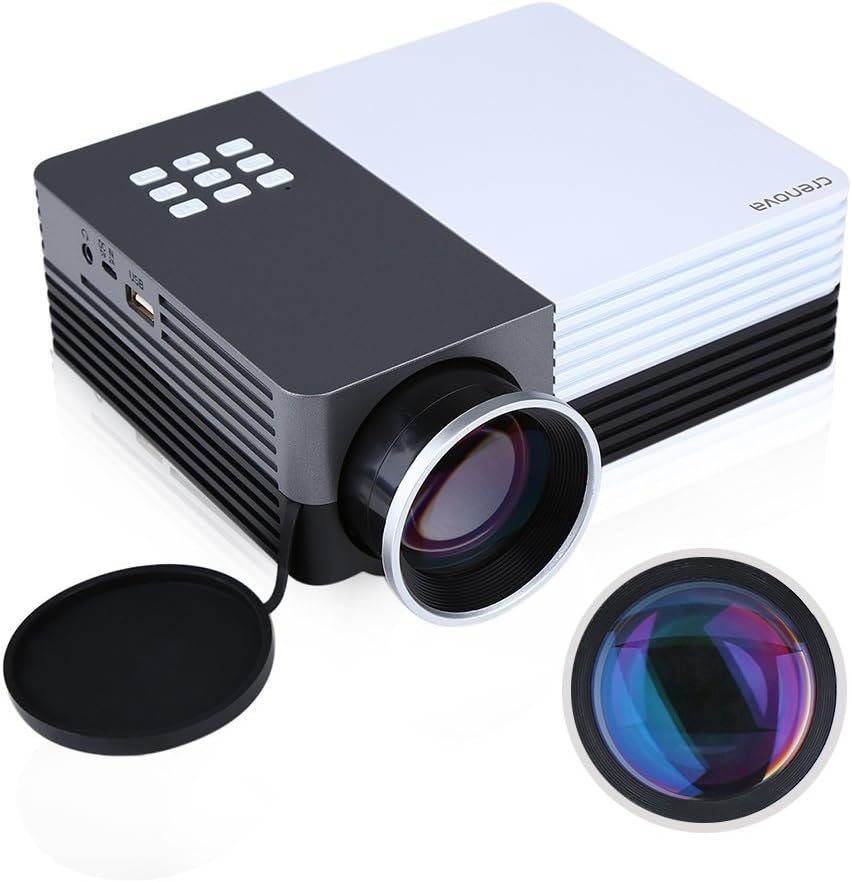
Figur 2.2: The Crenova XPE350 projector held in a hand, demonstrating its compact and portable size. A close-up inset highlights the glass lens, indicating clear image projection.
2.3 Pakkens indhold
Ved udpakning skal du kontrollere, at alle nedenstående varer er til stede og i god stand:
- Crenova XPE350 Mini Portable Projector
- Fjernbetjening
- AC strømadapter
- AV-kabel
- Brugervejledning (dette dokument)

Figur 2.3: Contents of the Crenova XPE350 Projector package. This image displays the projector, remote control, power adapter, AV cable, and the printed user manual.
2.4 Projektorkomponenter
Familiarize yourself with the various parts of your projector:
- Linse: Projicerer billedet på skærmen.
- Funktionsknapper: Control basic projector functions.
- Vents: For heat dissipation. Ensure they are not obstructed.
- Indgangsporte: VGA, HDMI, AV, USB, SD Card Slot.
- Lydudgang: Hovedtelefonstik.
- Keystone-justering: Korrigerer trapezformet billedforvrængning.
- Strømgrænseflade: Tilsluttes vekselstrømsadapteren.

Figur 2.4: Nærbillede view of the projector's function buttons, lens, and ventilation vents. These are essential for basic control and maintaining optimal operating temperature.

Figur 2.5: Detaljeret view of the Crenova XPE350 projector's various input and output ports, including VGA, HDMI, AV, USB, headphone jack, mobile power input, SD card slot, and power interface. Also visible is the keystone adjustment dial.
3. Opsætning
3.1 Strømtilslutning
- Connect the AC power adapter to the "Power Interface" port on the projector.
- Sæt den anden ende af strømadapteren i en passende stikkontakt.
- Strømindikatorlampen på projektoren vil lyse.
3.2 Tilslutning af indgangskilder
The Crenova XPE350 supports various input sources. Choose the appropriate connection method for your device:

Figur 3.1: Diagram illustrating various devices that can be connected to the Crenova XPE350 projector, including laptops, desktop computers, DVD players, game consoles, speakers, mobile hard disks, USB drives, SD cards, digital cameras, tablet PCs, and TV set-top boxes.
- HDMI: For high-definition digital video and audio from devices like laptops, game consoles, or streaming sticks.
- VGA: For connecting to computers with a VGA output.
- AV: For connecting older devices using the included AV cable (e.g., DVD players, some game consoles).
- USB: Til afspilning af medier files direkte fra et USB-flashdrev.
- SD-kort: Til afspilning af medier filedirekte fra et SD-hukommelseskort.
- MHL (Mobile High-Definition Link): Some smartphones and tablets with MHL-out function can connect via HDMI for screen mirroring. Note: Most Android smartphones do not support MHL function.

Figur 3.2: Illustration of the MHL (Mobile High-Definition Link) feature, showing how a tablet and smartphone can mirror their screens to the projector. This feature requires the source device to support MHL-out.
3.3 Placering af projektoren
Place the projector on a stable, flat surface. Ensure there is adequate ventilation around the projector to prevent overheating. The distance from the screen will determine the image size.
4. Betjeningsvejledning
4.1 Tænd/sluk
- For at tænde: Press the power button on the projector or the remote control. The projector lamp vil lyse.
- For at slukke: Tryk på tænd/sluk-knappen igen. Projektoren slukker.
4.2 Justering af billedkvalitet
- Fokusjustering: Rotate the lens ring (refer to Figure 2.4) until the projected image is clear and sharp.
- Keystone-korrektion: Use the keystone adjustment dial (refer to Figure 2.5) to correct trapezoidal distortion if the projector is not perfectly perpendicular to the screen.
4.3 Valg af indgangskilde
After connecting your desired input device, press the "Source" button on the remote control or the projector's function panel to cycle through available input options (HDMI, VGA, AV, USB, SD Card) and select the correct one.
4.4 Medieafspilning (USB/SD-kort)
Insert a USB flash drive or SD card into the respective port. The projector's interface will typically prompt you to select the media type (e.g., Photo, Music, Movie, Text) for playback. Navigate using the remote control's arrow keys and "OK" button.
5. Vedligeholdelse
5.1 Rengøring af linsen
Gently wipe the projector lens with a soft, lint-free cloth specifically designed for optical surfaces. Do not use abrasive cleaners or excessive force, as this can scratch the lens.
5.2 Ventilation
Ensure the projector's ventilation vents (refer to Figure 2.4) are clear of obstructions to allow for proper airflow. Blocked vents can lead to overheating and reduced lamp liv.
5.3 Lamp Liv
The Crenova XPE350 projector features a long-life lamp, estimated at 20,000 hours under normal operating conditions, thanks to its SmartEco technology.

Figur 5.1: Illustration highlighting the Crenova XPE350 projector's long lamp life of 20,000 hours, supported by SmartEco technology, indicating energy efficiency and durability.
6. Fejlfinding
- Ingen strøm:
- Ensure the power adapter is securely connected to both the projector and a working electrical outlet.
- Check if the power indicator light is on.
- Intet billede:
- Verify that the correct input source is selected (HDMI, VGA, AV, USB, SD).
- Kontrollér alle kabelforbindelser mellem projektoren og kildeenheden.
- Sørg for, at kildeenheden er tændt og udsender et signal.
- Sløret billede:
- Juster fokusringen på objektivet, indtil billedet er skarpt.
- Sørg for, at projektionsfladen er flad, og at projektoren er i en optimal afstand.
- Billedet er trapezformet:
- Use the keystone adjustment dial to correct the image shape.
- Placer projektoren så vinkelret på skærmen som muligt.
- Ingen lyd:
- Kontroller lydstyrkeindstillingerne på både projektoren og kildeenheden.
- If using external speakers, ensure they are properly connected to the headphone jack and powered on.
- For HDMI connections, ensure the source device is sending audio.
- Fjernbetjeningen virker ikke:
- Sørg for, at der ikke er nogen forhindringer mellem fjernbetjeningen og projektorens IR-modtager.
- Udskift batterierne i fjernbetjeningen.
7. Specifikationer
| Feature | Specifikation |
|---|---|
| Model | XPE350 |
| Mærke | Crenova |
| Opløsning | 480x320 |
| Lysstyrke | 150 lumen |
| Lamp Liv | 20,000 hours (SmartEco) |
| Speciel funktion | Transportabel |
| Formfaktor | Transportabel |
| Monteringstype | Bordplademontering |
| Varens vægt | 2.45 pund |
| Pakkedimensioner | 11.2 x 7.1 x 4.4 tommer |
| Farve | 150 Lumens-Black |
8. Garanti og support
For warranty information or technical support, please refer to the documentation included with your purchase or contact Crenova customer service. Keep your purchase receipt as proof of purchase for warranty claims.
For further assistance, please visit the official Crenova webwebstedet eller kontakt deres supportkanaler.


