1. Introduktion
This manual provides comprehensive instructions for the installation, operation, and maintenance of your iggual Manual Projection Screen. Please read this manual thoroughly before installation and use to ensure proper function and longevity of the product. Keep this manual for future reference.
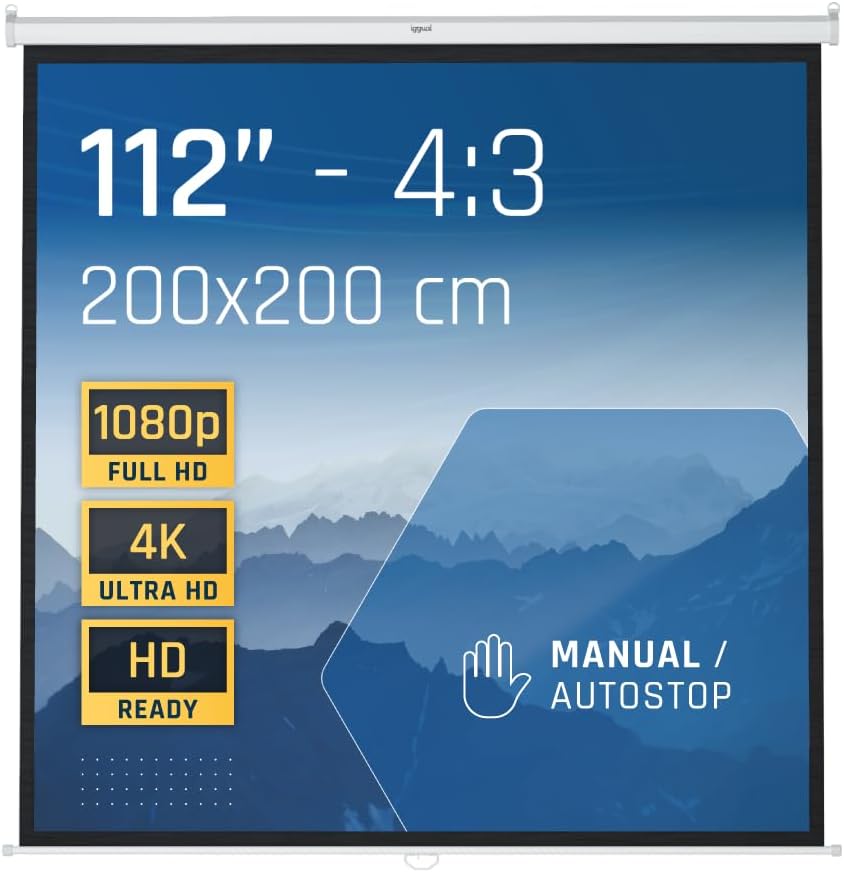
Figur 1.1: iggual Manual Projection Screen, highlighting its 112-inch diagonal size, 4:3 aspect ratio, 200x200 cm dimensions, and compatibility with various resolutions including 1080p and 4K. It features a manual pull-down mechanism with an autostop function.
2. Sikkerhedsoplysninger
- Ensure the screen is installed on a sturdy wall or ceiling capable of supporting its weight.
- Do not attempt to disassemble or modify the screen mechanism. This may cause damage and void the warranty.
- Keep the screen away from direct sunlight, heat sources, and moisture.
- When retracting the screen, guide it gently to prevent rapid retraction, which could damage the mechanism or the screen surface.
- Keep children and pets away from the screen during operation.
3. Pakkens indhold
Kontroller, at alle komponenter er til stede, før du fortsætter installationen:
- iggual Manual Projection Screen (1 unit)
- Mounting Brackets (pre-attached to casing)
- Installation Hardware (screws, anchors - may vary by region)
4. Opsætning og installation
The iggual Manual Screen can be mounted on a wall or ceiling. Choose a location that provides optimal viewing and is free from obstructions.
4.1. Mounting Location Considerations
- Sørg for, at monteringsoverfladen er strukturelt forsvarlig.
- Measure the desired height and center point for the screen.
- Allow sufficient clearance for the screen casing and pull-down handle.
4.2. Installationstrin
- Markér borepunkter: Hold the screen casing against the wall or ceiling at the desired installation height. Use a pencil to mark the positions for the mounting screws through the pre-drilled holes on the mounting brackets.
- Bore huller: Drill pilot holes at the marked positions. Use appropriate drill bits for your wall or ceiling material. Insert wall anchors if necessary.
- Sikr skærmen: Align the screen casing with the drilled holes and secure it using the provided screws. Ensure the screen is level and firmly attached.

Figur 4.1: Illustration of ceiling and wall mounting options. The screen casing er designet til holdbarhed.

Figur 4.2: Detail of the mounting bracket, indicating dimensions and the versatile design for both wall and ceiling installations.

Figur 4.3: Close-up of the ceiling mounting hook, demonstrating its design for secure overhead attachment.
5. Betjeningsvejledning
The iggual Manual Screen features a simple pull-down and retraction mechanism with an integrated autostop function.
5.1. Extending the Screen
- Gently pull down the screen by the handle located at the bottom edge.
- Continue pulling until the screen reaches the desired viewing højde.
- The screen will automatically lock into place at various intervals. To lock, pull down slightly further and then release the handle slowly. The screen will retract slightly and then stop.
5.2. Retracting the Screen
- Gently pull down the screen handle approximately 2-3 cm (1 inch) to disengage the locking mechanism.
- Slowly guide the screen upwards. Do not release the handle abruptly, as this can cause the screen to retract too quickly and potentially damage the mechanism or screen surface.
- Continue guiding the screen until it is fully retracted into its casing.

Figur 5.1: The screen in an extended position, illustrating the manual operation with a controlled braking system for smooth retraction.

Figur 5.2: Visual representation of the screen's protective dust casing and the automatic stopping mechanism during extension.

Figur 5.3: An icon differentiating manual screen operation from electric, confirming the manual nature of this product.
6. Vedligeholdelse
6.1. Cleaning the Screen Surface
- Brug en blød, damp cloth with mild soap and water to clean the screen surface.
- Wipe gently in a horizontal direction.
- Do not use abrasive cleaners, solvents, or harsh chemicals, as these can damage the screen material.
- Allow the screen to air dry completely before retracting.
6.2. Rengøring af Casing
- Wipe the metal casing med en tør eller let damp klud for at fjerne støv.
7. Fejlfinding
- Screen does not retract fully: Ensure the screen is pulled down slightly to disengage the locking mechanism before guiding it up. Check for any obstructions in the retraction path.
- Screen does not stay down: Ensure the screen is pulled down to a locking position and released slowly. If the issue persists, the internal locking mechanism may require inspection by a qualified technician.
- Wavy screen surface: Minor waves can occur due to temperature changes. Ensure the screen is installed in a stable environment. If severe, contact support.
8. Specifikationer
| Feature | Specifikation |
|---|---|
| Mærke | iggual |
| Modelnummer | 111" (200x200) CAJETIN |
| Skærmstørrelse (diagonal) | 112 tommer |
| Screen Dimensions (Visible Area) | 200 x 200 cm (78.7 x 78.7 tommer) |
| Aspektforhold | 4:3 |
| Materiale | Alloy Steel (casing), 4-layer screen composition (Matte White) |
| Vægt | 3 kilo |
| Monteringstype | Wall or Ceiling (Bookshelf type) |
| Særlige funktioner | Manual operation, Autostop mechanism, Dust-proof casing, Safe design |

Figur 8.1: Detailed dimensional drawing of the projection screen, providing precise measurements for installation planning.

Figur 8.2: Illustration of the screen's visible area and its 4:3 aspect ratio.

Figur 8.3: eksploderede view showing the advanced 4-layer structure of the screen material, designed for optimal image quality.

Figur 8.4: An icon highlighting the screen's anti-reflective properties for enhanced viewing.
9. Garanti og support
9.1. Producentens garanti
This iggual projection screen comes with a tre års garanti against manufacturing defects. Please retain your proof of purchase for warranty claims. The warranty does not cover damage resulting from improper installation, misuse, accidents, or unauthorized modifications.
9.2. Kundesupport
For technical assistance, warranty inquiries, or replacement parts, please contact iggual customer support through their official website or your retailer. Provide your product model number and purchase date when contacting support.


