1. Introduktion
This manual provides comprehensive instructions for the safe and effective use of the Mastech MS 6520B Infrared Thermometer. This non-contact device is designed for accurate temperature measurement across various applications. Please read this manual thoroughly before operating the device.

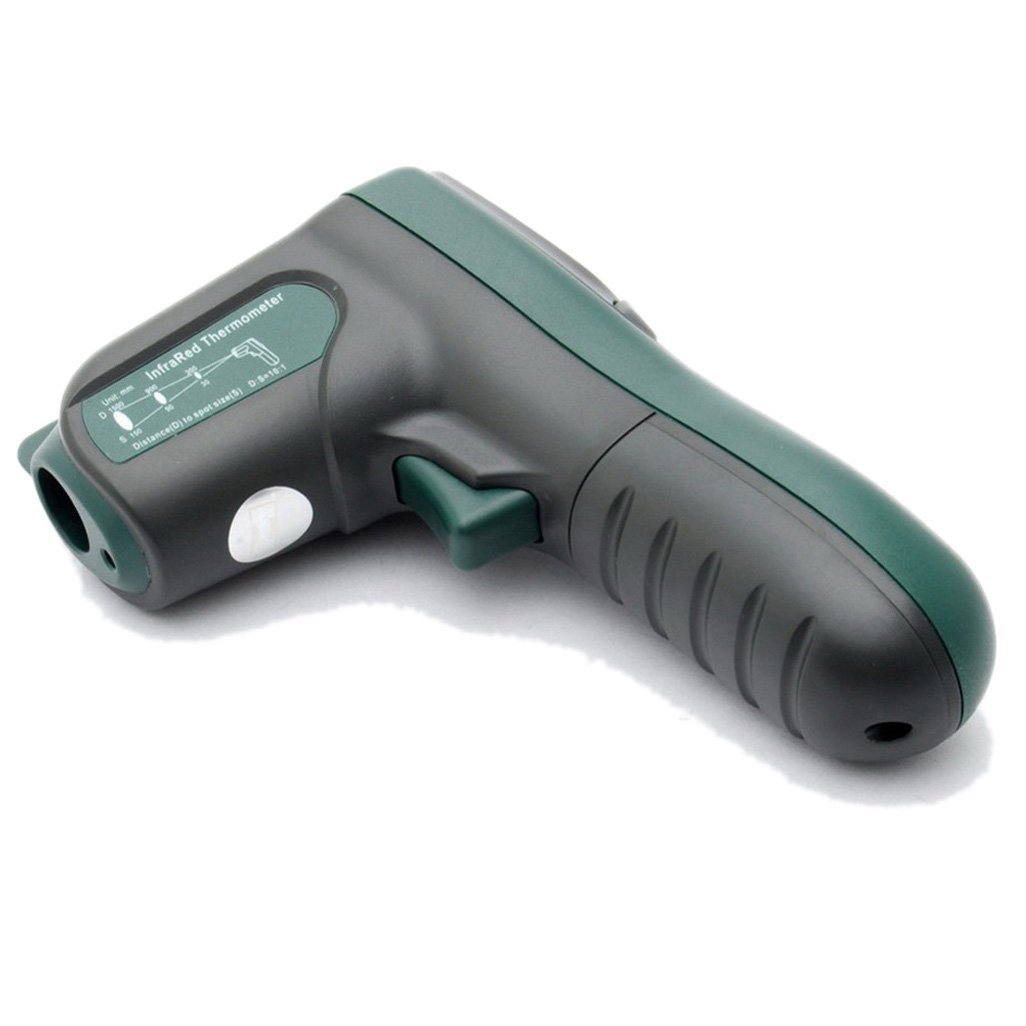
Figur 1: Forside view of the Mastech MS 6520B Infrared Thermometer, showing the display and control buttons.
2. Sikkerhedsoplysninger
To ensure safe operation and prevent damage to the device, observe the following precautions:
- Lasersikkerhed: Do not point the laser directly at eyes or indirectly off reflective surfaces. The laser is for targeting purposes only.
- Miljøforhold: Do not use the device in environments with explosive gas, steam, or dust. Avoid extreme temperatures and high humidity.
- Elektromagnetiske felter: Keep the device away from strong electromagnetic fields, which may affect accuracy.
- Vandnedsænkning: Do not immerse the device in water or other liquids. It is not waterproof.
- Opretholdelse: Refer to the maintenance section for proper cleaning and care.
3. Produktfunktioner og komponenter
The Mastech MS 6520B is a handheld infrared thermometer featuring a clear LCD display and intuitive controls.
Nøglefunktioner:
- Ikke-kontakt infrarød temperaturmåling
- Wide temperature range: -20°C to 500°C (-4°F to 932°F)
- Selectable °C/°F units
- Built-in laser pointer for accurate targeting
- Backlight display for low-light conditions
- Data Hold funktion
- MAX/MIN/AVG temperature display modes
- Lavt batteri indikation
Komponentidentifikation:
- Infrarød sensor
- Laser Pointer Aperture
- LCD Display
- Målingstrigger
- Tilstandsknap (M)
- Unit Selection Button (°F/°C)
- Baggrundslys knap
- Laser tænd/sluk knap
- Batterirum

Figur 2: Detaljeret view of the MS 6520B display and control buttons.
4. Opsætning
4.1 Batteriinstallation
The Mastech MS 6520B requires one 9V 6F22 battery for operation.
- Locate the battery compartment cover at the bottom of the handle.
- Gently slide or open the battery compartment cover.
- Connect a new 9V 6F22 battery to the battery connector, ensuring correct polarity.
- Placer batteriet i batterirummet, og luk dækslet forsvarligt.

Figure 3: The battery compartment of the MS 6520B, showing the 9V battery connection.
5. Betjeningsvejledning
5.1 Tage en måling
- Point the infrared sensor towards the target object.
- Press and hold the measurement trigger. The display will show the real-time temperature reading.
- Release the trigger to hold the last measured temperature on the display (Data Hold). The device will automatically power off after a period of inactivity to conserve battery.
5.2 Forholdet mellem afstand og punkt (D:S)
The MS 6520B has a Distance to Spot Ratio (D:S) of 10:1. This means that at a distance of 10 units from the target, the measurement spot diameter will be 1 unit. For accurate readings, ensure the target area is larger than the measurement spot size.
Figur 4: Side view illustrating the 10:1 Distance to Spot Ratio for the infrared thermometer.
5.3 Emissivitet
The device has a fixed emissivity setting of 0.95, which is suitable for most organic materials, painted surfaces, and many non-metallic objects. For highly reflective surfaces, readings may be less accurate.
5.4 Valg af enhed (°C/°F)
Tryk på °F/°C button to toggle between Celsius and Fahrenheit temperature units.
5.5 Baggrundslys
Tryk på Baggrundsbelysning button to turn the display backlight on or off. This feature is useful in dimly lit environments.
5.6 Laserpointer
Tryk på Laser button to activate or deactivate the laser pointer. The laser helps in precisely identifying the measurement target.
5.7 MAX/MIN/AVG Modes
Tryk på M (Mode) button to cycle through different display modes while the trigger is held down:
- MAKS: Displays the maximum temperature recorded during the current measurement session.
- MIN: Displays the minimum temperature recorded during the current measurement session.
- AVG: Displays the average temperature recorded during the current measurement session.
6. Vedligeholdelse
6.1 Rengøring
- Rengør enheden casing med en blød, damp klæde. Brug ikke slibende rengøringsmidler eller opløsningsmidler.
- Carefully clean the infrared lens with a soft cloth or cotton swab, slightly moistened with water or rubbing alcohol. Avoid scratching the lens.
6.2 Opbevaring
When not in use, store the thermometer in a dry, cool place, away from direct sunlight and extreme temperatures. If storing for an extended period, remove the battery to prevent leakage.
6.3 Udskiftning af batteri
Replace the 9V battery when the low battery indicator appears on the display to ensure accurate readings and proper device function. Refer to Section 4.1 for battery installation instructions.
7. Fejlfinding
If you encounter issues with your Mastech MS 6520B, refer to the following common problems and solutions:
| Problem | Mulig årsag | Løsning |
|---|---|---|
| Enheden tænder ikke | Dødt eller forkert installeret batteri | Replace the 9V battery or ensure it is correctly installed. |
| Unøjagtige aflæsninger |
|
|
| Display shows "ERR" | Temperature outside measurement range | Ensure the target temperature is within -20°C to 500°C. |
8. Specifikationer
The following table outlines the technical specifications for the Mastech MS 6520B Infrared Thermometer:
| Parameter | Specifikation |
|---|---|
| Temperaturområde | -20°C til 500°C (-4°F til 932°F) |
| Nøjagtighed | ±(1.5% + 2°C) or ±(1.5% + 4°F) |
| Temperaturopløsning | 0.1°C / 0.1°F |
| Gentagelighed | ±1°C |
| Afstand til punktforhold (D:S) | 10:1 |
| emissivitet | 0.95 (fast) |
| Svartid | 500 millisekunder |
| Strømforsyning | 1x 9V 6F22 batteri |
| Produktstørrelse | 142 mm x 92 mm x 47 mm (5.6 "x 3.6" x 1.85 ") |
| Produktets vægt | 231 g (0.31 lb) |
| Certificeringer | CE, RoHS |

Figure 5: Detailed specifications table for the Mastech MS 6520B.
9. Garanti og support
For warranty information, technical assistance, or customer support regarding your Mastech MS 6520B Infrared Thermometer, please refer to the official Mastech webwebstedet eller kontakt din lokale forhandler. Gem din købskvittering som købsbevis.


