1. Introduktion
This manual provides detailed instructions for the assembly, operation, and maintenance of your Sharkoon VS4-W Series ATX/MicroATX Mid-Tower PC Case, model SHA-VS4-WBK. Please read this manual thoroughly before beginning installation to ensure proper setup and to maximize the lifespan of your product.
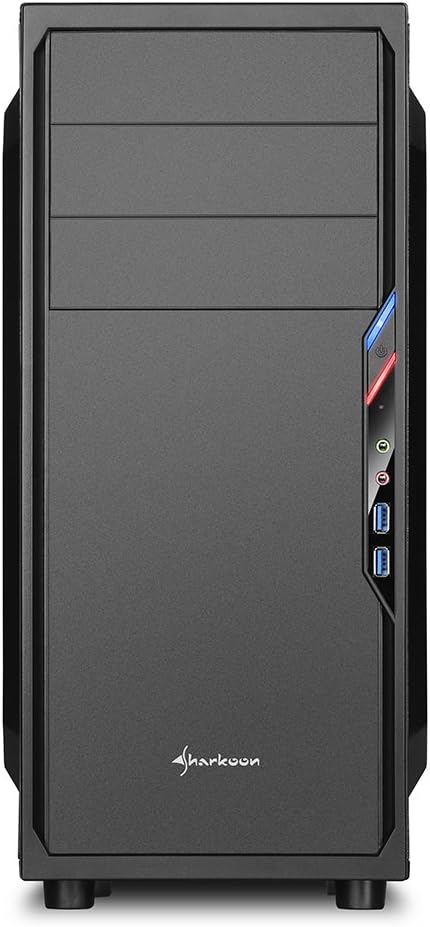
The Sharkoon VS4-W Series is designed for users seeking a cost-effective and functional PC case. It features a full-black aesthetic with an acrylic side window panel, offering a clear view of your internal components. The case supports ATX and Micro-ATX motherboards and provides ample space for various components, including multiple storage drives and long graphics cards.
2. Produktet er slutview
2.1. Nøglefunktioner
- Acrylic side window panel for component visibility.
- Full-black interior and exterior design.
- Support for ATX and Micro-ATX motherboards.
- Three 5.25-inch drive bays, two with tool-less mechanisms.
- Seven drive bays for storage: three 3.5-inch and four 2.5-inch.
- Generous expansion card space, up to 385mm with 2.5-inch cage removed.
- Cable management space behind the motherboard tray due to a bulged side panel design.
- Understøtter CPU-kølere op til 160 mm i højden.
- Front I/O panel with 2x USB 3.0 and 2x USB 2.0 ports, plus HD Audio.
- Pre-installed 120mm front fan and 120mm blue LED rear fan.
2.2. Komponentidentifikation


3. Opsætning og installation
3.1. Forberedelse af sagen
- Unpack the PC case and remove all packaging materials.
- Placer etuiet på en stabil, flad overflade.
- Remove the side panels by unscrewing the thumbscrews at the rear of the case.
3.2. Installation af bundkort
- Install the I/O shield provided with your motherboard into the cutout at the rear of the case.
- Ensure standoffs are correctly aligned for your ATX or Micro-ATX motherboard. Install additional standoffs if necessary.
- Carefully place the motherboard into the case, aligning it with the standoffs and I/O shield.
- Fastgør bundkortet med skruer.
3.3. Installation af strømforsyning
- Mount the power supply unit (PSU) in the designated area at the bottom rear of the case.
- Fastgør strømforsyningen med skruer fra bagsiden af kabinettet.
- Før de nødvendige strømkabler gennem kabeludskæringerne.
3.4. Drevinstallation
- 5.25-tommer drev: For tool-less bays, slide the drive in until it clicks into place. For other bays, secure with screws.
- 3.5-tommer drev: Slide the 3.5-inch drives into the designated bays and secure them.
- 2.5-tommer drev: Mount 2.5-inch SSDs/HDDs onto the dedicated mounting points.
3.5. Installation af udvidelseskort
- Fjern de nødvendige PCI-slotdæksler fra bagsiden af kabinettet.
- Insert your graphics card or other expansion cards into the appropriate PCI-E slots on the motherboard.
- Secure the cards with screws. For longer graphics cards, the 2.5-inch drive cage can be removed to provide up to 385mm of space.
3.6. Kabelforvaltning
Utilize the space behind the motherboard tray and the various cable routing holes to organize cables. This improves airflow and aesthetics.
4. Betjeningsvejledning
Once all components are installed and connected, replace the side panels and secure them with the thumbscrews. Connect your peripherals (monitor, keyboard, mouse, etc.) to the motherboard's I/O ports. Connect the power cable to the PSU and a wall outlet. Press the power button on the front panel to start your system.
5. Vedligeholdelse
5.1. Rensning
- Regularly clean dust filters (if present) to maintain optimal airflow.
- Use compressed air to remove dust from internal components and fans.
- Tør ydersiden af kabinettet af med en blød, tør klud.amp klæde. Undgå slibende rengøringsmidler.
5.2. Ventilatorvedligeholdelse
Ensure fans are free from obstructions and spinning correctly. If a fan becomes noisy or stops working, consider replacing it to maintain proper cooling.
6. Fejlfinding
6.1. Systemet tænder ikke
- Check all power connections, including the PSU to the wall, and internal connections to the motherboard and components.
- Sørg for, at tænd/sluk-knappens kabel fra kabinettet er korrekt tilsluttet til bundkortets frontpanel.
- Verify the PSU switch is in the 'ON' position.
6.2. Poor Airflow/Overheating
- Clean any dust filters and internal components.
- Ensure fans are operating correctly and oriented for optimal airflow (intake/exhaust).
- Improve cable management to reduce obstructions to airflow.
6.3. Front Panel USB/Audio Not Working
- Verify that the front panel USB and HD Audio cables are securely connected to the corresponding headers on your motherboard.
7. Specifikationer
| Modelnavn | VS4-W Series |
| Produkt Modelnummer | SHA-VS4-WBK |
| Sagstype | Mid Tower |
| Materiale | Stål, plast, akryl |
| Farve | Sort |
| Bundkort kompatibilitet | ATX, Micro-ATX |
| 5.25" drevbåse | 3 (2 with tool-less mechanism) |
| 3.5" Internal Drive Bays | 3 |
| 2.5" drevbåse | 4 |
| PCI -udvidelsespladser | 7 |
| Maks. Længde på grafikkort | 310mm (385mm with 2.5" cage removed) |
| Maks. CPU køler Højde | 160 mm |
| Maks. PSU længde | 260 mm |
| Front I / O-porte | 2x USB 3.0, 2x USB 2.0, HD Audio (Mic/Headphone) |
| Forudinstallerede ventilatorer | Front: 1x 120mm, Rear: 1x 120mm Blue LED |
| Afkølingsmetode | Luftkøling |
| Produktmål (L x B x H) | 44.5 x 20 x 43 cm |
| Varens vægt | 3.5 kg |
8. Garanti og support
For garantioplysninger og teknisk support henvises til den officielle Sharkoon webwebstedet eller kontakt din lokale forhandler. Gem din købsbevis til garantikrav.
Official Sharkoon Webwebsted: www.sharkoon.com


