1. Produktet er slutview
This manual provides instructions for the Waring/Qualheim 004949 Base Gasket, designed for specific Waring blender models. This component is a crucial part of your blender assembly, ensuring a proper seal between the blender jar and the blade assembly, preventing leaks during operation.
The gasket is made of durable rubber, measuring approximately 5-7/8 inches by 5-7/8 inches, and is black in color. It is compatible with Waring blender models such as 31Bl, 33Bl, 34Bl, 37Bl, and 38Bl, among others. Refer to the specifications section for detailed compatibility information.
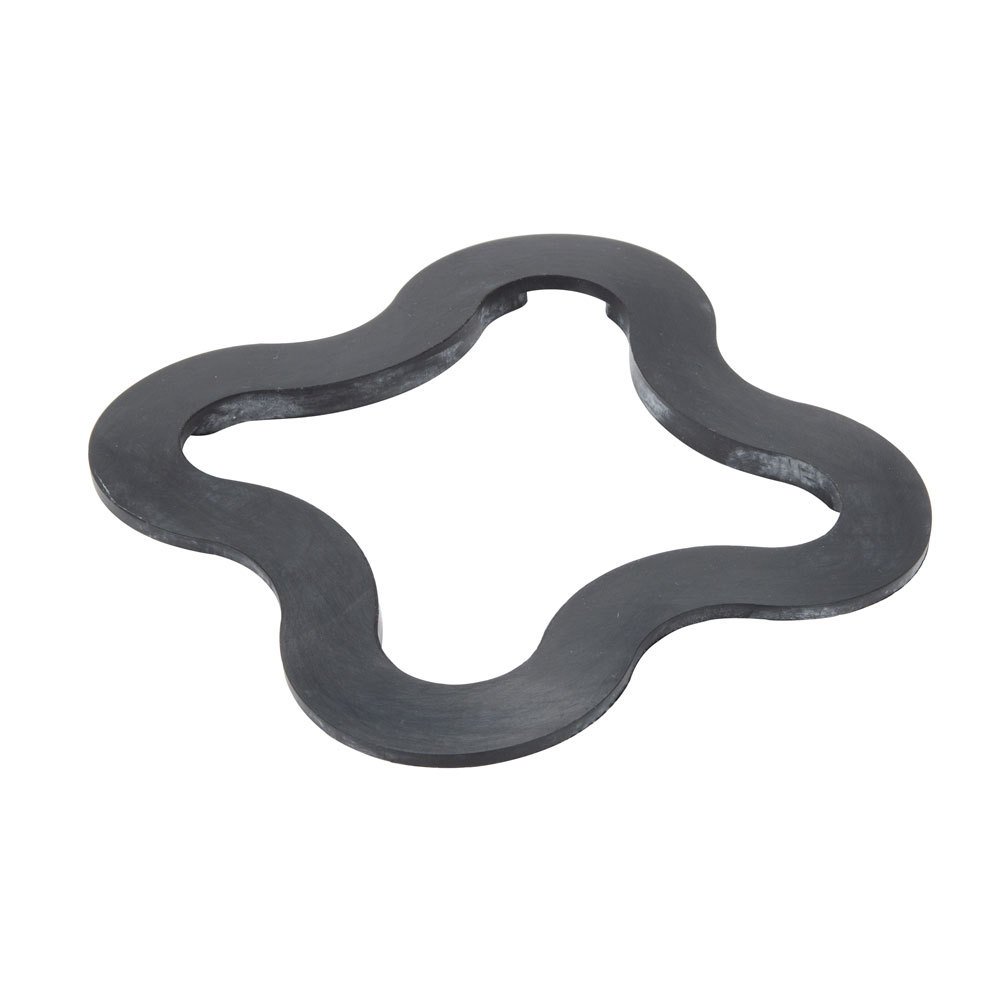
Image 1: The Waring/Qualheim 004949 Blender Base Gasket. This image shows the black rubber gasket with its distinctive four-lobed, wavy shape, designed to fit securely within compatible blender blade assemblies.
2. Specifikationer
| Feature | Detalje |
|---|---|
| Varenummer | 004949 |
| Modelnummer | 321144 |
| Mærke | Waring/Qualheim |
| Materiale | Gummi |
| Farve | Sort |
| Dimensioner | Approximately 5-7/8" x 5-7/8" (6 x 6 x 0.3 inches) |
| Vægt | 1 pund (omtrentlig) |
| Compatible Blender Models | 31Bl, 33Bl, 34Bl, 37Bl, 38Bl, and others (refer to your blender's specific requirements) |
3. Installation
Proper installation of the base gasket is essential for safe and effective blender operation. Always ensure the blender is unplugged before attempting any installation or maintenance.
- Tag blenderen ud af stikkontakten: Disconnect the blender from the power outlet to prevent accidental activation.
- Disassemble Blender Jar: Carefully remove the blender jar from the motor base. Unscrew the blade assembly from the bottom of the blender jar.
- Fjern den gamle pakning: Locate the old gasket, typically seated around the blade assembly or within the base of the jar. Remove it. Inspect the area for any debris and clean thoroughly.
- Installer ny pakning: Place the new Waring/Qualheim 004949 Base Gasket onto the blade assembly. Ensure it is seated flat and evenly, without any twists or folds. The wavy shape should align correctly with the contours of the blade assembly.
- Reassemble Blender Jar: Screw the blade assembly, with the new gasket in place, back onto the bottom of the blender jar. Tighten securely but do not overtighten.
- Test for lækager: Before blending food, fill the jar with a small amount of water and attach it to the motor base. Run the blender briefly on a low setting and check for any leaks around the base of the jar. If leaks occur, re-check the gasket's seating and tightness.
Note: Always refer to your specific blender model's instruction manual for detailed disassembly and reassembly procedures, as designs may vary.
4. Vedligeholdelse
To prolong the life of your Waring/Qualheim 004949 Base Gasket and ensure optimal blender performance, follow these maintenance guidelines:
- Regelmæssig rengøring: After each use, remove the gasket and wash it thoroughly with warm, soapy water. Rinse completely and allow it to air dry before reassembling.
- Inspektion: Periodically inspect the gasket for signs of wear, cracks, tears, or hardening. A worn gasket can lead to leaks and reduced blending efficiency.
- Opbevaring: Store the gasket flat and away from direct sunlight or extreme temperatures when not in use for extended periods.
- Udskiftning: Replace the gasket if it shows any signs of damage or if you experience persistent leaks, even after proper installation.
5. Fejlfinding
If you encounter issues after installing the Waring/Qualheim 004949 Base Gasket, consider the following:
- Leaks from the Blender Base:
- Ensure the gasket is seated correctly and flat on the blade assembly.
- Verify the blade assembly is securely tightened onto the blender jar.
- Inspect the gasket for any damage (tears, cracks, hardening) that might compromise the seal. If damaged, replace the gasket.
- Confirm that the gasket is the correct part for your specific blender model.
- Vanskeligheder ved montering/afmontering:
- Ensure the gasket is not twisted or folded during placement.
- A new gasket might be slightly stiffer; gentle manipulation may be required.
6. Support og garanti
For further assistance, specific blender model compatibility questions, or warranty information regarding your Waring/Qualheim product, please contact Waring customer support directly. Refer to the official Waring website or your blender's original documentation for contact details.
This gasket is a replacement part, and its warranty coverage may be subject to the terms and conditions of the original blender or the replacement part supplier.
Disclaimer: This manual provides general guidance. Always prioritize safety and consult professional assistance if unsure about any procedure.


