Indledning
This manual provides essential instructions for the safe and effective operation of your Banshee TE4-0233 Automatic Battery Charger, Maintainer, and Engine Starter. Please read this manual thoroughly before use to ensure proper function and to prevent damage or injury. This device is designed for charging and maintaining 12V lead-acid batteries, including SLI (Starting, Lighting, Ignition) and Deep Cycle types, and for providing an engine start boost.
Vigtige sikkerhedsoplysninger
ADVARSEL: Læs alle sikkerhedsadvarsler og instruktioner. Manglende overholdelse af advarsler og instruktioner kan resultere i elektrisk stød, brand og/eller alvorlig personskade.
- Brug altid opladeren i et godt ventileret område.
- Oplad aldrig et frossent batteri.
- Sørg for, at opladeren er frakoblet stikkontakten, før du foretager eller afbryder forbindelser til batteriet.
- Keep sparks, flames, and smoking materials away from the battery. Batteries produce explosive gases during charging.
- Bær øjenværn og beskyttelsestøj, når du arbejder med batterier.
- Udsæt ikke opladeren for regn eller våde forhold.
- This charger is for 12V lead-acid batteries only. Do not use with other battery types.
- Opbevares utilgængeligt for børn.
Produkt overview
The Banshee TE4-0233 is a versatile battery charger featuring multiple charging modes and safety indicators.
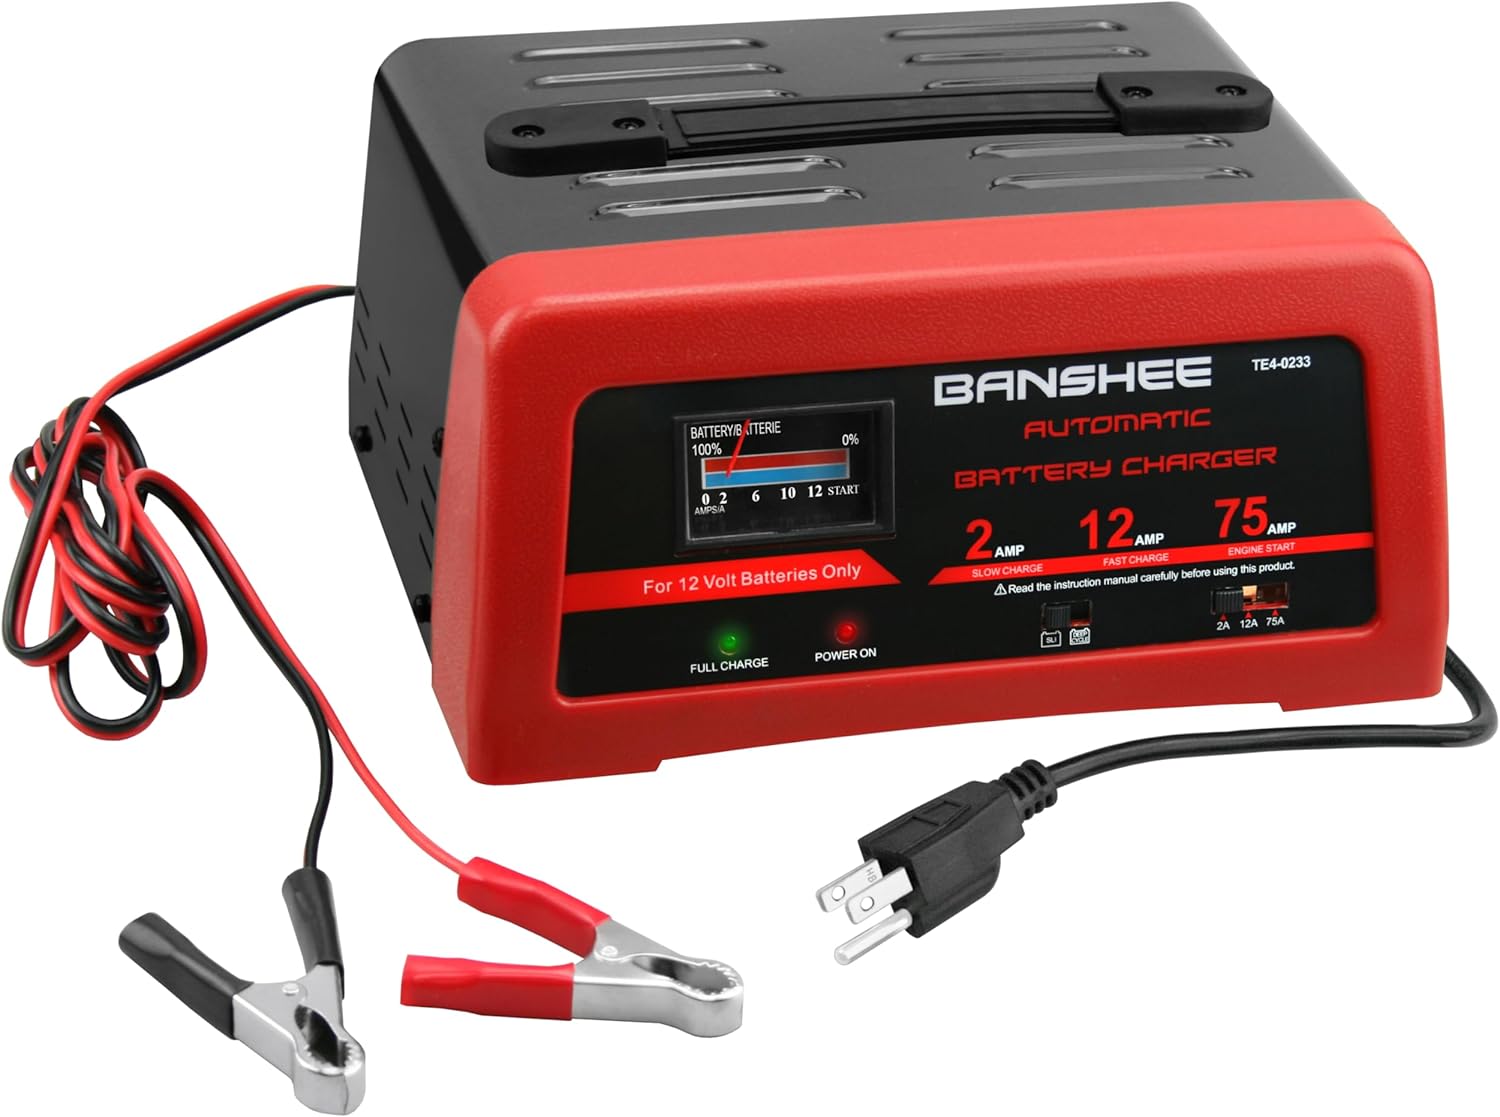
Figur 1: Front view of the Banshee TE4-0233 Automatic Battery Charger. Shows the main unit with attached power cord and battery clamps, along with the control panel displaying charge rates and indicators.
Nøglefunktioner:
- Flere opladningstilstande: Includes Slow Charge (2A), Fast Charge (12A), and Engine Start (75A) for various needs.
- Automatic Maintainer Mode: Automatically switches to maintainer mode once the battery is fully charged to prevent overcharging.
- Indbygget amperemeter: Displays the current charge rate.
- LED-indikatorer: Separate LEDs for "Power On" and "Full Charge" status.
- Battery Type Selector: Switch between SLI and Deep Cycle battery types.
- Portabilitet: Features a built-in carrying handle and a 6-foot cable for convenience.
- Udluftning: All-around venting for optimal heat dissipation during operation.
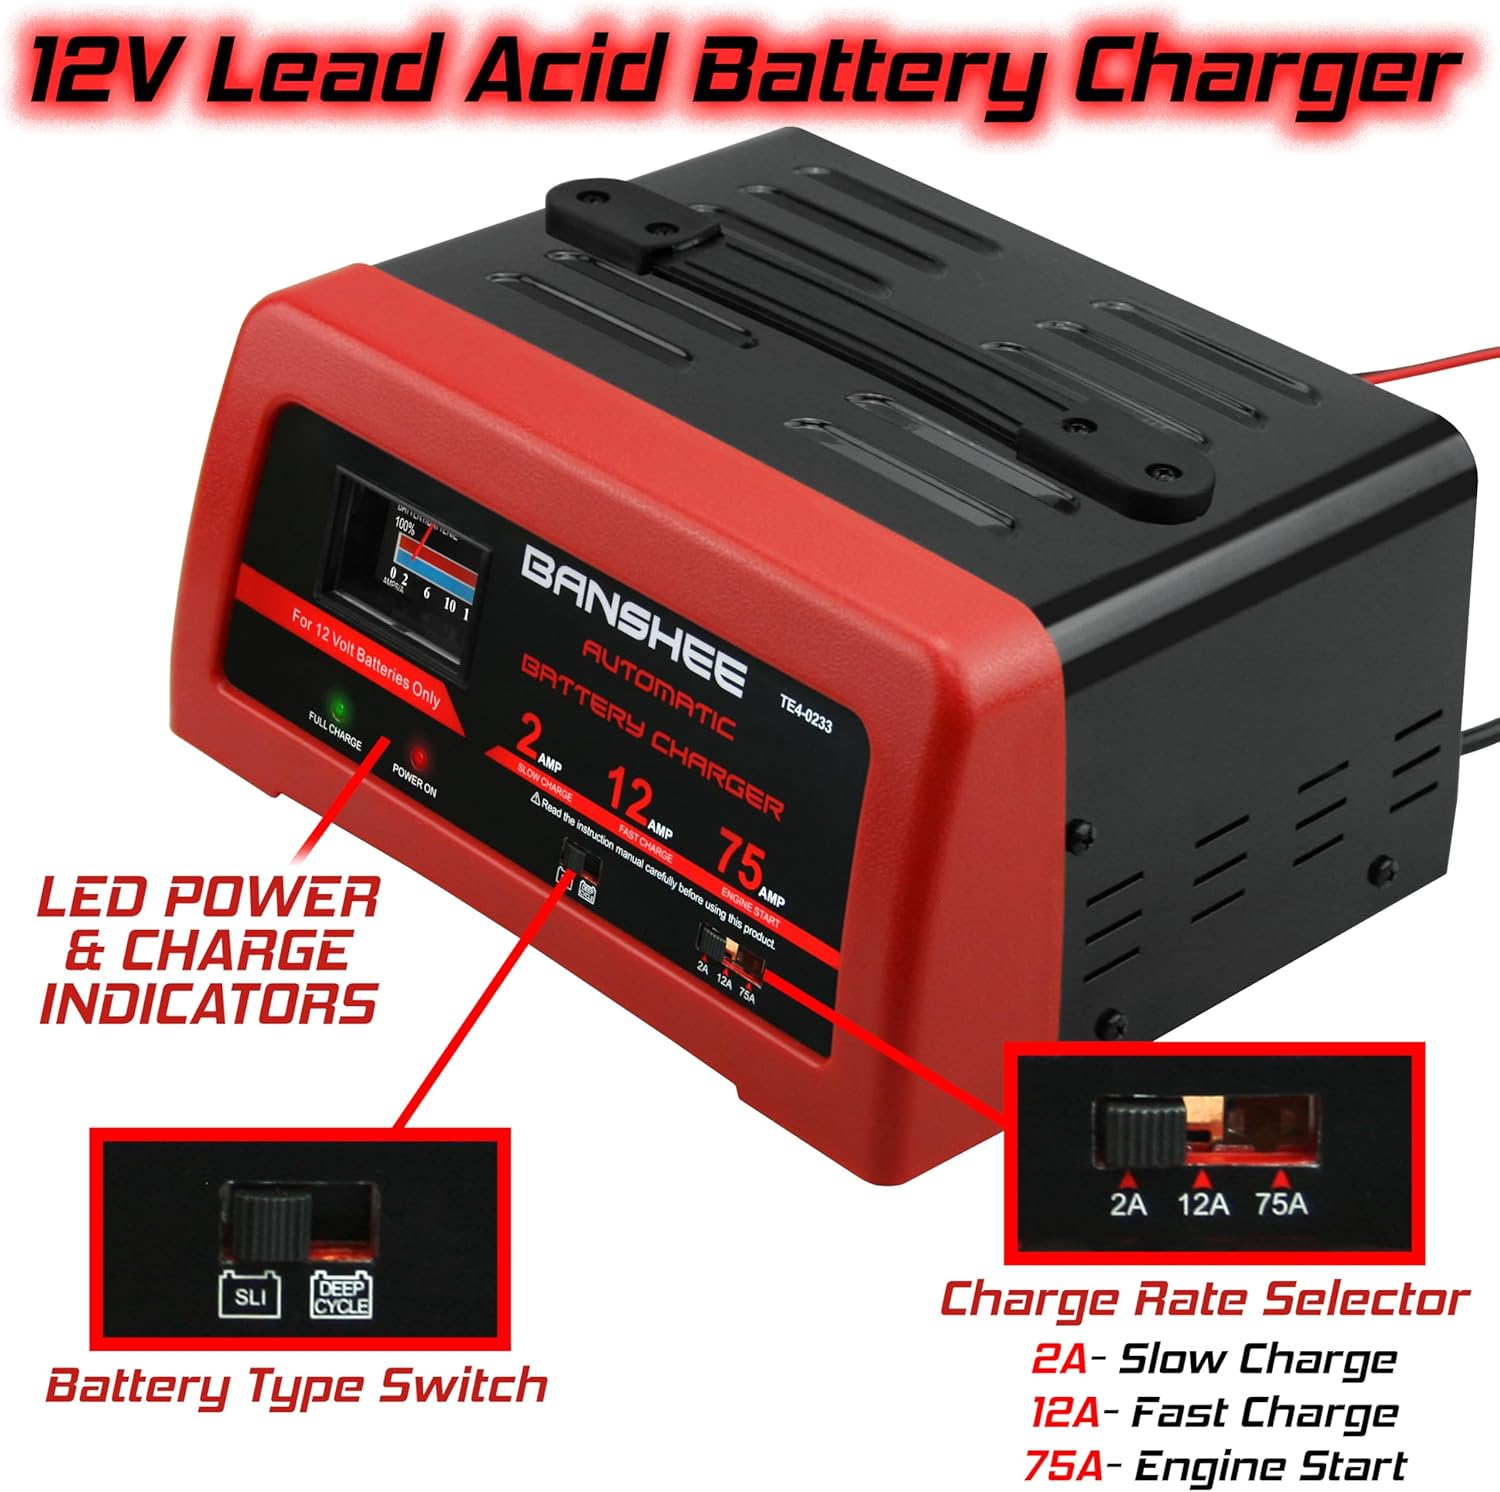
Figur 2: Detaljeret view of the charger's control panel, highlighting the LED power and charge indicators, the battery type switch (SLI/Deep Cycle), and the charge rate selector (2A, 12A, 75A).


Figur 3: Nærbillede views of the battery type switch (left) for selecting SLI or Deep Cycle batteries, and the charge rate selector (right) for choosing 2A, 12A, or 75A modes.

Figur 4: Side view of the Banshee TE4-0233 charger, illustrating the all-around venting for heat dissipation and the integrated handle for easy transport.
Opsætning
- Placering: Position the charger on a stable, flat surface in a well-ventilated area, away from direct sunlight, heat sources, and moisture.
- Batteriforberedelse: Sørg for, at batteripolerne er rene og fri for korrosion. Rengør dem om nødvendigt med en stålbørste og en opløsning af bagepulver.
- Identificér batteritype: Determine if your battery is an SLI (Starting, Lighting, Ignition) or Deep Cycle type. Locate the "Battery Type Switch" on the charger and set it to the appropriate position (refer to Figure 2 and Figure 3).
- Tilslut til batteri:
- Tilslut den RØDE positive (+) polamp til den positive (+) batteripol.
- Tilslut den SORTE negative (-) polamp til den negative (-) batteripol.
- Sørg for, at forbindelserne er sikre.
- Tilslut til vekselstrøm: Plug the charger's AC power cord into a standard 120V AC wall outlet. The "Power On" LED indicator should illuminate.
Betjeningsvejledning
Opladning af et batteri:
- Select Charge Rate: Use the "Charge Rate Selector" switch to choose the desired charging amperage (refer to Figure 2 and Figure 3):
- 2A (Slow Charge): Ideal for smaller batteries or for a gentle, extended charge to maximize battery life.
- 12A (Fast Charge): Suitable for most automotive batteries requiring a quicker charge.
- Skærmopladning: The built-in ammeter will display the charging current. The "Full Charge" LED will remain off during charging.
- Automatic Maintainer Mode: Once the battery reaches full charge, the charger will automatically switch to a maintenance mode. The "Full Charge" LED will illuminate green. At this point, the charger can remain connected to maintain the battery's charge without overcharging.

Figur 5: Illustration showing the charger's display during the charging process (left, "Full Charge" LED off) and when the battery is fully charged (right, "Full Charge" LED illuminated green).
Engine Start (75A Boost):
The 75A Engine Start feature provides a quick boost to start vehicles with a discharged battery. This is not a charging mode and should only be used for starting.
- Ensure Connections: Verify the charger is correctly connected to the battery terminals and plugged into an AC outlet.
- Select Engine Start: Set the "Charge Rate Selector" switch to the "75A" position (refer to Figure 2 and Figure 3).
- Attempt Start: Immediately attempt to start the vehicle. Do not crank the engine for more than 5 seconds. If the vehicle does not start, wait at least 3 minutes before attempting again.
- Afbryde: Once the vehicle starts, immediately switch the charger off or unplug it from the AC outlet, then disconnect the battery clamps.
- Post-Start Charging: After using the engine start feature, it is recommended to charge the battery using the 2A or 12A mode to fully replenish its charge.
Opretholdelse
- Rensning: Disconnect the charger from all power sources before cleaning. Wipe the exterior with a soft, dry cloth. Do not use solvents or abrasive cleaners.
- Kabelinspektion: Regularly inspect the AC power cord and battery cables for any signs of damage, cuts, or fraying. Do not use the charger if cables are damaged.
- Opbevaring: Store the charger in a cool, dry place when not in use. Coil the cables neatly to prevent tangling and damage.
Fejlfinding
| Problem | Mulig årsag | Løsning |
|---|---|---|
| Charger not turning on (Power On LED off) | Ingen vekselstrøm; defekt stikkontakt; beskadiget netledning. | Check AC outlet with another device. Ensure power cord is securely plugged in. Inspect cord for damage. |
| Battery not charging (Ammeter shows no current, Full Charge LED off) | Poor battery connection; incorrect battery type selected; deeply discharged battery. | Sørg for batteri clamps are securely attached and terminals are clean. Verify correct SLI/Deep Cycle setting. Allow more time for deeply discharged batteries. |
| Engine Start feature not working | Insufficient battery charge; poor connections; vehicle issue. | Sørg for batteri clamps are secure. Confirm 75A mode is selected. If vehicle still won't start, consult a mechanic. |
| Opladeren bliver varm under brug | Normal operation during high current charging; poor ventilation. | Some heat is normal. Ensure adequate ventilation around the charger. If excessively hot or smoking, disconnect immediately. |
Specifikationer
- Model: TE4-0233
- Input bindtage: 120V AC
- Udgang Voltage: 12 volt (DC)
- Opladningstilstande: 2A (Slow Charge), 12A (Fast Charge), 75A (Engine Start)
- Kompatible batterityper: 12V Lead-Acid (SLI, Deep Cycle)
- Varens vægt: 6 pund
- Produktdimensioner: 8 x 10.25 x 5 tommer
- Fabrikant: BatteryJack inc.
Garanti og support
The Banshee TE4-0233 Automatic Battery Charger comes with a 2 års garanti from the date of purchase. For warranty claims or technical support, please refer to the contact information provided with your purchase documentation or visit the official Banshee webwebsted.
For yderligere information eller assistance kan du besøge Banshee Store on Amazon.


