Indledning
The Hyperkin RetroN 5 is a high-definition gaming console designed to play cartridges from multiple retro gaming systems. This manual provides essential information for setting up, operating, and maintaining your RetroN 5 console.
Supported systems include NES, SNES, Super Famicom, Genesis, Mega Drive, Famicom, Game Boy, Game Boy Color, and Game Boy Advance. Master System games can also be played with the use of a Power Base Converter (sold separately).
Pakkens indhold
- RetroN 5 HD Gaming Console
- Trådløs Bluetooth-controller
- HDMI kabel
- AC Power Adapter with interchangeable plugs
- USB-opladerkabel til controller
Produkt overview
The RetroN 5 console features multiple cartridge slots and controller ports to accommodate various retro gaming hardware.
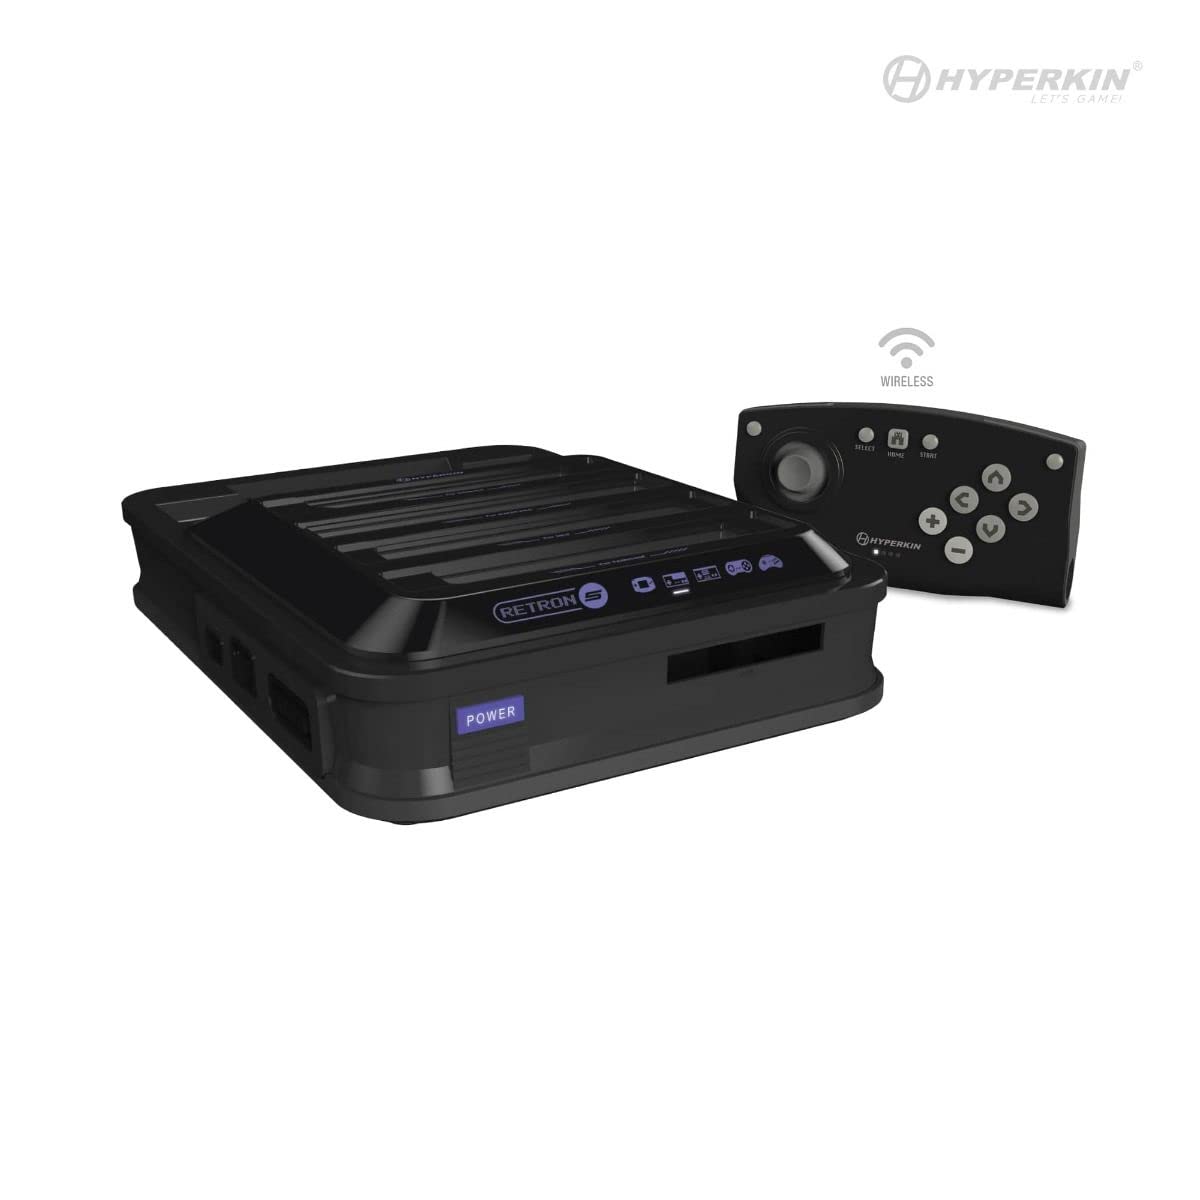
Billede: Forside view of the Hyperkin RetroN 5 console and its included wireless controller. The console features multiple cartridge slots on top and front.
Front and Top Panel
- Cartridge Slots: Dedicated slots for NES, SNES, Super Famicom, Genesis, Mega Drive, Famicom, Game Boy, Game Boy Color, and Game Boy Advance cartridges.
- Power knap: To turn the console on or off.
Bagpanel

Billede: Bagside view of the Hyperkin RetroN 5 console, displaying the HDMI output, AC power input, USB port, and SD card slot.
- HDMI udgang: Connects to your television or display for high-definition video and audio.
- AC-indgang: Til tilslutning af strømadapteren.
- USB-port: For various accessories or future updates.
- SD-kortplads: For saving game states, backups, and system updates.
Sidepaneler
- Controller Ports: Dedicated ports for original NES, SNES, and Genesis controllers.
Opsætning
- Tilslut til skærm: Connect one end of the HDMI cable to the HDMI Output port on the back of the RetroN 5 and the other end to an HDMI input on your television or monitor.
- Tilslut strøm: Insert the appropriate regional plug into the AC power adapter. Connect the power adapter to the AC Input port on the back of the RetroN 5, then plug the adapter into a wall outlet.
- Charge/Pair Controller: Connect the included wireless controller to the console using the USB charging cable. The controller will charge and automatically pair with the console. Once charged, it can be used wirelessly.
- Insert Game Cartridge: Carefully insert a compatible game cartridge into its corresponding slot on the console. Ensure the cartridge is fully seated.
- Tænd: Press the Power button on the front of the console. Select the correct HDMI input on your television.
Betjeningsvejledning
At spille spil
- After powering on, the console will detect the inserted cartridge and display the game's information on screen.
- Select 'Play Game' from the on-screen menu to begin.
- The RetroN 5 allows for various video and audio enhancements, which can be adjusted through the system's settings menu.
Saving Game Progress
The RetroN 5 supports multiple methods for saving game progress:
- In-Game Saves: Utilize the game's original save functionality, which will save directly to the cartridge.
- Save States: The console can create save states at any point during gameplay, stored on the system's internal memory or an inserted SD card.
- Save Backups: You can back up save files from a cartridge to the system memory or an SD card, and transfer save files from an SD card back to a cartridge.
Patronfjernelse
To prevent damage to cartridges or the console, always remove cartridges by holding the console firmly with your right hand and gently pulling the cartridge from the top right side with your left hand. Avoid forcing the cartridge out.
Using Original Controllers
Original NES, SNES, and Genesis controllers can be connected to their respective ports on the side of the console for an authentic gaming experience.
Opretholdelse
- Cleaning Cartridges: Ensure game cartridge contacts are clean before insertion to prevent reading errors. Use a cotton swab with isopropyl alcohol if necessary.
- Cleaning Console Slots: Periodically inspect and gently clean the console's cartridge slots with compressed air or a specialized cleaning kit.
- Softwareopdateringer: Check the Hyperkin official website for any available firmware updates. Updates can be installed via an SD card.
- Generel rengøring: Wipe the console's exterior with a soft, dry cloth. Avoid using harsh chemicals or abrasive materials.
Fejlfinding
- Console Does Not Power On: Ensure the AC power adapter is securely connected to both the console and a working wall outlet.
- Ingen video/lydudgang: Verify the HDMI cable is correctly connected to both the console and the display. Ensure your television is set to the correct HDMI input.
- Game Cartridge Not Reading: Remove and reinsert the cartridge. Ensure the cartridge contacts are clean. Try a different cartridge to rule out a cartridge-specific issue.
- Wireless Controller Not Responding: Ensure the controller is charged. Reconnect it via USB to re-pair if necessary.
- Tight Cartridge Removal: This is a known characteristic. Refer to the 'Cartridge Removal' section under Operating Instructions for the recommended method.
Specifikationer
| Modelnummer | M01688-BK |
| Produktdimensioner | 13 x 3 x 14 tommer |
| Varens vægt | 4.01 pund |
| Kompatibilitet | NES, SNES, Super Famicom, Genesis, Mega Drive, Famicom, Game Boy, Game Boy Color, GBA (Master System with Power Base Converter) |
| Produktion | HDMI |
| Strømkilde | AC Adapter |
| Controller | Wireless Bluetooth (1 Lithium Ion battery required) |
Garantioplysninger
For detailed warranty information, please refer to the official Hyperkin webwebstedet eller garantikortet, der fulgte med dit produkt. Garantivilkårene kan variere fra region til region.
Støtte
For yderligere assistance, teknisk support eller til view frequently asked questions, please visit the official Hyperkin support website or contact their customer service department. Contact information can typically be found on the Hyperkin webwebsted eller produktemballage.


