Indledning
This manual provides essential information for the installation, operation, maintenance, and troubleshooting of your Valeo 043332 Passenger Side Boot/LED OE Tail Light Assembly. This product is designed as a direct replacement, offering 100 percent original equipment (OE) quality.
Key features of this tail light assembly include:
- 100 percent original equipment (OE) quality product
- LED technology for enhanced visibility and faster illumination
- Includes premium quality bulb for standard functions
- Designed specifically for the passenger's side
The integrated LED technology significantly reduces the time taken for the rear lamps to illuminate, allowing following drivers more time to react and anticipate potentially dangerous situations. This can reduce braking distance by approximately 5 meters for a vehicle traveling behind at 75 miles per hour.

Image: The Valeo 043332 Passenger Side Boot/LED OE Tail Light Assembly shown with its green and white Valeo branded packaging.
Opsætning og installation
Installation of automotive lighting components should ideally be performed by a qualified professional. Incorrect installation can lead to electrical issues, damage to the vehicle, or improper light function, compromising safety.
Før installation:
- Ensure the vehicle's ignition is off and the battery is disconnected to prevent electrical shorts.
- Consult your vehicle's specific service manual for detailed instructions on removing the existing tail light assembly.
- Inspect the new Valeo tail light assembly for any visible damage from shipping.
Installationstrin (generelt):
- Carefully remove the fasteners securing the old tail light assembly. These typically include screws, nuts, or clips accessible from inside the trunk or fender well.
- Gently pull the old assembly away from the vehicle body. Disconnect any electrical connectors by pressing the release tabs and pulling them apart.
- Connect the electrical harness from your vehicle to the new Valeo tail light assembly. Ensure the connection is secure and fully seated.
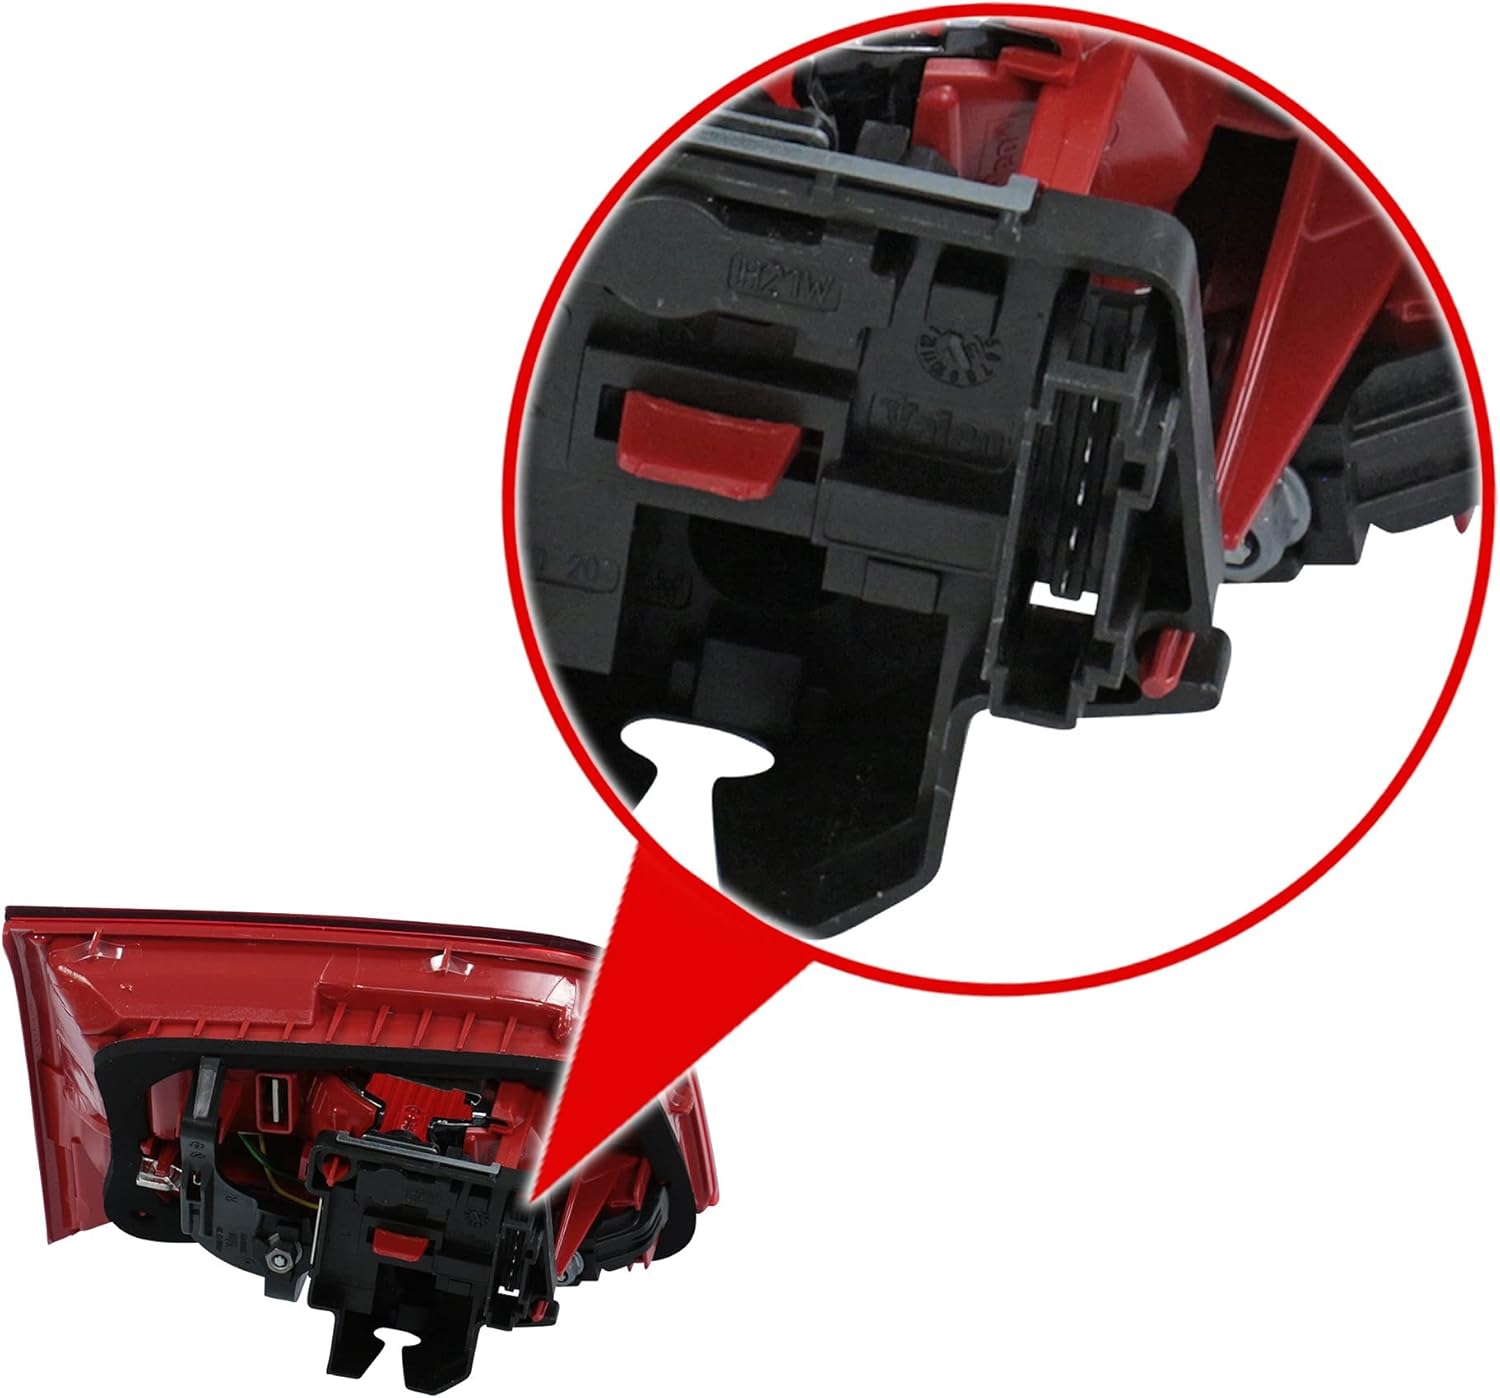
Billede: En detaljeret view of the electrical connector on the back of the Valeo tail light assembly, showing the secure locking mechanism.
- Align the new tail light assembly with the mounting points on the vehicle body. Ensure the gasket is properly seated to prevent moisture ingress.

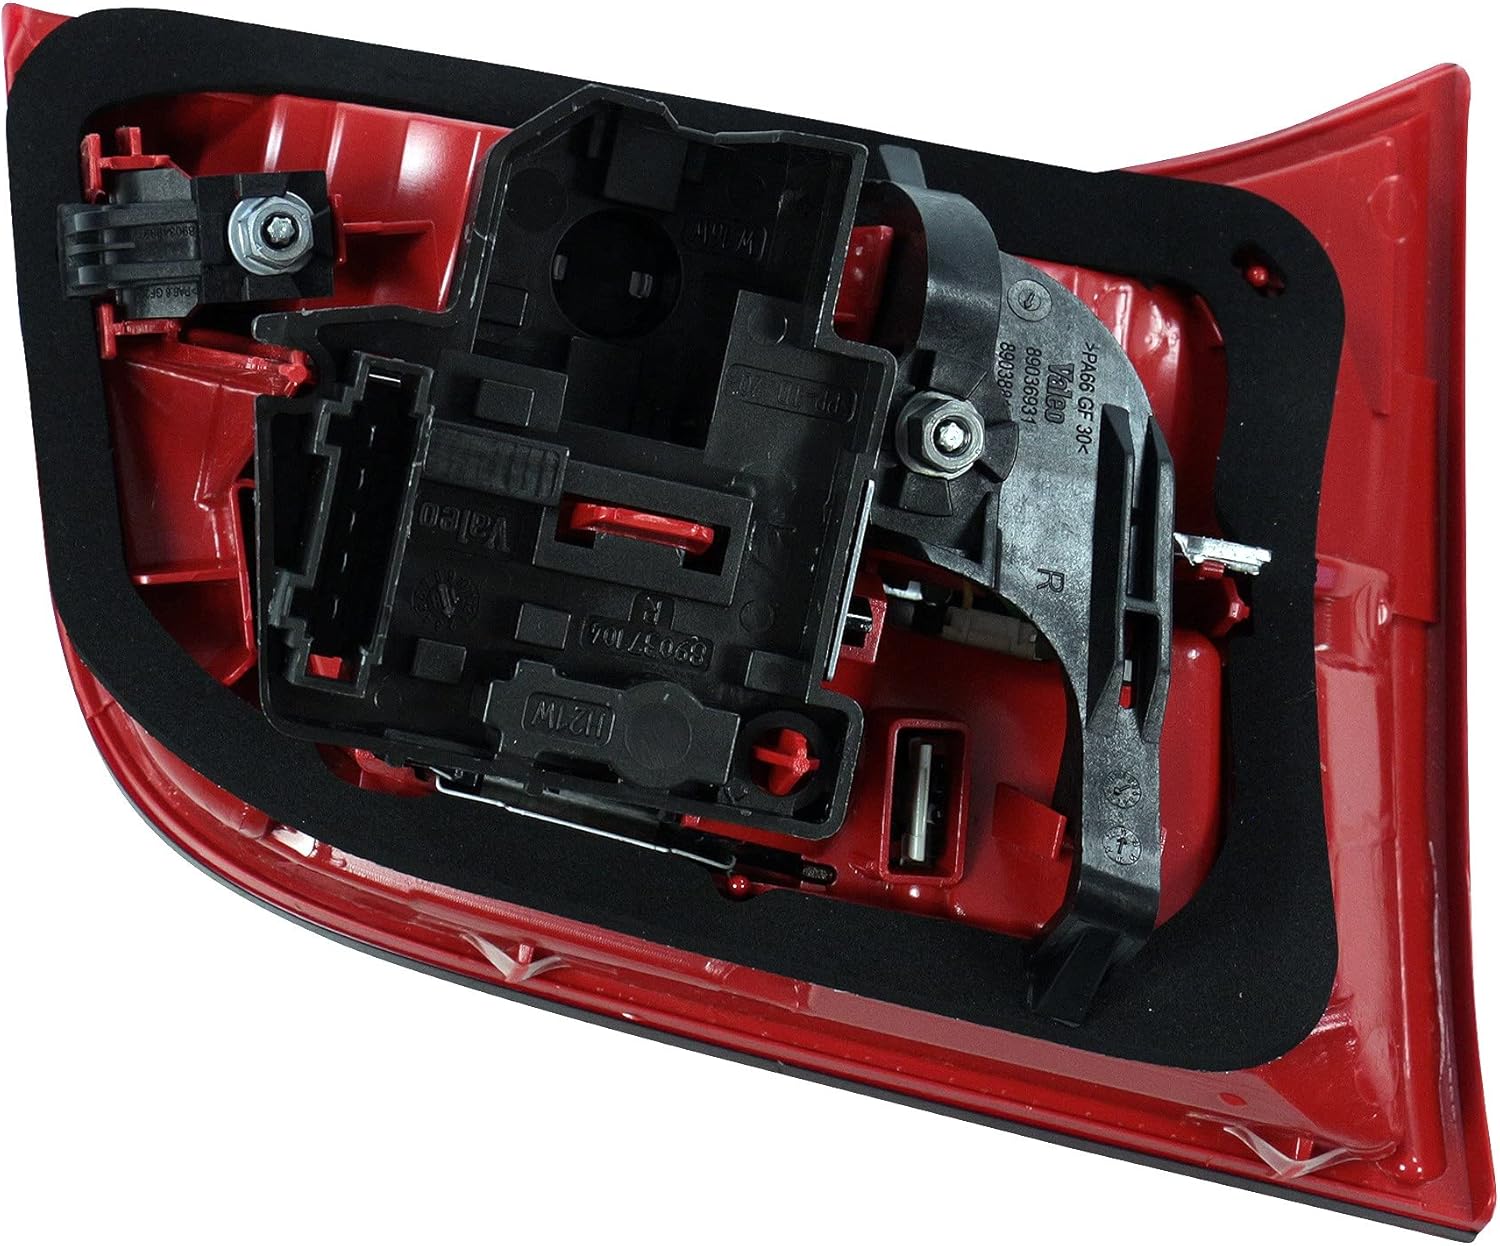
Image: The rear of the tail light assembly, highlighting the black foam gasket and mounting studs designed for a watertight seal against the vehicle body.
- Secure the assembly using the original fasteners. Do not overtighten, as this can crack the plastic housing.
Billede: En vinklet view of the back of the tail light assembly, showing the various mounting tabs, screw points, and the integrated electrical connection port.
- Tilslut køretøjets batteri igen.
- Test all lighting functions (tail lights, brake lights, turn signals, reverse lights) to ensure proper operation before driving.
Betjeningsvejledning
The Valeo 043332 Tail Light Assembly operates automatically in conjunction with your vehicle's electrical system. No user intervention is required for its basic function.
- Baglygter: Illuminate when the vehicle's headlights or parking lights are activated.
- Bremselys: Illuminate brightly when the brake pedal is pressed, signaling deceleration to following vehicles.
- Blinklys: Flash when the turn signal lever is engaged, indicating an intended turn or lane change.
- Baklygter: Lyser, når køretøjet sættes i bakgear.
The LED components provide instant illumination and a brighter, more distinct light output compared to traditional incandescent bulbs, enhancing safety.
Opretholdelse
Proper maintenance ensures the longevity and optimal performance of your tail light assembly.
- Rensning: Regularly clean the outer lens with a soft cloth and mild automotive soap and water. Avoid abrasive cleaners or harsh chemicals that could scratch or damage the lens material.
- Inspektion: Periodically inspect the tail light assembly for cracks, moisture inside the lens, or loose connections. Any signs of damage should be addressed promptly to prevent further issues.
- Udskiftning af pære: While the primary functions utilize integrated LEDs, if any standard incandescent bulbs (e.g., for reverse lights or turn signals, depending on vehicle configuration) are included and fail, they can be replaced. Refer to your vehicle's service manual for specific bulb types and replacement procedures. Ensure the vehicle's power is off before attempting any bulb replacement.
Fejlfinding
If your tail light assembly is not functioning correctly, consider the following common issues and solutions:
| Problem | Mulig årsag | Løsning |
|---|---|---|
| Lyset lyser ikke | Blown fuse, loose electrical connection, faulty bulb (if applicable), damaged wiring. | Check vehicle's fuse box and replace any blown fuses. Verify electrical connector is fully seated. Replace faulty incandescent bulbs. Inspect wiring for damage. |
| Lys flimrende eller svag | Dårlig elektrisk forbindelse, lav lydstyrketage, failing LED component. | Ensure connections are clean and tight. Check vehicle's charging system. If LED component is failing, replacement of the assembly may be necessary. |
| Moisture inside lens | Improperly sealed gasket, crack in lens. | Re-seat or replace the gasket. Inspect lens for cracks; if present, the assembly may need replacement. |
Hvis fejlfindingstrinene ikke løser problemet, anbefales det at kontakte en certificeret biltekniker for diagnose og reparation.
Specifikationer
- Mærke: Valeo
- Modelnummer: 43332
- Autodel position: Right (Passenger Side)
- Specifikke anvendelser for produktet: Baglygte
- Speciel funktion: LED-teknologi
- Linse farve: Klar
- Linse materiale: Glas
- Emnemål (L x B x H): 10.43 x 11.42 x 6.69 tommer
- Varens vægt: 1.32 pund
- Montering påkrævet: No (comes pre-assembled)
- OEM varenummer: 4F9945094C; 4F9945094A
Garanti og support
Valeo products are manufactured to high quality standards. For information regarding warranty coverage, terms, and conditions, please refer to the warranty documentation provided with your purchase or visit the official Valeo webwebsted.
For technical support or assistance with product-related inquiries, please contact Valeo customer service or the authorized seller from whom you purchased this product. When contacting support, please have your product model number (43332) and purchase details readily available.


