1. Produktet er slutview
This manual provides detailed instructions for the installation and care of your Gateway MS2274 15.6" WXGA HD LED DIODE Laptop LCD Screen replacement. This product is designed as a direct substitute for the original LCD screen in compatible Gateway MS2274 laptop models. It is important to note that this product is the LCD screen component only and does not include the laptop itself or any other laptop parts.
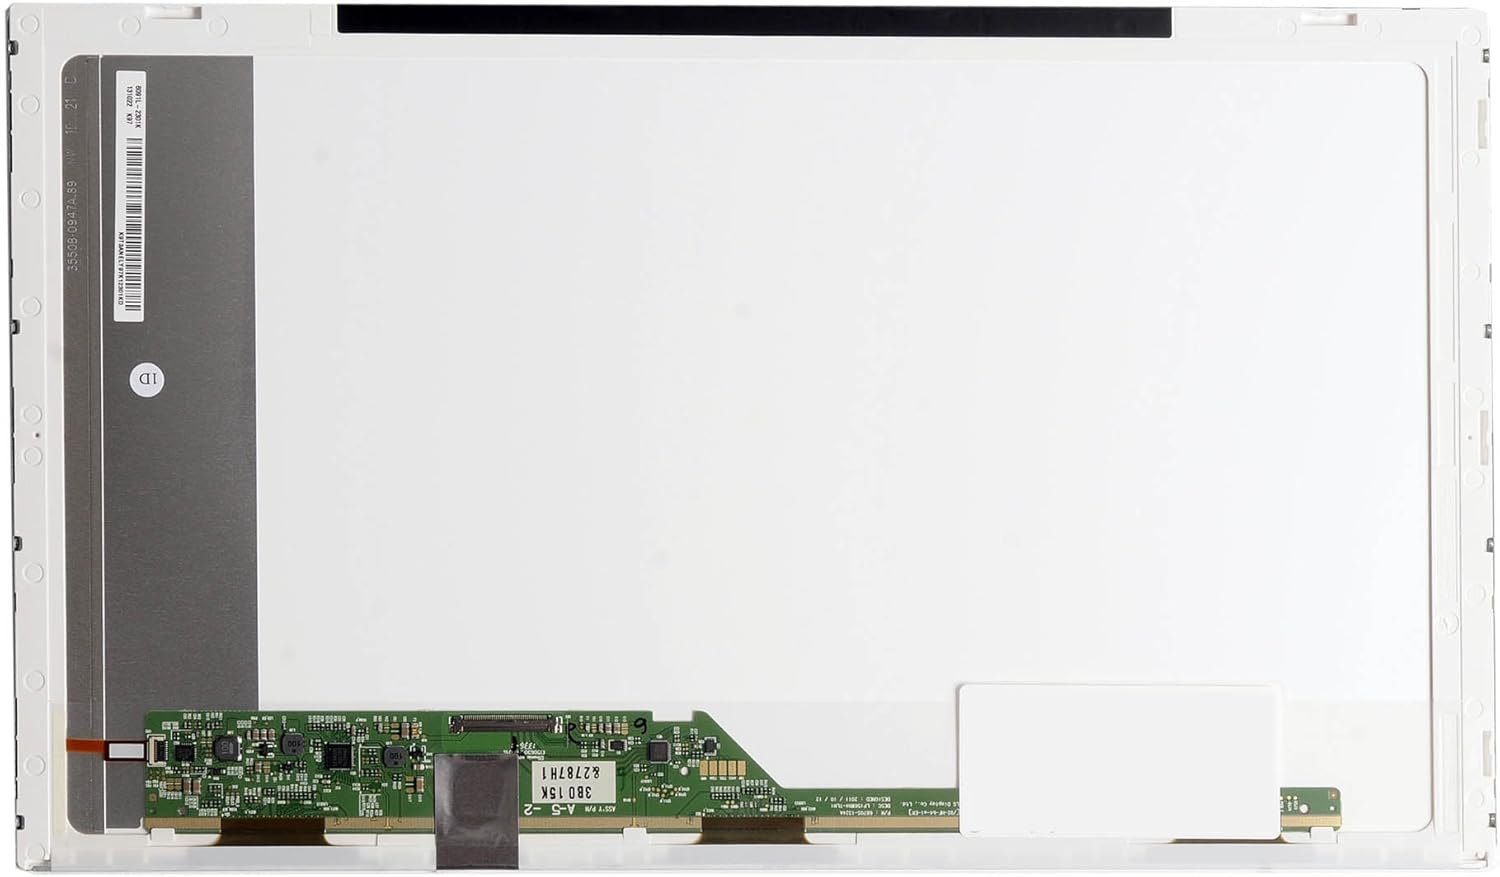
Billede 1.1: Front view of the Gateway MS2274 15.6 inch laptop LCD screen. This image displays the white display panel and the green circuit board located at the bottom, which contains the necessary connectors and components for display functionality.
2. Sikkerhedsoplysninger
- Always disconnect the laptop's power adapter and remove the battery before beginning any installation or repair work.
- Handle the LCD screen by its edges to avoid touching the display surface or the delicate circuit board.
- Wear anti-static gloves or use an anti-static wrist strap to prevent electrostatic discharge (ESD) damage to electronic components.
- Use appropriate tools for disassembly and reassembly to prevent damage to screws or plastic casings.
- Hvis du er usikker på et trin, skal du søge professionel hjælp.
3. Opsætning og installation
3.1. Udpakning og inspektion
Carefully remove the LCD screen from its packaging. Inspect the screen for any visible damage, such as cracks, scratches, or bent connectors. If any damage is observed, do not proceed with installation and contact customer support immediately.

Billede 3.1: Front view of the LCD screen in an unpowered state, showing the black display surface. This view is typical during unboxing and initial inspection.
3.2. Nødvendigt værktøj
- Lille stjerneskruetrækker
- Plastikbrækværktøj (spudger)
- Antistatisk håndledsrem eller handsker
- Ren, blød klud
3.3. Installationstrin
Follow these steps carefully to replace your laptop's LCD screen. Refer to your laptop's specific service manual for detailed disassembly instructions if needed.
- Klargør den bærbare computer: Power off your laptop completely, disconnect the AC adapter, and remove the battery.
- Remove Bezel Screws: Carefully locate and remove any rubber screw covers on the laptop screen bezel. Unscrew all visible screws holding the bezel in place.
- Remove Screen Bezel: Using a plastic pry tool, gently pry open the plastic bezel surrounding the LCD screen. Start from one corner and work your way around the edges.
- Access LCD Panel: Once the bezel is removed, you will see the LCD panel secured by screws to the metal brackets on the laptop lid. Remove these screws.
- Lay Down LCD Panel: Carefully lay the LCD panel face down on the keyboard area. Be cautious not to strain the video cable.
- Disconnect Video Cable: Gently peel back any tape securing the video cable connector to the back of the LCD panel. Carefully disconnect the video cable by pulling it straight out from the connector. Do not pull on the wires.
- Fjern gammel skærm: The old screen is now completely detached.
- Tilslut ny skærm: Take your new Gateway MS2274 LCD screen. Carefully align the video cable connector with the port on the new screen and push it in firmly until it is fully seated. Secure it with tape if applicable.
- Monter ny skærm: Position the new LCD screen within the laptop lid and secure it with the screws previously removed from the metal brackets.
- Testvisning: Before reattaching the bezel, temporarily connect the laptop battery and AC adapter. Power on the laptop to ensure the new screen functions correctly. Check for display, brightness, and any anomalies. If the screen works, power off the laptop again.
- Reattach Bezel: Carefully snap the plastic bezel back into place around the screen. Ensure all clips are securely fastened. Reinsert and tighten the bezel screws and replace the rubber covers.
- Afsluttende samling: Reinstall the laptop battery and connect the AC adapter. Your laptop is now ready for use with the new screen.

Billede 3.2: Bag view of the LCD screen, showing the main circuit board where the video cable connects. This view is crucial for understanding the connection point during installation.
4. Betjening af skærmen
Once installed, the Gateway MS2274 LCD screen operates as the primary display for your laptop. No special drivers are typically required as the display is recognized by the laptop's existing graphics hardware and operating system.
- Lysstyrkekontrol: Adjust screen brightness using your laptop's keyboard function keys (e.g., Fn + F5/F6) or through the display settings in your operating system.
- Opløsning: The screen supports WXGA HD resolution (1366x768). Ensure your operating system is set to this native resolution for the best visual clarity.
- Farvekalibrering: If desired, you can calibrate the display colors through your operating system's display settings for optimal color accuracy.
5. Vedligeholdelse og pleje
- Rengøring af skærmen: Brug en blød, fnugfri mikrofiberklud, der er specielt designet til elektronik. Tør let på genstridige pletter.ampen the cloth with distilled water or a screen-cleaning solution. Never spray liquid directly onto the screen.
- Undgå tryk: Do not press on the screen surface with sharp objects or excessive force, as this can damage the LCD panel.
- Opbevaring: If storing the screen before installation, keep it in its original protective packaging in a cool, dry place away from direct sunlight and extreme temperatures.
6. Fejlfinding
| Problem | Mulig årsag | Løsning |
|---|---|---|
| Ingen visning efter installation | Video cable not properly connected; faulty screen; laptop issue. | Ensure video cable is fully seated. Recheck all connections. Test with original screen if possible to rule out laptop issue. |
| Flimrende eller forvrænget billede | Loose video cable connection; incompatible screen; graphics driver issue. | Reseat video cable. Verify screen compatibility with your laptop model. Update or reinstall graphics drivers. |
| Dead pixels or lines on screen | Manufacturing defect; physical damage during installation. | If present upon initial test, contact customer support for replacement. |
| Incorrect brightness or color | Software settings; calibration needed. | Adjust brightness via keyboard shortcuts or OS display settings. Perform color calibration. |
7. Specifikationer
| Feature | Detalje |
|---|---|
| Skærmstørrelse | 15.6 tommer |
| Opløsning | WXGA HD (1366x768) |
| Baggrundslys type | LED DIODE |
| Modelnummer | LED-1366-768-G-40-15.6-209 |
| Mærke | Gateway (Replacement Part) |
| Varens vægt | 11.2 ounce |
| Produktdimensioner | 17.5 x 10.5 x 1.5 tommer |
8. Garanti og support
This replacement LCD screen is typically covered by a return policy. For specific warranty details and return procedures, please refer to the terms and conditions provided by the seller at the time of purchase. The seller for this product is BrightFocal.
For technical support or inquiries regarding your purchase, please contact the seller directly through the platform where the product was acquired. Ensure you have your order details and product model number (LED-1366-768-G-40-15.6-209) ready when contacting support.
Returpolitik: A 30-day return policy is generally offered for this product, allowing for refund or replacement if issues arise within this period.


