1. Introduktion
Tak for købetasing the Atlanta 1669/19 Quartz Alarm Clock. This digital alarm clock features a silent movement, a light sensor for automatic display illumination, and a snooze function. This manual provides detailed instructions for setup, operation, and maintenance to ensure optimal performance and longevity of your device.
2. Sikkerhedsoplysninger
- Hold enheden væk fra vand og høj luftfugtighed.
- Undgå at udsætte uret for direkte sollys eller ekstreme temperaturer.
- Forsøg ikke at skille uret ad eller reparere det selv. Kontakt kvalificeret servicepersonale.
- Bortskaf brugte batterier ansvarligt i henhold til lokale regler.
- Bland ikke gamle og nye batterier eller forskellige typer batterier.
3. Pakkens indhold
- Atlanta 1669/19 Quartz Alarm Clock Unit
- Brugervejledning (dette dokument)
Bemærk: Batterier er ikke inkluderet og skal købes separat.
4. Produktet er slutview
The Atlanta 1669/19 features a clear digital display, intuitive controls, and a light sensor for enhanced visibility in low-light conditions.
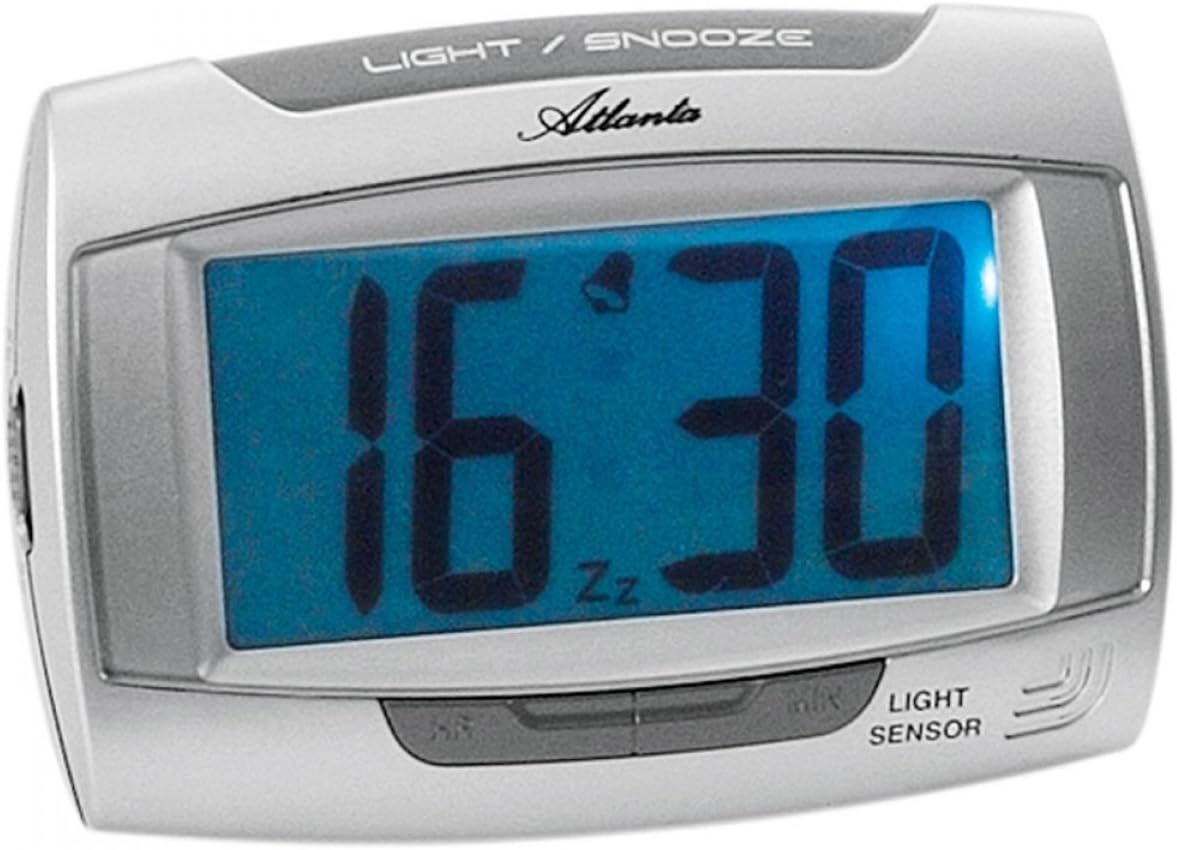
Figur 1: Front view of the Atlanta 1669/19 Quartz Alarm Clock. The clock features a large digital display, a "LIGHT / SNOOZE" button at the top, and a "LIGHT SENSOR" indicator at the bottom right. The display shows the time 16:30, with an alarm bell icon and 'Zz' indicating snooze functionality.
Nøglekomponenter:
- Digital skærm: Shows time and alarm status.
- LIGHT / SNOOZE Button: Activates temporary backlight and snooze function.
- Lyssensor: Automatically illuminates the display in dark environments.
- Control Buttons (Rear/Side): For setting time and alarm.
- Batterirum (bag): Indeholder de nødvendige batterier.
5. Opsætning
5.1. Batteriinstallation
- Find batteridækslet på bagsiden af vækkeuret.
- Remove the cover by sliding or lifting it.
- Insert the required batteries (typically 1x AA, refer to compartment markings) ensuring correct polarity (+ and -).
- Sæt batterirummets dæksel på igen.
5.2. Indstilling af starttidspunkt
Upon battery installation, the display will typically show a default time. You will need to set the current time.
- Locate the time setting buttons, usually labeled "SET", "HOUR", and "MINUTE" or similar, on the back or side of the clock.
- Press the "SET" button (or equivalent) to enter time setting mode. The hour digits may start flashing.
- Use the "HOUR" button to adjust the hour.
- Press "SET" again to move to minute setting. The minute digits may start flashing.
- Use the "MINUTE" button to adjust the minutes.
- Press "SET" one more time to confirm and exit time setting mode.
6. Betjeningsvejledning
6.1. Indstilling af alarmen
- Locate the alarm setting buttons, typically labeled "ALARM SET", "ALARM HOUR", and "ALARM MINUTE" or similar.
- Press the "ALARM SET" button to enter alarm setting mode. The alarm hour digits may flash.
- Use the "ALARM HOUR" button to adjust the desired alarm hour.
- Press "ALARM SET" again to move to alarm minute setting. The alarm minute digits may flash.
- Use the "ALARM MINUTE" button to adjust the desired alarm minutes.
- Press "ALARM SET" one more time to confirm and exit alarm setting mode.
6.2. Aktivering/deaktivering af alarmen
There is usually a switch or button to turn the alarm on or off. Look for a switch labeled "ALARM ON/OFF" or an alarm icon button. When the alarm is active, an alarm icon (e.g., a bell) will typically appear on the display.
6.3. Snooze-funktion
When the alarm sounds, press the large "LIGHT / SNOOZE" button located on the top of the clock. This will temporarily silence the alarm, and it will sound again after a few minutes (typically 5-9 minutes). The "Zz" icon on the display indicates that the snooze function is active.
6.4. Light Sensor and Display Backlight
- Automatic Backlight (Light Sensor): The clock is equipped with a light sensor. When enabled, the display will automatically illuminate with a soft, constant light in dark environments, making it easy to read the time at night without pressing any buttons. Look for a switch or button labeled "SENSOR ON/OFF" or similar to enable or disable this feature.
- Temporary Backlight: To briefly illuminate the display in any lighting condition, press the "LIGHT / SNOOZE" button on the top of the clock. The backlight will stay on for a few seconds and then turn off automatically.
7. Vedligeholdelse
- Rensning: Tør uret af med en blød, tør klud. Brug ikke slibende rengøringsmidler eller opløsningsmidler, da disse kan beskadige uret.asing eller display.
- Udskiftning af batteri: When the display dims or the clock stops functioning correctly, it is time to replace the batteries. Follow the battery installation steps in Section 5.1.
- Opbevaring: Hvis uret ikke skal bruges i længere tid, skal batterierne fjernes for at forhindre lækage og beskadigelse.
8. Fejlfinding
| Problem | Mulig årsag | Løsning |
|---|---|---|
| Urdisplayet er tomt eller svagt. | Lave eller døde batterier; forkert batteriinstallation. | Udskift batterierne med nye, og sørg for korrekt polaritet. |
| Alarmen lyder ikke. | Alarm is not activated; alarm time is incorrect; low batteries. | Ensure alarm is switched ON (bell icon visible); verify alarm time setting; replace batteries. |
| Automatic backlight not working. | Light sensor feature is disabled; insufficient darkness. | Ensure the light sensor switch is ON; test in a completely dark room. |
| Tidspunktet er forkert. | Time was not set correctly; batteries were removed/replaced. | Reset the current time following Section 5.2. |
9. Specifikationer
| Model | 1669/19 |
| Mærke | Atlanta |
| Driftstilstand | Digital |
| Særlige funktioner | Alarm, Lighting (Light Sensor) |
| Materiale | Plast |
| Rammemateriale | Plast |
| Monteringstype | Bordplade |
| Farve | Blue (display), Silver-coloured (case) |
| Batterier påkrævet | Yes (Type not specified, typically AA or AAA for such clocks) |
| Batterier medfølger | Ingen |
| Dimensioner (ca.) | 11 x 7 cm |
10. Garanti og support
For garantioplysninger eller teknisk support henvises til den dokumentation, der blev leveret ved køb, eller kontakt din forhandler. Gem din købsbevis i tilfælde af garantikrav.


