1. Introduktion
This manual provides essential information for the safe and efficient use of your Walimex Pantograph Model 16249. Please read these instructions carefully before installation and operation to ensure proper functionality and longevity of the product. This pantograph is designed for integration into a ceiling rail system, offering flexible positioning for studio lighting equipment.
2. Produktet er slutview
The Walimex Pantograph Model 16249 is a robust and versatile accessory for professional photography and video studios utilizing ceiling rail systems. It allows for continuous vertical movement of studio lights and accessories, providing precise positioning and optimizing workspace. The pantograph features a durable stainless steel spring mechanism for smooth operation.
Nøglefunktioner:
- Designed for ceiling rail systems.
- Continuous vertical movement up to 200 cm.
- Equipped with a 5/8 inch pin for mounting standard studio flashes.
- Smooth-running transport rollers for effortless movement along guide rails.
- Constructed with a stainless steel spring for durability.

Figur 1: Overview of Walimex Pantographs integrated into a ceiling rail system, demonstrating their retractable design.
3. Opsætning og installation
Proper installation is crucial for the safe and effective operation of the pantograph. Ensure your ceiling rail system is securely mounted and capable of supporting the combined weight of the pantograph and your lighting equipment.
Installationstrin:
- Attach to Ceiling Rail: The pantograph is designed to attach directly to compatible ceiling rail systems. Position the top mounting bracket of the pantograph onto the rail.
- Sikker montering: Use the provided fasteners (if any, or those compatible with your rail system) to securely attach the pantograph to the rail. Ensure all connections are tight and stable. Refer to Figure 2 for a close-up of the top attachment.
- Test bevægelse: Once securely mounted, gently slide the pantograph along the rail to ensure the transport rollers move smoothly without obstruction.
- Mount Lighting Equipment: Attach your studio flash or other compatible lighting equipment to the 5/8 inch pin located at the bottom of the pantograph. Ensure the equipment is securely fastened.

Figure 2: Detail of the pantograph's mounting bracket connecting to the ceiling rail.

Figure 3: The pantograph shown with a studio light and softbox, demonstrating its function in a studio setup.
4. Betjeningsvejledning
The Walimex Pantograph allows for flexible positioning of your lighting equipment. Always handle the pantograph and attached equipment with care.
Justering af position:
- Horisontal bevægelse: Gently push or pull the pantograph along the ceiling rail to move your light horizontally across the studio space. The transport rollers are designed for smooth gliding.
- Vertikal bevægelse: To adjust the height of your light, carefully extend or retract the pantograph. The internal spring mechanism assists in counterbalancing the weight of the attached equipment, allowing for smooth vertical adjustments up to 200 cm.
- Sikringsposition: The pantograph is designed to hold its position once adjusted. For additional security or to fine-tune tension, some models may include a tension adjustment mechanism (refer to Figure 5 for a potential adjustment point). Ensure the light is stable before leaving it unattended.
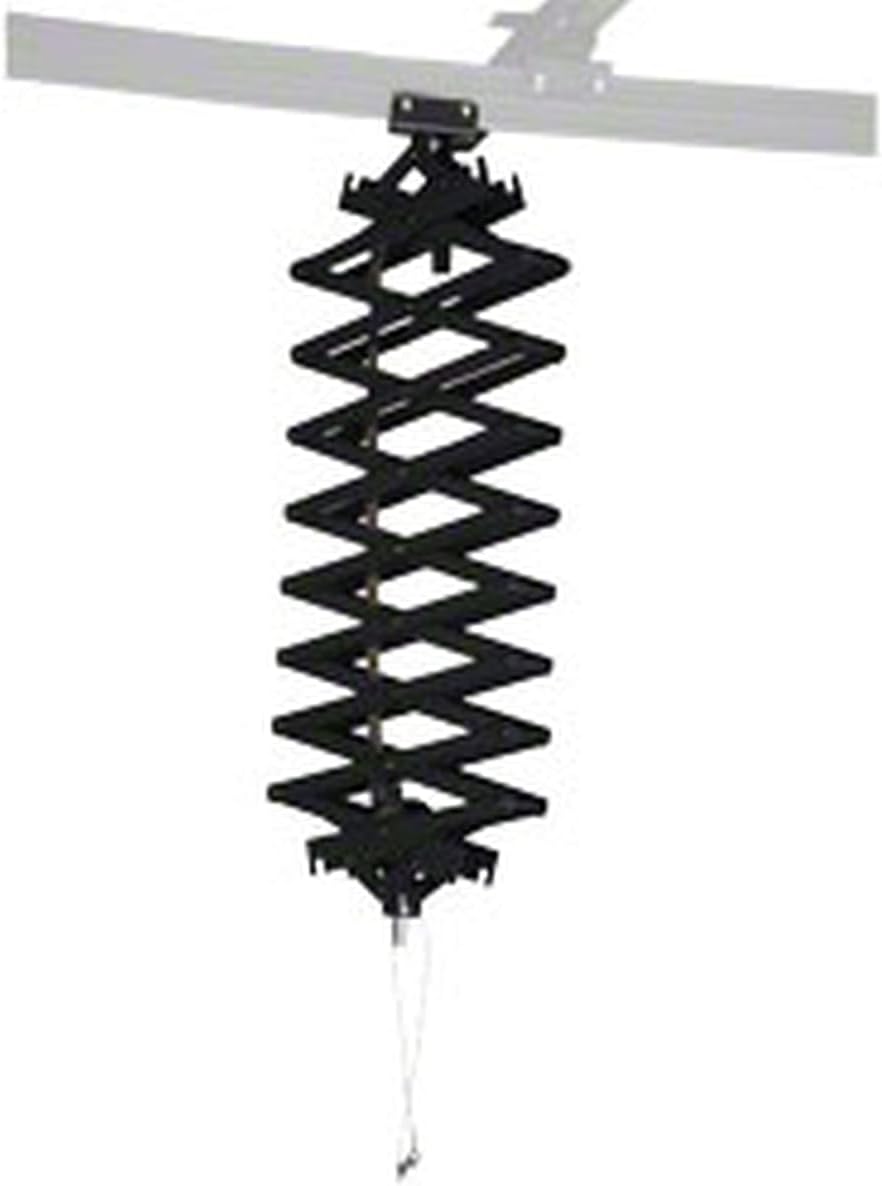
Figure 4: The pantograph in a fully extended position, illustrating its maximum reach.

Figur 5: Et nærbillede view of the lower section, indicating a potential tension adjustment point (highlighted in red).
5. Vedligeholdelse
Regular maintenance ensures the smooth and safe operation of your pantograph.
- Rensning: Wipe down the metal parts with a soft, dry cloth to remove dust and debris. Avoid abrasive cleaners or solvents.
- Smøring: Periodically check the moving joints and rollers. If movement becomes stiff, apply a small amount of silicone-based lubricant to the pivot points and roller axles. Do not over-lubricate.
- Inspektion: Regularly inspect all screws, bolts, and connections for tightness. Ensure the spring mechanism operates freely and without unusual noises. Check the 5/8 inch pin for any signs of wear or damage.
- Spring Condition: The internal spring is made of stainless steel for durability. However, if you notice any degradation in its ability to hold weight, contact customer support.
6. Fejlfinding
| Problem | Mulig årsag | Løsning |
|---|---|---|
| Pantograph does not hold position or retracts too quickly. | Attached equipment is too light for the spring tension, or spring tension needs adjustment. | Add counterweights to the lighting equipment or adjust the tension mechanism if available (refer to Figure 5). Ensure the weight of your equipment is within the pantograph's specified load capacity. |
| Pantograph is difficult to extend or retract. | Lack of lubrication on moving parts, or attached equipment is too heavy. | Apply silicone-based lubricant to pivot points. Verify the weight of your equipment does not exceed the pantograph's maximum load capacity. |
| Pantograph does not slide smoothly on the rail. | Debris on the rail or rollers, or damaged rollers. | Clean the ceiling rail and the pantograph's transport rollers. Inspect rollers for damage; replace if necessary. |
7. Specifikationer
| Mærke | Walimex |
| Modelnummer | 16249 |
| Produktmål (L x B x H) | 30 x 10 x 40 cm (collapsed) |
| Varens vægt | 4.1 kilo |
| Materiale | Metal (Stainless Steel spring) |
| Farve | Sort |
| Maksimal forlængelse | 200 cm (ca.) |
| Monteringstype | Ceiling Mount (for rail systems) |
| Lys vedhæftning | 5/8 inch pin |
8. Garanti og support
The Walimex Pantograph Model 16249 comes with a manufacturer's warranty of 2 år. Denne garanti dækker fejl i materialer og udførelse ved normal brug.
For warranty claims, technical support, or inquiries regarding spare parts, please contact your retailer or Walimex customer service directly. Please have your model number (16249) and proof of purchase available when contacting support.


