1. Introduktion
This manual provides essential information for the safe and efficient use of your Lexmark E260D Monochrome Laser Printer. Please read these instructions carefully before operating the device and retain them for future reference. The Lexmark E260D is designed for fast, high-quality black and white document printing, featuring automatic two-sided printing for efficiency.
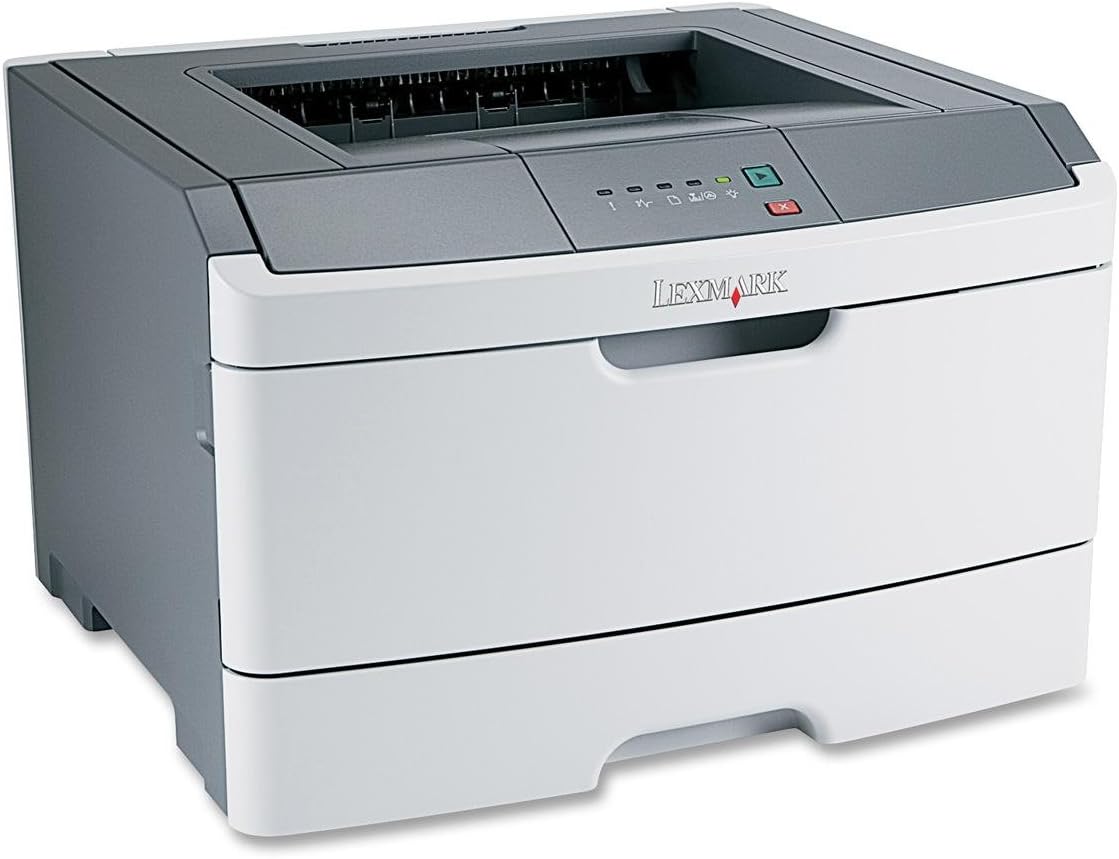
Figur 1: Lexmark E260D Monochrome Laser Printer. This image shows the printer from a front-right angle, highlighting its compact design with a white body and a dark gray top cover. The output tray is visible on top, and the Lexmark logo is displayed on the front panel above the paper input tray.
2. Sikkerhedsoplysninger
- Tilslut altid printeren til en jordforbundet stikkontakt.
- Bloker ikke ventilationsåbninger.
- Keep the printer away from water or excessive moisture.
- Use only specified power cords and accessories.
- Avoid touching the fuser area, as it can be hot.
3. Pakkens indhold
Bekræft at alle varer er til stede i pakken:
- Lexmark E260D Monochrome Laser Printer
- Strømledning
- Starter Toner Cartridge (may vary by region)
- Setup Guide or Documentation
- USB Cable (may be sold separately)
4. Opsætning
4.1 Udpakning af printeren
- Tag printeren ud af emballagen.
- Remove all packing materials, tapes, and protective films from the exterior and interior of the printer.
- Placer printeren på en stabil, plan overflade med tilstrækkelig ventilation.
4.2 Tilslutning af printeren
- Tilslut netledningen til printeren og derefter til en jordforbundet stikkontakt.
- Tilslut den ene ende af USB-kablet til printerens USB-port og den anden ende til din computer.
4.3 Installation af tonerpatronen
- Åbn printerens forreste adgangsdør.
- Carefully remove the toner cartridge from its packaging and shake it gently to distribute the toner.
- Sæt tonerpatronen i printeren, indtil den klikker på plads.
- Close the front access door securely.
4.4 Ilægning af papir
- Træk papirbakken ud.
- Juster papirstyrene, så de passer til størrelsen på det papir, du ilægger.
- Load paper into the tray, ensuring it is flat and not exceeding the maximum fill line.
- Skub papirbakken tilbage i printeren, indtil den låses.
4.5 Driverinstallation
After connecting the printer, your operating system may automatically detect and install the necessary drivers. If not, follow these steps:
- Insert the driver CD (if included) into your computer's CD/DVD drive, or download the latest drivers from the official Lexmark support webwebsted.
- Følg instruktionerne på skærmen for at fuldføre driverinstallationen.
- Genstart din computer, hvis du bliver bedt om det.
5. Betjening af printeren
5.1 Grundlæggende udskrivning
- Sørg for, at printeren er tændt og tilsluttet din computer.
- Åbn det dokument, du vil udskrive, på din computer.
- Vælge File > Udskriv (eller den tilsvarende kommando i din applikation).
- Choose the Lexmark E260D from the list of available printers.
- Adjust print settings as needed (e.g., number of copies, page range).
- Klik Trykke.
5.2 Dupleksudskrivning (tosidet)
The Lexmark E260D supports automatic two-sided printing.
- When sending a print job, access the printer properties or preferences.
- Look for an option related to Duplex udskrivning or Udskriv på begge sider.
- Select the desired duplex option (e.g., long-edge binding, short-edge binding).
- Confirm your settings and click Trykke.
6. Vedligeholdelse
6.1 Rengøring af printeren
- Ydre: Tør de udvendige overflader af med en blød, damp, fnugfri klud. Brug ikke slibende rengøringsmidler eller opløsningsmidler.
- Indre: Periodically open the front access door and gently remove any loose toner dust with a dry, lint-free cloth. Avoid touching sensitive components.
6.2 Udskiftning af tonerpatron
When the toner level is low, the printer's control panel will indicate it. Replace the toner cartridge as follows:
- Sørg for, at printeren er tændt.
- Åbn den forreste adgangsdør.
- Fjern forsigtigt den gamle tonerpatron ved at trække den lige ud.
- Unpack the new Lexmark E260D compatible toner cartridge and shake it gently.
- Sæt den nye patron i printeren, indtil den klikker på plads.
- Luk den forreste adgangsdør.
7. Fejlfinding
7.1 Papirstop
If a paper jam occurs, the printer's control panel will display an error. Follow these general steps:
- Turn off the printer and unplug it from the power outlet.
- Open all accessible covers (front door, rear door, etc.).
- Fjern forsigtigt eventuelt fastklemt papir, og træk det i papirstiens retning for at undgå at det rives i stykker.
- Close all covers securely.
- Tilslut og tænd printeren.
7.2 Problemer med udskriftskvaliteten
- Falmede eller lyse tryk: The toner cartridge may be low. Try shaking the cartridge gently or replace it.
- Striber eller pletter: Clean the interior of the printer, especially around the toner cartridge area. Ensure the paper type setting matches the loaded paper.
- Tomme sider: Ensure the toner cartridge is properly installed and has toner. Check printer drivers and print settings.
7.3 Forbindelsesproblemer
- Printer ikke fundet: Ensure the USB cable is securely connected to both the printer and the computer. Try a different USB port or cable. Reinstall printer drivers if necessary.
- Print Jobs Stuck: Clear the print queue on your computer. Restart both the printer and the computer.
7.4 Envelope Printing on Mac
Users printing envelopes on macOS may encounter issues with incorrect print orientation or partial printing. To resolve this:
- In the print dialogue box, locate the menu that initially reads 'Layout'.
- Select 'Paper Feed' from this menu.
- Change the 'Auto Select' option to 'Manual Envelope'.
- Fortsæt med udskrivningen.
8. Specifikationer
| Feature | Specifikation |
|---|---|
| Modelnavn | E260D |
| Udskrivningsteknologi | Laser |
| Printer output | Monokrom |
| Maksimal udskrivningshastighed (monokrom) | 35 ppm |
| Maksimal udskriftsopløsning (sort/hvid) | 1200 dpi |
| Duplex udskrivning | Automatisk |
| Forbindelsesteknologi | USB 2.0 |
| Max input arkkapacitet | 250 ark |
| Supported Print Media | Envelopes, Labels, Paper (plain), Transparencies |
| Hukommelseslagringskapacitet | 32 MB |
| Produktdimensioner | 16.5 x 18.1 x 14 tommer |
| Varens vægt | 29.8 pund (13.53 kg) |
| Strømforbrug (tændt tilstand) | 16 watt |
9. Garantioplysninger
The Lexmark E260D Monochrome Laser Printer comes with an Exchange Warranty. For specific terms, conditions, and duration of your warranty, please refer to the warranty documentation included with your product or visit the official Lexmark support webwebsted.
10. Kundesupport
For further assistance, technical support, or to order replacement parts and supplies, please contact Lexmark Customer Support. You can find contact information and additional resources on the official Lexmark webwebsted:
- Lexmark-support Webwebsted: www.lexmark.com/support (Bemærk venligst: Dette er en pladsholder URL. Refer to your product documentation for the exact support link.)


