Indledning
This manual provides essential instructions for the safe and efficient operation, maintenance, and care of your KitchenAid KSM500PSWH Pro 500 Series Stand Mixer. Please read all instructions carefully before using the appliance.
Vigtige sikkerhedsinstruktioner
- Tag altid stikket ud af stikkontakten, inden du rengør, samler eller adskiller dele.
- Undgå kontakt med bevægelige dele. Hold hænder, hår og tøj, samt spatler og andre redskaber, væk fra piskeris under drift for at mindske risikoen for personskade og/eller beskadigelse af mixeren.
- Brug ikke noget apparat med en beskadiget ledning eller stik, eller efter at apparatet ikke fungerer korrekt eller er blevet tabt eller beskadiget på nogen måde.
- Må ikke bruges udendørs.
- Lad ikke ledningen hænge ud over kanten af bord eller bord.
- Lad ikke ledningen komme i kontakt med varme overflader, inklusive ovnen.
- Brug af tilbehør, der ikke anbefales eller sælges af KitchenAid, kan forårsage brand, elektrisk stød eller skade.
- Tæt opsyn er nødvendigt, når et apparat bruges af eller i nærheden af børn.
Produktkomponenter
Your KitchenAid KSM500PSWH Pro 500 Series Stand Mixer comes with several key components designed for various mixing tasks.

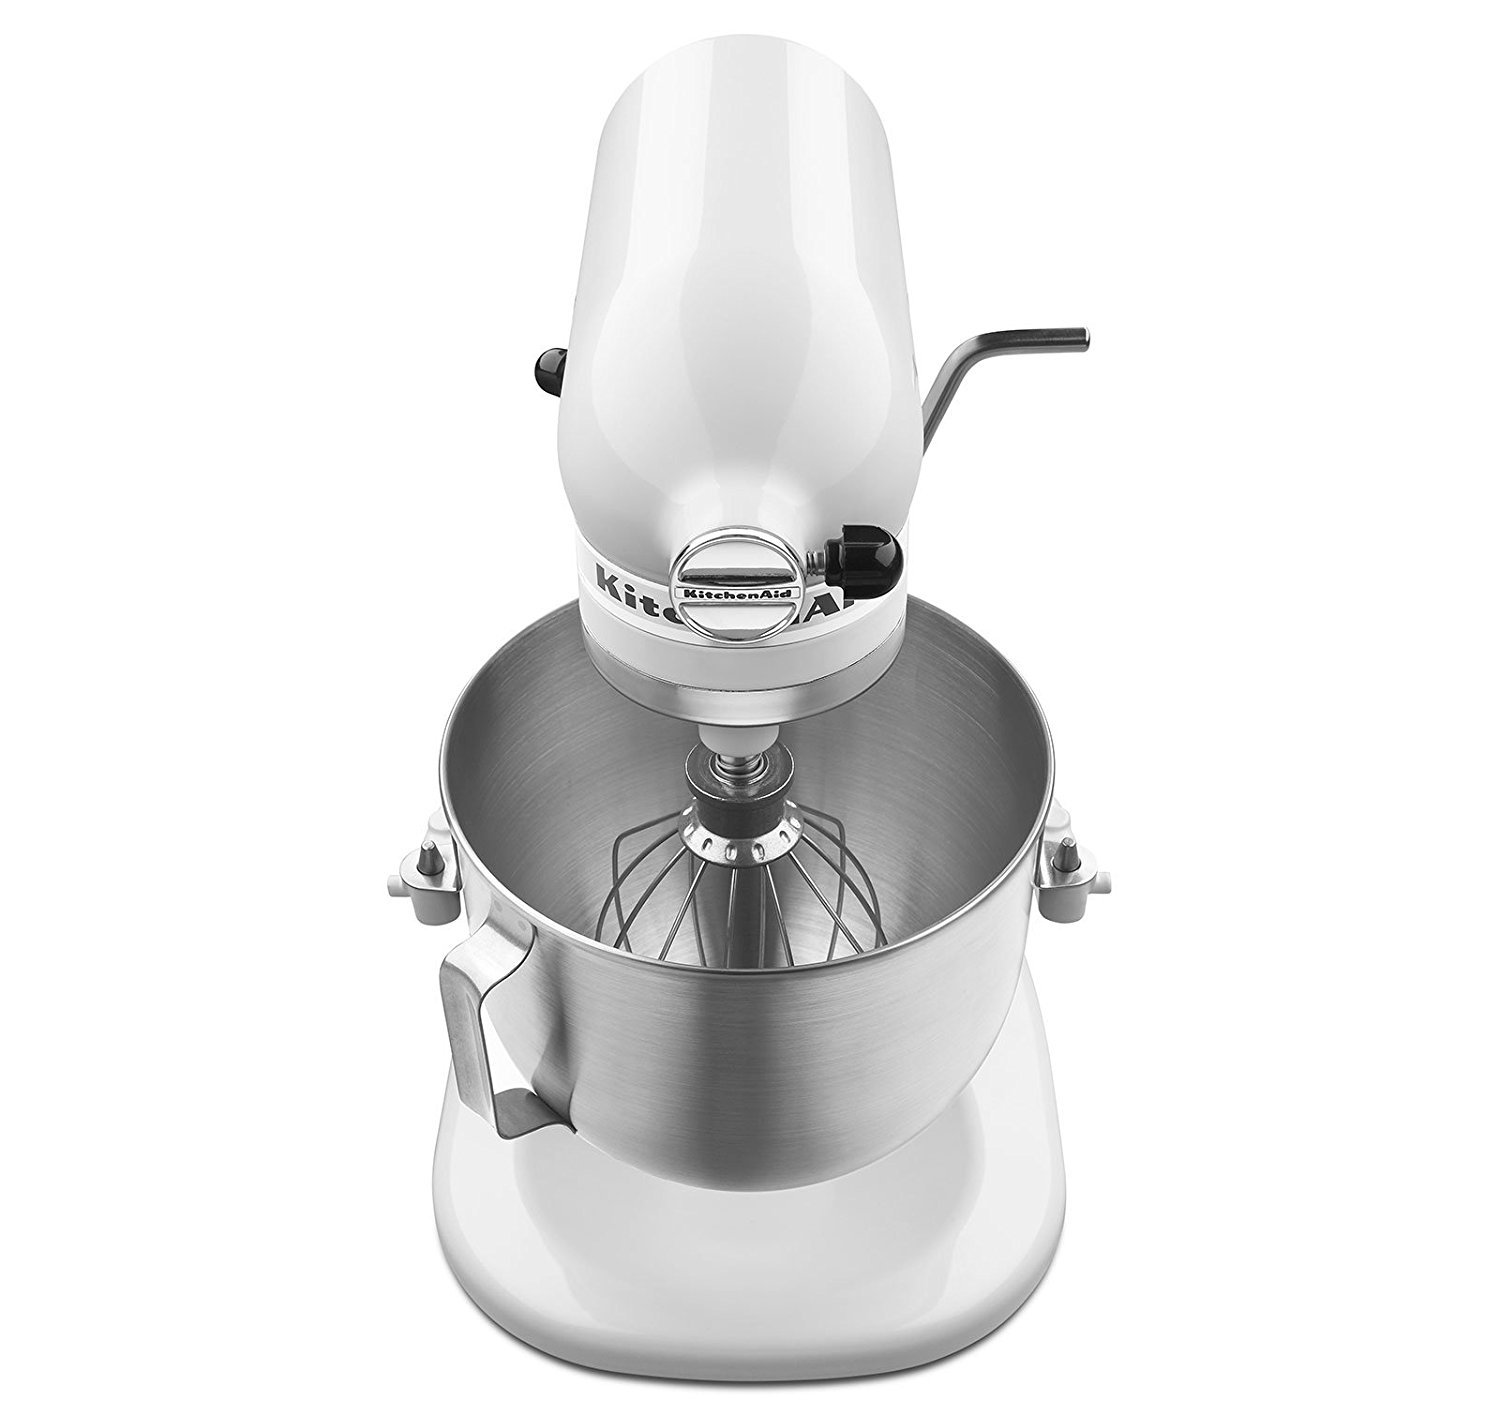
Figur 1: Overview of the KitchenAid KSM500PSWH Pro 500 Series Stand Mixer, showing the main unit, mixing bowl, and various attachments.
Figur 2: Nærbillede view of the KitchenAid KSM500PSWH Stand Mixer, highlighting the power hub located at the front of the mixer head, used for optional attachments.
- Blanderhoved: Indeholder motor og hastighedskontrol.
- Motor Head Locking Lever: Sikrer motorhovedet på plads.
- Hastighedskontrolhåndtag: Justerer blandehastigheden fra 1 til 10.
- Power Hub: Located at the front, used for optional attachments.
- 5-Quart Stainless Steel Mixing Bowl: The primary container for ingredients.
- Flad piskeris: For normal to heavy mixtures such as cakes, cookies, frostings, and mashed potatoes.
- Dejkrog: Til blanding og æltning af gærdeje såsom brød, pizzadej og pastadej.
- Trådpisk: For incorporating air into ingredients, such as eggs, egg whites, and heavy cream.
- Hældeskærm: Helps prevent splattering and allows for easy addition of ingredients during mixing.
Opsætningsinstruktioner
- Pak mixeren ud: Fjern forsigtigt alle komponenter fra emballagen. Gem emballagen til senere opbevaring eller transport.
- Rengøring af komponenter: Before first use, wash the mixing bowl, flat beater, dough hook, wire whip, and pouring shield in warm, soapy water. Rinse thoroughly and dry. The mixer body can be wiped with a damp klæde.
- Placering af mixeren: Place the stand mixer on a dry, flat, and stable surface. Ensure there is adequate space around the mixer for operation.
- Fastgør blandeskålen:

Figur 3: Side view of the mixer demonstrating the bowl lift mechanism. The bowl attaches to the arms and is secured by the lever.
- Sørg for, at mixeren er taget ud af stikkontakten.
- Raise the bowl lift lever to the up position.
- Place the mixing bowl supports over the locating pins on the bowl support arms.
- Tryk ned på bagsiden af skålen, indtil skålstiften klikker ind i fjederlåsen.
- Lower the bowl lift lever to the down position to secure the bowl.
- Fastgør et tilbehør:

Figur 4: Front view of the mixer with the flat beater correctly installed into the beater shaft.
- Ensure the mixer is unplugged and the speed control is set to "0" (OFF).
- Slide the chosen attachment (flat beater, dough hook, or wire whip) onto the beater shaft.
- Rotate the attachment until the pin on the shaft locks into the notch on the attachment.
- Attach the Pouring Shield (Optional):
- After attaching the bowl and accessory, slide the pouring shield over the mixing bowl.
- The pouring shield is designed to fit snugly around the rim of the bowl.
Betjeningsvejledning
- Tilføj ingredienser: Placer dine ingredienser i blandeskålen.
- Tilslut: Sæt mixeren i en jordet stikkontakt.
- Vælg hastighed:

Figur 5: Top-down view of the mixer head, highlighting the speed control lever with settings from 1 to 10.
- Move the speed control lever to the desired setting (1-10).
- Mixeren har en Blød start function, which gently accelerates to the selected speed to prevent splattering.
- Refer to the table below for recommended speed settings for different tasks.
Anbefalede hastighedsindstillinger Hastighed Opgave Vedhæftet fil Rør (1-2) Slow stirring, combining, mashing Flad Pisker, Dejkrog Mix (3-4) Mixing batters, creaming butter and sugar Flad Beater Beat (5-6) Medium beating, mixing heavy batters Flad Beater Whip (7-10) Fast whipping, aerating egg whites, cream Wire Whip Knead (2) Æltning af gærdej Dejkrog - Monitormixning: The unique planetary mixing action ensures thorough blending by spinning the beater clockwise while the shaft spins counter-clockwise.
- Stop mixer: When mixing is complete, move the speed control lever to "0" (OFF) and unplug the mixer.
- Remove Accessory and Bowl:
- Træk stikket til mixeren ud.
- Remove the pouring shield (if used).
- Push the attachment upward and rotate it to detach from the beater shaft.
- Raise the bowl lift lever, then lift the mixing bowl off the support arms.

Figur 6: The KitchenAid KSM500PSWH Stand Mixer in operation, demonstrating its use in a typical kitchen environment.
Pleje og vedligeholdelse
Rensning
- Tag altid stikket ud af mixeren før rengøring.
- Mixerhus: Tør af med en blød, damp klud. Nedsænk ikke mixeren i vand eller andre væsker.
- Blandet skål: The 5-quart stainless steel mixing bowl is dishwasher-safe. Alternatively, wash in warm, soapy water, rinse, and dry thoroughly.
- Tilbehør (flad piskeris, dejkrog, piskeris): These attachments are made of burnished metal and are ikke opvaskemaskinesikker. Hand wash in warm, soapy water, rinse, and dry immediately to prevent oxidation.
- Hældeskærm: The pouring shield is top-rack dishwasher-safe or can be hand washed.
Opbevaring
Store the mixer and its attachments in a clean, dry place. Ensure all parts are completely dry before storing to prevent rust or damage.
Fejlfinding
If your mixer experiences issues, consult the following common problems and solutions before contacting customer service.
| Problem | Mulig årsag | Løsning |
|---|---|---|
| Mixeren starter ikke. | Ikke tilsluttet; strømmen er slukkettage; speed control not at "0" before starting. | Ensure mixer is securely plugged in. Check power supply. Set speed control to "0" before turning on. |
| Tilbehøret rammer bunden af skålen. | Afstanden mellem piskeris og skål skal justeres. | Refer to the "Beater-to-Bowl Clearance" section in the full manual (not included here) or contact customer support for adjustment instructions. |
| Blanderen stopper under drift. | Overbelastningsbeskyttelse aktiveret. | The mixer has an automatic safety shut-off. Turn off the mixer, unplug it, and remove some of the mixture if it's too heavy. Wait 10-15 minutes, then plug in and restart. |
| Overdreven vibration eller støj. | Mixer not on a stable surface; bowl or attachment not properly secured. | Ensure the mixer is on a flat, stable surface. Verify the bowl and attachment are correctly locked in place. |
For issues not listed here, or if solutions do not resolve the problem, please contact KitchenAid Customer Service.
Produktspecifikationer
- Model: KSM500PSWH
- Motor: 325 watt
- Hastigheder: 10-Speed Control with Soft Start
- Skålkapacitet: 5 liter (ca. 4.7 liter)
- Skål materiale: Brushed Stainless Steel with Contoured Handle
- Blandingshandling: Planetarisk blandingshandling
- Melkapacitet: 9 kopper
- Dimensioner (LxBxH): Cirka 13.3 x 10.4 x 16.4 tommer (33.8 x 26.4 x 41.7 cm)
- Vægt: Cirka 25.3 lbs (11.5 kg)
- Inkluderet tilbehør: Burnished Flat Beater, Burnished Dough Hook, Wire Whip, One-Piece Pouring Shield
- Sikkerhedsfunktioner: Direct-Drive Transmission with All-Metal Gears, Automatic Safety Shut-Off
Garanti og support
Garantioplysninger
Your KitchenAid KSM500PSWH Pro 500 Series Stand Mixer is covered by a et års problemfri udskiftningsgaranti fra købsdatoen. Denne garanti dækker materiale- og fabrikationsfejl ved normal brug i husholdningen.
Please retain your proof of purchase for warranty claims. For full warranty terms and conditions, refer to the warranty card included with your product or visit the official KitchenAid webwebsted.
Kundesupport
For technical assistance, parts, or service, please contact KitchenAid Customer Service. Contact details can typically be found on the official KitchenAid webwebsted eller i produktemballagen.
Online ressourcer: For additional information, recipes, and product registration, visit www.kitchenaid.com.


