1. Introduktion
Thank you for choosing the KidKraft Deluxe Wooden Easel. This manual provides essential information for the safe assembly, operation, and maintenance of your new easel. Please read these instructions carefully before assembly and retain them for future reference.
The KidKraft Deluxe Wooden Easel is designed to inspire creativity with its versatile features, including a double-sided design with a chalkboard and a dry-erase surface, an integrated paper roll, and convenient storage trays with spill-proof paint cups.
2. Sikkerhedsoplysninger
- Voksensamling påkrævet: This product contains small parts and sharp points prior to assembly. Adult assembly is mandatory.
- Voksenopsyn: Always supervise children during use of the easel.
- Kvælningsfare: Keep small parts and hardware away from young children before and during assembly.
- Stabil placering: Ensure the easel is placed on a flat, stable surface to prevent tipping.
- Appropriate Materials: Use only non-toxic chalk, dry-erase markers, and paints designed for children's art activities.
- Regelmæssig inspektion: Periodically check all screws and fasteners to ensure they are tight and secure.
3. Pakkens indhold
Verify that all components listed below are present before beginning assembly. If any parts are missing or damaged, please contact KidKraft customer support.
- Easel Frame Components (various wooden pieces)
- Tavleoverflade
- Dry-Erase Surface
- Papirrulleholder
- One (1) Roll of Art Paper
- Two (2) Spill-Proof Paint Cups
- Hardware Pack (screws, bolts, washers, etc.)
- Monteringsvejledning

Image 1: Fully assembled KidKraft Deluxe Wooden Easel.
4. Monteringsvejledning
The KidKraft Deluxe Wooden Easel is designed for straightforward assembly. Detailed, step-by-step instructions are included in your package. Please follow them precisely.
- Udpak komponenter: Tag forsigtigt alle dele ud af emballagen, og læg dem på en ren, blød overflade for at forhindre ridser.
- Identificér hardware: Match all hardware pieces to the diagrams in the included assembly guide.
- Følg trinene: Assemble the easel frame according to the numbered steps in the separate assembly instructions. Ensure all connections are secure.
- Attach Surfaces: Install the chalkboard and dry-erase surfaces into the designated slots.
- Install Paper Roll Holder: Secure the paper roll holder at the top of the easel.
- Endelig kontrol: Once assembled, ensure the easel is stable and all parts are correctly installed.
Nødvendige værktøjer: A Phillips head screwdriver is typically needed for assembly (not included).
5. Betjeningsvejledning
5.1 Chalkboard Surface
The easel features a dark surface designed for use with chalk. For optimal performance, it is recommended to 'season' the chalkboard before first use by rubbing the side of a piece of chalk over the entire surface and then erasing it. This helps prevent ghosting.

Image 2: Child using the chalkboard surface.

Image 3: Chalk and eraser stored in the easel's tray.
5.2 Dry-Erase Surface
The opposite side of the easel provides a white dry-erase surface. Use only dry-erase markers specifically designed for whiteboards. Avoid permanent markers, as they will stain the surface.
5.3 Papirrulle
The integrated paper roll allows for painting and drawing on paper. To use:
- Ensure a roll of art paper is loaded onto the top holder.
- Pull the paper down over the dry-erase surface.
- Secure the paper if desired using clips (not included) or by holding it in place.

Image 4: Child pulling paper from the roll.
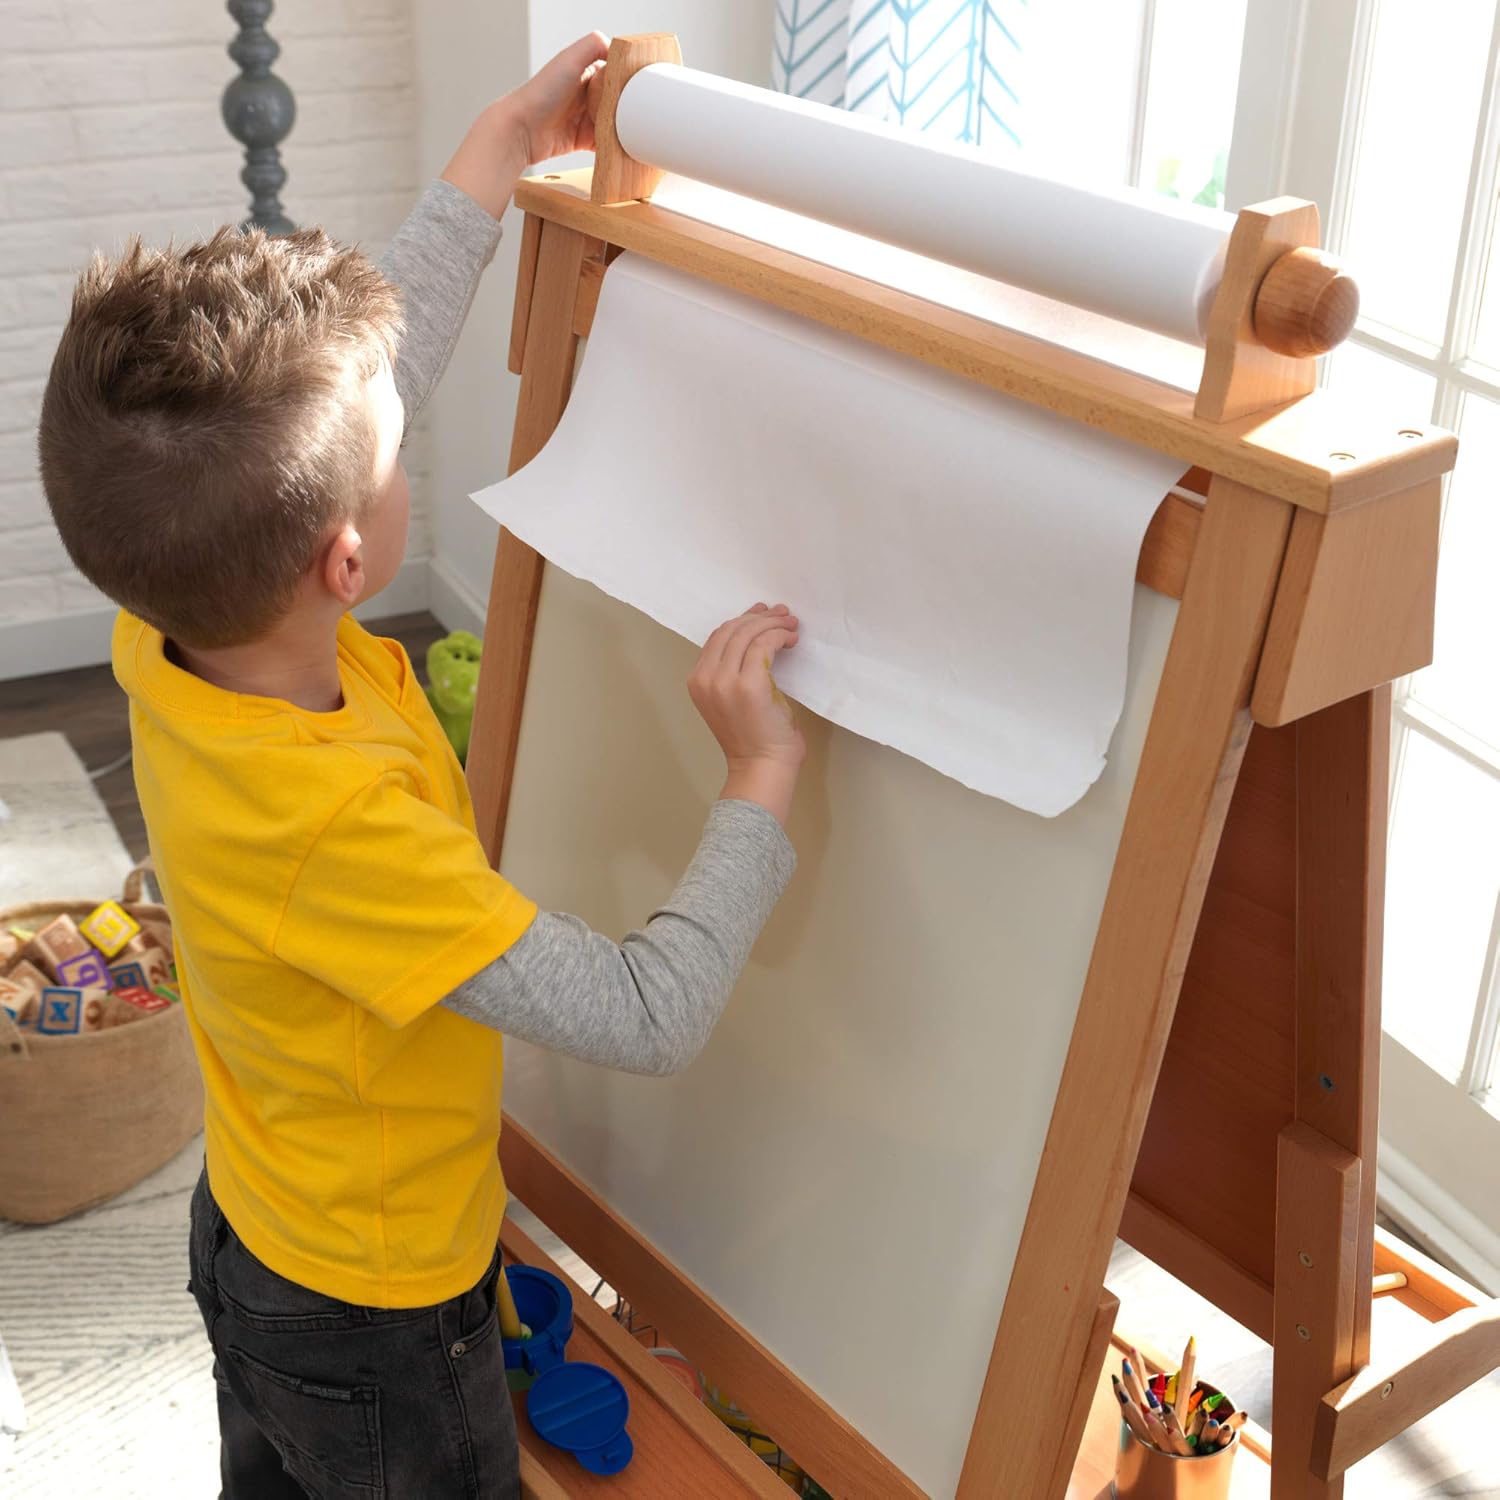
Image 5: Child adjusting the paper roll.
5.4 Paint Cups and Storage Trays
The easel includes two spill-proof paint cups and convenient plastic trays for storing art supplies such as chalk, markers, and crayons. The cups are designed to minimize spills during creative play.

Image 6: Child using spill-proof paint cups.
6. Vedligeholdelse og pleje
- Tavle: Tør af med annonceamp cloth or a chalkboard eraser. For stubborn marks, use a specialized chalkboard cleaner.
- Dry-Erase Board: Erase with a dry-erase eraser or a soft cloth. For residue, use a dry-erase board cleaner.
- Træoverflader: Rengør med en blød, damp cloth. Avoid abrasive cleaners or harsh chemicals, which can damage the wood finish.
- Paint Cups: Wash with soap and water after each use.
- Opbevaring: When not in use, store the easel in a dry environment away from direct sunlight or extreme temperatures.
7. Fejlfinding
- Easel is Wobbly: Check all screws and bolts to ensure they are tightened securely. Ensure the easel is on a level surface.
- Chalk Not Writing Well: Ensure the chalkboard surface has been seasoned (see Section 5.1). Use good quality chalk.
- Dry-Erase Board Stains: Ensure only dry-erase markers are used. For existing stains, try a specialized dry-erase board cleaner.
- Paper Roll Not Feeding Smoothly: Check that the paper roll is correctly installed on its holder and is not jammed.
If you encounter issues not listed here, please contact KidKraft customer support for assistance.
8. Specifikationer
| Modelnummer | 62005 |
| Produktdimensioner | 24.25" D x 25.55" B x 48" H |
| Materiale | Konstrueret træ, plastik |
| Varens vægt | 2.2 pund |
| Anbefalet alder | 36 måneder - 8 år |
| Montering påkrævet | Ja |
9. Garanti og support
KidKraft products are manufactured with quality and care. For specific warranty information or to obtain replacement parts, please refer to the warranty card included with your purchase or visit the official KidKraft website. For customer support, please contact KidKraft directly through their webwebstedet eller kontaktoplysningerne på din produktemballage.


