Indledning
This manual provides essential instructions for the safe assembly, operation, maintenance, and troubleshooting of your SENIX 201cc 22" Variable Speed Self-Propelled Gas Lawn Mower. Please read this manual thoroughly before using the product to ensure proper function and safety.
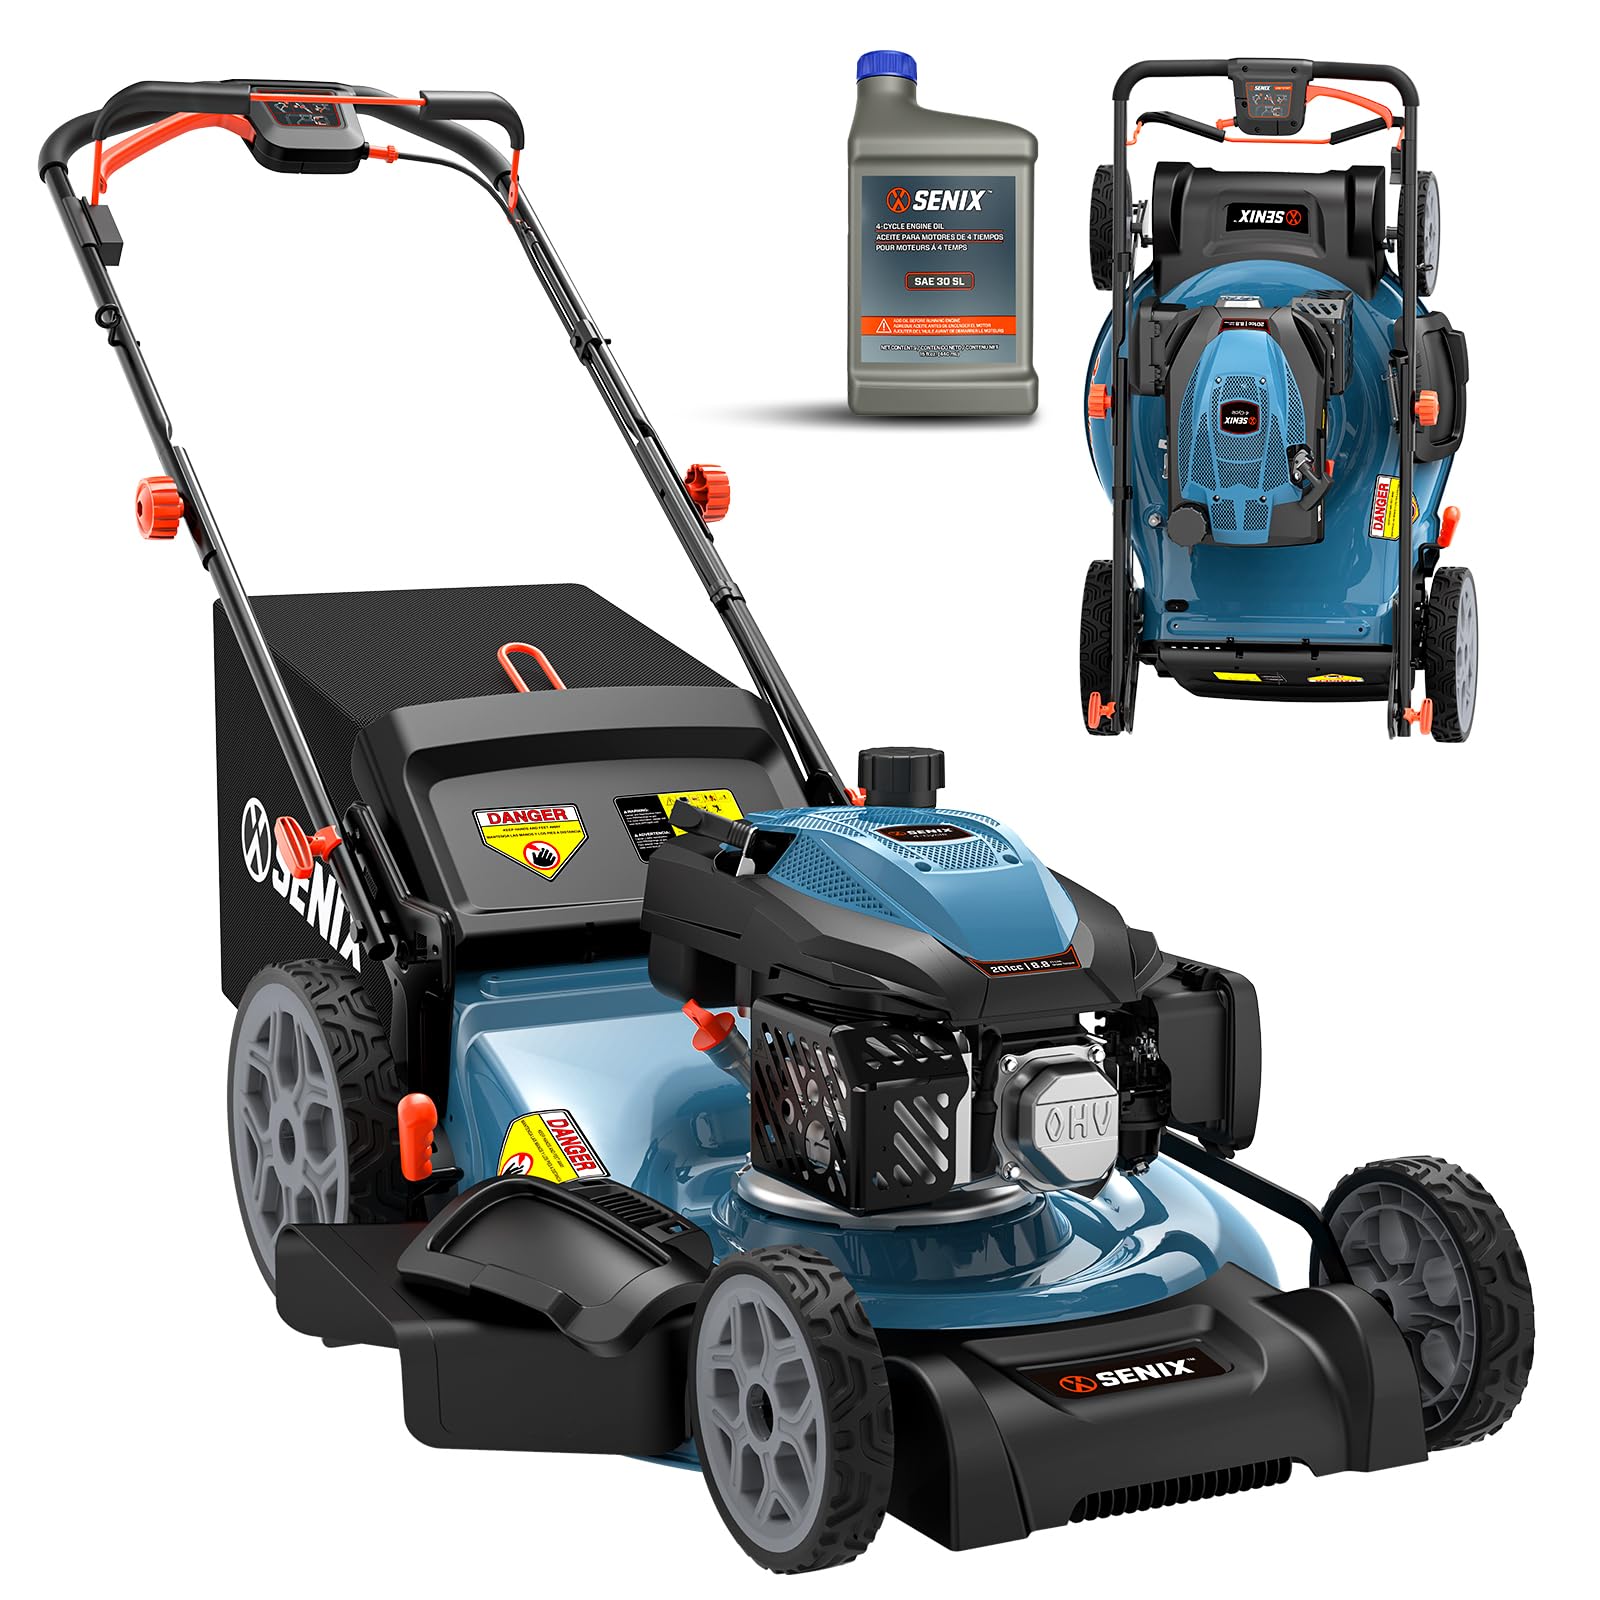
The SENIX 201cc 22" Variable Speed Self-Propelled Gas Lawn Mower, shown with an included oil bottle and a view of the mower folded for storage.
Nøglefunktioner:
- 201cc Powerful Engine: Equipped with a robust 201cc four-stroke OHV engine for efficient cutting.
- 3-in-1 Cutting System: Offers side discharge, mulching, and rear bagging options.
- Justerbar klippehøjde: Features 6-position height adjustment from 1.25 to 4 inches.
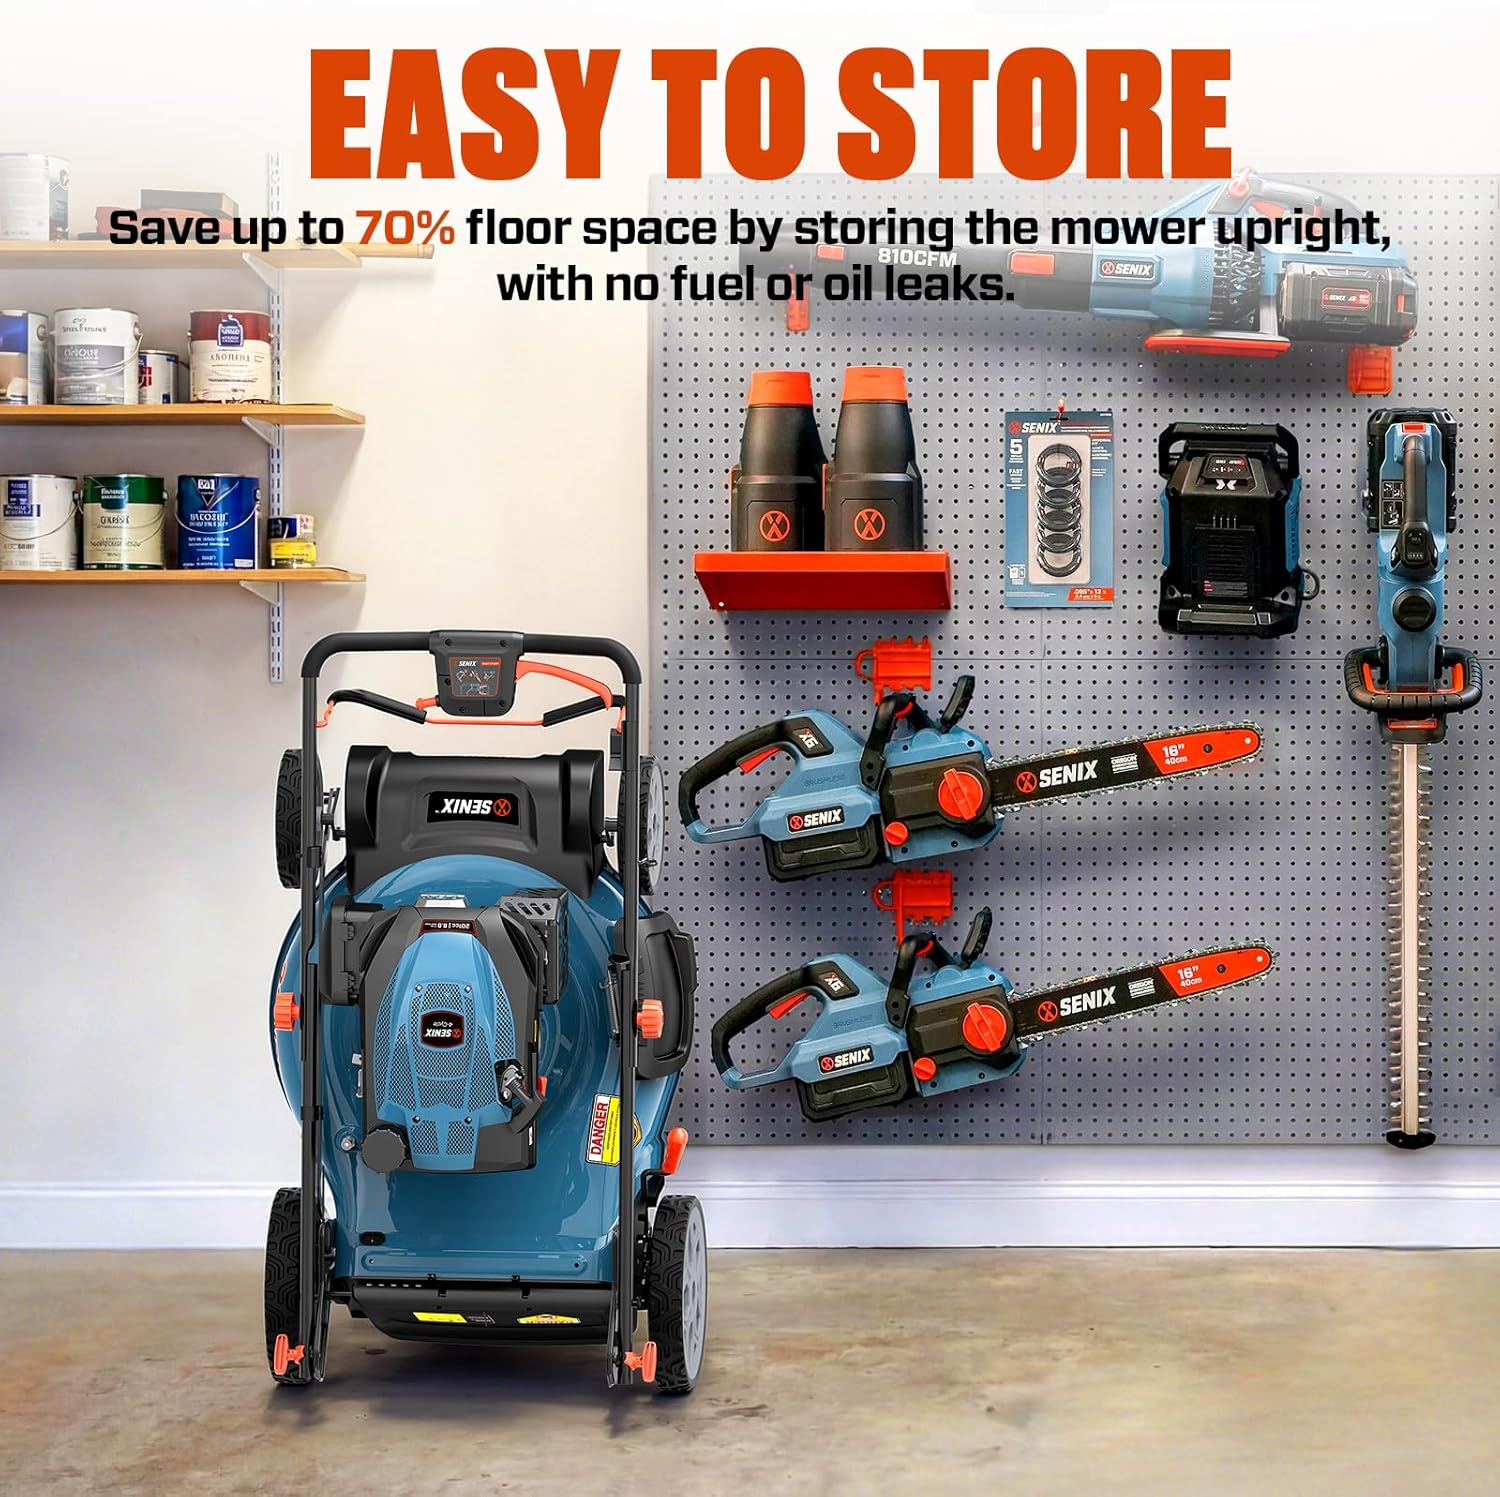
- Sammenfoldeligt design: Folds for upright storage, saving up to 70% of floor space without fuel or oil leaks.
- Self-Propelled Variable Speed: Rear-wheel drive adjusts speed for effortless maneuvering across varied terrain.
Sikkerhedsoplysninger
Prioritér altid sikkerhed ved betjening af elektrisk udstyr. Manglende overholdelse af sikkerhedsinstruktionerne kan resultere i alvorlig personskade eller død.
- Læs hele manualen før brug.
- Bær passende personlige værnemidler (PPE), herunder øjenbeskyttelse, høreværn og robust fodtøj.
- Sørg for, at arbejdsområdet er fri for affald, børn og kæledyr.
- Brug aldrig plæneklipperen i vådt føre eller på meget stejle skråninger.
- Sluk motoren og frakobl tændrørskablet, før du udfører vedligeholdelse eller fjerner blokeringer.
- Handle fuel with extreme care. Store fuel in approved containers and refuel in a well-ventilated area with the engine off and cool.
- Do not modify the mower or its safety features.
Opsætning og montering
The mower requires minimal assembly. Follow these steps before first use:
- Unboxing: Carefully remove the mower from its packaging. It is recommended to have assistance due to the weight of the unit.
- Styrsamling: Attach the handlebar to the mower body. Secure it using the provided hardware, typically two hand knobs that screw onto bolts. Ensure all connections are tight.
- Tilsæt motorolie: Locate the oil fill cap, which often has an integrated dipstick. Fill the engine with the supplied motor oil until the dipstick indicates the correct level. Do not overfill.
- Tilføj brændstof: Fill the fuel tank with fresh, unleaded gasoline. Ensure the engine is cool and the area is well-ventilated. Do not fill the tank completely; leave space for fuel expansion.
Ensure engine oil is added before starting the mower. The oil fill cap often includes a dipstick for checking levels.
Betjeningsvejledning
Start af motor:
- Ensure the fuel tank is adequately filled and the oil level is correct.
- Prime the engine if necessary (refer to engine specific instructions if a primer bulb is present).
- Engage the safety bail lever on the handlebar.
- Pull the starter cord firmly and smoothly until the engine starts. Allow the engine to warm up for a few moments.
Justering af klippehøjde:
The mower features a single lever for 6-position height adjustment, ranging from 1.25 inches to 4 inches. Adjust the lever to your desired cutting height before starting the mowing operation.

The single lever allows for quick and easy adjustment of the cutting height across 6 positions, from 1.25 to 4 inches.
Using the Self-Propelled Feature:
This mower is equipped with variable speed rear-wheel self-propulsion. To engage, simply squeeze the self-propel lever on the handlebar. The speed can be adjusted to match your walking pace and terrain conditions, reducing effort during operation.

The variable speed self-propelled feature assists in maneuvering the mower, especially on uneven terrain or inclines.
3-in-1 Cutting System:
Your mower offers three versatile cutting modes:
- Sideudflåd: For areas where grass clippings do not need to be collected. Attach the side discharge chute.
- Mulching: Recycles grass clippings back into the lawn as natural fertilizer. Ensure the mulching plug is installed and the side discharge chute is removed.
- Bagpåsætning: Collects grass clippings in the attached grass bag for easy disposal. Ensure the grass bag is properly installed and the mulching plug is removed.

Choose between side discharge, mulching, or rear bagging based on your lawn care needs.

The mower features a large capacity grass bag for efficient collection of clippings.
Opretholdelse
Regelmæssig vedligeholdelse sikrer din plæneklippers lange levetid og optimale ydeevne.
- Motorvedligeholdelse: Refer to the engine manufacturer's manual for specific oil change intervals, air filter cleaning/replacement, and spark plug maintenance.
- Klingepleje: Regularly inspect the cutting blade for sharpness and damage. Sharpen or replace as needed. Always disconnect the spark plug wire before working on the blade.
- Rensning: After each use, clean grass clippings and debris from the mower deck and chassis.

For quick cleaning, connect a garden hose to the wash port (if equipped) to rinse grass clippings from the chassis and blades.
Opbevaring:
For long-term storage, especially during off-season, prepare the mower as follows:
- Drain the fuel or add a fuel stabilizer.
- Skift motorolien.
- Rengør plæneklipperen grundigt.
- Store in a dry, protected area. The mower's foldable design allows for upright storage, saving significant floor space without risk of fuel or oil leaks.

The mower can be folded and stored upright to save up to 70% of floor space, preventing fuel or oil leaks.
Fejlfinding
| Problem | Mulig årsag | Løsning |
|---|---|---|
| Motoren starter ikke | No fuel, old fuel, spark plug issue, low oil. | Check fuel level, use fresh fuel, inspect/replace spark plug, ensure oil is at correct level. |
| Self-propel feature not working | Drive belt dislodged or damaged. | Inspect the drive belt. If dislodged, carefully re-seat it around the pulleys. If damaged, replace it. Contact customer service if unsure. |
| Poor cutting performance / Grass clogs under deck | Dull blade, excessive grass height, wet grass, cutting deck clogged. | Sharpen or replace blade. Avoid mowing excessively tall or wet grass. Clean the underside of the deck regularly. Ensure the correct cutting mode (mulching plug/bag/chute) is set. |
| Engine sputters or runs rough | Gammelt brændstof, tilstoppet luftfilter, snavset tændrør. | Drain old fuel and refill with fresh. Clean or replace air filter. Clean or replace spark plug. |
Specifikationer
| Mærke | SENIX |
| Modelnummer | R-H6 |
| Motorens slagvolumen | 201cc |
| Strømkilde | Gasdrevet |
| Skærebredde | 22 tommer |
| Justering af klippehøjde | 6 positioner (1.25 til 4 cm) |
| Driftstilstand | Automatisk (selvkørende) |
| Drevtype | Rear Wheel Drive, Variable Speed |
| Materiale | Metal |
| Varens vægt | 66 pund |
| Produktmål (D x B x H) | 37.5 cm x 23.75 cm x 15.87 cm |
| Montering påkrævet | Ja |
Garanti og support
SENIX products are designed for durability and performance. For warranty information and customer support, please refer to the documentation included with your product or visit the official SENIX webwebsted.
Beskyttelsesplaner:
Udvidede beskyttelsesplaner kan være tilgængelige for dit produkt:
- 2-årig beskyttelsesplan
- 3-årig beskyttelsesplan
- Complete Protect (monthly renewal policy)
For specific details on coverage and terms, please consult the plan provider.
Kundeservice:
Should you encounter any issues or require assistance with parts, contact SENIX customer service. They are available to help with inquiries and support.