1. Introduktion
This manual provides detailed instructions for the installation, operation, and maintenance of the Generic CR4CU220812S12 32-bit silent mainboard, designed as an upgrade for Creality K1 and K1 Max 3D printers. This mainboard enhances printer performance through advanced processing and silent stepper motor drivers.
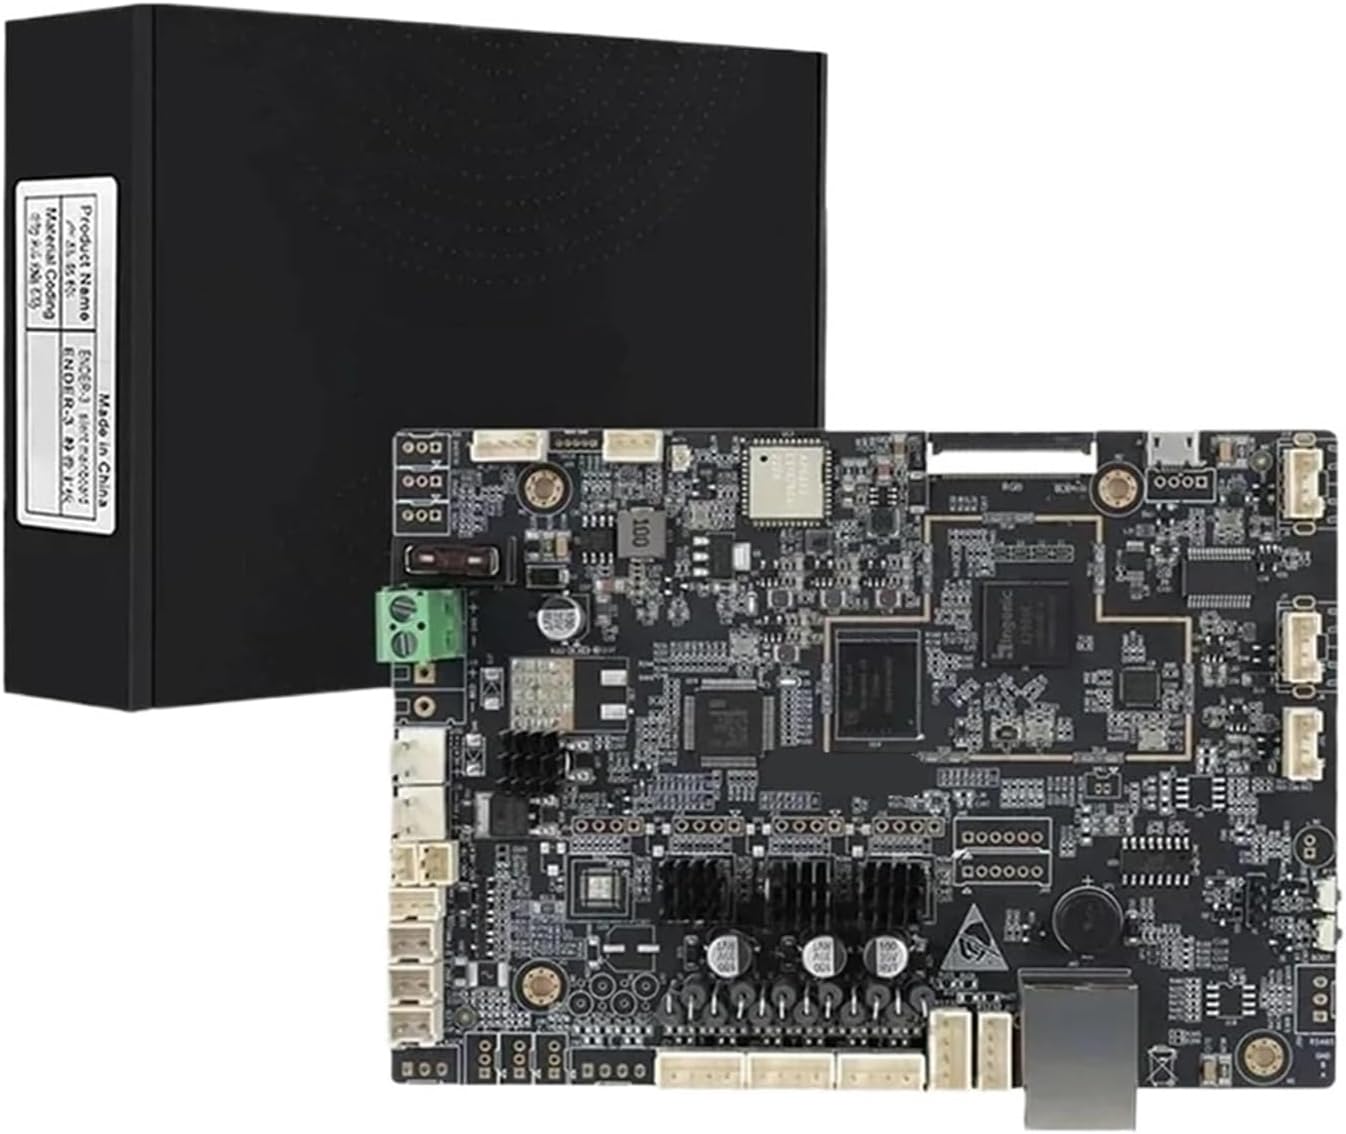
Figure 1: The CR4CU220812S12 mainboard packaged with its box.
2. Nøglefunktioner
The CR4CU220812S12 mainboard offers several significant improvements for your 3D printer:
- Enhanced 32-bit Processing: Utilizes a modern 32-bit microcontroller for greater processing power, enabling complex motion calculations, faster data processing, and support for advanced firmware features. This results in smoother overall printer operation.
- Integrated Silent Stepper Motor Drivers: Incorporates advanced TMC2209 stepper motor drivers with stealthChop2 technology. This significantly reduces audible noise from the X, Y, and Z axis motors, making the printer much quieter.
- Direct Drop-In Replacement: Designed to match original mounting points, connectors, and physical dimensions, allowing for a straightforward hardware swap that maintains existing wiring and functionality.
- Improved Thermal Management and Safety Features: Features refined circuitry for heater control and temperature monitoring. Enhanced safety protocols help prevent thermal runaway, and stable power delivery supports consistent printing temperatures.
- Expanded Firmware Compatibility and Connectivity: The 32-bit platform supports updated firmware, providing access to new features. It maintains all necessary connectivity for the printer's display, sensors, and accessories, ensuring full system integration.

Figur 2: Øverst view of the CR4CU220812S12 mainboard, highlighting key components and connectors.
3. Installationsvejledning
Before beginning the installation, ensure your 3D printer is powered off and unplugged from the mains electricity. Static electricity can damage electronic components, so take appropriate precautions (e.g., use an anti-static wrist strap).
3.1 Sikkerhedsforanstaltninger
- Always disconnect power before handling electronic components.
- Avoid touching components directly with bare hands; hold the board by its edges.
- Ensure all connections are secure before powering on the printer.
3.2 Trin-for-trin installation
- Klargør printeren: Power off and unplug your Creality K1 or K1 Max 3D printer. Allow any heated components to cool down.
- Adgang til bundkortet: Locate and open the access panel or enclosure that houses the existing mainboard. This typically involves removing several screws.
- Disconnect Existing Cables: Carefully photograph or label all cables connected to the old mainboard before disconnecting them. Pay close attention to power, motor, sensor, and heater connections.
- Fjern det gamle bundkort: Unscrew and remove the old mainboard from its mounting points.
- Installer nyt bundkort: Place the CR4CU220812S12 mainboard into the printer's mainboard housing, aligning it with the mounting holes. Secure it with the appropriate screws.
- Gentilslut kabler: Refer to your photographs or labels and carefully reconnect all cables to the new mainboard. Ensure each connector is fully seated and oriented correctly. Double-check all power connections.
- Luk indhegning: Once all connections are verified, close the mainboard access panel or enclosure.
- Første opstart: Plug in your printer and power it on. Observe the printer's display and listen for any unusual sounds. If the printer powers on normally, proceed to firmware verification.
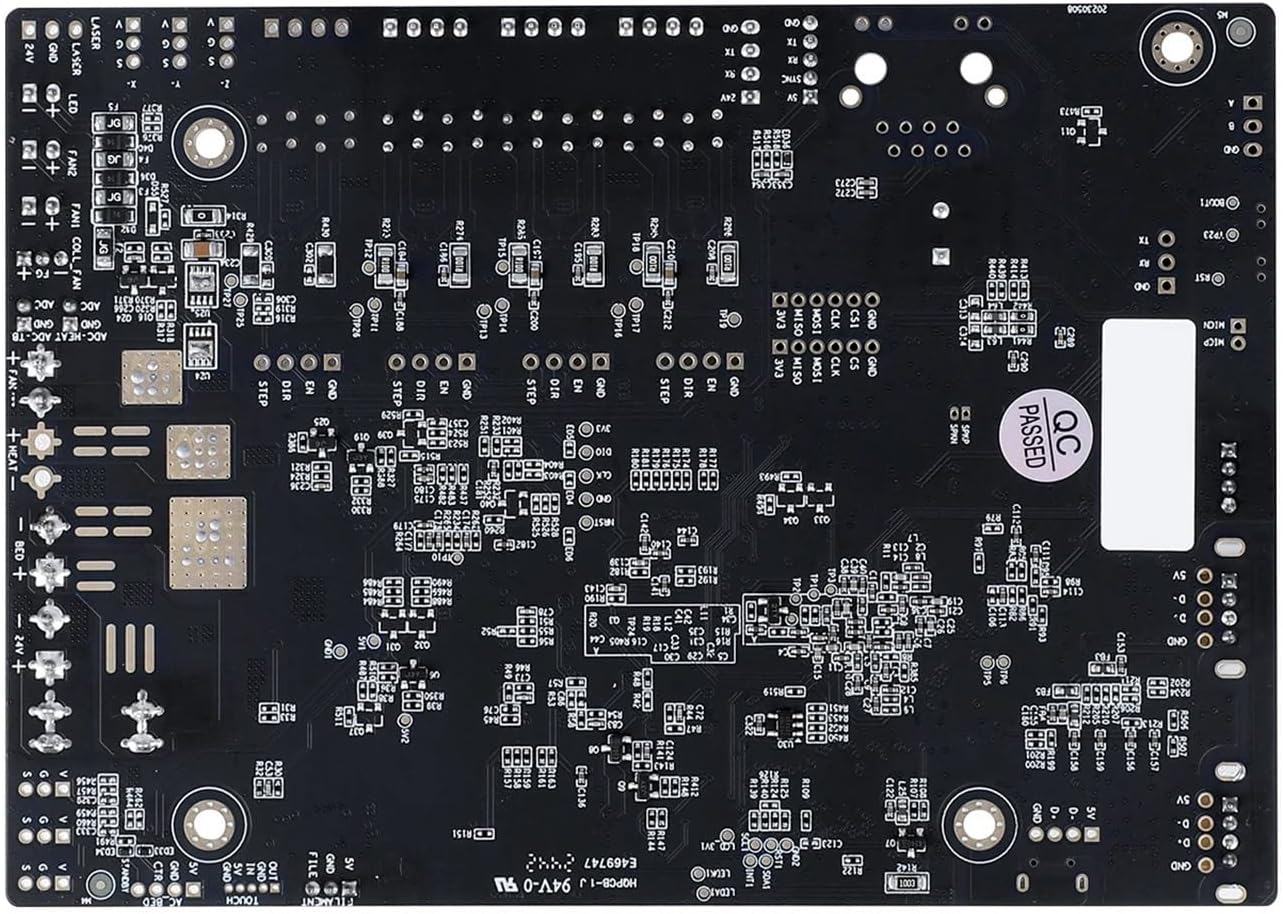
Figur 3: Nederst view of the CR4CU220812S12 mainboard, showing mounting points for installation.
4. Betjeningsvejledning
After successful installation, the CR4CU220812S12 mainboard will integrate with your Creality K1/K1 Max printer's existing systems. The primary operational changes will be improved performance and reduced noise.
4.1 Firmware Considerations
This 32-bit mainboard supports advanced firmware. It is recommended to ensure your printer is running the latest compatible firmware version for optimal performance and access to new features. Consult Creality's official support channels for firmware updates specific to the K1/K1 Max and this mainboard.
4.2 Indledende kontrol
- Verify that the printer's display functions correctly.
- Test all axis movements (X, Y, Z) to ensure motors respond smoothly and quietly.
- Initiate a small test print to confirm proper heating of the hotend and heated bed, and accurate extrusion.
5. Vedligeholdelse
Regular maintenance helps ensure the longevity and consistent performance of your mainboard and 3D printer.
- Hold rent: Periodically inspect the mainboard for dust accumulation. Use compressed air or a soft brush to gently remove dust, ensuring the cooling components (heat sinks) remain clear.
- Tjek forbindelser: Occasionally verify that all cables connected to the mainboard are secure and free from damage. Loose connections can lead to intermittent issues.
- Firmwareopdateringer: Stay informed about official firmware updates from Creality. Updating firmware can introduce new features, improve stability, and fix bugs. Follow official instructions carefully when performing updates.
- Miljøkontrol: Operate your 3D printer in a stable environment, avoiding extreme temperatures, high humidity, and direct sunlight, which can affect electronic components.
6. Fejlfinding
If you encounter issues after installing the CR4CU220812S12 mainboard, refer to the following common troubleshooting steps:
| Problem | Mulig årsag | Løsning |
|---|---|---|
| Printeren tænder ikke. | Loose power connection, faulty power supply, incorrect wiring. | Check all power cables are securely connected. Verify power supply functionality. Re-check wiring against diagrams. |
| Motors not moving or making grinding noises. | Loose motor cable, incorrect motor wiring, driver issue. | Ensure motor cables are fully seated. Verify correct motor wiring. If issue persists, contact support. |
| Display virker ikke. | Loose display cable, incorrect display cable connection. | Check the display ribbon cable connection at both the mainboard and the display unit. |
| Printer not heating (hotend/bed). | Loose heater or thermistor connection, faulty component. | Verify heater and thermistor connections. Ensure they are not reversed. |
| Unexpected behavior or errors. | Incompatible firmware, corrupted firmware, software glitch. | Ensure correct firmware is installed. Try reflashing the firmware. Consult Creality's support resources. |
If these steps do not resolve your issue, please contact the seller or manufacturer for further assistance.
7. Specifikationer
Detailed specifications for the CR4CU220812S12 mainboard:
- Mærke: Generisk
- Fabrikant: Generisk
- Modelnummer: CR4CU220812S12 (also identified as TDPDBWTDA-E1DFEC20)
- Kompatibilitet: Creality K1, Creality K1 Max 3D Printers
- Processor: 32-bit mikrocontroller
- Stepper Drivers: Integrated TMC2209 (Silent Stepper Drivers)
- Varetype: Bundkort
- ASIN: B0GKB459TM
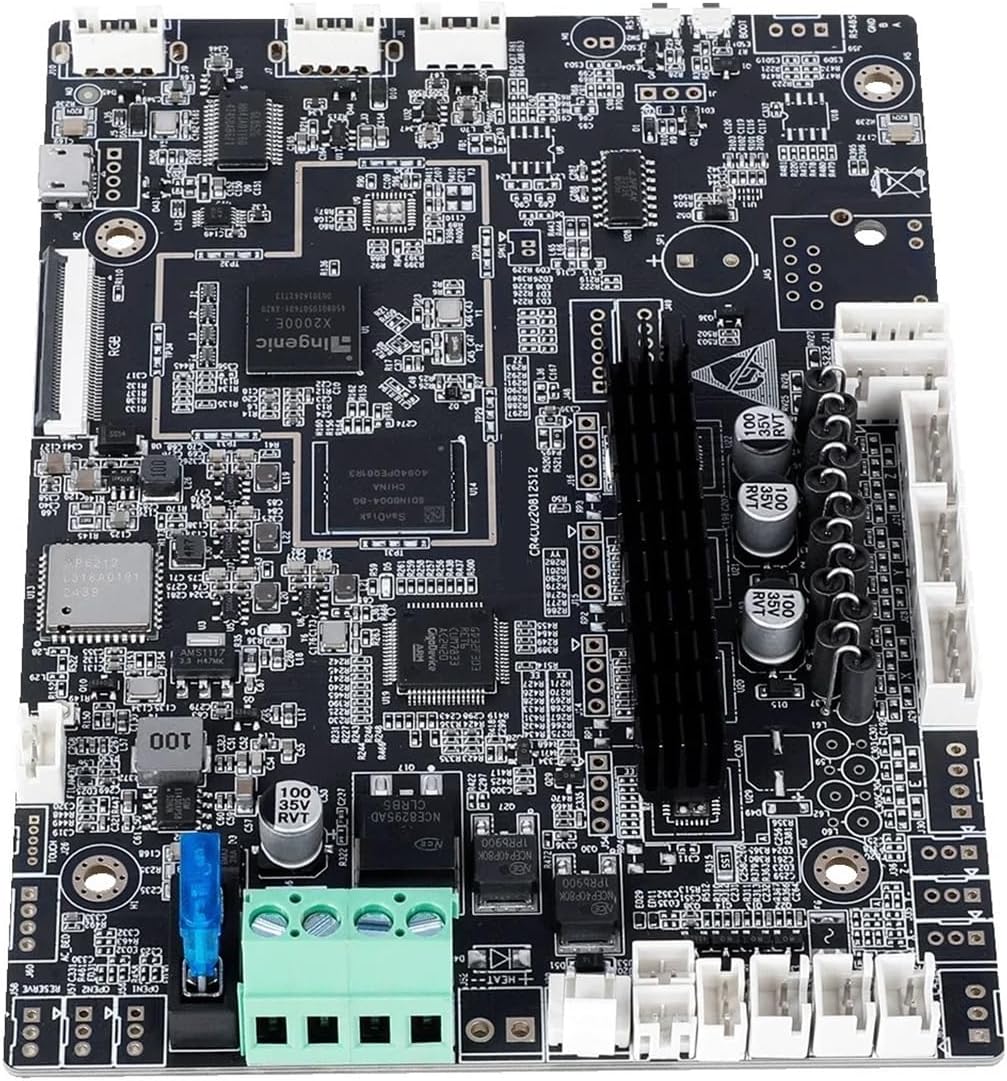
Figur 4: Vinklet view of the CR4CU220812S12 mainboard, showing various ports and components.
8. Garanti og support
Dette produkt er dækket af producentens standardgaranti. For specifikke garantivilkår henvises til den dokumentation, der fulgte med dit køb, eller kontakt sælgeren direkte.
For technical support, troubleshooting assistance beyond this manual, or warranty claims, please contact the seller or the manufacturer. Provide your purchase details and the model number (CR4CU220812S12) when seeking support to expedite the process.