
1. Introduktion
This manual provides detailed instructions for setting up, operating, and maintaining your AOOSTAR MACO AMD Ryzen 7 H255 Mini PC. Please read this manual thoroughly before using the device to ensure proper functionality and safety. The AOOSTAR MACO Mini PC is designed for high performance, featuring an AMD Ryzen 7 H255 processor, Radeon 780M graphics, and extensive connectivity options.
2. Pakkens indhold
Bekræft, at alle nedenstående varer er til stede i din pakke:
- 1 x AOOSTAR MACO AMD Ryzen 7 H255 Mini PC
- 1 x SSD Cooling Pad
- 1 x 120W 19V 6.32A Type-C Power Supply
3. Produktet er slutview
The AOOSTAR MACO Mini PC is a compact yet powerful computing solution. Below are key features and an overview of its components and ports.
3.1 Nøglefunktioner
- Processor: AMD Ryzen 7 H255 (8-core, 16-thread, up to 4.9 GHz) with Zen 4 architecture and 4nm process.
- Grafik: Integrated Radeon 780M graphics (RDNA 3 architecture).
- Hukommelse: Dual-channel DDR5 5600MHz (expandable up to 128GB).
- Opbevaring: Dual-channel M.2 2280 NVMe PCIe4.0x4 SSD (expandable up to 8TB).
- Sikkerhed: One-touch fingerprint unlock for secure access.
- Display Support: Supports up to four 4K displays simultaneously.
- Forbindelse: OCuLink, Dual USB4, USB 3.2 Gen2, USB 3.0, HDMI, DisplayPort, Dual 2.5G LAN, Wi-Fi 6.
3.2 External Components and Ports
Familiarize yourself with the various ports and components of your Mini PC.
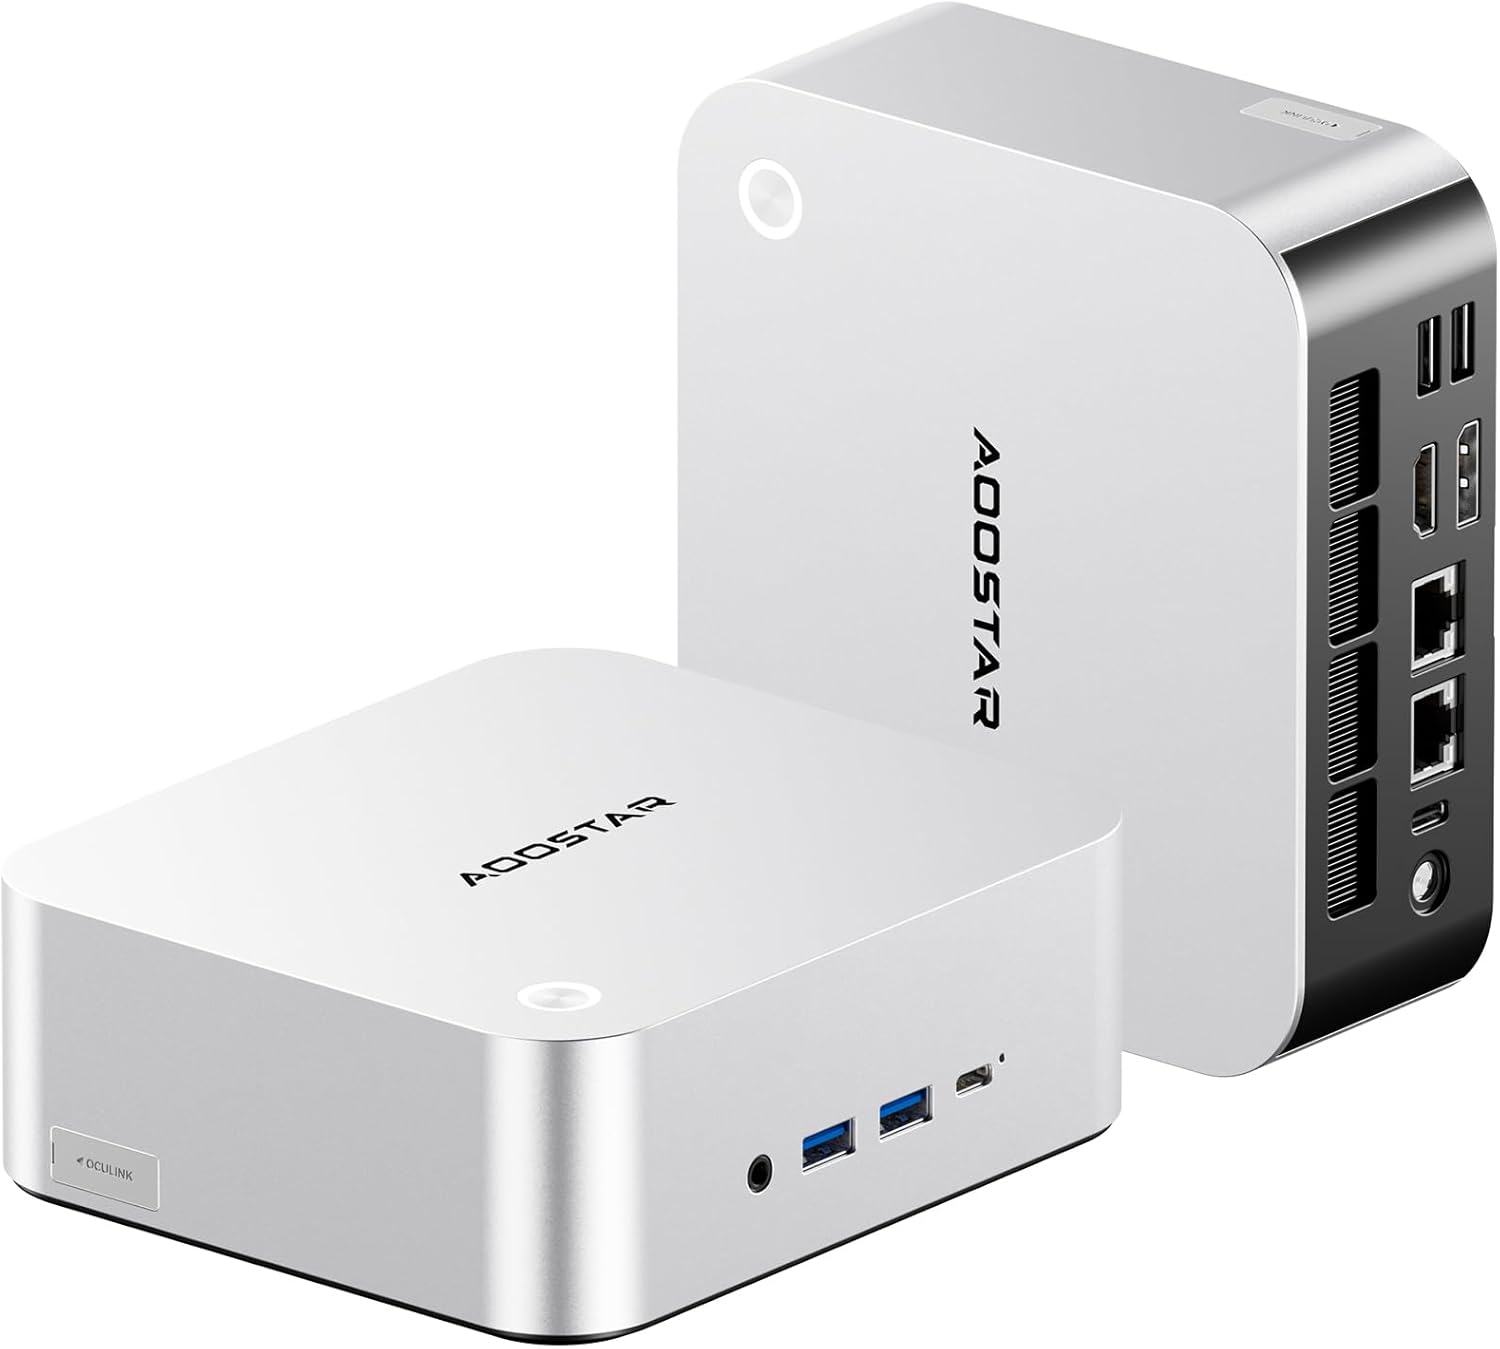
Billede: Foran og bagpå view of the AOOSTAR MACO Mini PC, showcasing dens kompakte design og forskellige porte.

Billede: Detaljeret view of the AOOSTAR MACO Mini PC's rear ports, including OCuLink, USB4, USB 3.2 Gen2, HDMI, DisplayPort, and Dual 2.5G LAN ports.
- Frontpanel: Power button with fingerprint sensor, USB ports.
- Bagside: OCuLink port (1), USB4 ports (2), USB 3.2 Gen2 ports (2), USB 3.0 ports (2), HDMI port (1), DisplayPort (1), 2.5G LAN ports (2), DC power input (1), Audio Jack (1).

Image: Close-up of the one-touch fingerprint sensor on the AOOSTAR MACO Mini PC for secure login.

Image: Visual representation of the AMD Ryzen 7 H255 processor, highlighting its core count, turbo frequency, and architecture.

Billede: Intern view showing the dual DDR5 memory slots and dual M.2 PCIe 4.0 SSD slots for high-speed storage and memory.

Image: The OCuLink port connected to an external GPU enclosure, demonstrating its use for enhanced graphics performance.

Image: Two AOOSTAR MACO Mini PCs side-by-side, highlighting the dual USB4 ports for high-speed data transfer and power delivery.
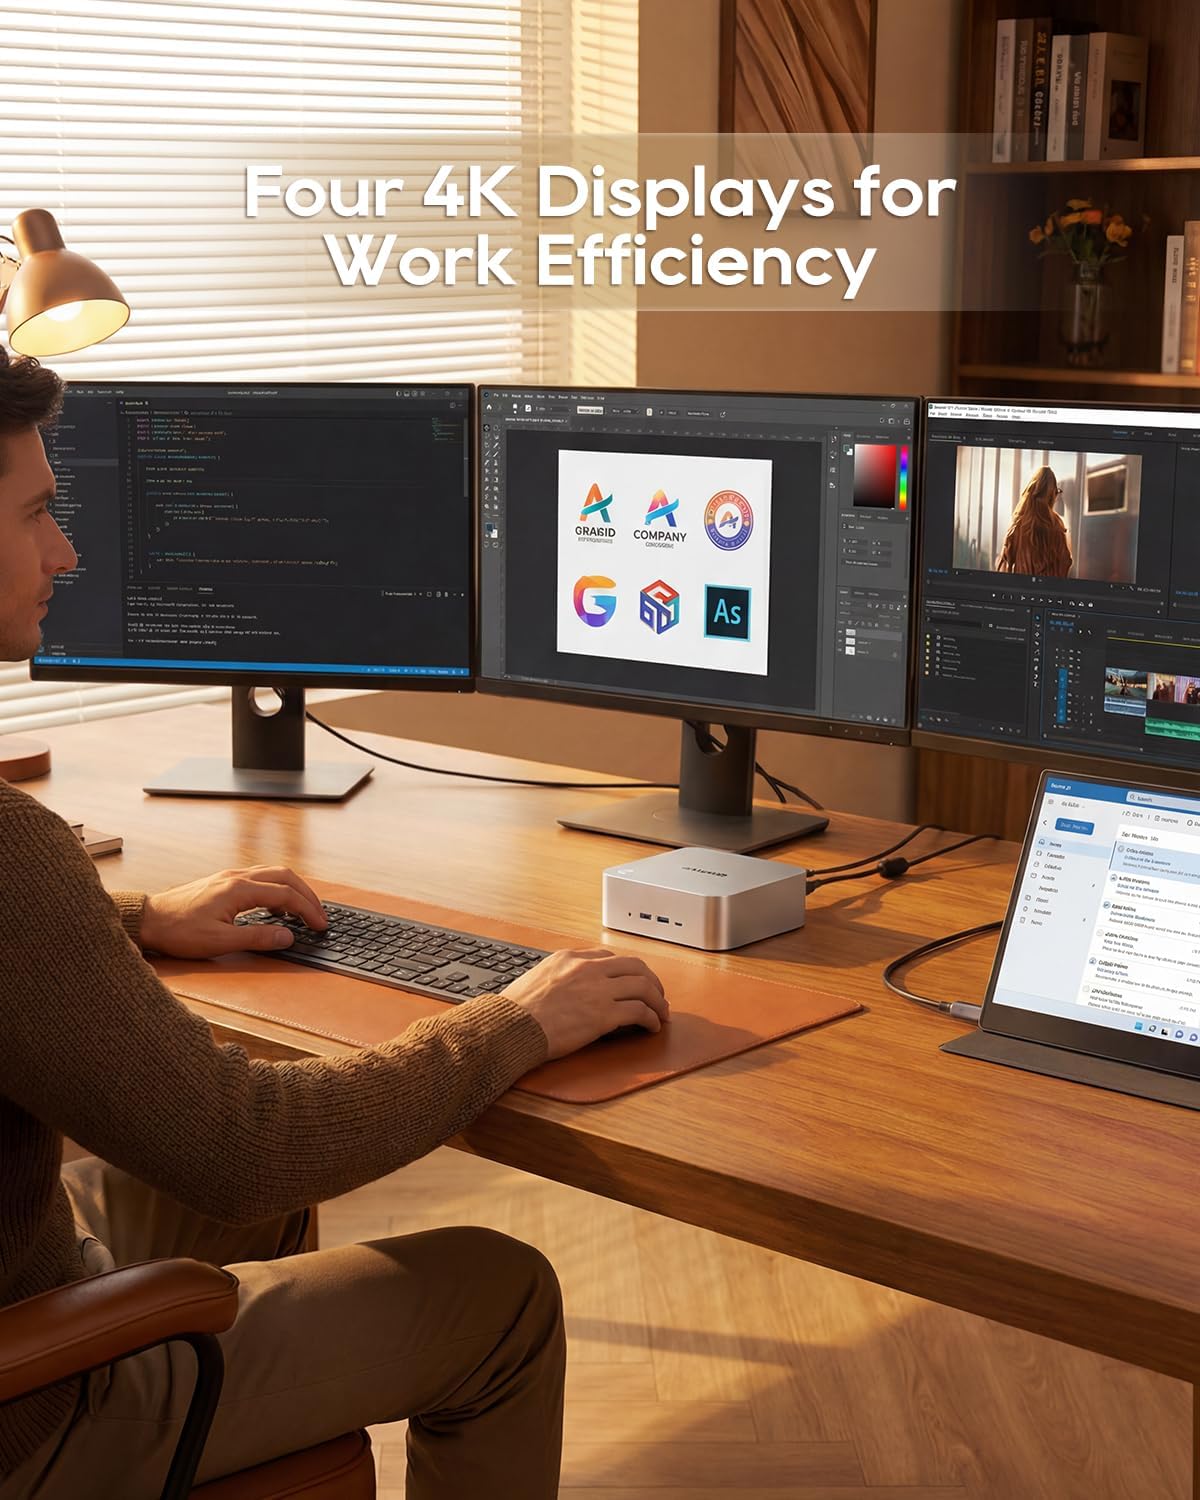
Image: A user working with the AOOSTAR MACO Mini PC connected to four 4K displays, illustrating its multi-display capability for productivity.
Image: The rear of the Mini PC showing the dual 2.5G LAN ports and an external WiFi antenna, emphasizing its high-speed networking capabilities.
Video: En overview of the AOOSTAR MACO Mini PC, demonstrating its features such as fingerprint unlock, business applications, gaming performance, and home theater use.
4. Opsætningsvejledning
Follow these steps to set up your AOOSTAR MACO Mini PC:
- Tilslut skærm: Connect your monitor(s) to the Mini PC using an HDMI or DisplayPort cable. The Mini PC supports up to four 4K displays.
- Tilslut ydre enheder: Tilslut dit tastatur, din mus og andre USB-enheder til de tilgængelige USB-porte.
- Netværks forbindelse: For wired internet, connect an Ethernet cable to one of the 2.5G LAN ports. For wireless internet, ensure the Wi-Fi antenna is connected (if external) and the device is powered on to configure Wi-Fi settings.
- Strømtilslutning: Connect the 120W Type-C power supply to the DC input port on the Mini PC, then plug the power adapter into a wall outlet.
- Tænd: Tryk på tænd/sluk-knappen på forsiden af mini-pc'en. Systemet starter op.
- Indledende opsætning: Follow the on-screen instructions to complete the operating system setup (e.g., Windows OS).
5. Betjeningsvejledning
This section covers general operation and specific features of your Mini PC.
5.1 Lås op med fingeraftryk
The Mini PC features a one-touch fingerprint unlock for enhanced security and quick access. During initial OS setup or via system settings, you can enroll your fingerprints. Once configured, simply touch the power button to wake and log in without needing a password.
5.2 Opsætning af flere skærme
The Mini PC supports connecting up to four 4K displays. Connect your monitors to the available HDMI and DisplayPort outputs. You can configure display settings (e.g., extend, duplicate) within your operating system's display settings.
5.3 OCuLink for External Graphics
The OCuLink port provides a high-bandwidth connection (64 Gbps) for external GPU solutions. This allows for significantly improved graphics performance for demanding applications or gaming. Note that OCuLink is not hot-swappable and does not occupy an M.2 2280 PCIe4.0 SSD slot.
5.4 USB4 Ports
The dual USB4 ports offer versatile connectivity with high data transfer speeds and power delivery capabilities (up to 100W). These ports can be used for external graphics card docks, NVMe SSD arrays, or other high-speed peripherals.
6. Vedligeholdelse
Regelmæssig vedligeholdelse er med til at sikre din mini-pc's lange levetid og optimale ydeevne.
- Rensning: Use a soft, dry cloth to clean the exterior of the Mini PC. For dust accumulation in vents, use compressed air. Ensure the device is powered off and unplugged before cleaning.
- Ventilation: Ensure the Mini PC is placed in a well-ventilated area. Do not block the ventilation openings.
- Softwareopdateringer: Regularly update your operating system, drivers, and applications to maintain security and performance.
7. Fejlfinding
Hvis du støder på problemer med din Mini PC, skal du se følgende almindelige fejlfindingstrin:
- Ingen strøm:
- Sørg for, at strømadapteren er korrekt tilsluttet både mini-pc'en og en fungerende stikkontakt.
- Kontroller, at stikkontakten fungerer ved at tilslutte en anden enhed.
- Ingen visning:
- Check that the display cable (HDMI/DisplayPort) is securely connected to both the Mini PC and the monitor.
- Sørg for, at skærmen er tændt og indstillet til den korrekte inputkilde.
- Prøv at tilslutte til en anden skærm eller bruge et andet kabel.
- Ingen internetforbindelse:
- Ved kabelforbindelse skal du kontrollere Ethernet-kablets og routerens status.
- For Wi-Fi, ensure Wi-Fi is enabled in the operating system settings and you are connected to the correct network with the correct password.
- Genstart din router/modem og mini-pc'en.
- Langsom ydeevne:
- Luk unødvendige programmer, der kører i baggrunden.
- Tjek om der er tilstrækkelig ledig lagerplads på din SSD.
- Ensure the Mini PC is well-ventilated to prevent overheating.
8. Specifikationer
Detailed technical specifications for the AOOSTAR MACO AMD Ryzen 7 H255 Mini PC:
| Feature | Specifikation |
|---|---|
| Mærke | AOOSTAR |
| Modelnummer | MACO AMD Ryzen 7 H255 |
| CPU model | AMD Ryzen 7 H255 |
| CPU hastighed | 3.8 GHz (Base), up to 4.9 GHz (Max Boost) |
| Grafik coprocessor | Radeon 780M |
| Installeret RAM-hukommelsesstørrelse | 24 GB |
| RAM-hukommelsesteknologi | DDR5 |
| Hukommelseshastighed | 5600 MHz |
| Maksimal RAM-hukommelsesstørrelse | 128 GB |
| Hukommelseslagringskapacitet | 1 TB SSD |
| Harddisk interface | PCIE x 4 |
| Operativsystem | OS (Pre-installed) |
| Forbindelsesteknologi | HDMI, USB, Wi-Fi 6, 2.5G LAN, OCuLink |
| Video Output Interface | DisplayPort, HDMI |
| Opløsning | 4K |
| Samlet USB-porte | 6 (2x USB4, 2x USB 3.2 Gen2, 2x USB 3.0) |
| Emnedimensioner | 5.12 x 5.12 x 2.36 tommer |
| Varens vægt | 660 gram |
| Farve | Sort |
9. Garanti og support
The AOOSTAR MACO AMD Ryzen 7 H255 Mini PC comes with a 1-year warranty. For warranty claims, technical support, or service inquiries, please contact AOOSTAR customer support through their official channels or the retailer where the product was purchased. Keep your proof of purchase for warranty validation.


