
1. Produktet er slutview
The FORNORM Large Digital Wall Clock is a versatile LED clock designed for various environments, including living rooms, bedrooms, offices, and gyms. It features a high-definition LED display that shows time, date, day of the week, temperature, and humidity simultaneously. This clock is designed for clear readability from a distance and offers multiple functionalities to enhance daily routines.

Image 1.1: The FORNORM Large Digital Wall Clock with its comprehensive display.
Nøglefunktioner:
- Stort LED display: High-definition screen measuring 16.2 × 10.3 cm for easy readability.
- Multifunktionelt display: Shows time, date, day of the week, temperature, and humidity.
- Dobbelte alarmer: Set two independent alarms with a high-volume buzzer and snooze function.
- 5 lysstyrkeniveauer: Adjustable display brightness, including an option to turn off the display completely.
- Sluk-hukommelse: Retains time settings during power outages with 3 AAA carbon batteries (not included).
- Alsidig placering: Includes a detachable stand for desktop use and can be wall-mounted.
- Temperaturenheder: Skift nemt mellem Celsius (°C) og Fahrenheit (°F).
- Nedtællingstimer: Integrated timer function for various activities.
2. Pakkens indhold
- Electronic Clock ×1
- USB -kabel × 1
- Instruktionsmanual × 1
3. Specifikationer
| Feature | Detalje |
|---|---|
| Mærke | FORNORM |
| Modelnummer | 4801620 |
| Materiale | ABS plast |
| Farve | Sort |
| Display Type | Digital LED |
| Produktdimensioner | 15W x 35H centimetres (approx. 13.78 x 5.91 x 1.18 inches) |
| Strømkilde | Corded Electric (USB Cable included) |
| Hukommelsesbatteri | 3 AAA Carbon Batteries (not included) |
| Monteringstype | Wall Mount or Desktop Stand |
| Særlige funktioner | Alarm, Temperature, Humidity, Date, Brightness Dimmer, Countdown Timer |
4. Opsætning
4.1 Første opstart
- Connect the provided USB cable to the clock and plug it into a suitable power adapter (not included). The display will light up.
- For power-off memory function, insert 3 AAA carbon batteries (not included) into the battery compartment on the back of the clock. This ensures time settings are retained during power interruptions.
4.2 Placeringsmuligheder
The clock can be placed on a desktop using its detachable stand or mounted on a wall.
- Desktopplacering: Extend the detachable stand located on the back of the clock to prop it up on any flat surface.
- Vægmontering: Use the two keyhole slots on the back of the clock. Measure the distance between the slots and mark the corresponding positions on your wall. Insert screws (not included) into the wall, leaving a small portion exposed, then hang the clock securely.
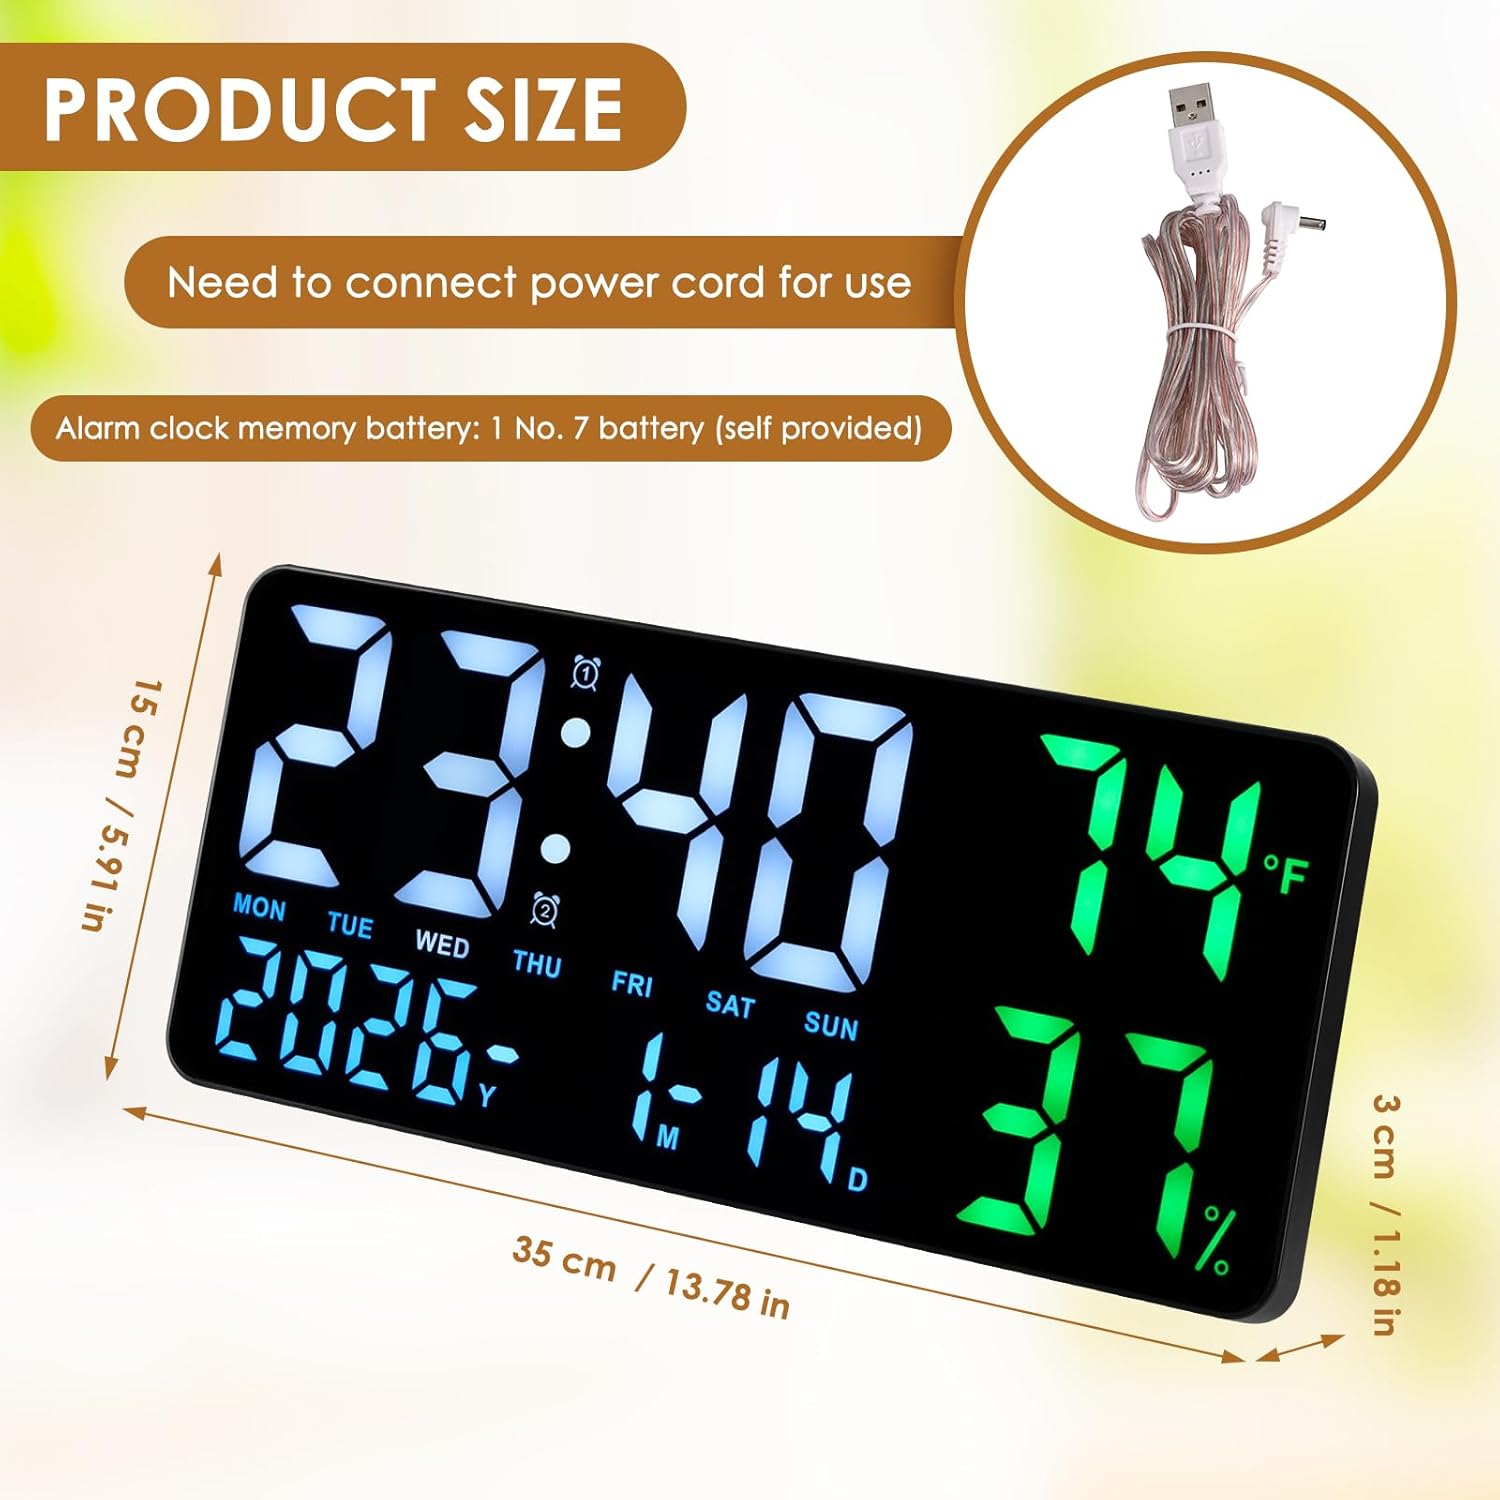
Image 4.1: The clock can be used on a desktop with its stand or mounted on a wall.
4.3 Bluetooth Pairing (for automatic time synchronization)
The clock supports Bluetooth for automatic time synchronization with your smartphone. This feature ensures accurate time display without manual adjustments.
- Sørg for, at Bluetooth er aktiveret på din smartphone.
- Søg efter tilgængelige Bluetooth-enheder på din smartphone.
- Select "LED CLOCK" from the list of devices to pair.
- Once paired, the clock's time and date will automatically synchronize with your phone.
Video 4.1: Demonstration of Bluetooth pairing and time synchronization with a smartphone.
5. Betjeningsvejledning
The clock can be operated using the buttons on the top edge or via the included remote control.
5.1 Manuel indstilling af tid og dato
If not using Bluetooth synchronization, you can manually set the time and date:
- Press the "TIME SET" button on the top of the clock.
- Use the "+" and "-" buttons to adjust the hour, then press "TIME SET" again to confirm and move to minutes.
- Gentag for minutter, år, måned og dag.
5.2 Alarmindstilling
The clock supports dual alarms.
- Press the "ALARM SET" button.
- Use the "+" and "-" buttons to set the desired alarm time (hour and minute).
- Tryk på "ALARMINDSTIL" igen for at bekræfte.
- To activate/deactivate an alarm, press the "ALARM ON/OFF" button. An alarm icon will appear/disappear on the display.
- When an alarm sounds, press the "SNOOZE" button to temporarily silence it.
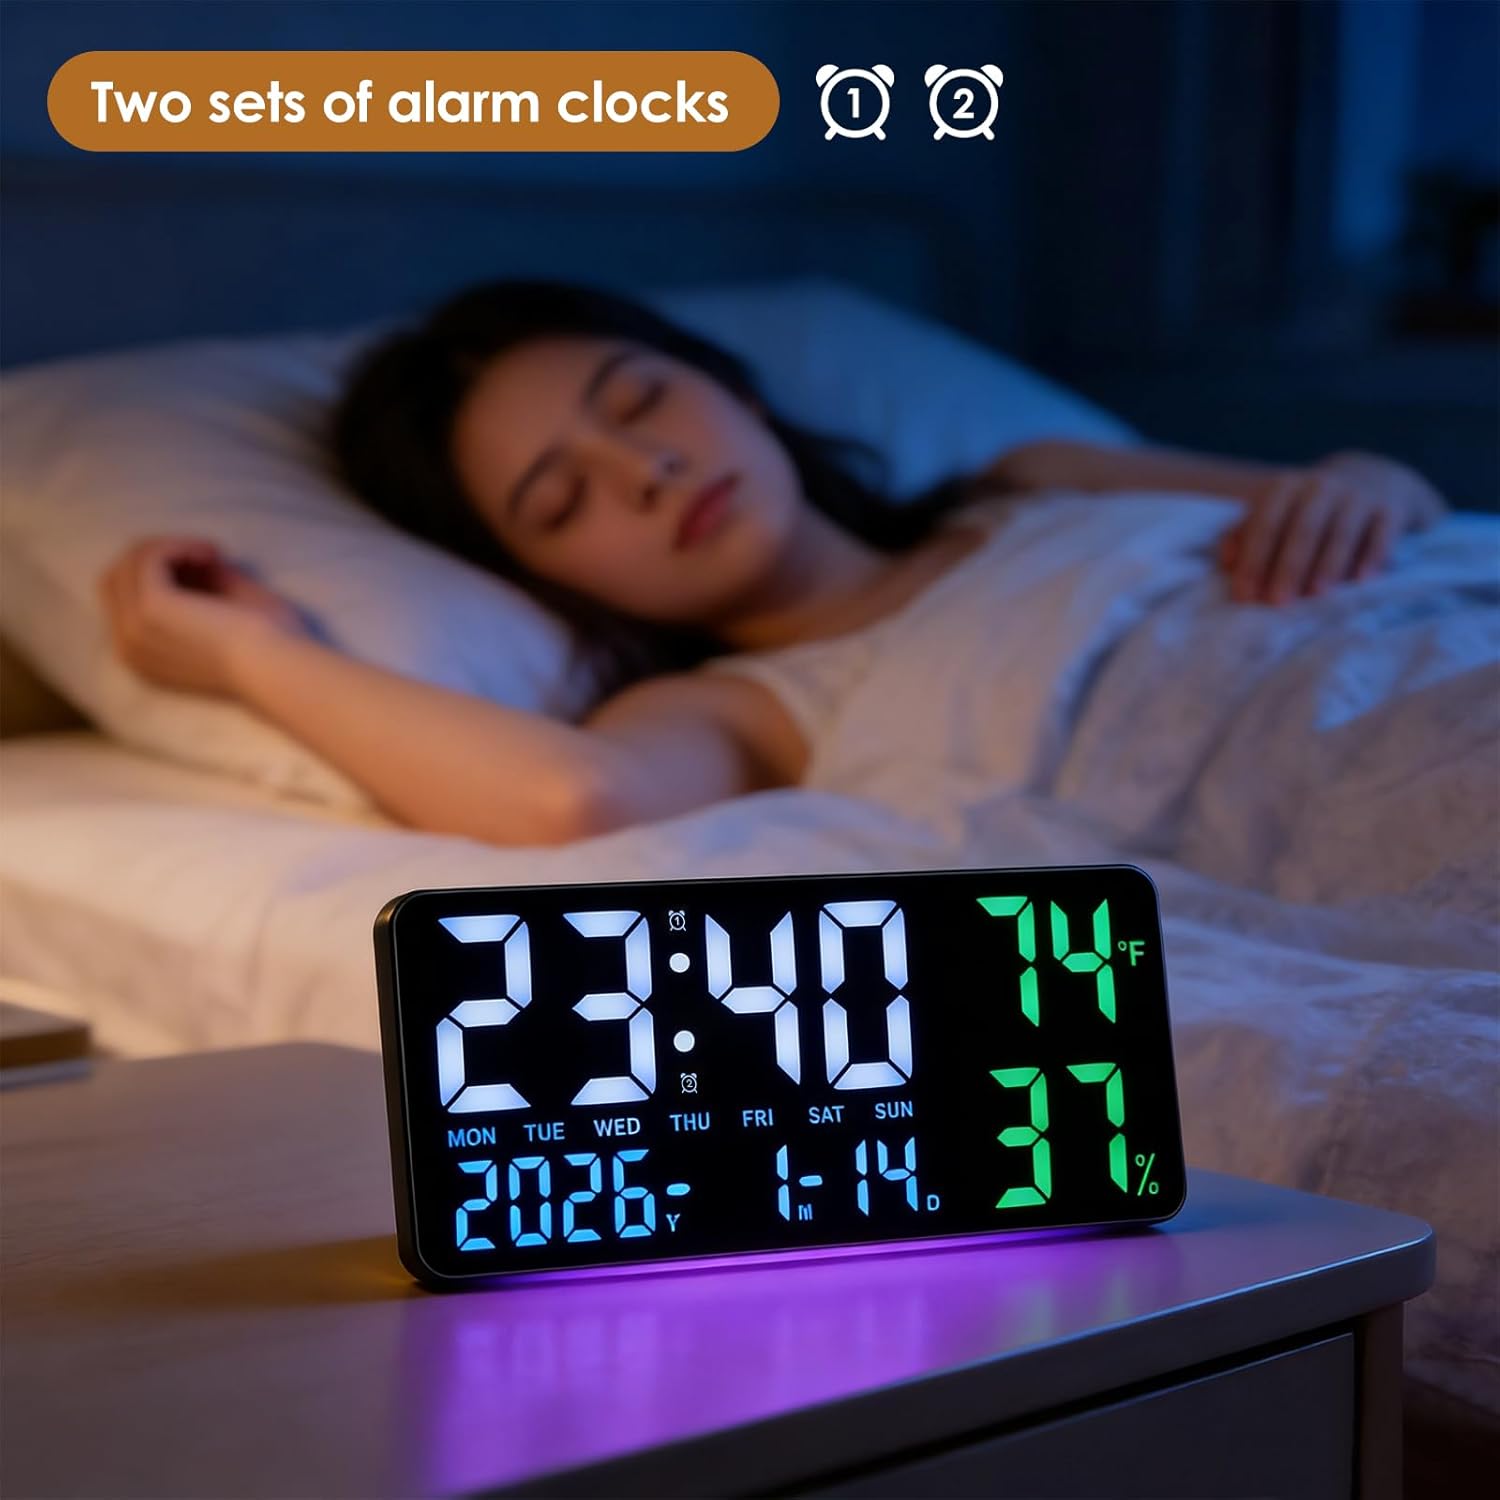
Image 5.1: The clock displaying time with dual alarm indicators.
5.3 Valg af temperaturenhed
Sådan skifter du mellem Celsius (°C) og Fahrenheit (°F):
- Short press the "°C/°F" button on the top of the clock or on the remote control.
5.4 Justering af lysstyrke
The clock offers 5 levels of brightness and an automatic dimming sensor.
- Press the brightness button (often represented by a light bulb icon) on the remote control to cycle through the 5 brightness levels.
- The automatic dimming sensor adjusts brightness based on ambient light conditions.
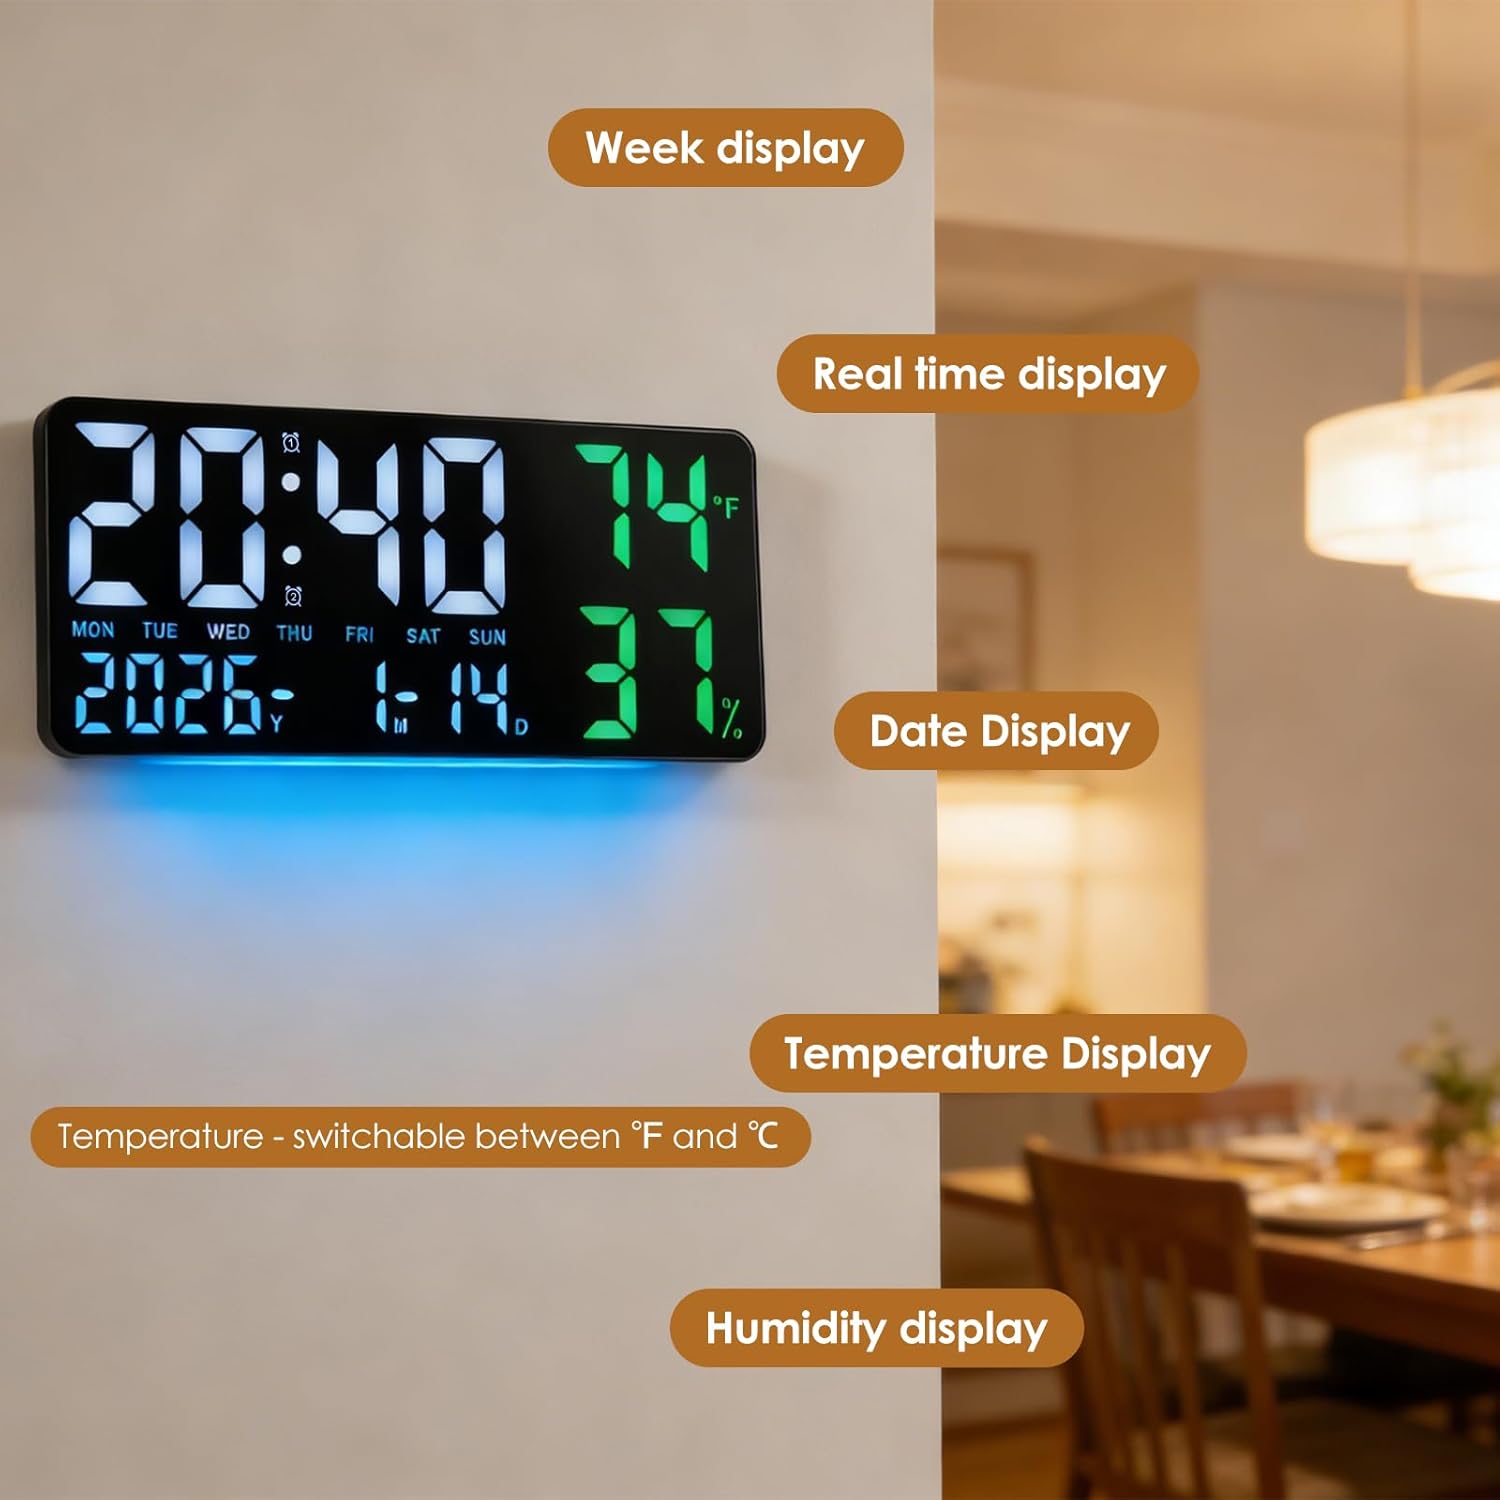
Image 5.2: Visual representation of the 5-speed brightness adjustment.
5.5 Nedtællingstimer
The clock includes a countdown timer function.
- Press the "TIMER" button on the remote control.
- Use the "HR", "MIN", "SEC" buttons and the "+" and "-" buttons to set the desired countdown duration.
- Press "TIMER ST/SP" to start or pause the countdown.
- Press "TIMER RESET" to clear the timer.

Image 5.3: The clock in timer mode, controlled by the remote.
5.6 12/24 timers tilstand
Sådan skifter du mellem 12-timers og 24-timers tidsformater:
- Press the "12/24" button on the top of the clock or on the remote control.
5.7 Sommertid (DST)
The clock features an automatic DST adjustment.
- Press the "AUTO DST" button on the top of the clock or on the remote control to enable or disable this feature. When enabled, the clock will automatically adjust for daylight saving changes.
Video 5.1: Demonstration of remote control functions, including time setting and DST adjustment.
6. Vedligeholdelse
6.1 Rengøring
For at rengøre uret skal du forsigtigt tørre displayet af ogasing with a soft, dry cloth. Avoid using abrasive cleaners or solvents that may damage the surface.
6.2 Udskiftning af batteri
If the power-off memory function is not working, replace the 3 AAA carbon batteries in the battery compartment on the back of the clock.
7. Fejlfinding
- Displayet er tomt: Ensure the USB cable is securely connected to a power source. Check if the power adapter is working.
- Tidspunktet er forkert: If not using Bluetooth, manually set the time and date. If using Bluetooth, ensure the clock is paired with your smartphone and Bluetooth is active.
- Alarmen lyder ikke: Verify that the alarm is activated (alarm icon visible) and the volume is not set to zero.
- Fjernbetjening virker ikke: Check the batteries in the remote control. Ensure there are no obstructions between the remote and the clock.
8. Garanti og support
For warranty information or technical support, please refer to the contact details provided with your purchase or visit the FORNORM official webwebsted. Gem din købskvittering i tilfælde af garantikrav.