
1. Introduktion
This manual provides detailed instructions for assembling, operating, and maintaining your PEMENOL DIY Infinity Mirror Cube Soldering Kit. This kit allows you to construct a unique LED electronic project that creates a captivating visual illusion of an endless light tunnel. The finished cube features a touch sensor for easy control of various lighting modes and colors, all housed within a durable acrylic casing.
Læs venligst denne manual grundigt, inden monteringen påbegyndes, for at sikre korrekt funktion og sikkerhed.
2. Sikkerhedsoplysninger
Advarsel: This kit involves soldering, which requires heat and can produce fumes. Always exercise caution and follow safety guidelines.
- Brug altid passende øjenbeskyttelse under lodning.
- Arbejd i et godt ventileret område for at undgå at indånde loddedampe.
- Use a heat-resistant mat to protect your work surface.
- Ensure your soldering iron is properly grounded and in good working condition.
- Undgå at røre ved loddekolbens varme spids.
- Keep all components and tools out of reach of children and pets.
- Do not apply power to the circuit until all soldering is complete and connections have been verified.
- If you are new to soldering, consider practicing on scrap components first.
3. Pakkens indhold
Before starting assembly, verify that all components listed below are present in your kit. Soldering tools are NOT included.

Image: All components included in the kit, such as acrylic panels, circuit boards, LEDs, resistors, wires, and a USB cable. Note: Soldering tools are not included.
- Acrylic Panels (various sizes for cube construction)
- Main Circuit Board
- LED Light Strips/Individual LEDs
- Resistors and other electronic components (capacitors, ICs, etc.)
- Strømafbryder
- Power Interface (USB port)
- Indikatorlys
- Tilslutningsledninger
- USB strømkabel
- Fastgørelseselementer (skruer, møtrikker)
- Instruktionsark (denne manual)
4. Opsætnings- og monteringsvejledning
This section guides you through the step-by-step assembly of your Infinity Mirror Cube. Ensure you have all necessary tools, including a soldering iron, solder, wire cutters, and a screwdriver.
4.1. Electronic Component Soldering
Carefully solder all electronic components onto the main circuit board as indicated in the circuit diagram (if provided separately) or by markings on the PCB. Pay close attention to component polarity (for LEDs, diodes, and some capacitors) and resistor values.
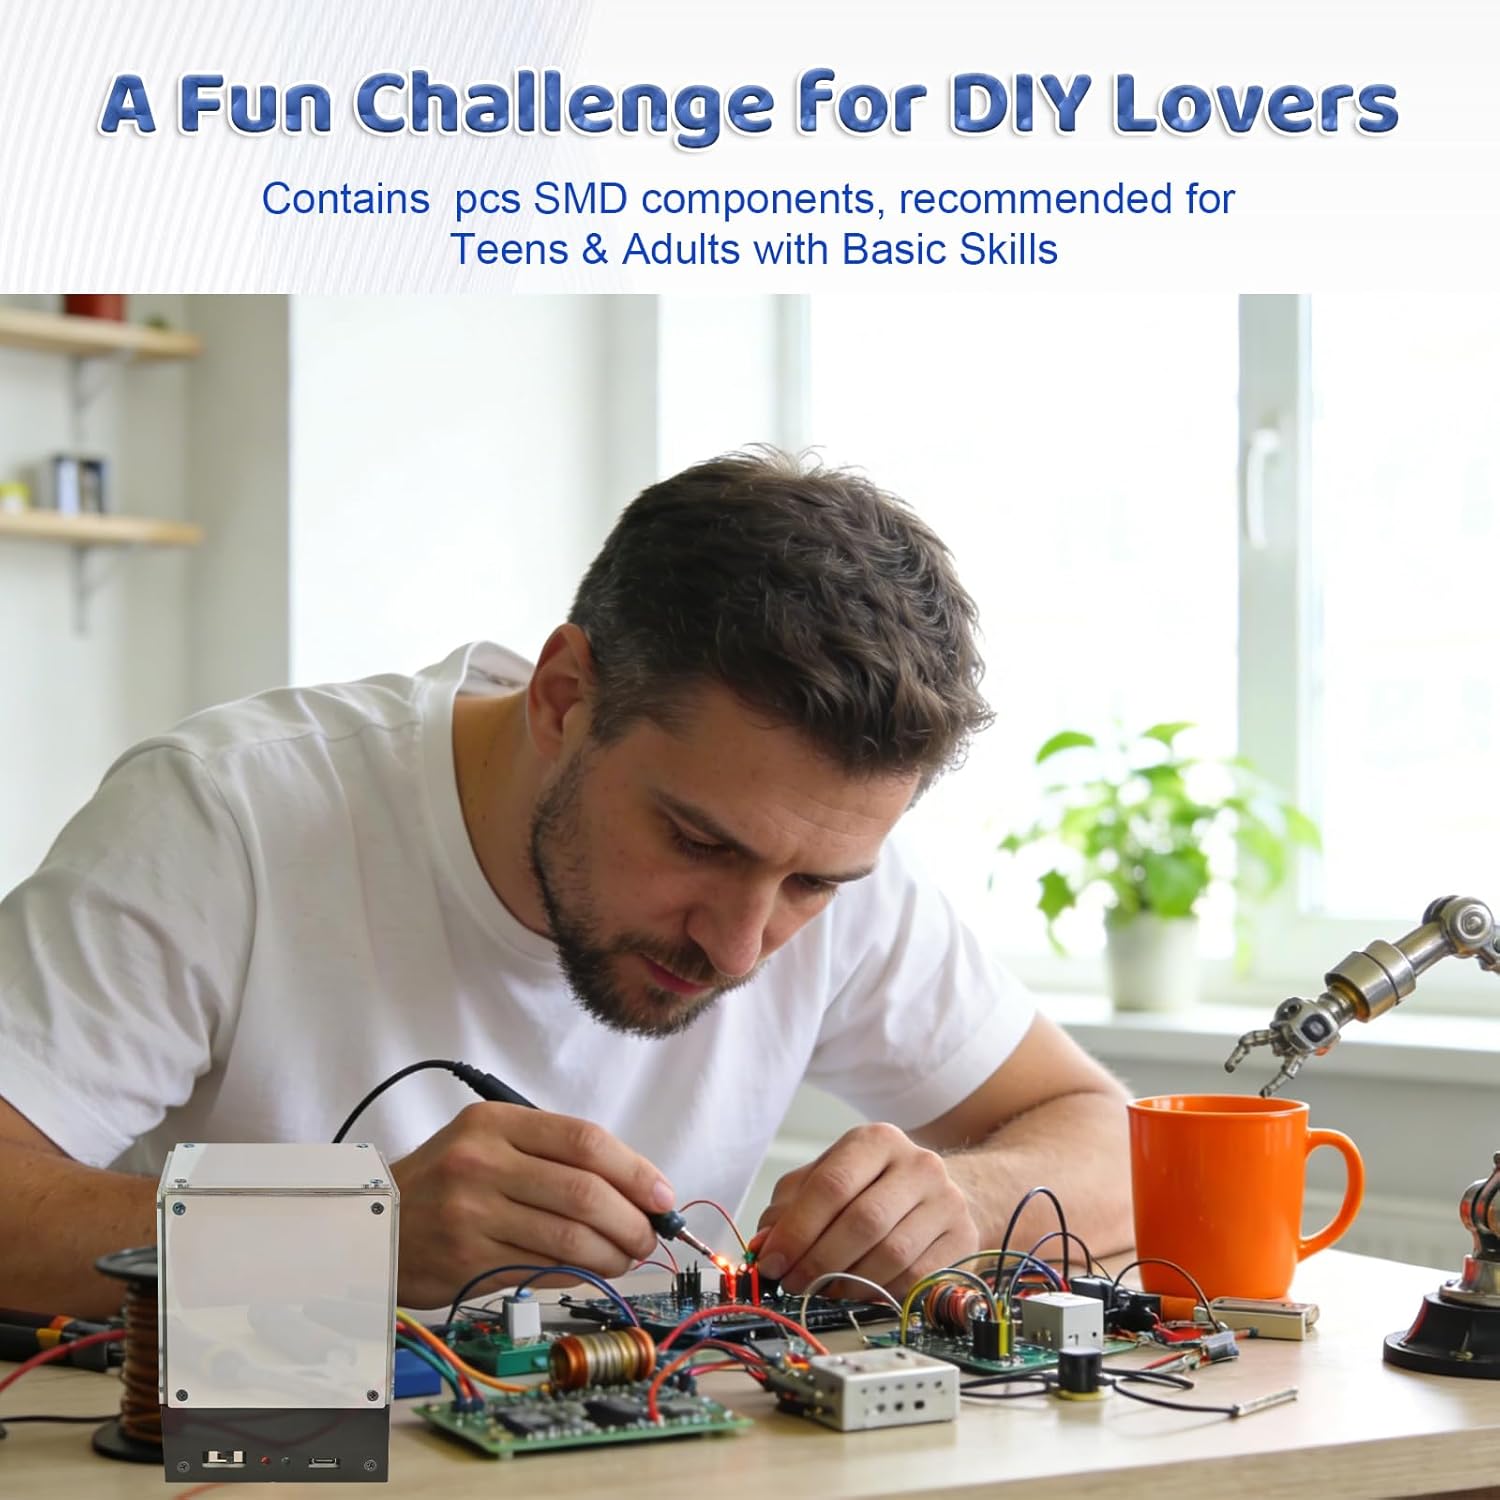
Image: An individual engaged in soldering electronic components onto a circuit board, demonstrating the hands-on assembly process required for the kit.
- Identify and sort all small components (resistors, LEDs, capacitors).
- Solder resistors first, then diodes and LEDs, ensuring correct orientation.
- Solder the integrated circuits (ICs) and other larger components.
- Connect the power switch, power interface, and indicator lights to the main board using the provided wires, following the connection points.
- Double-check all solder joints for cold joints or bridges.
4.2. Acrylic Casing Samling
Once the electronic assembly is complete and tested (if possible), proceed with building the acrylic casing.
- Remove protective films from all acrylic panels.
- Assemble the side panels of the cube, securing them with screws and nuts. Ensure the mirror panels are correctly oriented to create the infinity effect. One panel will be a one-way mirror, and the opposite will be a standard mirror.
- Carefully place the assembled circuit board and LED strips inside the acrylic structure.
- Attach the top and bottom panels, ensuring all components are securely enclosed.
- Verify that the power switch and USB port are accessible through the designated openings in the casing.

Image: The assembled infinity mirror cube, illustrating the LED light tunnel effect when illuminated and how the mirror acrylic panels function as a regular mirror when off.
5. Betjeningsvejledning
5.1. Tænd/sluk
- Connect the provided USB cable to the power interface on the cube and to a 5V USB power source (e.g., computer USB port, USB wall adapter).
- Locate the power switch on the side of the cube. Flip the switch to the "ON" position to power on the device. The indicator lights will illuminate.
- For at slukke skal du dreje tænd/sluk-knappen til "OFF"-positionen.

Billede: En detaljeret view of the cube's base, highlighting the power switch, charging indicator lights (red and green), and the USB power interface for easy connection.
5.2. Ændring af lystilstande og farver
The Infinity Mirror Cube features a built-in touch sensor for easy control of lighting effects.
- Once powered on, gently touch the designated touch sensor area on the cube.
- Each touch will cycle through different LED colors and dynamic lighting modes, including a slow flash mode.
- Continue touching until you find your desired visual effect.

Image: A hand demonstrating the touch sensor functionality, showing how a single touch can switch between various light modes and colors on the infinity mirror cube.
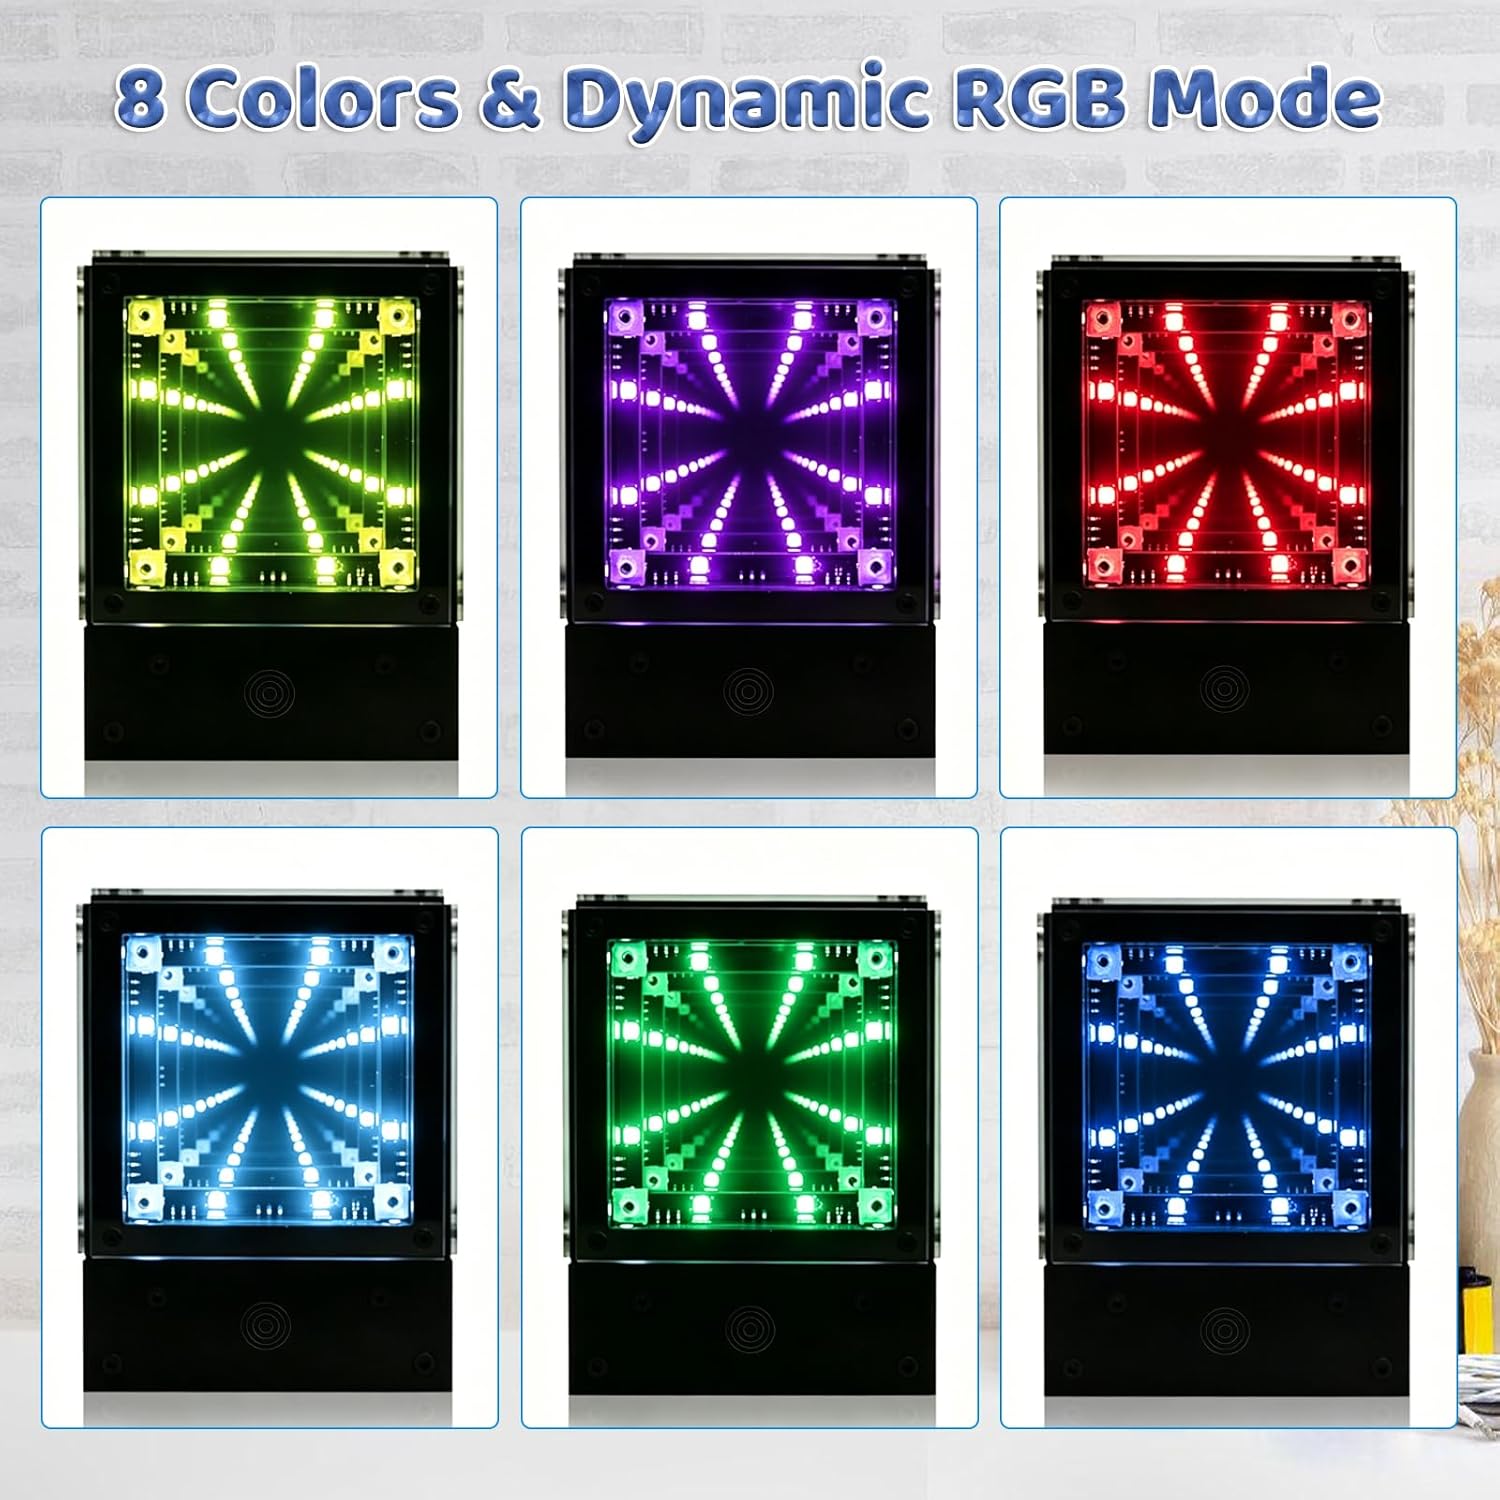
Image: A collage showing the infinity mirror cube illuminated in six different colors (green, purple, red, blue, light green, dark blue), demonstrating the 8 colors and dynamic RGB mode feature.
6. Vedligeholdelse
- Rensning: To clean the acrylic surfaces, use a soft, lint-free cloth. For stubborn marks, dampen the cloth with water or a mild acrylic cleaner. Avoid abrasive cleaners or solvents, as they can damage the acrylic.
- Opbevaring: When not in use, store the cube in a dry, dust-free environment.
- Komponentkontrol: Periodically inspect the cube for any loose connections or damaged components. If any issues are found, disconnect power immediately and address them.
7. Fejlfinding
| Problem | Mulig årsag | Løsning |
|---|---|---|
| Cube does not light up. | No power, loose connection, faulty LED, incorrect soldering. |
|
| Nogle LED'er virker ikke. | Faulty LED, poor solder joint, incorrect polarity. |
|
| Berøringssensoren reagerer ikke. | Sensor not connected, faulty sensor, interference. |
|
| Light effect is not as expected. | Incorrect mirror panel orientation, component placement. |
|
8. Specifikationer
| Modelnummer | 869-21-1 |
| Mærke | PEMENOL |
| Dimensioner (samlet) | Cirka 7.47 x 4.47 x 1.98 cm |
| Vægt | Cirka 400 gram |
| Strømindgang | 5V DC via USB |
| Kontrolmetode | Integrated Touch Sensor |
| Inkluderede komponenter | Acrylic panels, circuit board, LEDs, resistors, USB cable, fasteners (Soldering tools not included) |
9. Garantioplysninger
This PEMENOL DIY Infinity Mirror Cube Soldering Kit is provided as a do-it-yourself project. Due to the nature of DIY kits involving user assembly and soldering, specific warranties on individual components or the final assembled product may vary. Please refer to the retailer's return policy for information regarding defective or missing parts upon receipt.
Typically, DIY kits do not carry a performance warranty after assembly, as functionality depends on the user's assembly skills. Ensure all components are checked upon arrival.
10. Kundesupport
For technical assistance, missing parts, or inquiries regarding your PEMENOL DIY Infinity Mirror Cube Soldering Kit, please contact your point of purchase or the manufacturer directly.
Fabrikant: PEMENOL
Please have your model number (869-21-1) and purchase details ready when contacting support.