
Indledning
This manual provides essential instructions for the safe and efficient operation, maintenance, and troubleshooting of your Life KRV306 Robot Vacuum Cleaner and Mop. The KRV306 is an intelligent 2-in-1 cleaning device designed to vacuum and mop various floor types, offering convenience and efficiency for daily home cleaning.
1. Opsætning
1.1 Udpakning
Fjern forsigtigt alle komponenter fra emballagen. Sørg for, at alt tilbehør er til stede:
- Life KRV306 Robot Vacuum Cleaner
- Opladningskabel/adapter
- Dustbin
- Mopping Pad (if pre-installed or separate)
- Sidebørster
- Brugervejledning (dette dokument)
1.2 Indledende opladning
Before first use, fully charge the robot. Connect the charging cable to the robot and a power outlet. The indicator light will show charging status. A full charge takes approximately 3 to 4 hours.
1.3 Montering af sidebørster
Align the side brushes with the corresponding posts on the bottom of the robot and press down until they click into place.
1.4 Installing the Dustbin and Mopping Pad
Insert the dustbin into its designated slot until it is securely in place. If using the mopping function, attach the mopping pad to the bottom of the water tank (if separate) or directly to the robot as per design.
2. Betjeningsvejledning
2.1 Tænd/sluk
Press and hold the power button on the robot for a few seconds to turn it on or off. A chime or indicator light will confirm the status.
2.2 Rengøringstilstande
The KRV306 offers three optimized cleaning modes:
- Automatisk tilstand: The robot cleans in a zigzag pattern, covering large areas efficiently. This is the default mode for general cleaning.
- Spot-tilstand: For concentrated dirt, the robot cleans intensively in a circular pattern. Place the robot directly over the area to be cleaned and select this mode.
- Kanttilstand: The robot follows walls and furniture edges to ensure thorough cleaning of corners and baseboards.
To select a cleaning mode, press the appropriate button on the robot or use the remote control (if included).
2.3 Start af en rengøringscyklus
Press the "Start" or "Clean" button on the robot. The robot will begin cleaning in the selected mode. Ensure the floor is free of large obstacles and loose cables.
2.4 Pause og genoptagelse
To pause a cleaning cycle, press the "Start/Pause" button. Press it again to resume cleaning.
2.5 Returning to Charger
When the battery is low, the robot will automatically attempt to return to its charging base. You can also manually send it back by pressing the home/charge button.
3. Vedligeholdelse
Regelmæssig vedligeholdelse sikrer optimal ydeevne og forlænger levetiden på din robotstøvsuger.
3.1 Tømning af skraldespanden

Image: The Life KRV306 robot vacuum cleaner demonstrating its large dustbin capacity, designed to hold more debris per clean and reduce emptying frequency. The image shows the robot on a wooden floor, actively vacuuming various types of debris including hair, pet hair, confetti, dust, and general debris, with an inset showing the removable dustbin component.
Empty the dustbin after each cleaning cycle or when full. Press the release button to remove the dustbin, open its lid, and discard the collected debris. Clean the filter regularly by tapping it gently to remove dust or rinsing it with water if specified (ensure it's completely dry before reinstallation).
3.2 Rengøring af moppepuden
Remove the mopping pad after each use. Rinse it thoroughly with water and mild detergent if necessary. Allow it to air dry completely before reattaching or storing.
3.3 Rengøring af sidebørster
Periodically check the side brushes for tangled hair or debris. Remove any obstructions carefully. If brushes are worn or damaged, replace them.
3.4 Rengøring af sensorer
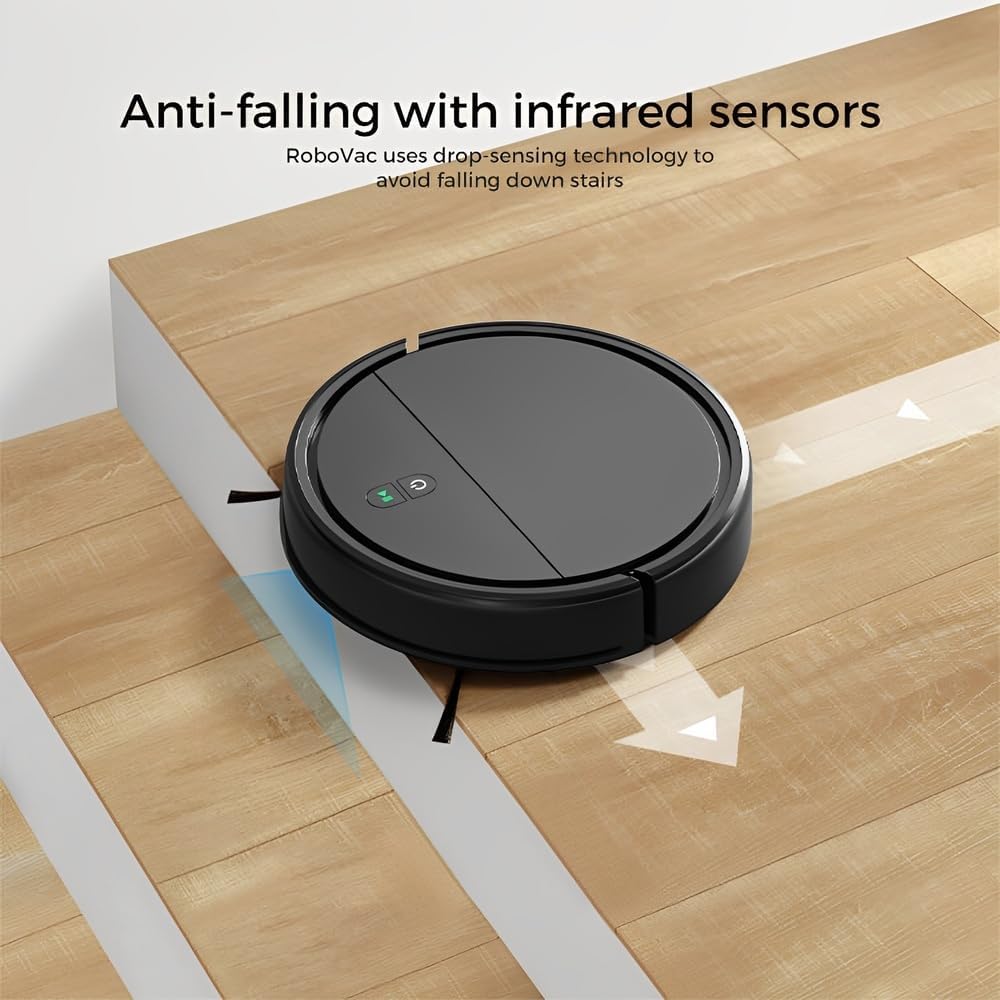
Image: The Life KRV306 robot vacuum cleaner positioned near a set of stairs, illustrating its anti-falling capability. The image highlights the infrared sensors that detect drops, preventing the robot from falling down stairs or off ledges.
Wipe the anti-falling infrared sensors and other sensors on the robot's underside with a clean, dry cloth to ensure they function correctly and prevent navigation issues.
4. Fejlfinding
Se dette afsnit for almindelige problemer og deres løsninger.
4.1 Robot Not Moving or Getting Stuck
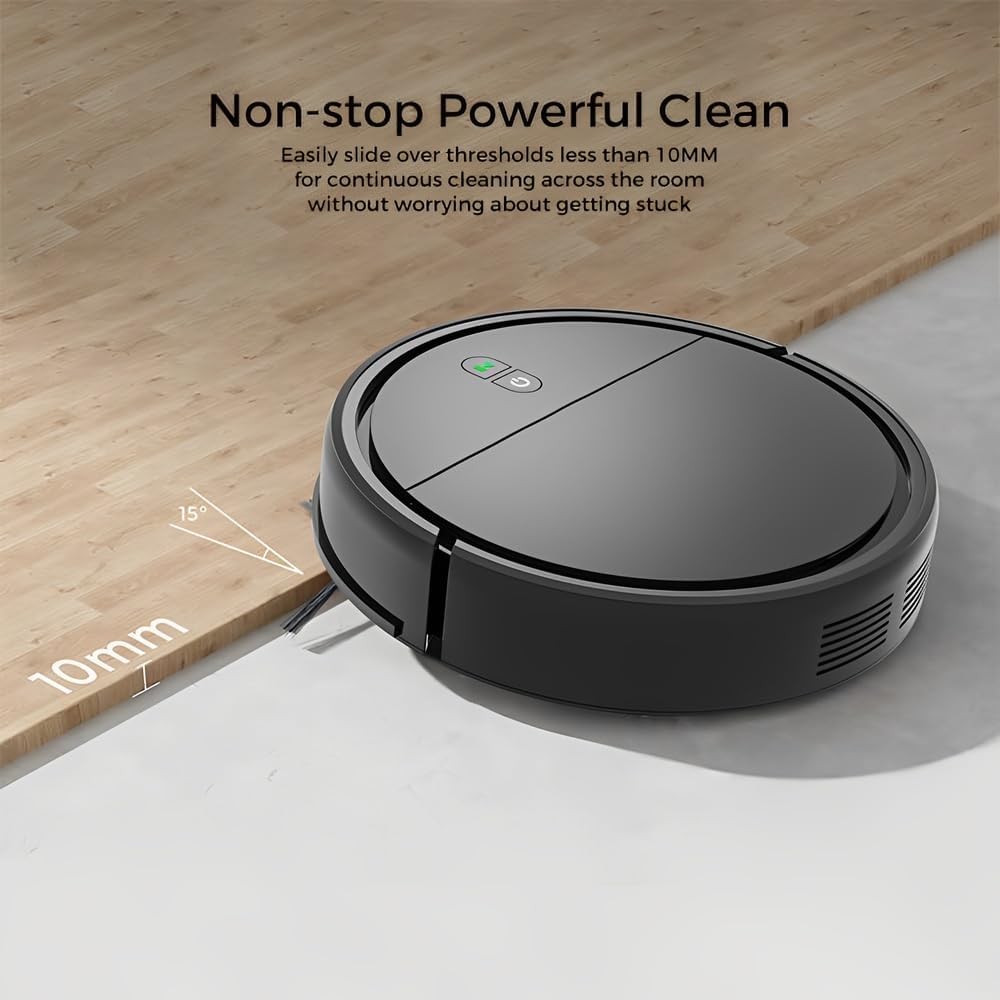
Image: The Life KRV306 robot vacuum cleaner demonstrating its ability to navigate over thresholds up to 10mm high, ensuring continuous cleaning across different rooms without getting stuck. The image shows the robot smoothly transitioning from one floor level to another.
- Tjek for forhindringer: Ensure there are no loose cables, rugs, or small objects obstructing the robot's path. The robot is designed to handle thresholds up to 10mm.
- Clean Wheels and Brushes: Remove any hair or debris tangled around the wheels or side brushes.
- Sensorblokering: Clean the anti-falling sensors and bumper sensors.
4.2 Dårlig rengøringsydelse
- Tøm skraldespand: A full dustbin or clogged filter can reduce suction power. Empty the dustbin and clean the filter.
- Rene børster: Ensure side brushes are free of debris and spinning correctly.
- Batteriniveau: Ensure the robot is fully charged for optimal performance.
4.3 Robotten oplader ikke
- Tjek forbindelser: Ensure the charging cable is securely connected to both the robot and the power outlet.
- Rengør opladningskontakter: Wipe the charging contacts on both the robot and the charging base with a dry cloth.
4.4 Robot Bumping into Furniture Excessively

Image: The Life KRV306 robot vacuum cleaner demonstrating its collision mechanical bumper. The robot is shown gently encountering a chair leg, indicating its ability to soft-hit obstacles and automatically adjust its path without causing damage to furniture.
- Clean Bumper Sensors: Ensure the bumper area is clean and free from obstructions.
- Lysforhold: In very dark environments, obstacle detection might be less effective.
5. Specifikationer
| Feature | Specifikation |
|---|---|
| Model | KRV306 |
| Funktioner | Støvsugning, mopping |
| Sugekraft | 400 PA |
| Støjniveau | Max 68 dB |
| Batteritype | 1500 mAh Lithium-Ion |
| Køretid | 60 - 80 minutter |
| Opladningstid | 3 - 4 timer |
| Dimensioner (L x B x H) | 29 x 29 x 7.2 cm |
| Produktets vægt | 2.1 kg |
| Særlige funktioner | Low noise, Compact, Rechargeable, Anti-falling sensors, Collision bumper |
6. Garantioplysninger
The Life KRV306 Robot Vacuum Cleaner and Mop comes with a 90 dages garanti fra købsdatoen. Denne garanti dækker fabrikationsfejl og funktionsfejl ved normal brug. Den dækker ikke skader forårsaget af misbrug, ulykker, uautoriserede reparationer eller normal slitage. Gem venligst din købsbevis i tilfælde af garantikrav.
7. Kundesupport
If you encounter any issues not covered in the troubleshooting section or require further assistance, please contact our customer support. Refer to your purchase documentation or the retailer's webwebstedet for specifikke kontaktoplysninger.
Når du kontakter support, bedes du have følgende oplysninger klar:
- Produktmodel: Life KRV306
- Købsdato
- Beskrivelse af problemet