
1. Introduktion
The FOXWELL NT201 is an On-Board Diagnostics II (OBDII) and European On-Board Diagnostics (EOBD) scanner designed to diagnose engine-related issues in vehicles. This device allows users to read and clear diagnostic trouble codes (DTCs), view live data streams, perform I/M readiness tests, and more. This manual provides detailed instructions for the proper use and maintenance of your NT201 scanner and its accompanying portable carrying case.
2. Sikkerhedsoplysninger
Overhold altid sikkerhedsforanstaltningerne, når du arbejder på et køretøj. Forkert brug af diagnoseværktøjer kan føre til personskade eller skade på køretøjet. Læs og følg venligst disse retningslinjer:
- Sørg for, at køretøjet er parkeret på en plan overflade med parkeringsbremsen aktiveret.
- Bær passende øjenbeskyttelse.
- Keep clothing, hair, hands, tools, and test equipment away from moving engine parts.
- Operate the vehicle in a well-ventilated area to prevent carbon monoxide poisoning.
- Tilslut eller frakobl ikke testudstyr, mens tændingen er slået til, eller motoren kører.
- Keep the scanner dry and clean. Avoid exposure to extreme temperatures.
3. Pakkens indhold
Bekræft at alle varer er til stede i din pakke:
- FOXWELL NT201 OBD2-scannerenhed
- Integrated OBDII Cable
- Bærbar bæretaske
- Brugervejledning (dette dokument)
4. Produktet er slutview
The NT201 scanner features a clear display and intuitive button layout for easy navigation and operation.

Figur 4.1: Front view of the FOXWELL NT201 OBD2 Scanner. This image displays the scanner's screen, which shows 'I/M Readiness' status indicators, and the control buttons including ESC, UP, DOWN, and ENTER, along with the I/M readiness hotkey.
4.1. Enhedslayout
- LCD-skærm: Shows test results, menu options, and operational information.
- ESC knap: Exits current screen or returns to the previous menu.
- OP/NED knapper: Navigerer gennem menupunkter eller data.
- ENTER knap: Bekræfter et valg eller går ind i en menu.
- I/M Readiness Hotkey: Provides quick access to the I/M Readiness status.
- OBDII-stik: Forbinder scanneren til køretøjets datalinkstik (DLC).
5. Opsætning
To begin using your NT201 scanner, follow these steps:
- Locate the vehicle's 16-pin Data Link Connector (DLC). This is typically located under the dashboard on the driver's side.
- Drej bilens tænding til 'ON'-positionen (motoren er slukket).
- Plug the NT201's OBDII connector into the vehicle's DLC. The scanner will power on automatically.
- The scanner will perform a system check and display the main menu.
6. Betjeningsvejledning
6.1. Læs og slet fejlkoder
This function allows you to retrieve Diagnostic Trouble Codes (DTCs) from the vehicle's engine control unit (ECU) and clear them after repairs.
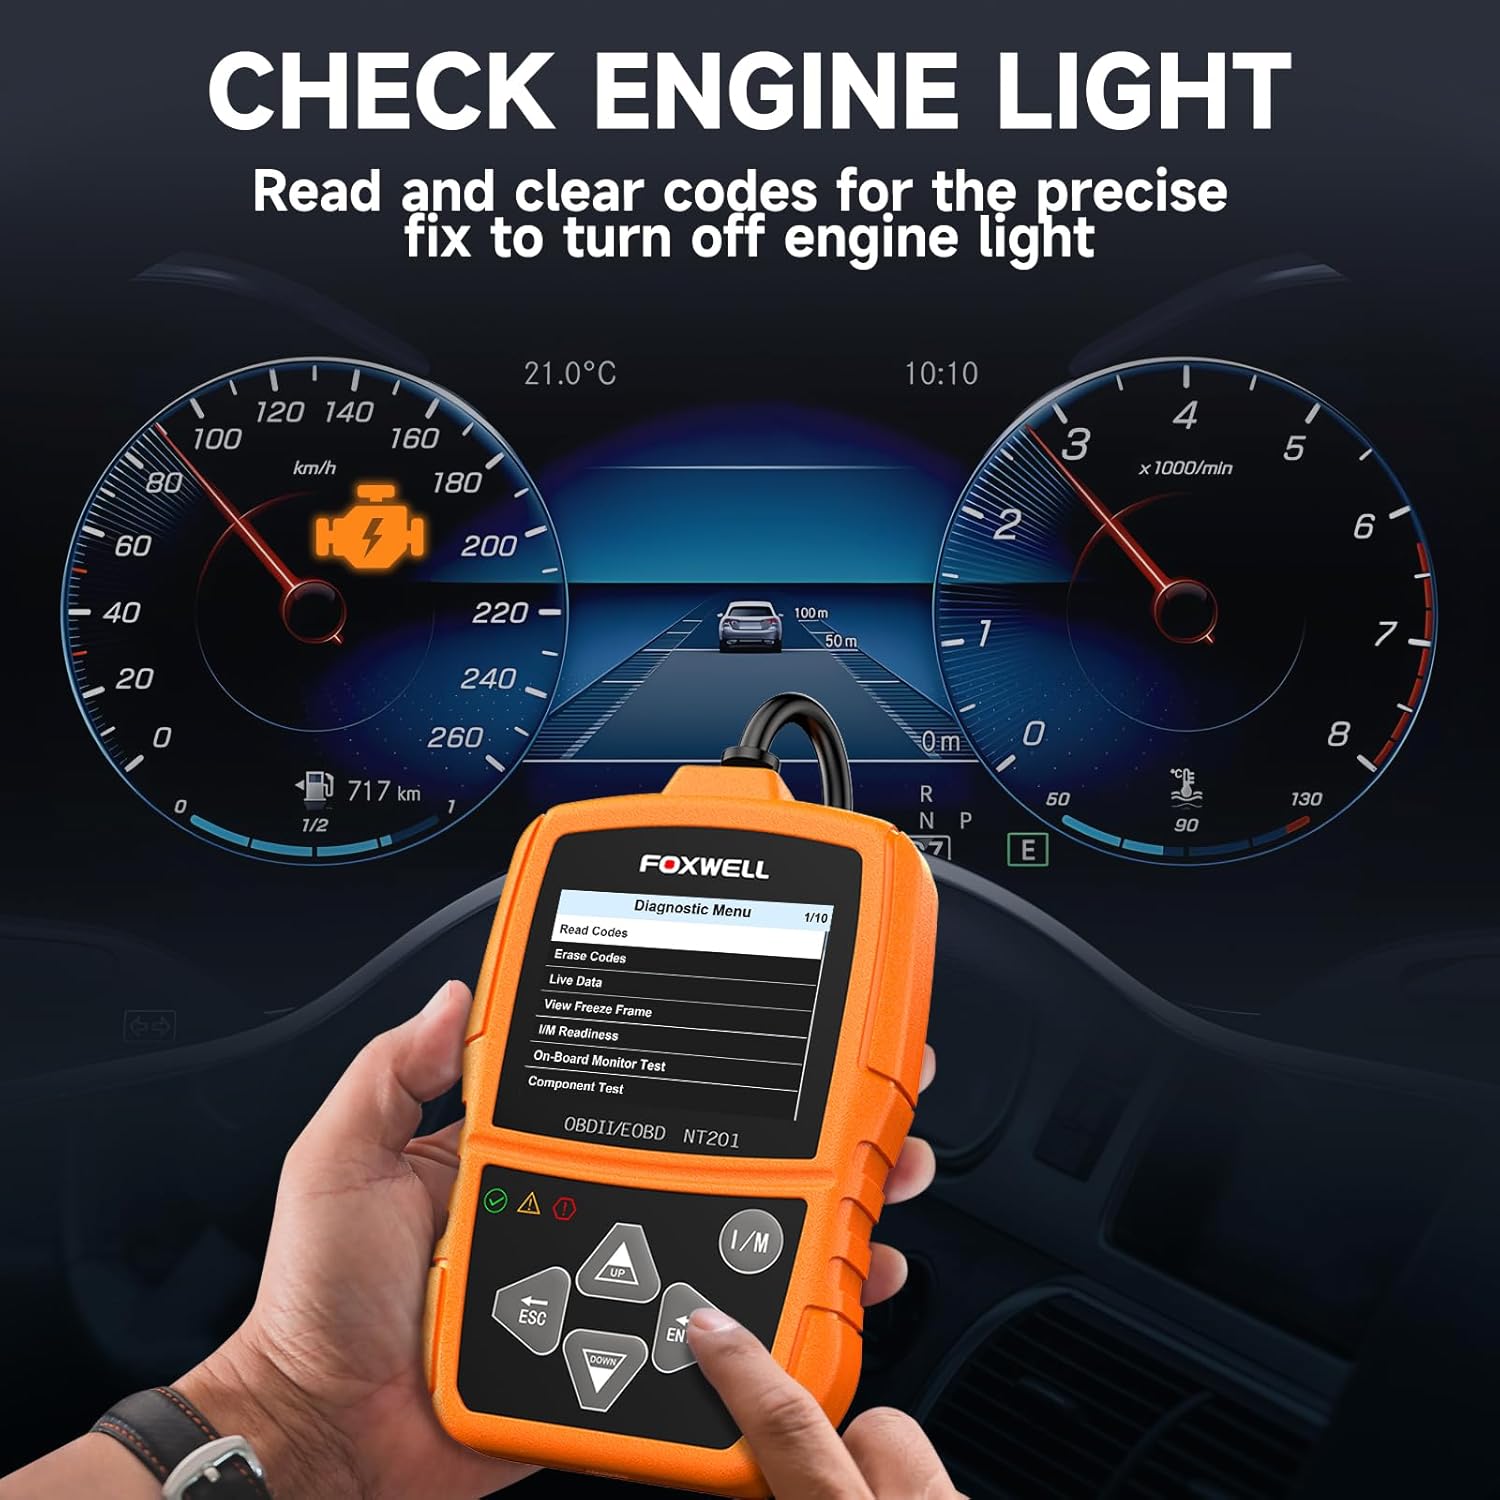
Figur 6.1: The FOXWELL NT201 scanner in use, displaying the diagnostic menu with 'Read Codes' highlighted. A vehicle dashboard is visible in the background, showing the check engine light illuminated.
- From the main menu, use the OP/NED buttons to select "Diagnostic Menu" and press ENTER.
- Vælg "Læs koder" for at view current, pending, and permanent DTCs. The scanner will display the codes and their definitions.
- After addressing the underlying issue, select "Erase Codes" from the Diagnostic Menu and press ENTER. Confirm the action when prompted. This will turn off the Malfunction Indicator Lamp (MIL) eller 'Check Engine-lampe'.
6.2. Live-datastrøm
View real-time operational parameters of the vehicle's engine, such as engine RPM, vehicle speed, coolant temperature, and more.

Figur 6.2: The FOXWELL NT201 scanner displaying a live data stream. The screen shows various parameters like Engine RPM and Vehicle Speed Sensor data, presented both numerically and graphically, with a car interior visible in the background.
- From the Diagnostic Menu, select "Live Data" and press ENTER.
- Det kan du view data in text format or graphical format. Use the OP/NED buttons to scroll through parameters.
- Trykke ENTER to select a parameter for detailed viewing or graphing.
6.3. One-Key I/M Readiness Test
Quickly check the vehicle's emission readiness status to determine if it's ready for an emissions test.

Figur 6.3: The FOXWELL NT201 scanner with its 'I/M' hotkey prominently displayed and highlighted, indicating its function for a quick smog check. An exhaust pipe is visible in the background, suggesting emissions testing.
- With the scanner connected and powered on, press the dedicated JEG ER genvejstast.
- The scanner will display the status of various emission-related monitors (e.g., MIL, MIS, FUE, CCM, CAT, O2S, EGR).
- Green indicates the monitor has completed its test, Yellow indicates pending, and Red indicates not ready or a fault.
6.4. O2-sensortest
This function retrieves O2 sensor monitor test results for the most recently completed tests from the vehicle's on-board computer. This helps in diagnosing fuel efficiency and emission-related issues.
- From the Diagnostic Menu, select "O2 Sensor Test" and press ENTER.
- Følg anvisningerne på skærmen for at view testresultaterne.
7. Vedligeholdelse
7.1. Rengøring af scanneren
Brug en blød, damp cloth to clean the scanner's exterior. Do not use abrasive cleaners or solvents. Keep the screen free of dust and smudges for optimal visibility.
7.2. Opbevaring
When not in use, store the NT201 scanner in its portable carrying case to protect it from dust, moisture, and physical damage. Store in a cool, dry place away from direct sunlight.

Figur 7.1: An open portable carrying case designed for the FOXWELL NT201 scanner, showing the scanner and its cable neatly organized within the case's compartments. The case provides organized protection for the device.

Figur 7.2: A diagram illustrating the dimensions of the portable carrying case, showing its length, width, and height. This case is suitable for the FOXWELL NT201 and similar diagnostic tools.
8. Fejlfinding
If you encounter issues with your NT201 scanner, refer to the following common problems and solutions:
| Problem | Mulig årsag | Løsning |
|---|---|---|
| Scanneren tænder ikke. | Løs forbindelse til DLC; Bilens tænding er ikke tændt; Bilens batteri er lavt. | Sørg for, at OBDII-kablet er korrekt tilsluttet. Drej bilens tænding til 'ON'. Kontroller bilens batteriniveautage. |
| Kommunikationsfejl med køretøjet. | Incorrect protocol; Faulty DLC; Vehicle not OBDII compliant. | Verify vehicle is OBDII compliant (1996 or newer for most regions). Check DLC for damage. Try on another compliant vehicle. |
| Skærmvisningen er svag eller ulæselig. | Environmental conditions; Screen damage. | Move to a better lit area. If damaged, contact support. |
9. Specifikationer
- Vise: Baggrundsbelyst LCD
- Driftstemperatur: 0 til 60°C (32 til 140°F)
- Opbevaringstemperatur: -20 til 70°C (-4 til 158°F)
- Ekstern strøm: 8.0 til 18.0 V strøm leveret via køretøjets batteri
- Understøttede protokoller: KWP2000, J1850 VPW, ISO9141, J1850 PWM, CAN
- Kompatibilitet: Most 1996 and newer OBDII compliant vehicles (cars, light trucks, SUVs, minivans, hybrids). Does not support electric vehicles or 24V heavy-duty trucks.
10. Garanti og support
For warranty information or technical support, please refer to the FOXWELL official webwebstedet eller kontakt deres kundeservice direkte. Gem din købskvittering til garantikrav.
FOXWELL Official Webwebsted: www.foxwelltech.com