
1. Introduktion
The ANTMINER BT606 is a compact and versatile mini WiFi security camera designed for discreet surveillance. It offers 1080P high-definition video recording, infrared night vision, and remote monitoring capabilities via a smartphone application. Its small size and various mounting options make it suitable for a wide range of indoor and outdoor applications, including home security, pet monitoring, child supervision, and evidence recording.
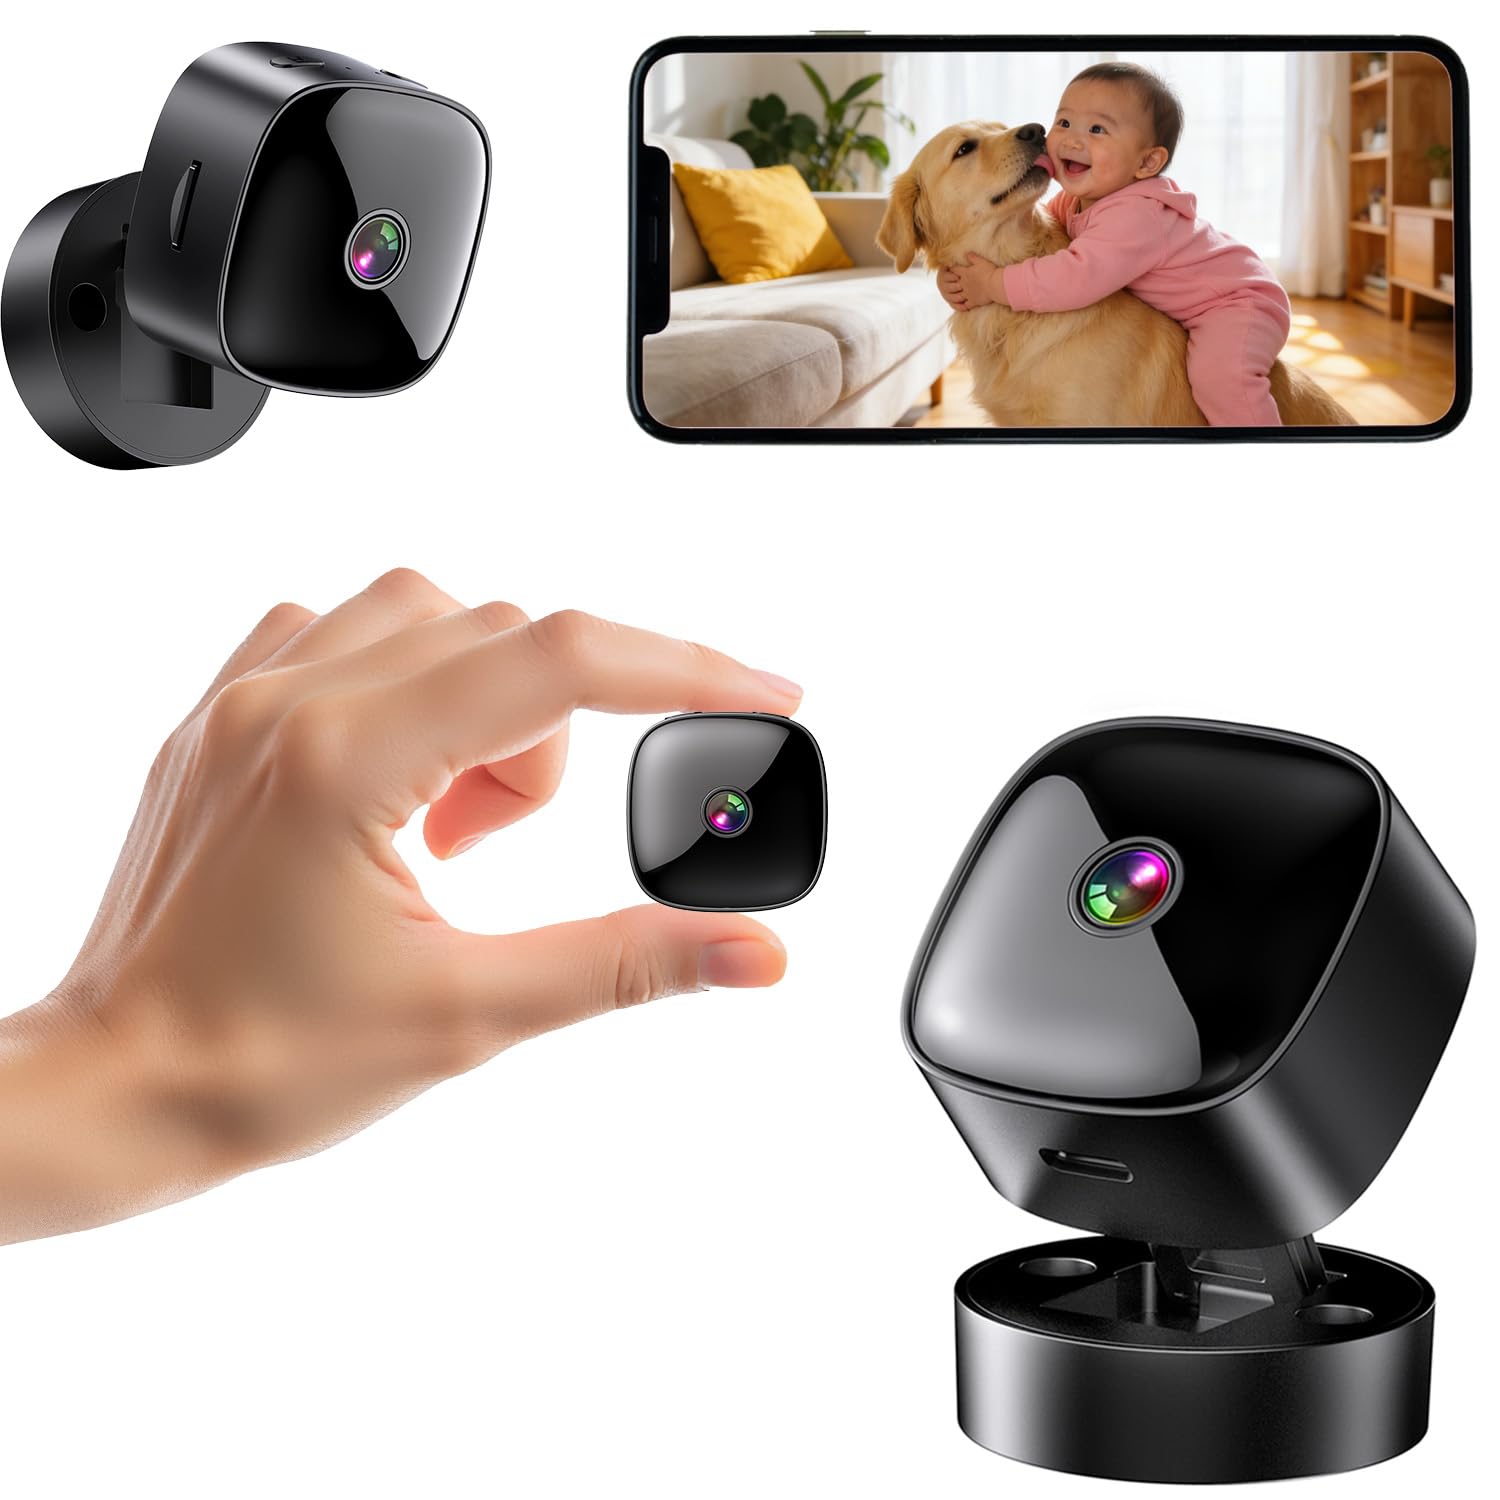
Figure 1: ANTMINER BT606 Mini WiFi Security Camera overview.
2. Pakkens indhold
Tjek venligst pakken for følgende varer:
- ANTMINER BT606 Mini Camera
- Magnetisk base
- Type-C USB-kabel
- Monteringsskruer (2)
- Brugervejledning (engelsk)

Figure 2: Included components: camera, base, Type-C cable, screws, and manual.
3. Produktfunktioner
- Ultra-kompakt design: Small size allows for discreet placement in various indoor and outdoor environments, such as furniture gaps, behind decorations, or in vehicles.
- 1080P High-Definition Video: Optager klare og detaljerede billedertage, ensuring important details are visible.
- Infrarødt nattesyn: Equipped with infrared lights for clear recording in low-light conditions or complete darkness, providing 24/7 surveillance.
- WiFi Connectivity & Remote Monitoring: Connects to your home or office 2.4GHz WiFi network, enabling real-time viewing and control via a dedicated smartphone app (iOS/Android).
- Loop Recording & Long Recording: Overskriver automatisk den ældste fødevaretage when the memory card is full, ensuring continuous recording without manual deletion. Supports extended recording sessions, especially when powered via USB.
- Vidvinkelobjektiv: Features a 120-degree wide-angle lens to cover a broader area, minimizing blind spots.
- Nem betjening: Simple one-button control for starting and stopping recording.
- Alsidig montering: Includes a magnetic base for easy attachment to metal surfaces, a desktop stand, and options for wall or ceiling mounting using screws.
4. Opsætningsvejledning
4.1 Opladning af kameraet
Before first use, fully charge the camera using the provided Type-C USB cable and a standard USB power adapter (not included). The camera can also record while charging, enabling 24-hour continuous surveillance.
4.2 Indsættelse af et MicroSD-kort
Insert a MicroSD card (up to 128GB, Class 10 or higher recommended) into the card slot. Ensure the card is inserted correctly. The camera supports loop recording, which will automatically overwrite old footage når kortet er fuldt.
4.3 App download og installation
Download the dedicated smartphone application for iOS or Android devices. Søg efter the app name (usually indicated in the included manual or on the product packaging) in your device's app store. Install the app and create an account if prompted.
4.4 Tilslutning til WiFi
- Tænd for kameraet.
- Åbn den installerede app på din smartphone.
- Follow the in-app instructions to add a new device. This typically involves scanning a QR code displayed on the camera or connecting to the camera's temporary WiFi hotspot.
- Vælg dit 2.4 GHz WiFi-netværk (5 GHz-netværk understøttes ikke), og indtast adgangskoden.
- Når der er forbindelse, ændres kameraets statusindikator, og du vil se livefeedet i appen.

Figure 3: WiFi connection process and multi-user sharing via QR code. Note: Only 2.4GHz WiFi is supported.
4.5 Montering af kameraet
Kameraet tilbyder fleksible monteringsmuligheder:
- Desktopplacering: Place the camera on its magnetic base on any flat surface.
- Magnetisk fastgørelse: The camera's back has a magnet, allowing direct attachment to suitable metal surfaces.
- Væg/loft montering: Use the provided screws to attach the magnetic base to a wall or ceiling, then attach the camera to the base. Adjust the camera angle as needed.

Figur 4: Eksamples of desktop, wall, and ceiling installation methods.
5. Betjeningsvejledning
5.1 Tænd/sluk
Press and hold the power button to turn the camera on or off. Refer to the indicator light for status.
5.2 Optagelse af video
Once powered on and a MicroSD card is inserted, the camera will typically begin recording automatically. You can also manually start/stop recording via the dedicated button on the camera or through the smartphone app.
5.3 Realtid Viewing og afspilning
Open the smartphone app to view the live feed from your camera. You can also access recorded footage stored on the MicroSD card through the app for playback.
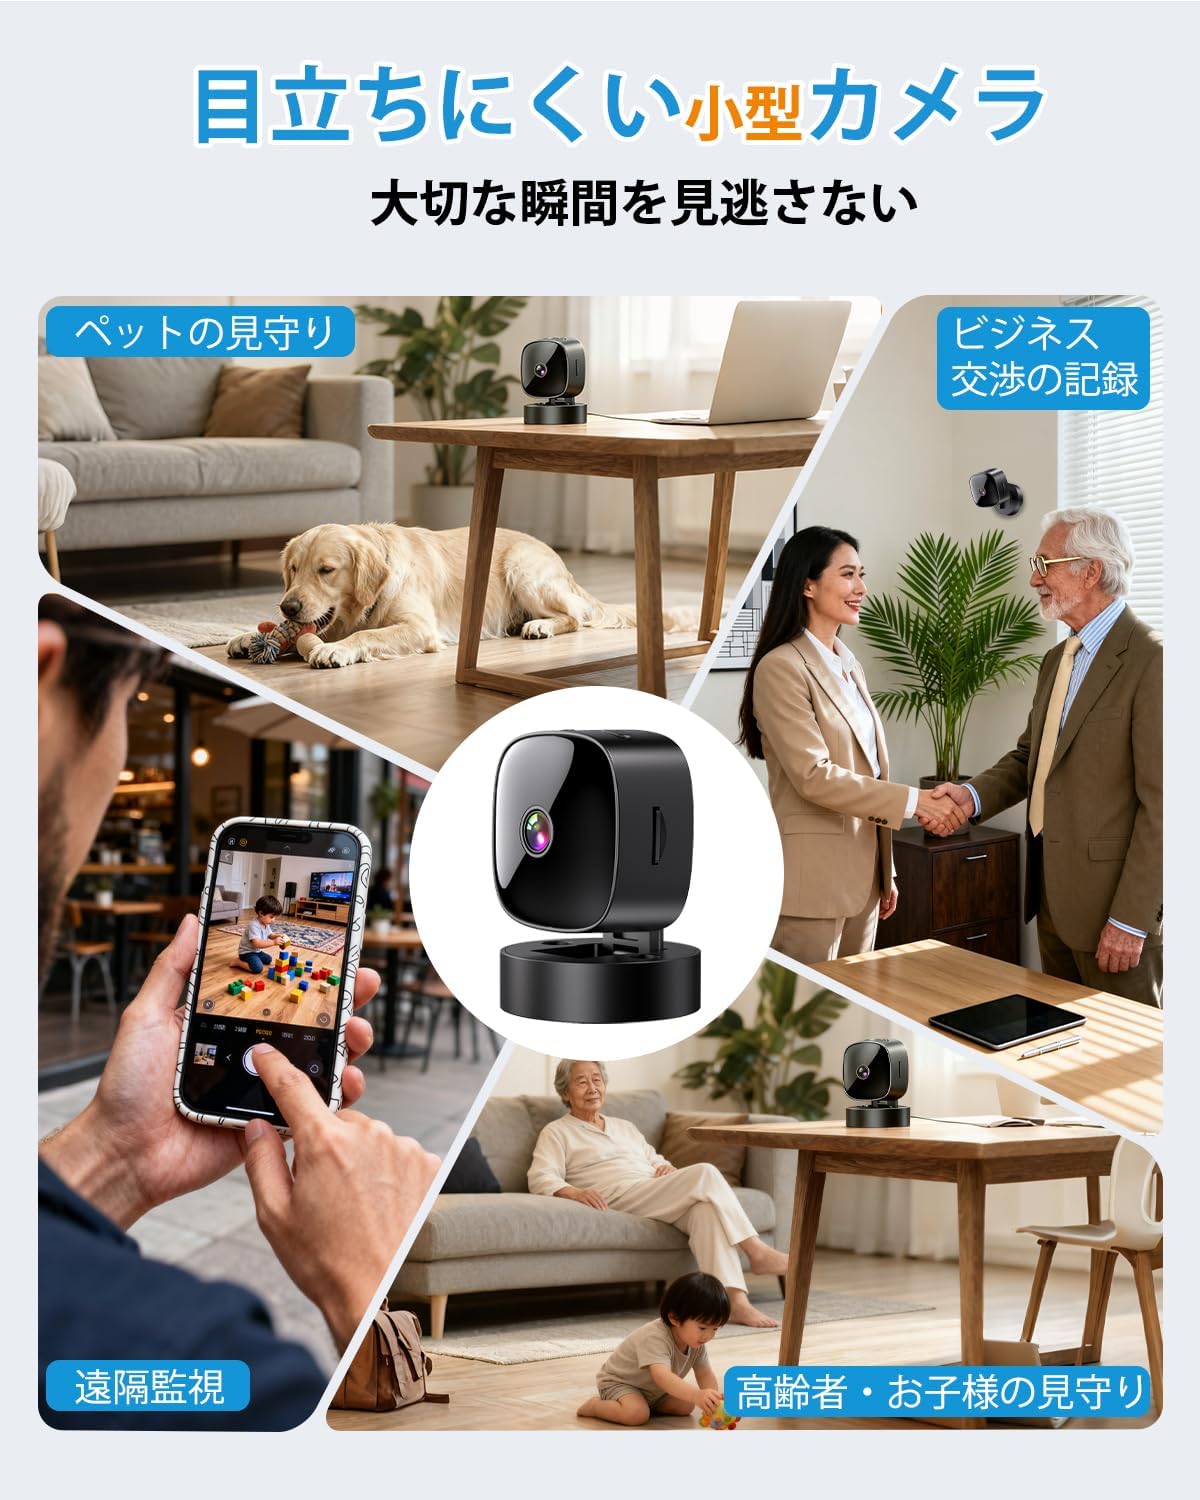
Figure 5: Various applications such as pet monitoring, business recording, remote surveillance, and care for children or the elderly.
5.4 Nattesyn
The camera automatically switches to infrared night vision mode in low-light conditions. This ensures clear black-and-white video recording even in complete darkness.
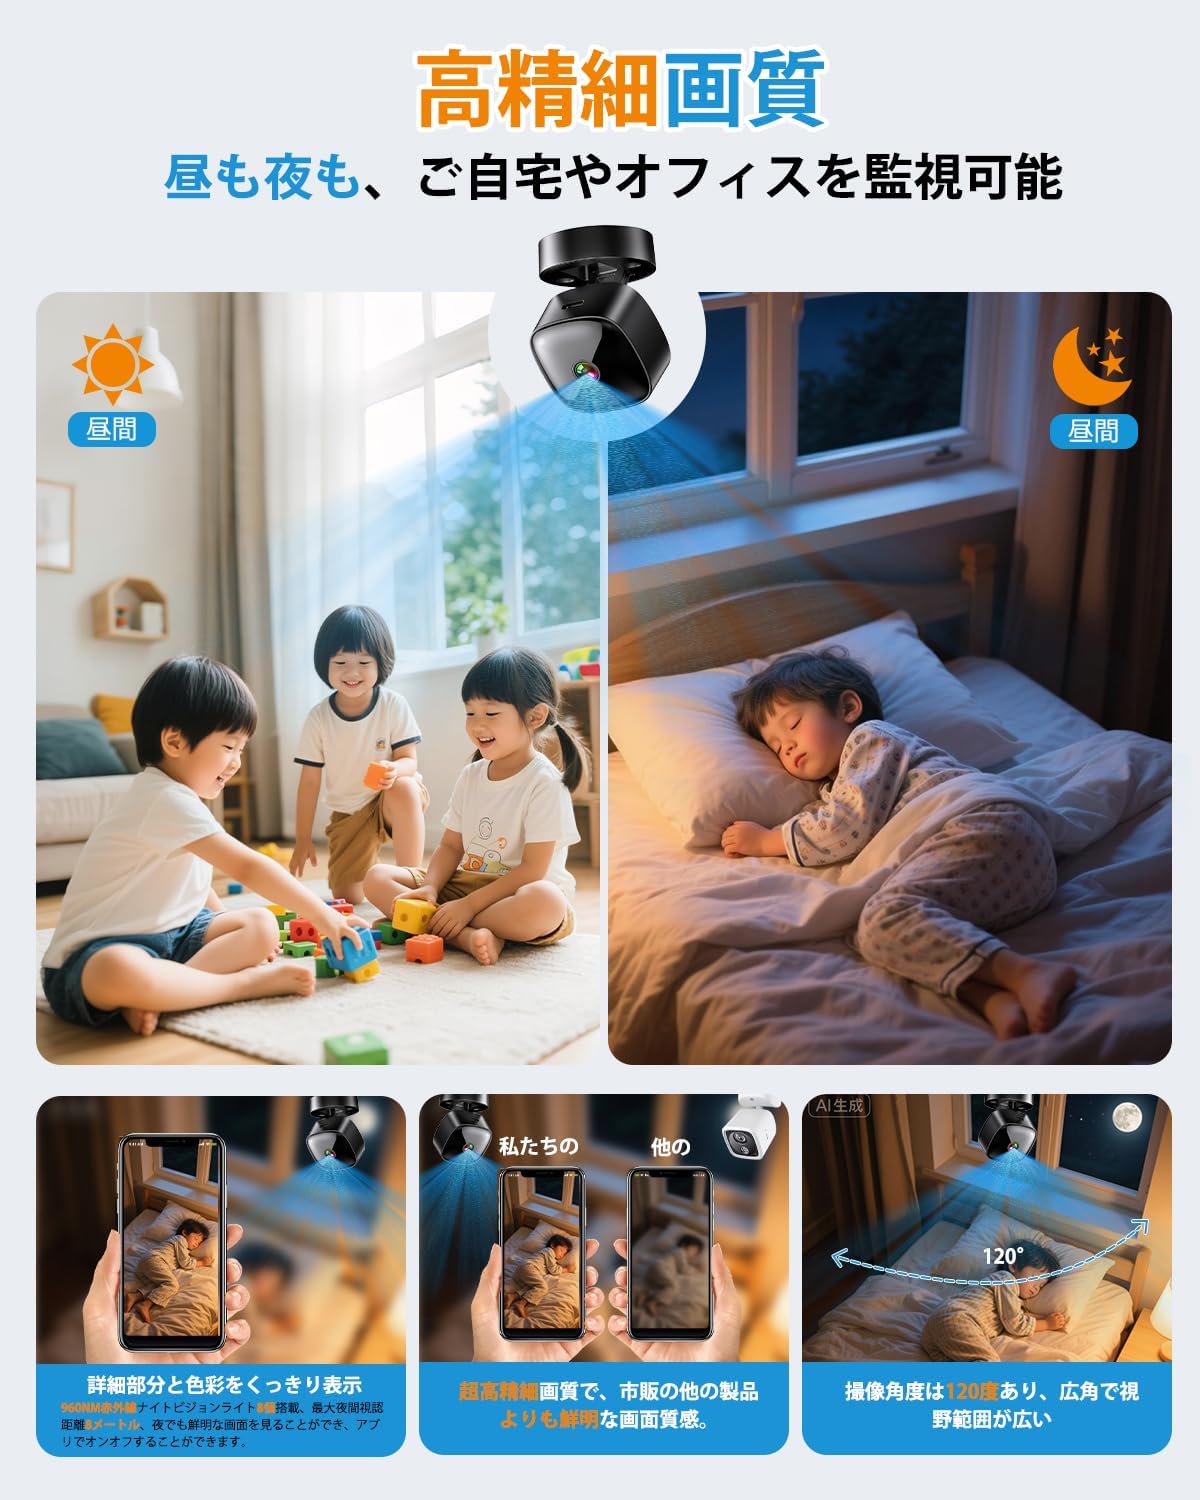
Figure 6: High-definition day and night vision, showcasing clear images in both bright and dark environments with a 120-degree wide-angle.
5.5 Loop-optagelse
The loop recording feature ensures that the camera continues to record even when the MicroSD card is full. It automatically deletes the oldest files at gøre plads til nye optagelser.
6. Vedligeholdelse
- Rensning: Brug en blød, tør klud til at rengøre kameralinsen og huset. Undgå at bruge skrappe kemikalier eller slibende materialer.
- Batteripleje: For optimal battery life, avoid fully discharging the camera frequently. Charge the camera regularly, especially if it's used for continuous surveillance.
- SD-kortadministration: Periodically format the MicroSD card through the app or on a computer to maintain performance and prevent data corruption. Back up important footage før formatering.
- Firmwareopdateringer: Check the app periodically for any available firmware updates for the camera. Keeping the firmware updated ensures optimal performance and security.
7. Fejlfinding
| Problem | Mulig årsag/løsning |
|---|---|
| Kameraet tænder ikke | Battery may be depleted. Charge the camera for at least 2 hours. Ensure the power button is pressed and held correctly. |
| Kan ikke oprette forbindelse til WiFi |
|
| No recording or footage mangler |
|
| Dårlig videokvalitet |
|
8. Specifikationer
| Feature | Detalje |
|---|---|
| Modelnavn | BT606 |
| Mærke | ANTMINER |
| Video opløsning | 1080p |
| Forbindelse | Wi-Fi (kun 2.4 GHz) |
| Nattesyn | Infrarød |
| Opbevaring | MicroSD-kort (op til 128 GB) |
| Loop-optagelse | Understøttet |
| Strømkilde | USB rechargeable (can record while charging) |
| Produktdimensioner | 30 x 30 x 30 mm (ca. 1.2 x 1.2 x 1.2 tommer) |
| Produktets vægt | 70 g (ca. 2.5 oz) |
| Farve | Mørk Sort |
| Monteringstype | Magnetic, Desktop Stand, Wall/Ceiling Mount |
| App support | iOS, Android |
9. Garanti og support
This product comes with a standard manufacturer's warranty. For specific warranty details, please refer to the product packaging or contact the retailer where you purchased the device. For technical support or further assistance, please refer to the contact information provided with your purchase or visit the official ANTMINER webwebsted.