
1. Introduktion
Thank you for choosing the Rowenta Force Pro 500 Steam Generator Iron. This manual provides essential information for the safe and efficient use of your appliance. Please read all instructions carefully before first use and keep them for future reference.
2. Vigtige sikkerhedsinstruktioner
- Sørg altid for, at voltagDen angivne lydstyrke på apparatet svarer til din elnetspænding.tage.
- Efterlad ikke strygejernet uden opsyn, mens det er tændt eller tilsluttet strømnettet.
- Opbevar apparatet utilgængeligt for børn og personer med nedsatte fysiske, sensoriske eller mentale evner.
- Nedsænk aldrig apparatet, netledningen eller stikket i vand eller anden væske.
- Brug ikke apparatet, hvis det har været tabt, hvis der er synlige tegn på skader, eller hvis det lækker.
- Always place the iron on a stable, flat, and heat-resistant surface.
- Tag stikket ud af stikkontakten, inden du fylder vandtanken, rengør eller udfører vedligeholdelse.
- Sålpladen og dampen er ekstremt varme og kan forårsage forbrændinger. Håndter med forsigtighed.
3. Produktkomponenter
Familiarize yourself with the main parts of your Rowenta Force Pro 500 steam generator iron:
- Jernenhed: The handheld part with the soleplate.
- Dampgeneratorens base: Houses the water tank and control panel.
- Vandtank: Aftagelig tank til påfyldning med vand.
- Kontrolpanel: Buttons for power, Eco mode, Max mode, and Anti-calc.
- Dampslange: Forbinder strygejernet til dampgeneratorens base.
- Calc-samler: Removable part for collecting limescale.
- Låsesystem: Secures the iron unit to the base for transport and storage.
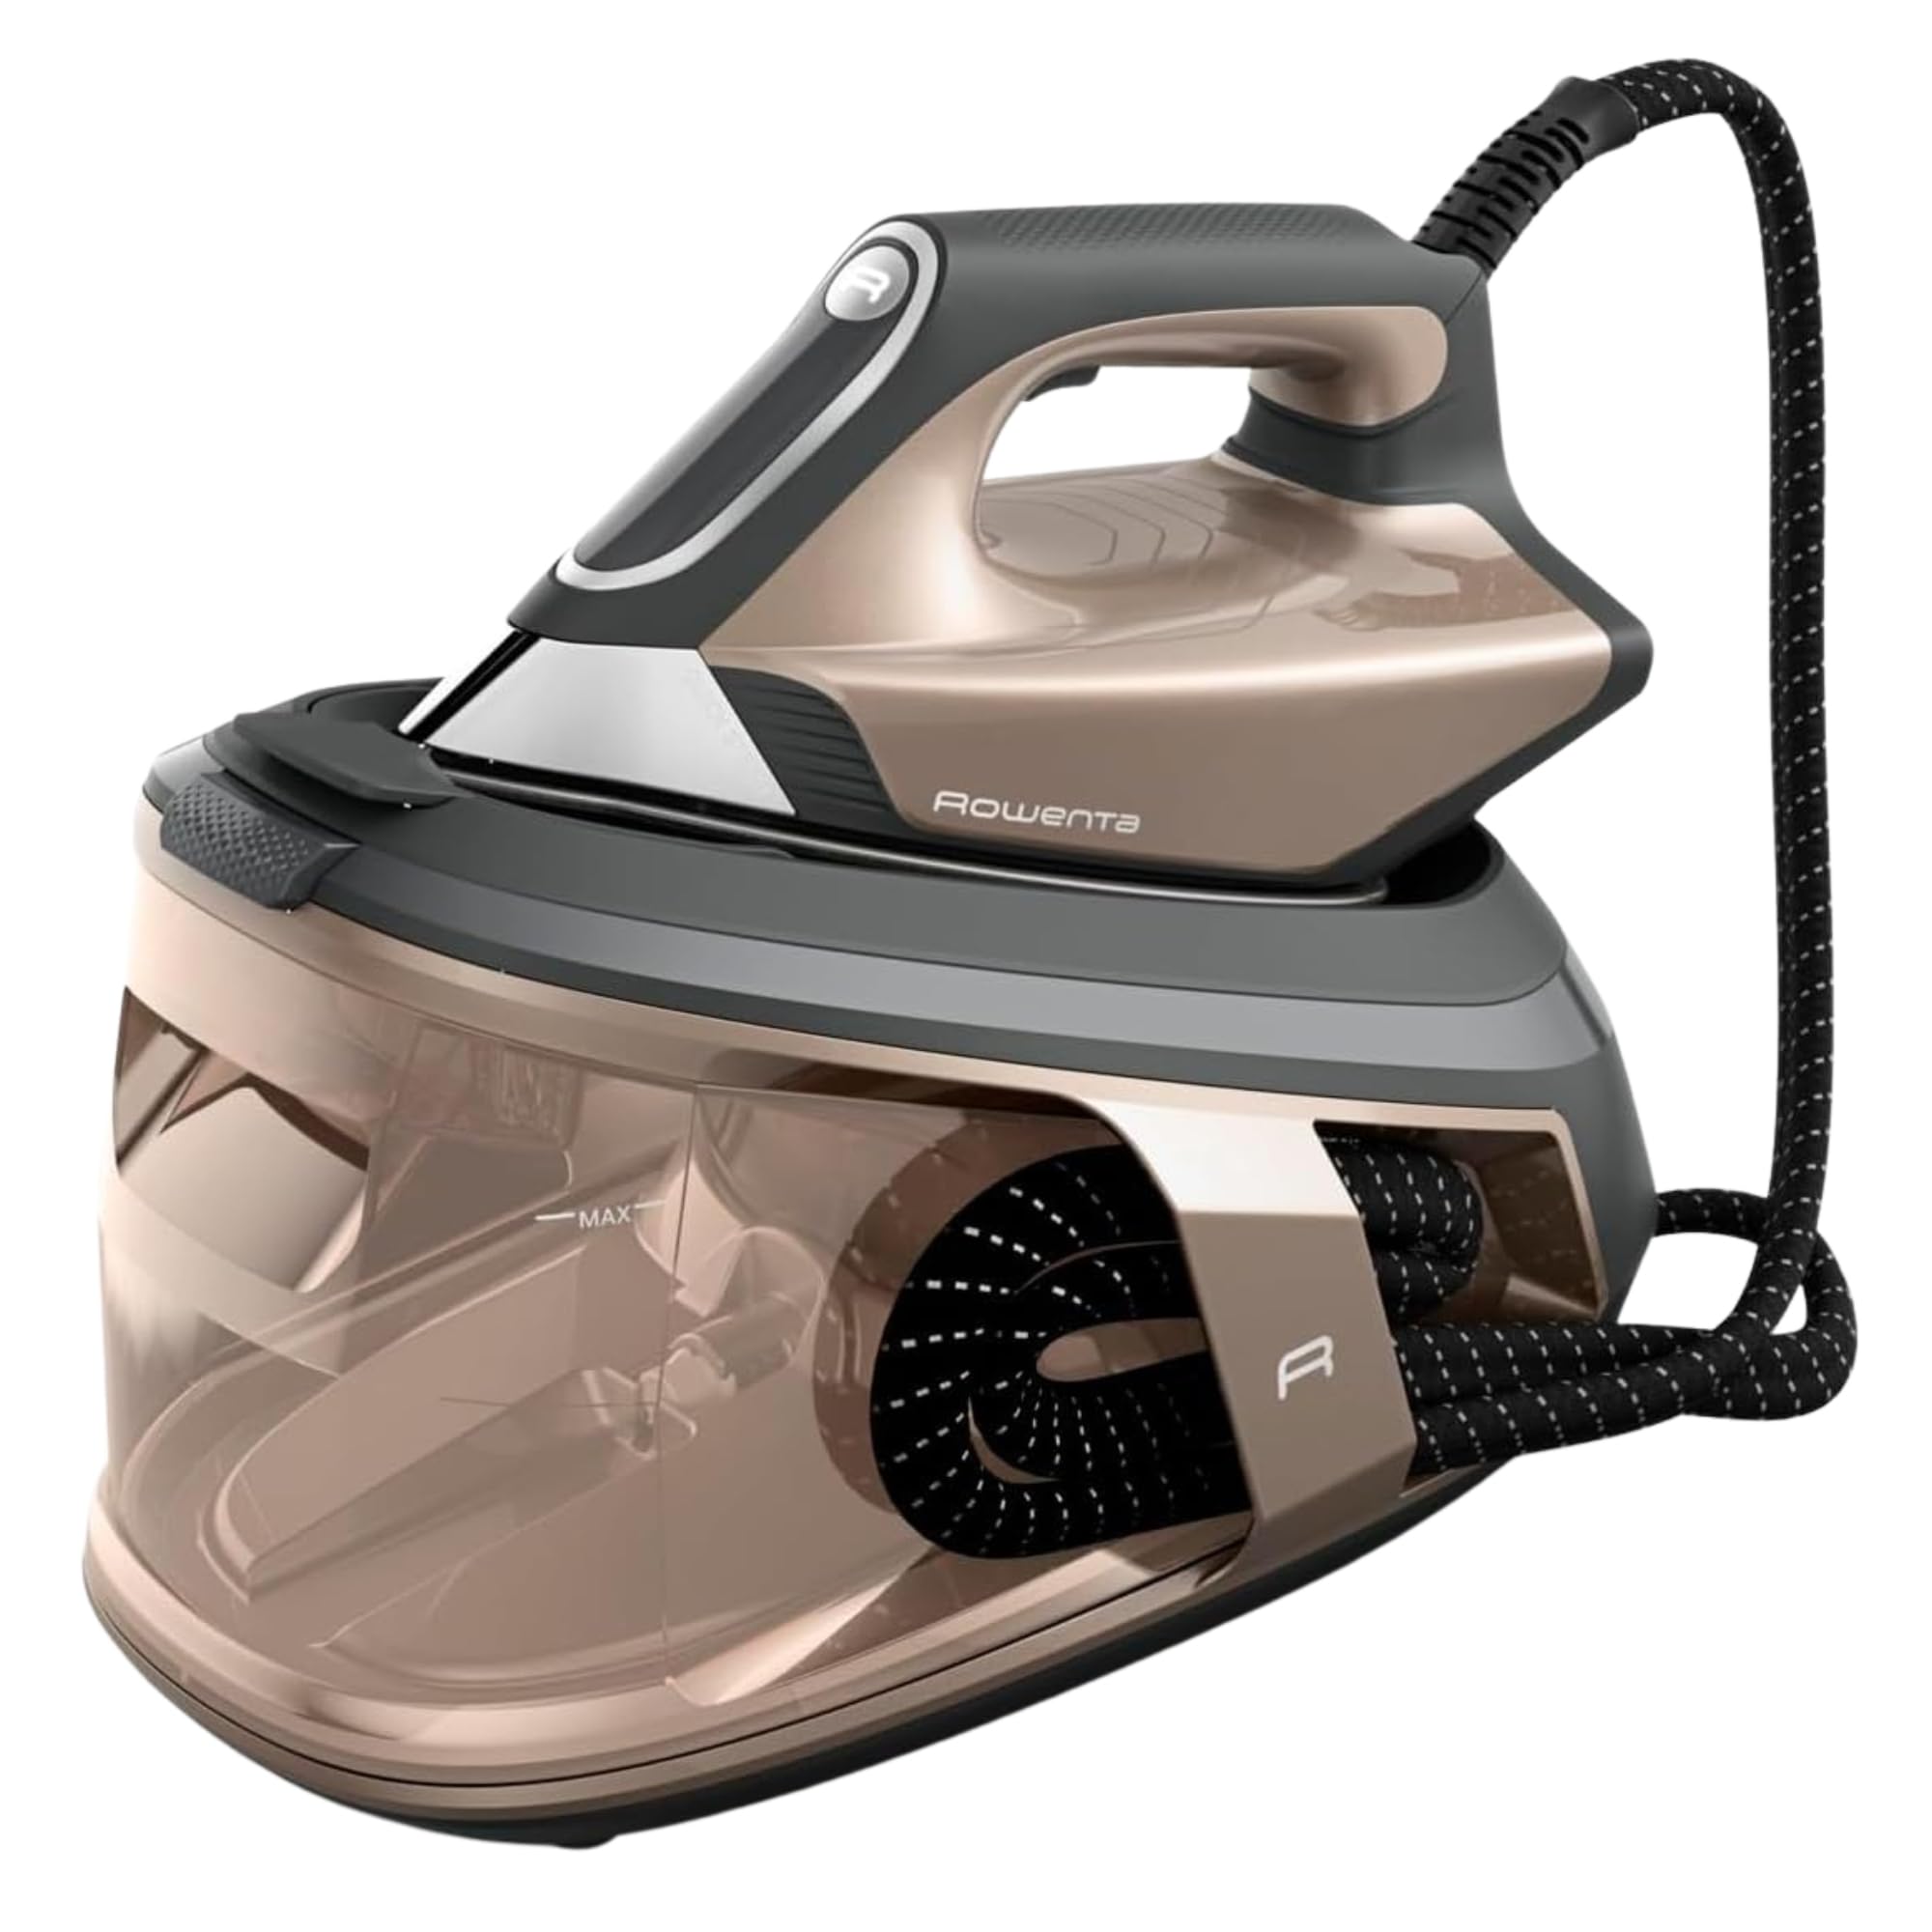
Figur 1: Overview of the Rowenta Force Pro 500 Steam Generator Iron.

Figure 2: Illustration of the removable water tank.
4. Opsætning og første brug
- Udpakning: Fjern forsigtigt al emballage, og sørg for, at alle komponenter er til stede.
- Placering: Place the steam generator base on a stable, flat, and heat-resistant surface.
- Påfyldning af vandtanken:
- Fjern vandtanken fra basen.
- Fyld tanken med postevand op til 'MAX'-niveauindikatoren. Brug ikke udelukkende destilleret eller demineraliseret vand, da det kan påvirke dampens ydeevne.
- Reinsert the water tank firmly into the base until it clicks into place.
- Tilslutning til strøm: Sæt netledningen i en jordet stikkontakt.
- Forberedelse af første brug: Before ironing garments, allow the iron to heat up completely. Press the steam trigger a few times to prime the system and release any initial impurities.
5. Betjeningsvejledning
5.1 Tænd og opvarmning
Press the power button on the control panel. The indicator light will flash while the appliance heats up. Once the light becomes steady, the iron is ready for use.
5.2 Selecting Ironing Modes
The Rowenta Force Pro 500 features two primary ironing modes:
- ØKO -tilstand: For energy-efficient ironing of most fabrics. This mode saves up to 50% energy while still providing effective steam.
- MAX-tilstand: For stubborn creases and thicker fabrics, providing maximum steam output (550 g/minute steam boost).
Select your desired mode directly from the control panel. The iron automatically adjusts the temperature, eliminating the need for manual temperature settings.

Figure 3: Eco mode for energy saving.

Figure 4: Control panel showing Eco and Max mode selection.
5.3 Steam Generation (Quicksteam Technology)
The Quicksteam technology provides instant steam on demand. Press the steam trigger located under the iron handle to activate continuous steam. For a powerful steam boost, press the trigger firmly.

Figure 5: Iron in use, demonstrating powerful steam output.

Figure 6: Visual representation of instant steam on demand.
5.4 Optimal dampfordeling
The soleplate features 400 active micro-holes designed for maximum and even steam distribution, ensuring efficient wrinkle removal.

Figure 7: Close-up of the soleplate demonstrating steam distribution.
5.5 Vertikal dampning
The powerful steam output allows for vertical steaming of hanging garments, curtains, and delicate fabrics. Hold the iron a few centimeters away from the fabric and press the steam trigger.
5.6 Opbevaring og transport
After use, allow the iron to cool down completely. Secure the iron unit to the base using the locking system. The integrated cable management system allows for easy storage of the power cord and steam hose.
6. Vedligeholdelse og rengøring
6.1 Afkalkning (kalkopsamler)
The integrated Calc Collector ensures long-lasting steam performance by capturing limescale. Regularly clean the Calc Collector:
- Sørg for, at apparatet er frakoblet og helt afkølet.
- Locate the Calc Collector on the steam generator base.
- Twist and pull out the collector.
- Skyl opsamleren under rindende vand for at fjerne eventuelle kalkaflejringer.
- Reinsert the clean Calc Collector firmly until it locks into place.
Figure 8: Location of the Calc Collector on the control panel.
6.2 Rengøring af sålpladen
To maintain optimal glide and performance, clean the soleplate regularly:
- Sørg for, at strygejernet er frakoblet og afkølet.
- Tør strygesålen af med adamp cloth. For stubborn marks, use a specialized soleplate cleaning stick (available separately) according to its instructions.
- Do not use abrasive cleaners or metallic scouring pads, as these can damage the soleplate.

Figur 9: Eksample of cleaning the iron's soleplate.
6.3 Tømning af vandtanken
It is recommended to empty the water tank after each use to prevent limescale buildup and ensure hygiene.
7. Fejlfinding
| Problem | Mulig årsag | Løsning |
|---|---|---|
| Der produceres ingen damp. | Vandtanken er tom. Apparatet er ikke varmt. Dampkontakten er ikke trykket ind. | Fill the water tank. Wait for the indicator light to become steady. Press the steam trigger. |
| Water droplets or brown stains appear on fabric. | Limescale buildup. Iron not hot enough. | Clean the Calc Collector. Allow the iron to heat up completely before use. |
| Jern varmes ikke op. | Ikke tilsluttet. Tænd/sluk-knap ikke trykket ned. | Kontroller strømforbindelsen. Tryk på tænd/sluk-knappen. |
| Reduceret dampproduktion. | Limescale buildup. Water tank low. | Clean the Calc Collector. Refill the water tank. |
Hvis problemet fortsætter efter at have prøvet disse løsninger, bedes du kontakte kundesupport.
8. Tekniske specifikationer
- Model: VR9033F0
- Tryk: 7.5 barer
- Steam Boost: Op til 550 g/minut
- Kontinuerlig dampudgang: Approx. 120-140 g/minute
- Strøm (Wattage): 2800 watt
- Vandtankkapacitet: Approx. 1.5-1.8 Liters
- Materiale sålplade: Rustfrit stål
- Produktmål (L x B x H): 38.5 x 29 x 34 cm
- Produktvægt: 3.4 kg
- Voltage: 220V
- Særlige funktioner: Quicksteam Technology, Eco Mode, Max Mode, Calc Collector.

Figur 10: Produktdimensioner.
9. Garanti og kundesupport
Rowenta is committed to product quality and durability. This product is designed for long-term use, with a focus on reparability.
- Reparerbarhed: Rowenta offers 15 years of reparability at a fair price, supported by a network of 6200 repair centers worldwide. This commitment aims to extend the product's lifespan and reduce waste.
- Kundeservice: For any questions, technical assistance, or warranty claims, please refer to the official Rowenta webwebstedet eller kontakt dit lokale kundeservicecenter.
- Online ressourcer: Besøg embedsmanden Rowenta Mærkebutik for yderligere produktinformation og support.