
1. Introduktion
Thank you for choosing the INFIYA K1 2K Window Camera. This manual provides detailed instructions for setting up, operating, and maintaining your camera to ensure optimal performance and home security. Please read this manual thoroughly before use and retain it for future reference.
2. Hvad er der i æsken
Bekræft at alle komponenter er til stede i din pakke:
- 1 x INFIYA K1 Camera
- 1 x strømadapter
- 1 x Type-C strømkabel
- Magnetic Stickers
- Kabelclips
- 1 x Quick Start Guide

Image: Contents of the INFIYA K1 camera box.
3. Produktet er slutview
Familiarize yourself with the main components of your INFIYA K1 camera:

Image: Labeled diagram of the INFIYA K1 camera components.
- Indikatorlys: Viser kamerastatus.
- Linse: Optager video i 2K-opløsning.
- Magnetic Part: For easy window mounting.
- Nulstil knap: Used for factory reset or pairing.
- TF-kortslot: For local storage (supports up to 128GB, card not included).
- Højttaler: Til tovejs audiokommunikation.
- Type-C strømkabel: Tilslutter kameraet til strømadapteren.
4. Opsætningsvejledning
4.1 Physical Installation (Drill-Free)
The INFIYA K1 camera features a magnetic design for easy, drill-free installation on any interior window.
- Rengør vinduet: Ensure the glass surface is clean and dry to prevent condensation issues.
- Apply Magnetic Sticker: Peel off the protective film from the magnetic sticker and firmly attach it to the desired location on your window.
- Tilslut kamera: Align the camera with the magnetic sticker and attach it. The magnetic connection will hold it securely.
- Tænd: Connect the Type-C power cable to the camera and plug the power adapter into an electrical outlet.

Image: Step-by-step physical installation of the camera.
4.2 App Connection and Wi-Fi Configuration
To access your camera's features, you need to connect it to the Wansview Cloud app.
- Download app: Download Wansview Cloud App from your smartphone's app store (available for Android and iOS).
- Registrer konto: Åbn appen, og opret en ny konto, eller log ind, hvis du allerede har en.
- Tilføj enhed: Follow the in-app instructions to add a new device. Select the INFIYA K1 model.
- Opret forbindelse til Wi-Fi: Ensure your camera is powered on and near your Wi-Fi router (within 3 feet for initial setup). The K1 camera supports dual-band Wi-Fi (2.4Ghz & 5Ghz). Follow the app prompts to connect the camera to your home Wi-Fi network.

Image: App connection and Wi-Fi configuration steps.
5. Betjening
5.1 Live View and 2K Resolution
Once connected, access the live feed through the Wansview Cloud App. The INFIYA K1 provides sharp 2K resolution video, capturing clear details of your outdoor environment through the window, optimized to reduce glare and reflection.
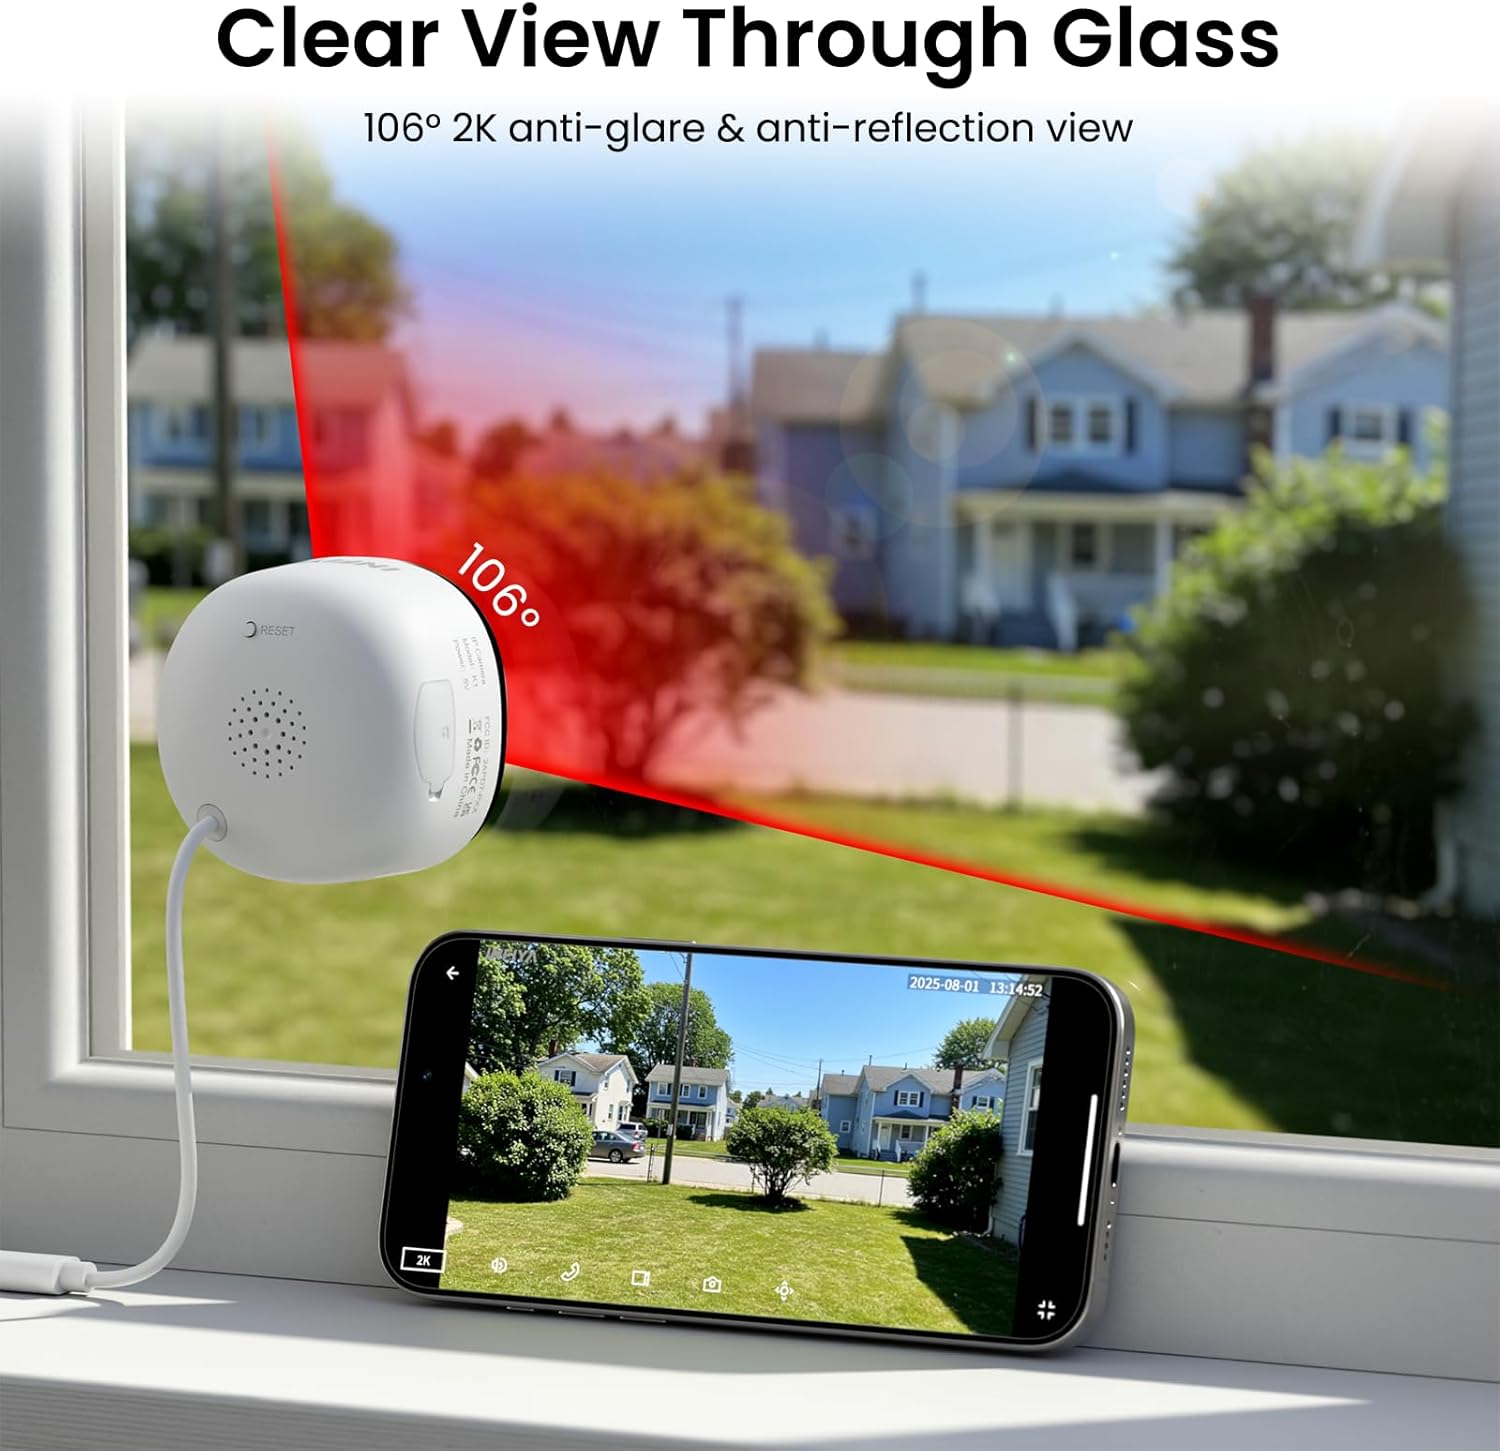
Image: Clear 2K view through glass from the camera.
5.2 Nattesyn i fuld farve
The camera features advanced Black Light Color Technology, enabling vivid full-color footage even in low-light conditions (e.g., starlight/moonlight). This allows for better identification of details at night compared to traditional infrared black and white night vision.

Image: Comparison of night vision capabilities.
5.3 Motion & Human Detection with Alerts
The INFIYA K1 camera utilizes AI-powered human detection to minimize false alarms. When human activity is detected, the camera activates a three-layer alert system:
- Immediate app notifications to your phone.
- An optional siren (can be configured in the app).
- Automatic video clip recording of the event.
You can customize detection zones and sensitivity levels within the app.
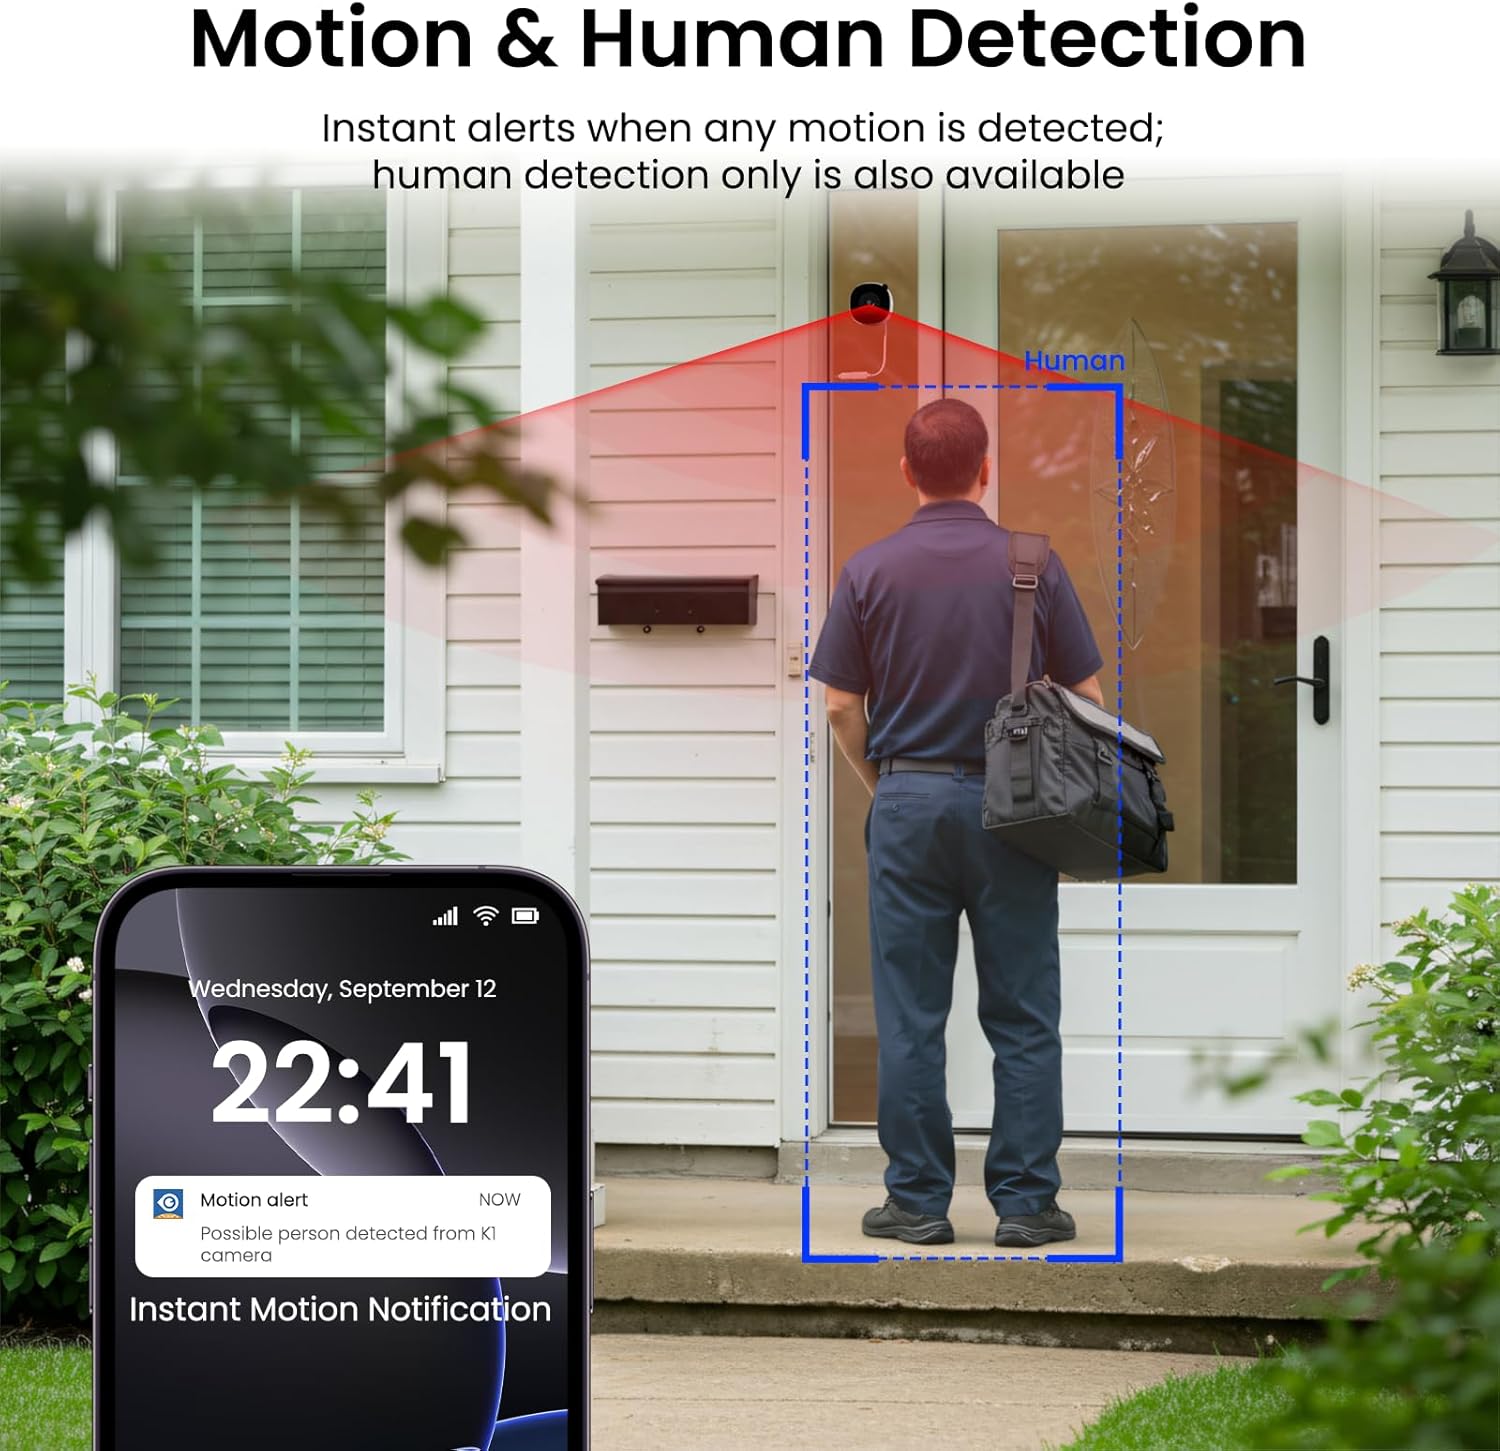
Image: Motion and human detection in action.
5.4 Tovejslyd
The integrated speaker and microphone allow for two-way communication. You can speak through the camera to visitors or deter intruders directly from your smartphone app.
5.5 Multi-User Sharing & Multi-Device Support
Share camera access with family members through the app. The camera also supports integration with multiple devices and smart home platforms like Alexa and Google Assistant for convenient voice control and viewing.

Image: Multi-user sharing feature.

Image: Multi-device support with smart assistants.
6. Opbevaringsmuligheder
The INFIYA K1 camera offers flexible recording and storage solutions:
6.1 Local Storage (TF Card)
Insert a TF (microSD) card (up to 128GB, not included) into the camera's slot for continuous 24/7 recording. The camera features a smart overwrite function that automatically manages storage space by cycling old footage.
6.2 Cloud Storage (Optional)
For enhanced security and accessibility, you can opt for cloud storage. All videos uploaded to the cloud are encrypted. Cloud plans offer various features and storage durations, as detailed in the app.

Image: Local and cloud storage options.
6.3 Recording Modes Comparison

Image: Comparison table of recording modes.
7. Specifikationer
Detailed technical specifications for the INFIYA K1 camera:
| Feature | Detalje |
|---|---|
| Modelnavn | K1 |
| Mærke | INFIYA |
| Forbindelsesteknologi | Trådløs (Wi-Fi) |
| Wi-Fi-frekvens | 5Ghz og 2.4Ghz |
| Videooptagelsesopløsning | 3 MP (2K) |
| Viewi vinkel | 105 grader |
| Nattesyn | Color Night Vision (Black Light Color Technology) |
| Night Vision Range | 29.5 fod |
| Detektionsfunktioner | Bevægelse og menneskelig detektion |
| Alert Type | Motion Only (Configurable) |
| Lyd | Tovejs-samtale |
| Opbevaringsmuligheder | TF Card (up to 128GB), Cloud Storage (Optional) |
| Strømkilde | Corded Electric (5V, 5 Watt-hours) |
| Monteringstype | Window Mount (Magnetic) |
| Kompatible enheder | Alexa / Google Assistant |
| Emnedimensioner | 2.41 x 1.57 x 2.41 tommer |
| Indendørs udendørs brug | Indoor (for window monitoring) |
8. Fejlfinding
If you encounter issues with your INFIYA K1 camera, refer to the following common problems and solutions:
- Kameraet opretter ikke forbindelse til Wi-Fi:
- Sørg for, at kameraet er inden for din routers rækkevidde.
- Bekræft, at din Wi-Fi-adgangskode er korrekt.
- Check if your router supports 2.4Ghz or 5Ghz, and ensure the camera is attempting to connect to a compatible band.
- Try resetting the camera using the reset button and re-attempting the setup process.
- Dårlig videokvalitet:
- Sørg for, at kameralinsen er ren.
- Check your internet connection speed; a stable connection is crucial for 2K streaming.
- Verify the camera is positioned correctly on the window to minimize glare or reflections.
- Bevægelsesalarmer virker ikke:
- Bekræft, at bevægelsesdetektion er aktiveret i appindstillingerne.
- Adjust the detection sensitivity and detection zones.
- Sørg for, at app-notifikationer er aktiveret på din smartphone.
- Ingen optagelse til TF-kort:
- Ensure a TF card is properly inserted into the slot.
- Check if the TF card is formatted correctly (usually FAT32). Format it via the app if necessary.
- Verify that continuous recording or event recording to TF card is enabled in the app settings.
For further assistance, please refer to the in-app help section or contact INFIYA customer support.
9. Sikkerhedsoplysninger
Please observe the following safety guidelines to ensure safe operation and prevent damage to your device:
- Brug kun den medfølgende strømadapter og det medfølgende kabel.
- Do not expose the camera to extreme temperatures, humidity, or direct water.
- Avoid placing the camera near strong magnetic fields.
- Hold kameraet utilgængeligt for børn og kæledyr.
- Forsøg ikke at skille kameraet ad eller reparere det selv. Kontakt kvalificeret personale for service.
- Sørg for, at kameraet er sikkert monteret for at forhindre det i at falde ned.
10. Garanti og support
Your INFIYA K1 camera comes with a standard manufacturer's warranty. Please refer to the warranty card included in your package or visit the official INFIYA webhjemmeside for detaljerede garantivilkår.
For technical support, product inquiries, or warranty claims, please contact INFIYA customer service through the contact information provided in the app or on the official webwebsted.