
1. Introduktion
The ELEGOO Mars 5 Ultra is an advanced MSLA UV Photocuring 3D printer designed for high-speed and high-precision resin printing. It features a 7-inch 9K mono LCD, automatic leveling, Wi-Fi connectivity for cluster printing, and an integrated AI camera for intelligent monitoring. This manual provides essential information for setting up, operating, maintaining, and troubleshooting your Mars 5 Ultra 3D printer.

Billede: Overview of the ELEGOO Mars 5 Ultra 3D Printer highlighting its main features such as Tilt Release, Automatic Leveling, Smartly Resume Printing, AI Camera, Overheating Alarm, and Efficient Networking.
2. Sikkerhedsoplysninger
Please read all safety instructions carefully before operating the printer to prevent injury or damage to the device. Failure to follow these instructions may result in electric shock, fire, or other hazards.
- Brug altid passende personlige værnemidler (PPE), herunder handsker og sikkerhedsbriller, når du håndterer harpiks.
- Operate the printer in a well-ventilated area to avoid inhaling resin fumes.
- Hold printeren væk fra direkte sollys, varmekilder og brandfarlige materialer.
- Rør ikke ved bevægelige dele under drift.
- Ensure the power supply is correctly rated for your region and properly grounded.
- Opbevares utilgængeligt for børn og kæledyr.
- Dispose of uncured resin and waste materials according to local regulations.
3. Opsætning
3.1 Udpakning og inspektion
Carefully remove all components from the packaging. Inspect the printer and accessories for any signs of damage during transit. If any damage is found, contact customer support immediately.
3.2 Komponentidentifikation
Familiarize yourself with the main components of your ELEGOO Mars 5 Ultra 3D printer:
- Printerenhed
- Byg plade
- Resin Tank (Vat) with dual pour spouts
- Strømadapter
- USB-drev
- Scraper, Gloves, Funnel, Mask
3.3 Første samling
The Mars 5 Ultra comes largely pre-assembled. Attach the build plate to the Z-axis arm using the quick-release mechanism. Ensure it is securely fastened. Place the resin tank onto the LCD screen, aligning it correctly.
3.4 Automatisk nivellering
The ELEGOO Mars 5 Ultra features an intelligent mechanical sensor for automatic leveling. Follow these steps:
- Tænd for printeren.
- Navigate to the 'Tools' menu on the capacitive touchscreen.
- Select 'Leveling' or 'Auto-Level' option. The printer will automatically detect the build plate position and calibrate itself.
- Confirm the leveling process is complete on the screen.
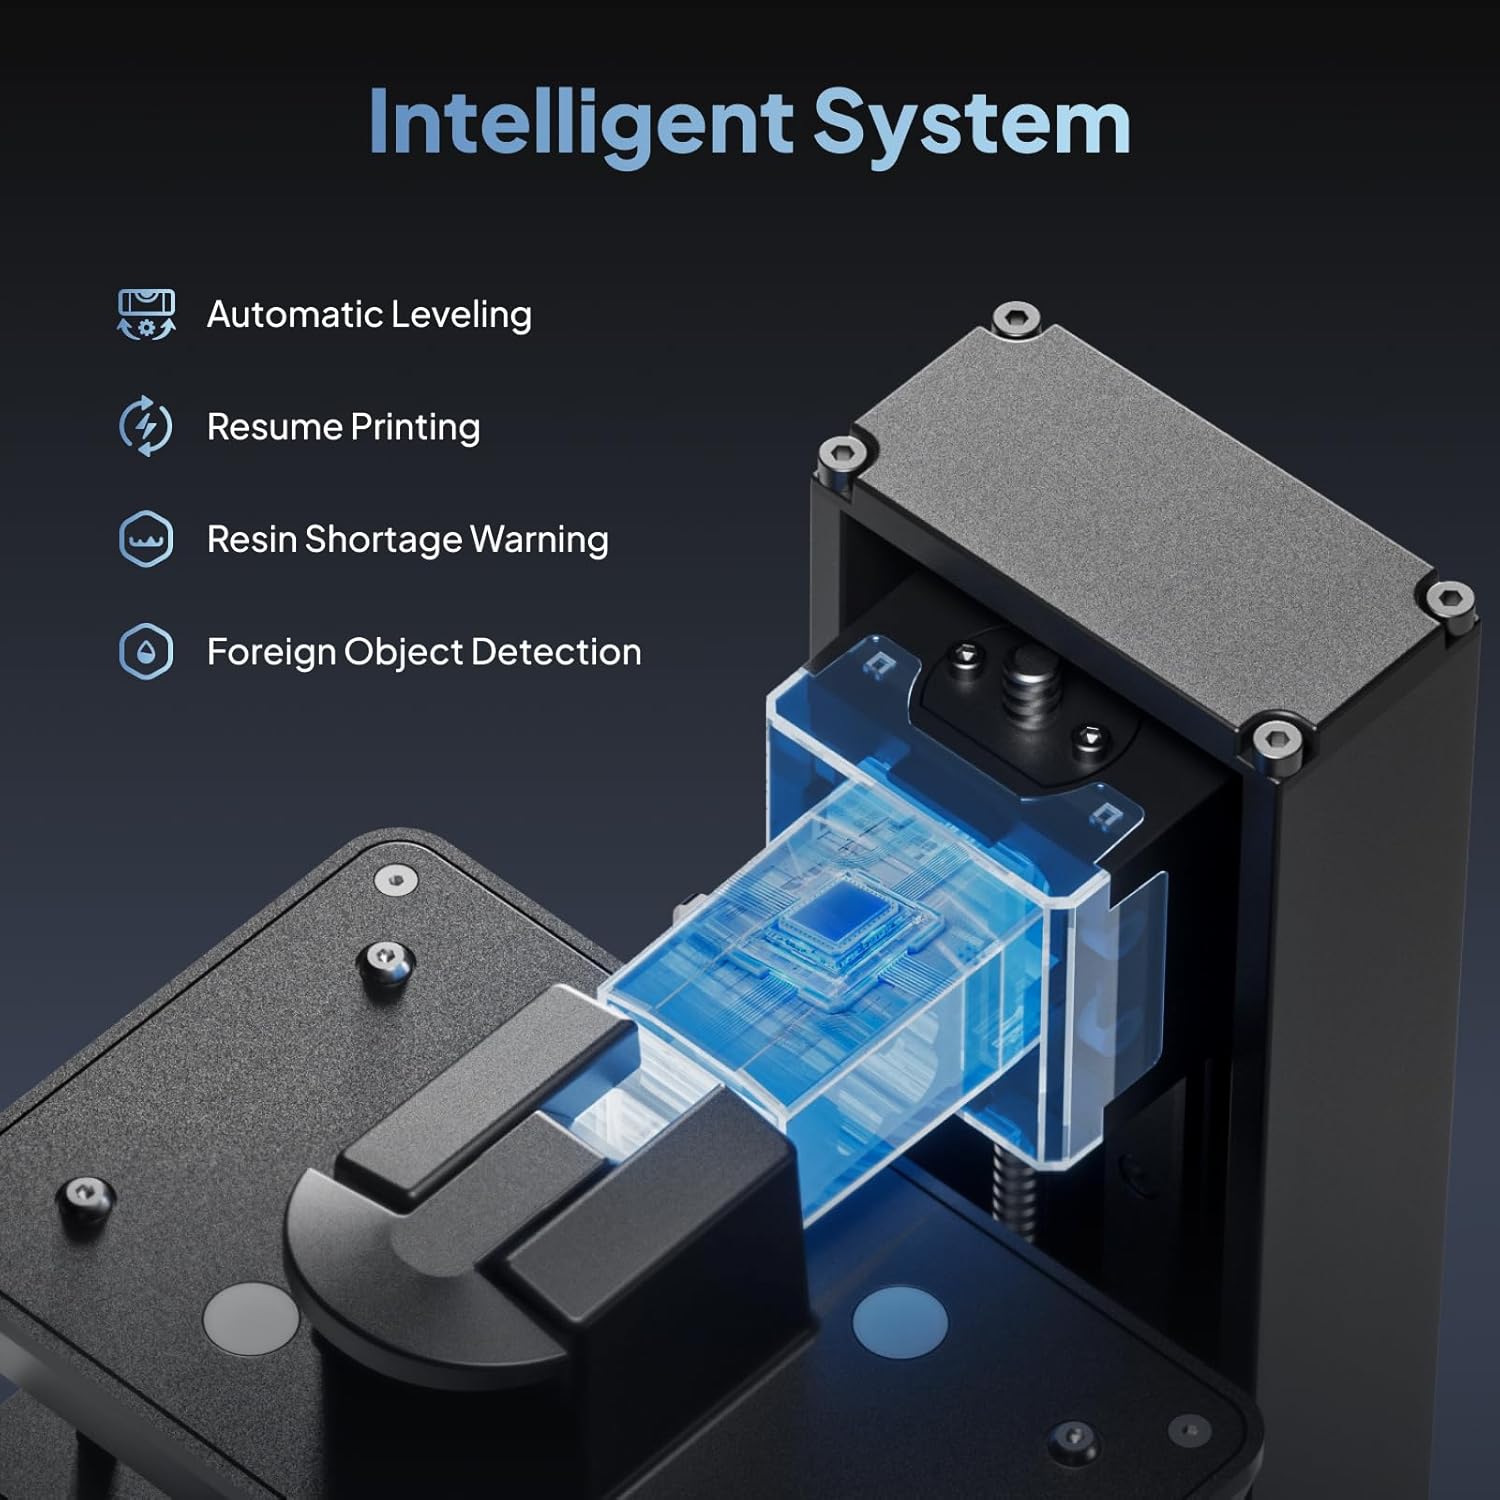
Image: An illustration of the intelligent system within the ELEGOO Mars 5 Ultra, highlighting features like Automatic Leveling, Resume Printing, Resin Shortage Warning, and Foreign Object Detection.
3.5 Resin Loading
Before loading resin, ensure the resin tank is clean and free of debris. Gently pour the desired resin into the resin tank, ensuring it does not exceed the maximum fill line. The dual pour spouts facilitate easier pouring and draining.
4. Betjening
4.1 Klargøring af din model til udskrivning
Use a compatible slicing software (e.g., Chitubox) to prepare your 3D model. Ensure the model is properly oriented, supported, and sliced according to the printer's specifications and resin type. Save the sliced file to a USB drive or transfer it via Wi-Fi.
4.2 Start af en udskrivning
- Insert the USB drive into the printer or ensure Wi-Fi connection is established.
- On the touchscreen, select 'Print' and choose your desired file.
- Confirm print settings. The printer supports switching between fast and slow printing modes for optimal quality or speed.
- Initiate the print. The printer will begin the printing process, utilizing its advanced tilt release technology for faster layer separation.

Image: A visual representation of the tilt release technology, which enables printing speeds up to 150mm/h by reducing Z-axis movement time.
4.3 Monitoring with AI Camera
The built-in AI camera provides real-time monitoring of your print progress. Access the camera feed through the printer's interface or a connected device. The AI camera can detect issues such as empty build plates or model warping, alerting you to potential problems.
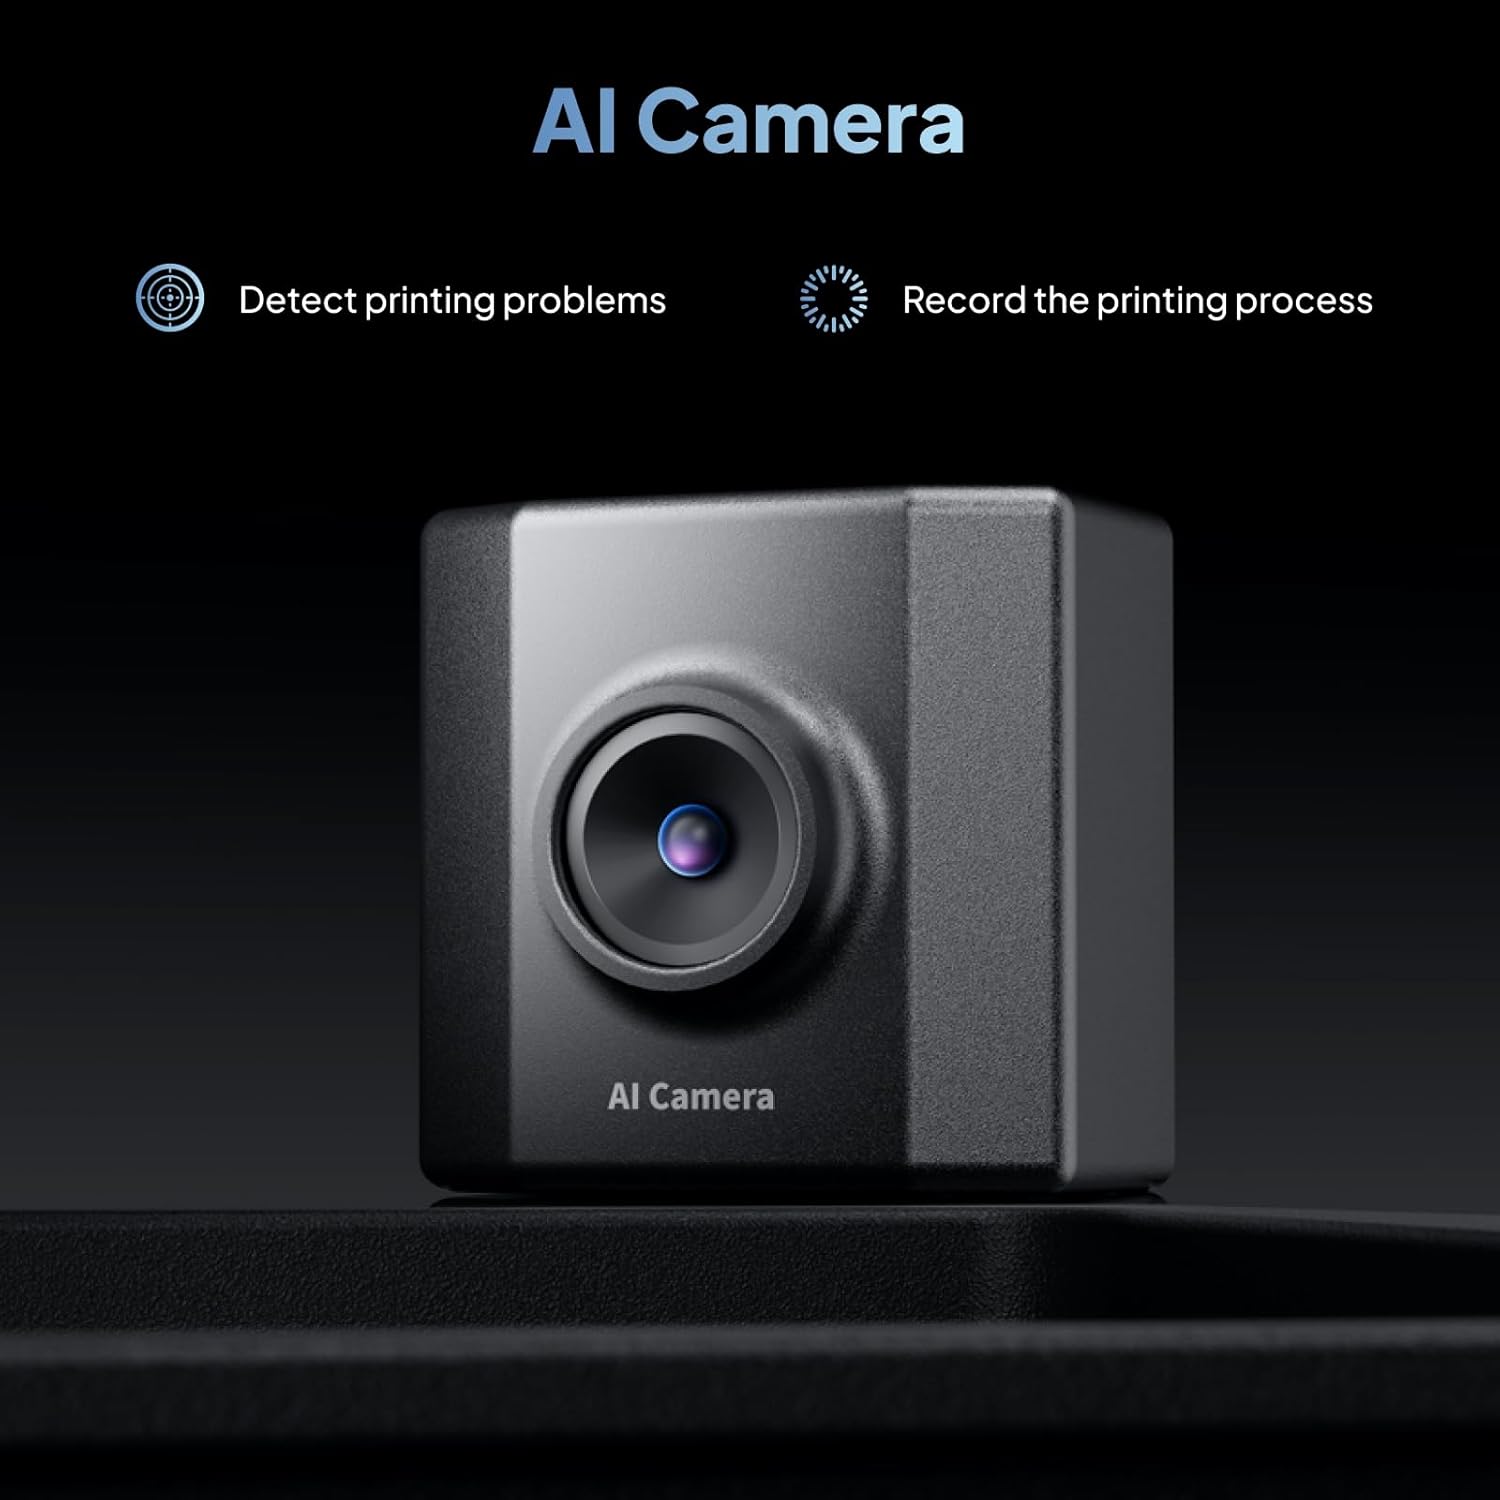
Billede: En detaljeret view of the AI Camera, which detects printing problems and records the printing process, enhancing monitoring capabilities.
4.4 Wi-Fi Cluster Printing and Firmware Updates
The Mars 5 Ultra supports Wi-Fi connectivity for file transfers and remote control. Multiple printers can be connected to the same LAN for cluster printing, allowing for efficient management of multiple print jobs. Firmware updates can be performed wirelessly via OTA (Over-The-Air) for convenient system upgrades.

Image: An illustration demonstrating efficient network printing, where multiple Mars 5 Ultra 3D printers are connected to a single device via Wi-Fi for cluster printing and OTA firmware upgrades.
4.5 Funktion til genoptagelse af udskrivning
I tilfælde af en magt outage during printing, the Mars 5 Ultra can resume the printing process once power is restored. After powering on, select 'Continue Printing' from the menu to resume your job.
5. Vedligeholdelse
Regelmæssig vedligeholdelse sikrer din 3D-printers levetid og optimale ydeevne.
5.1 Cleaning the Resin Tank and Build Plate
- After each print, carefully remove the build plate and scrape off any remaining resin. Clean the build plate with isopropyl alcohol (IPA).
- If changing resin types or if the resin tank has been idle for an extended period, drain the resin using the dual pour spouts and clean the tank with IPA.
- Inspect the FEP film (release film) in the resin tank for damage or cloudiness. Replace if necessary.
5.2 Rengøring af LCD-skærmen
Gently wipe the LCD screen with a soft, lint-free cloth and IPA. Avoid using abrasive materials or excessive force, as this can damage the screen or its protective film. A 9h replaceable scratch-resistant film is installed for added protection.
5.3 Z-Axis Maintenance
Periodically inspect the Z-axis lead screw for dust or resin residue. Clean and apply a small amount of lubricant if needed to ensure smooth movement.
6. Fejlfinding
This section addresses common issues you might encounter with your ELEGOO Mars 5 Ultra 3D printer.
6.1 Printing Errors and Warnings
The intelligent mechanical sensor provides warnings for various printing anomalies:
- Insufficient Resin Detected: If the printer detects low resin levels, it will prompt you to add more.
- Foreign Objects Detected: The sensor can identify foreign objects in the resin tank. Remove them before continuing to prevent damage.
- Release Film Replacement Needed: The printer may indicate when the FEP film requires replacement due to wear.
- Elevated Light Board Temperatures: The printer will stop operation if the lamp board temperature exceeds 80°C until it cools down, protecting components from overheating.

Image: An illustration depicting the Intelligent Mechanical Sensor's error detection capabilities, including resin deficiency, resin excess, and foreign matter detection.
6.2 Almindelige udskrivningsproblemer
- Prints not sticking to the build plate: Ensure the build plate is clean and properly leveled. Increase bottom exposure time in your slicer settings. The laser-engraved platform is designed to enhance model adhesion.
- Failed prints or partial prints: Check resin exposure settings, FEP film condition, and ensure the resin is well-mixed.
- Layer lines or poor detail: Verify your model's supports, resin settings, and ensure the printer is on a stable surface. The 9K mono LCD with 18*18μm XY resolution is designed for excellent detail.
6.3 Problemer med strøm og opstart
If the printer gets stuck at the boot screen or experiences UV LED issues, try the following:
- Perform a hard reset by unplugging and replugging the power cable.
- Ensure the firmware is up to date. If issues persist, attempt to re-flash the firmware via USB from the official ELEGOO webwebsted.
- If the UV LED is not working, check connections and consult ELEGOO support.
7. Specifikationer
| Feature | Specifikation |
|---|---|
| Model | Mars 5 Ultra |
| Udskrivningsteknologi | MSLA UV Photocuring |
| LCD skærm | 7-tommer 9K Mono LCD-skærm |
| Opløsning | 8520*4320 pixels |
| XY-opløsning | 18*18 μm |
| Udskrivningshastighed | Up to 150mm/h |
| Byggevolumen (LWH) | 6.04 x 3.06 x 6.49 tommer (153.36 x 77.76 x 165 mm) |
| Nivellering | Automatic Leveling (Smart Mechanical Sensor) |
| Forbindelse | Wi-Fi (2.4G/5G), USB |
| Særlige funktioner | AI Camera, Tilt Release Technology, Resume Printing, OTA Firmware Upgrade |
| Produktdimensioner | 10.55 x 10.24 x 17.78 tommer |
| Varens vægt | 24.6 pund |
| Materiale | Harpiks |
8. Garanti og support
8.1 Garantioplysninger
ELEGOO products typically come with a limited warranty covering manufacturing defects. The specific terms and duration of the warranty may vary by region and product. Please refer to the official ELEGOO webwebstedet eller din købsdokumentation for at få detaljerede garantioplysninger.
8.2 Kundesupport
For technical assistance, troubleshooting, or spare parts, please contact ELEGOO customer support. You can usually find contact information, FAQs, and additional resources on the official ELEGOO webwebsted:
- Officiel Webwebsted: www.elegoo.com
- E-mail support: Der henvises til webwebsted for specifikke support-e-mailadresser.
- Online ressourcer: Check the support section for user manuals, firmware updates, and video tutorials.
When contacting support, please have your product model (Mars 5 Ultra) and purchase details readily available.