1. Introduktion
This manual provides detailed instructions for the setup, operation, and maintenance of your CHEREEKI Wireless Controller for PlayStation 4. Please read this manual thoroughly before using the product to ensure proper functionality and to maximize your gaming experience.
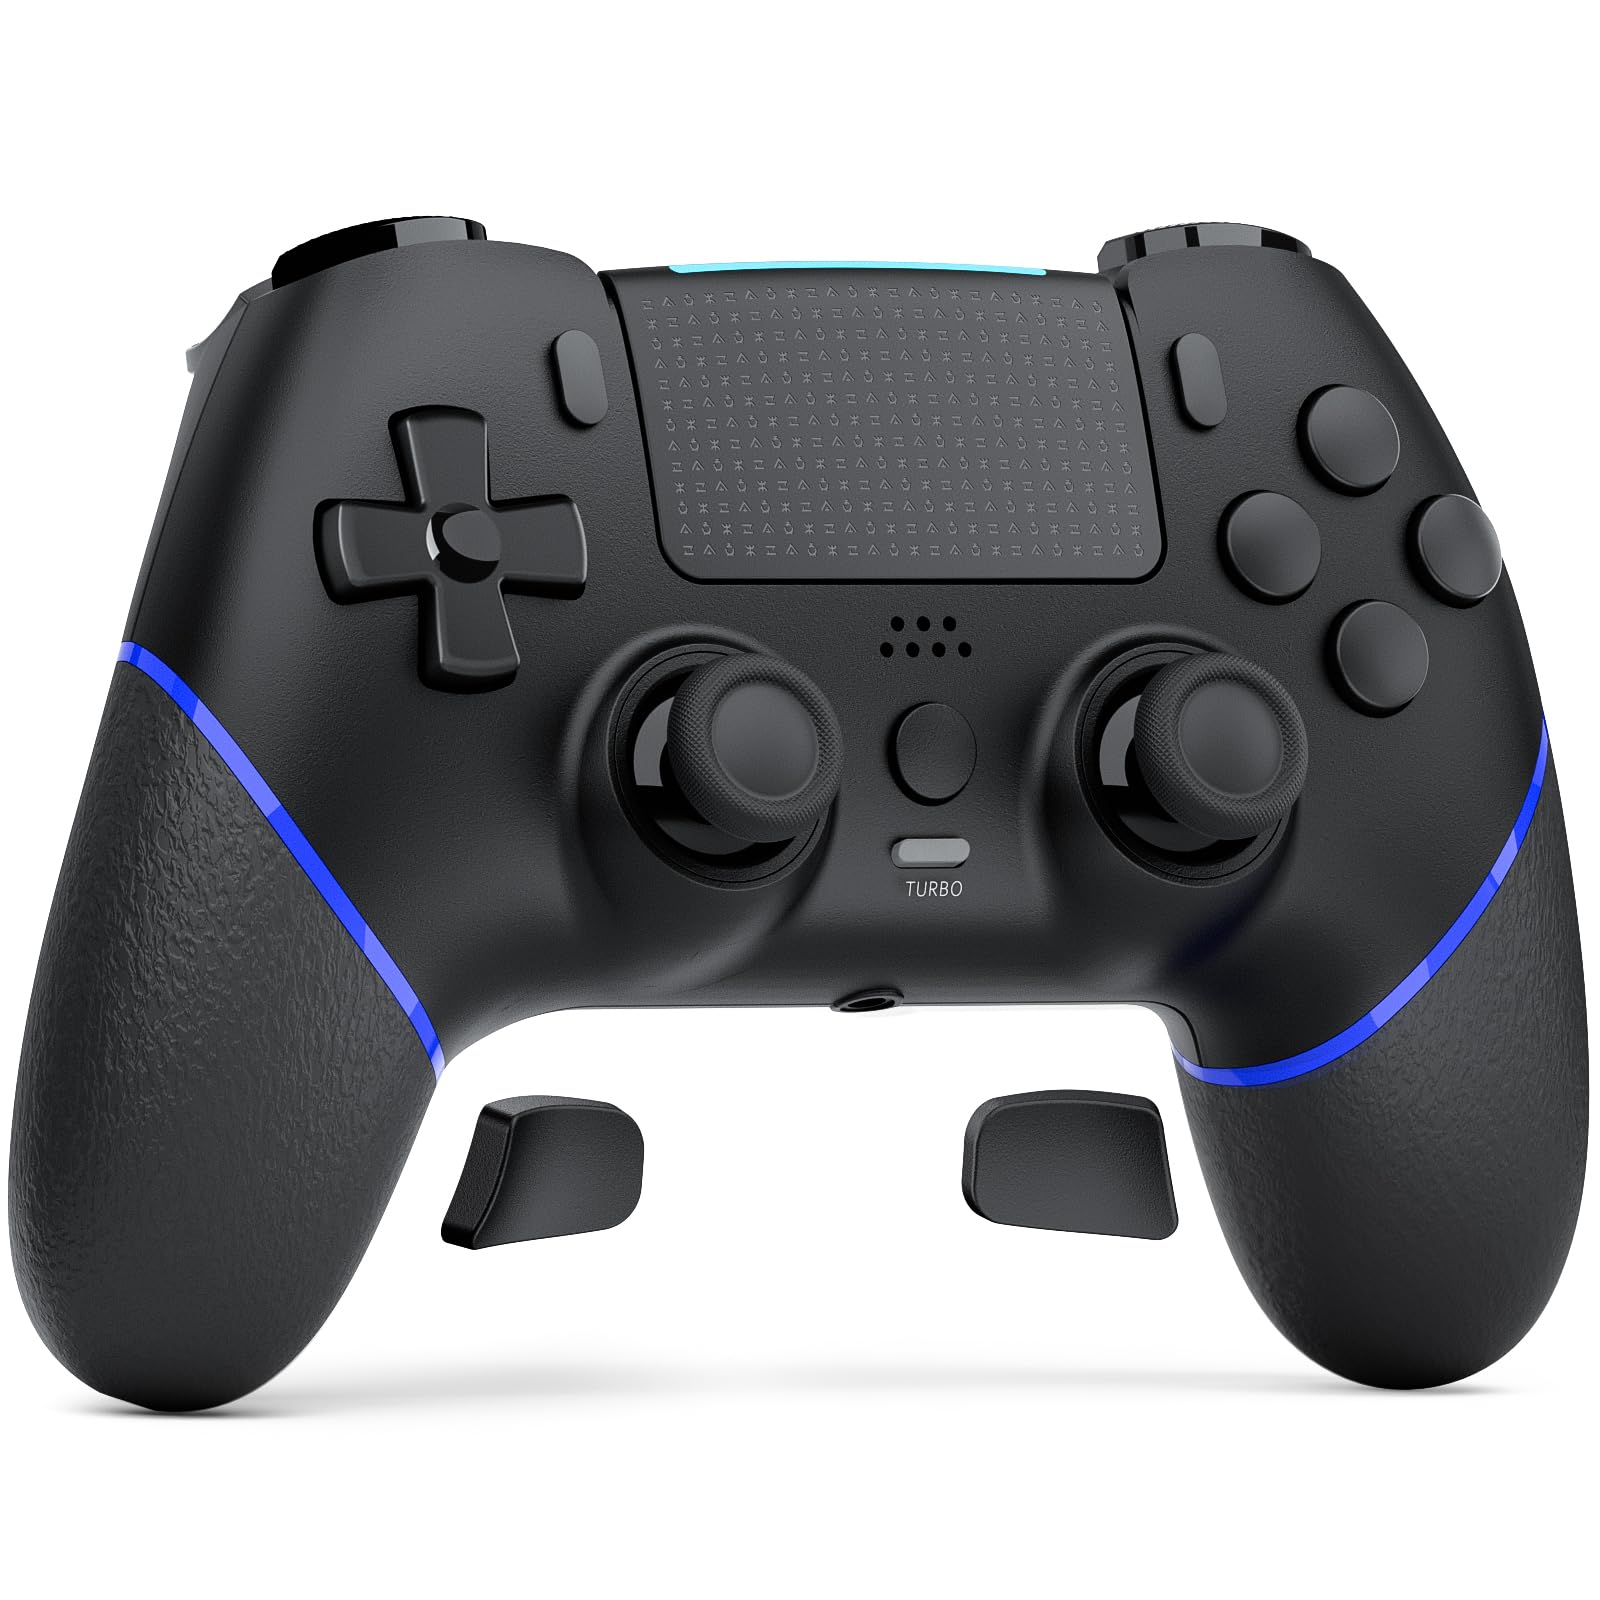
Image 1.1: The CHEREEKI Wireless Controller for PS4. This image displays the black controller from a front-top angle, highlighting its ergonomic design and button layout.
2. Produktet er slutview
The CHEREEKI Wireless Controller is designed for use with PlayStation 4 consoles (PS4, PS4 Slim, PS4 Pro). It features advanced Hall Effect joysticks, customizable back buttons, vibration feedback, motion sensing, a touchpad, and a 3.5mm headphone jack for an immersive gaming experience.
2.1 Nøglefunktioner
- Universal PS4 Compatibility: Connects seamlessly with PS4, PS4 Slim, and PS4 Pro consoles.
- Hall Effect Joystick Technology: Provides precise, lag-free control and eliminates stick drift.
- Customizable Back Button Programming: Map frequently used actions to two programmable back buttons.
- Langtidsholdbart batteri: Equipped with a 1000mAh battery, offering 8-10 hours of gameplay on a 3-hour charge.
- Forbedret komfort: Generously proportioned design for a natural grip, suitable for various hand sizes.
- Double Vibration Feedback: Provides realistic in-game sensations.
- Bevægelsessensor: Integrated motion sensing for interactive gameplay.
- Touchpad: Functional touchpad for additional control options.
- 3.5 mm hovedtelefonstik: For audio output and communication.
2.2 Controllerlayout

Image 2.1: Labeled diagram of the CHEREEKI Wireless Controller. This image identifies the Type C Port, R1/R2/L1/L2 Buttons, SHARE Button, LED indicator, OPTIONS Button, Directional Buttons, Left Stick, Right Stick, Home Button, Turbo Button, Stereo Headset Jack, and Reset button location.
3. Opsætning og tilslutning
3.1 Initial Connection to PS4
- Sørg for, at din PS4-konsol er tændt.
- Connect the CHEREEKI Wireless Controller to your PS4 console using the included USB-C cable.
- Tryk på Hjem-knap (located in the center of the controller) to activate the controller.
- The controller will automatically pair with your PS4. Once paired, you can disconnect the USB-C cable for wireless use.
- For efterfølgende brug skal du blot trykke på Hjem-knap to reconnect wirelessly.
3.2 Opladning af controlleren
The controller features a 1000mAh rechargeable battery. To charge:
- Connect the controller to your PS4 console or a USB power adapter (5V/1A recommended) using the USB-C cable.
- The LED indicator on the controller will show charging status.
- A full charge takes approximately 3 hours and provides 8-10 hours of gameplay.
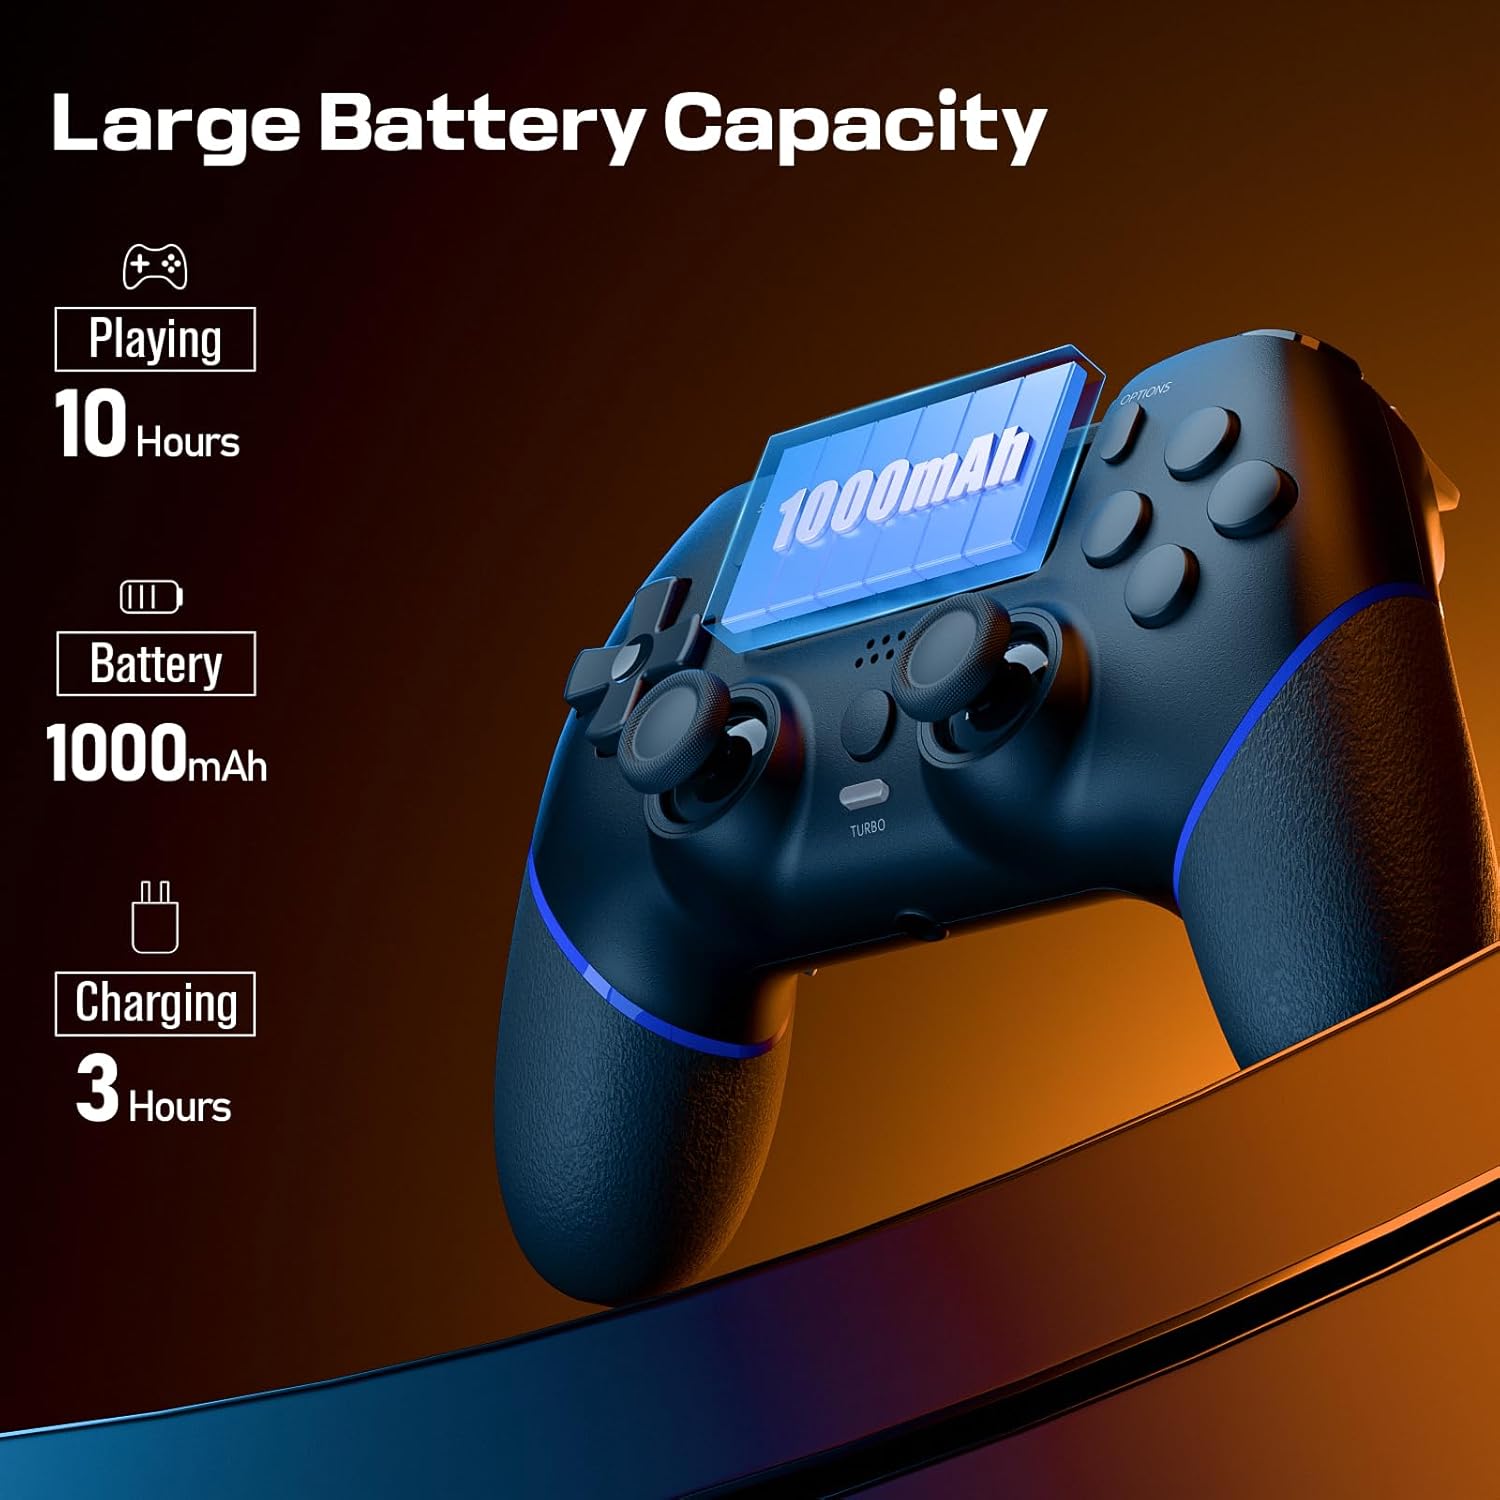
Image 3.1: Visual representation of the controller's battery capacity and charging details. It shows 'Playing 10 Hours', 'Battery 1000mAh', and 'Charging 3 Hours'.
4. Betjeningsvejledning
4.1 Hall-effekt joysticks
The controller is equipped with Hall Effect joysticks, which use magnetic sensors instead of physical contacts. This design significantly reduces wear and tear, preventing common issues like stick drift and ensuring consistent, precise input over time.

Image 4.1: Diagram illustrating the Hall Effect Sensor Joystick technology. It highlights 'No Delay', 'No Dead Zone', and 'Smooth Movement' as benefits.
4.2 Tilpassede tilbageknapper
The two programmable back buttons (often labeled L3/R3 or similar in mapping) allow you to assign complex actions or frequently used button combinations for quicker execution and reduced finger fatigue. Refer to your console's settings or specific game options for detailed button remapping procedures.

Image 4.2: Visual of the Custom Button Mapping feature. It shows how L3/R3 can be converted to other face buttons or shoulder buttons.
4.3 Turbofunktion
The Turbo function allows for rapid, sustained input of a button press without repeatedly pressing the button. To activate/deactivate the Turbo function:
- Tryk og hold på Turbo-knap.
- While holding Turbo, press the desired action button (e.g., X, O, Square, Triangle, R1, L1, etc.).
- Release both buttons. The selected action button will now continuously register input as long as it is held down.
- To deactivate, repeat the process: hold Turbo og tryk på handlingsknappen igen.

Image 4.3: The Turbo button on the controller is highlighted, with text indicating 'Sustain Auto-Fire with a Single Button Press'.
4.4 Vibrationsfeedback
The controller includes dual motors for vibration feedback, providing tactile responses to in-game events such as impacts, explosions, or environmental effects. This enhances immersion and provides additional sensory cues during gameplay.

Image 4.4: Controller with visual effects representing Double Vibration Feedback, indicating a 'More Realistic Feeling in the Games'.
4.5 Motion Sensor and Touchpad
The integrated motion sensor allows for intuitive control in games that utilize tilt and movement. The central touchpad provides an additional input method, supporting gestures and taps for navigation and specific in-game actions.
4.6 Hovedtelefonstik
A 3.5mm stereo headphone jack is located at the bottom of the controller, allowing you to connect a headset for game audio and voice chat.
4.7 Produktvideo
Video 4.1: An official product video demonstrating the CHEREEKI Wireless Controller, focusing on its Hall Effect joystick technology and overall design. This video highlights the precision and responsiveness of the controller's inputs.
5. Vedligeholdelse
To ensure the longevity and optimal performance of your CHEREEKI Wireless Controller, follow these maintenance guidelines:
- Rensning: Brug en blød, tør klud til at tørre controlleren af. Ved genstridigt snavs, tør letampRengør kluden med vand. Undgå at bruge skrappe kemikalier eller slibende rengøringsmidler.
- Opbevaring: Opbevar controlleren et køligt, tørt sted væk fra direkte sollys og ekstreme temperaturer.
- Håndtering: Undgå at tabe controlleren eller udsætte den for kraftige stød, da dette kan beskadige de interne komponenter.
- Opladning: Overoplade ikke batteriet. Frakobl opladningskablet, når controlleren er fuldt opladet.
6. Fejlfinding
If you encounter issues with your CHEREEKI Wireless Controller, please refer to the following common solutions:
6.1 Forbindelsesproblemer
- Controlleren forbinder ikke: Ensure the controller is charged. Connect it to the PS4 with the USB-C cable and press the Home button for initial pairing.
- Intermitterende forbindelse: Move closer to the PS4 console to rule out interference. Ensure no other wireless devices are causing interference.
6.2 Stick Drift or Unresponsive Inputs
- While the Hall Effect joysticks are designed to prevent stick drift, if you experience any unusual input, try resetting the controller.
6.3 Controller Reset
If the controller is unresponsive or behaving erratically, perform a reset:
- Locate the small reset button on the back of the controller (often near the L2/R2 triggers or a screw hole).
- Brug en lille, spids genstand (f.eks. en udrettet papirclips) til at trykke på nulstillingsknappen og holde den nede i 3-5 sekunder.
- Slip knappen.
- Reconnect the controller to your PS4 using the USB-C cable and press the Home button to re-establish connection.
6.4 Batteriet oplades ikke
- Sørg for, at USB-C-kablet er korrekt tilsluttet til både controlleren og strømkilden.
- Try a different USB-C cable or a different USB port/power adapter.
- Confirm the power source is providing sufficient power (e.g., a PS4 USB port or a 5V/1A adapter).
7. Specifikationer
| Feature | Specifikation |
|---|---|
| Kompatible enheder | Playstation 4 (PS4, PS4 Slim, PS4 Pro) |
| Controller type | Gamepad |
| Forbindelse | Trådløs (Bluetooth), Kablet (USB-C) |
| Joystick-teknologi | Hall effekt |
| Batterikapacitet | 1000mAh |
| Opladningstid | Ca. 3 timer |
| Spilletid | Ca. 8-10 timer |
| Yderligere funktioner | Ergonomic Design, Headphone Jack, Motion Sensing, Touchpad, Programmable Back Buttons, Double Vibration |
| Farve | Sort |
8. Garanti og support
For warranty information, technical support, or any product-related inquiries, please contact CHEREEKI customer service through the retailer where the product was purchased or visit the official CHEREEKI webwebsted. Gem venligst din købsbevis til garantikrav.