Indledning
The FEELWORLD FW759PRO is a 7-inch full HD IPS touchscreen camera monitor designed to enhance your video production workflow. It features a 1280x800 resolution, 1000:1 contrast ratio, and a 178° ultra-wide viewing angle, providing a clear and detailed display for precise monitoring. This manual will guide you through the setup, operation, and maintenance of your FW759PRO monitor.
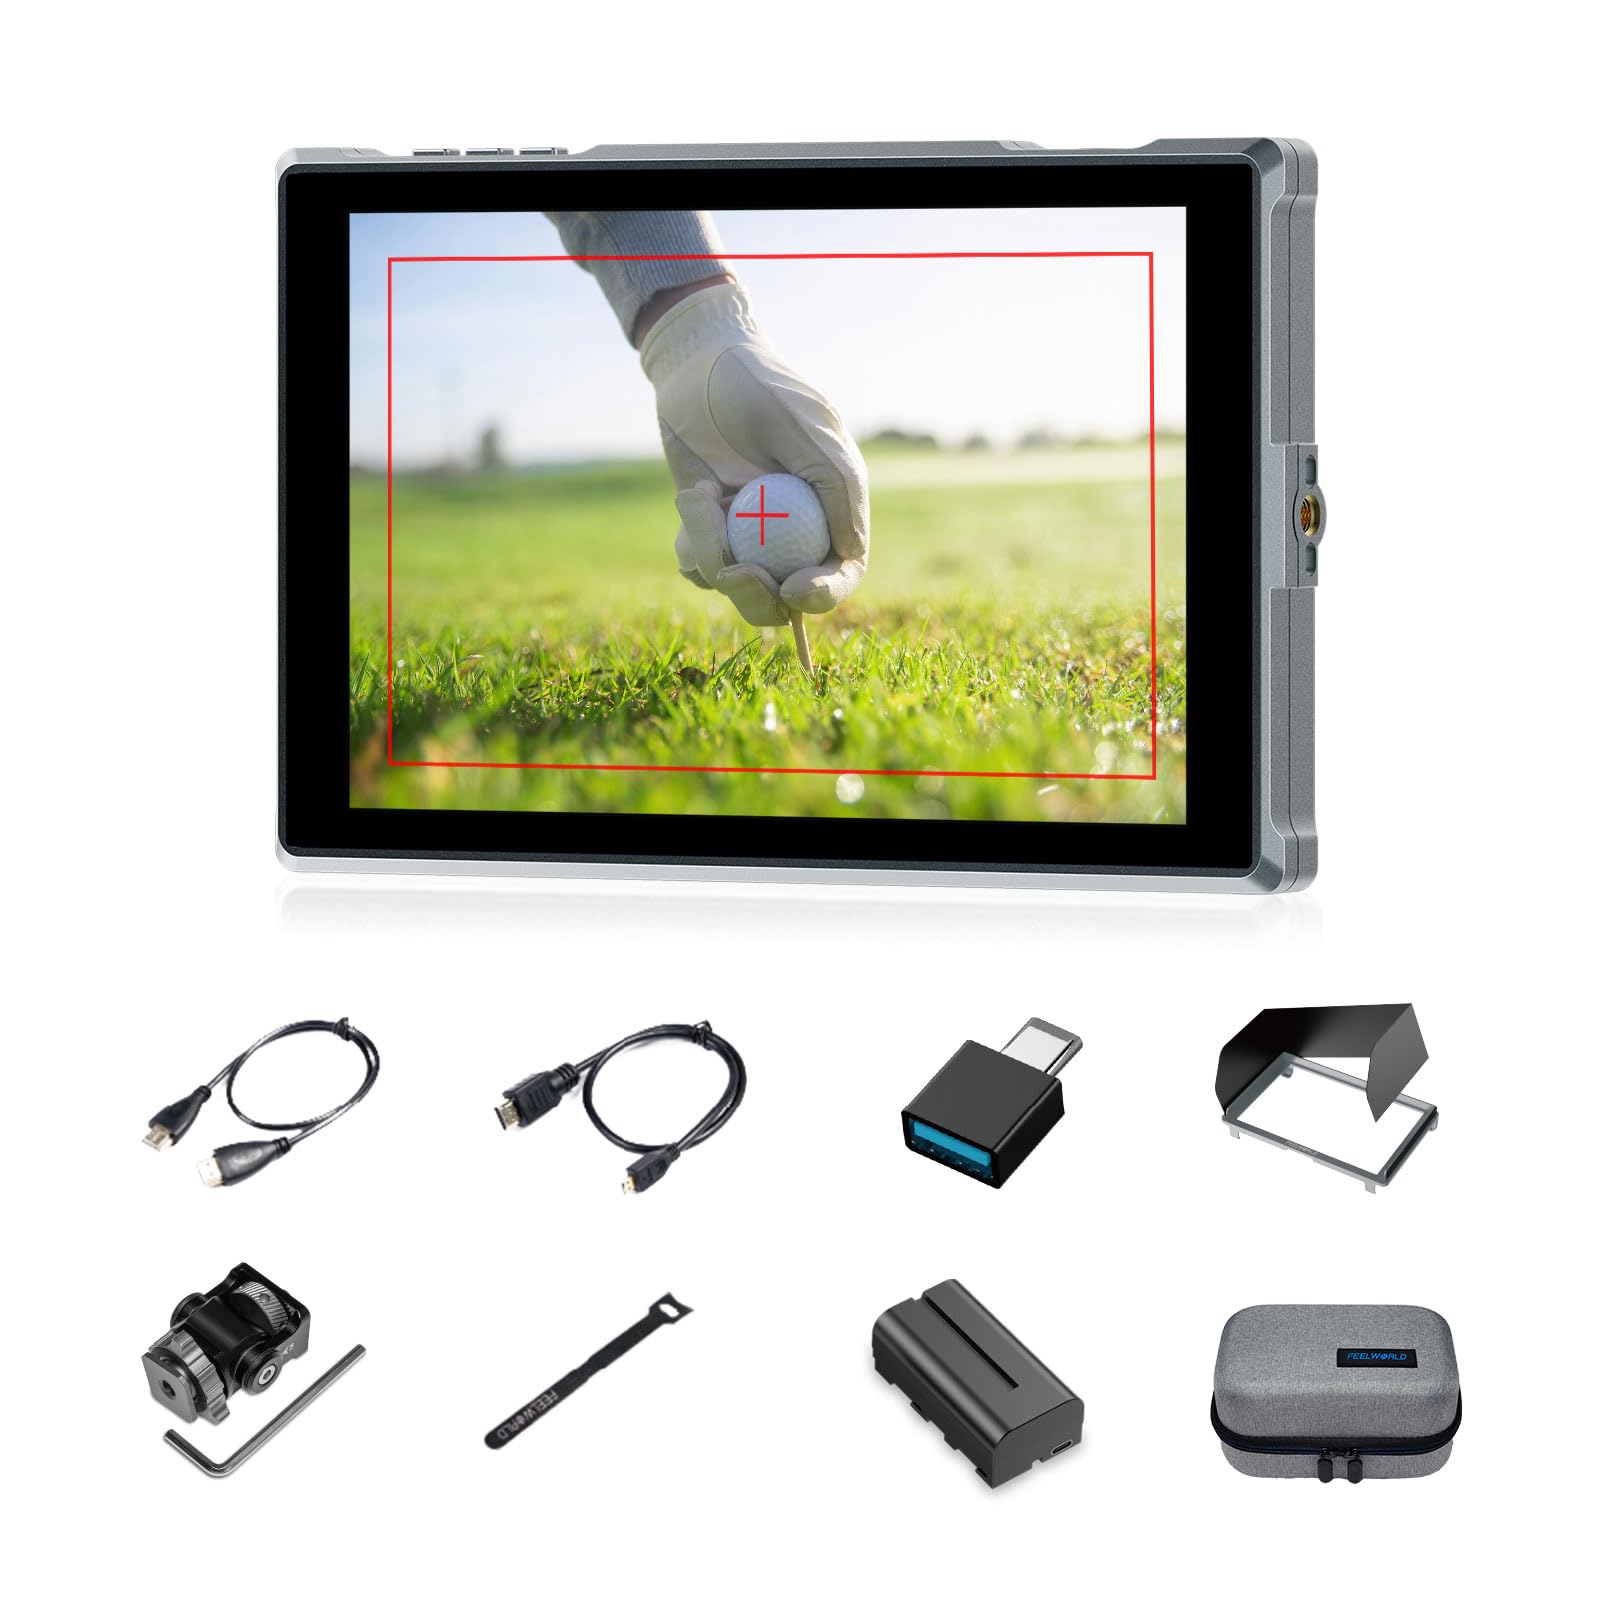
Figure 1: FEELWORLD FW759PRO Monitor Overview
Nøglefunktioner:
- 7-inch Full HD IPS Touchscreen (1280x800 resolution)
- 4K HDMI Input & Output (up to 4K30Hz) and AV Input
- Slim and Lightweight Design (22mm thickness, 300g weight)
- Multiple Power Options: NP-F series battery, 12V DC IN, 5V Type-C
- Advanced Monitoring Functions: Histogram, Embedded Audio, False Colors, Peaking Filter, etc.
- Customizable Features: 4 groups of menu settings, 9:16 vertical screen marker
Opsætning
1. Pakkens indhold
Bekræft at alle varer er til stede i pakken:
- 1 x FW759PRO Monitor
- 1 x HDMI kabel
- 1 x Micro HDMI Cable
- 1 x Mini Hot Shoe Mount + Hex Wrench
- 1 x USB-A til USB-C-adapter
- 1 x Sun Shade + Frame
- 1 x Cable Management Tie
- 1 x Quick Start Guide
- 1 x F550 Battery
- 1 x taske

Figur 2: Medfølgende tilbehør
2. Tænd/sluk for skærmen
The FW759PRO offers three power options:
- NP-F Series Battery: Attach a compatible NP-F series battery to the battery plate on the rear of the monitor.
- 12V DC IN: Connect a 12V DC power adapter (not included, suitable for 1A, DC 5.5*2.1mm plug) to the "DC IN 12V" port.
- 5V Type-C: Connect a 5V/2A (or higher) Type-C power source to the "TYPE-C 5V" port.

Figur 3: Strømindgangsmuligheder
3. Montering af monitoren
The monitor features two 1/4"-20 mounting ports on its sides for versatile attachment to camera rigs, arms, or tripods. Use the included mini hot shoe mount to attach it to your camera's hot shoe or cold shoe mount.

Figure 4: 1/4 Inch Mounting Ports
4. Connecting to a Camera/Device
The FW759PRO supports 4K HDMI and AV inputs:
- HDMI -indgang: Connect your camera or video source using an HDMI cable to the HDMI port. The monitor supports up to 4K30Hz signals.
- AV-indgang: For specialized or legacy devices, use the AV input port.

Figur 5: Forbindelsesporte
Betjeningsvejledning
1. Tænd/sluk
Press and hold the power button located on the top edge of the monitor to turn it on or off.
2. Betjening af berøringsskærm
The FW759PRO features an intuitive touchscreen interface for menu navigation and function control.
- Juster baggrundslys: Swipe up/down on the left half of the screen.
- Juster lydstyrken: Swipe up/down on the right half of the screen.
- Access Shortcut Menu: Swipe up/down on the bottom of the screen.

Figure 6: Touchscreen Gestures
3. Menu Navigation and Custom Buttons
Access the main menu by tapping the screen. Navigate through options using touch. The monitor also features customizable function buttons (F1, F2, F3) on the top edge, allowing quick access to frequently used features.

Figure 7: Menu and Custom Buttons
4. Advanced Monitoring Functions
The FW759PRO includes several tools for precise exposure and focus control:
- Histogram: Displays the tonal distribution of your image.
- Topfilter: Highlights sharp edges to assist with focus.
- Indlejret lyd: Monitors audio levels.
- Falske farver: Helps set exposure by displaying different exposure levels as distinct colors.
- Afkrydsningsfelt: Assists in calibrating the monitor.
- Nine Grid: Aids in composition.
- Screen Marker: Various aspect ratio markers for framing.
- Centermarkør: Marks the center of the screen.
- Forholdsmarkør: Provides different aspect ratio guides.
- Overscanning: Adjusts the display area.
- Anamorphic Mode: De-squeezes anamorphic footage (1.33x, 1.6x, 2.0x, or custom).
- Billedflip: Vender billedet vandret eller lodret.
- Billedfrys: Freezes the current frame.
- Zoom ind: Magnifies a portion of the image for detailed inspection.
- Pixel-to-Pixel: Displays the image at its native resolution without scaling.

Figure 8: Auxiliary Functions Overview

Figure 9: False Color Function

Figure 10: Anamorphic Mode
5. New Feature Upgrades
- 9:16 Vertical Screen Marker: Ideal for content creators producing vertical video for platforms like TikTok and YouTube Shorts.
- 4 Groups Menu Setting Saving: Save up to four custom menu configurations for quick recall. Once settings are adjusted, they save automatically and can be called directly.

Figure 11: 9:16 Vertical Screen Marker
Opretholdelse
1. Rengøring af skærmen
- Brug en blød, fnugfri klud til forsigtigt at tørre skærmen og skærmens kabinet af.
- Til genstridige pletter, let dampRengør kluden med vand eller en skærmsikker rengøringsopløsning.
- Avoid using harsh chemicals, solvents, or abrasive materials, as these can damage the screen or finish.
2. Batteripleje
- Opbevar batterierne på et køligt, tørt sted, når de ikke er i brug.
- Avoid fully discharging lithium-ion batteries frequently to prolong their lifespan.
- Hvis batterierne opbevares i længere perioder, skal de oplades til cirka 50-60 % kapacitet.
Fejlfinding
No Signal Displayed
- Tjek kabelforbindelser: Ensure HDMI or AV cables are securely connected to both the monitor and the camera/source.
- Bekræft inputkilde: Confirm that the correct input source (HDMI or AV) is selected on the monitor.
- Camera Output Settings: Check your camera's video output settings to ensure it is sending a signal and that the resolution/frame rate is compatible with the monitor (up to 4K30Hz).
- Test med et andet kabel/en anden enhed: If possible, try a different HDMI/AV cable or connect the monitor to another video source to isolate the issue.
Monitor Does Not Power On
- Tjek batteri: Ensure the NP-F battery is charged and correctly installed.
- Bekræft strømadapter: If using DC IN or Type-C, confirm the power adapter is connected and providing sufficient power (12V DC IN, 5V/2A Type-C).
- Power knap: Ensure the power button is pressed and held for a few seconds to initiate power-on.
Touchscreen reagerer ikke
- Restart Monitor: Power off and then power on the monitor.
- Rens skærm: Sørg for, at skærmen er ren og fri for snavs eller fugt, der kan forstyrre berøringsinput.
Specifikationer
| Feature | Detalje |
|---|---|
| Mærke | FEELWORLD |
| Modelnavn | FW759PRO |
| Skærmstørrelse | 7 tommer |
| Opløsning | 1280x800 |
| Aspektforhold | 16:10 |
| Kontrastforhold | 1000:1 |
| Display Type | IPS |
| Viewi vinkel | 178 grader |
| Forbindelsesteknologi | Auxiliary, HDMI |
| Hardwareforbindelse | HDMI |
| Yderligere funktioner | Touchscreen, Portable |
| Svartid | 2 millisekunder |
| Total Number of HDMI Ports | 2 |
| Fabrikant | LAIZESKE |
Garanti og support
Garantioplysninger
The FEELWORLD FW759PRO monitor comes with a 1 års garanti fra købsdatoen. Denne garanti dækker fabrikationsfejl og funktionsfejl ved normal brug. Gem venligst din købsbevis til garantikrav.
For detailed warranty terms and conditions, please refer to the official FEELWORLD webwebsted eller kontakt deres kundesupport.
Kundesupport
If you encounter any issues not covered in this manual or require further assistance, please contact FEELWORLD customer support. Contact information can typically be found on the official FEELWORLD webwebstedet eller i den hurtigstartvejledning, der følger med dit produkt.