
1. Vigtige sikkerhedsoplysninger
Læs alle instruktioner, før du bruger dette apparat, for at mindske risikoen for brand, elektrisk stød eller personskade. Gem denne manual til senere brug.
- Elektrisk sikkerhed: Sørg for, at køleskabet er tilsluttet en korrekt jordet stikkontakt. Brug ikke forlængerledninger.
- Ventilation: Maintain adequate space around the refrigerator for proper air circulation.
- Brandfarlige materialer: Opbevar ikke eksplosive stoffer eller brandfarlige materialer inde i apparatet.
- Børn: Hold øje med børn for at sikre, at de ikke leger med apparatet.
- Bortskaffelse: Dispose of the appliance according to local regulations, especially regarding refrigerant and insulation materials.
2. Produktet er slutview
The Midea MERM17B0ABB is a compact 1.7 cubic feet mini fridge designed for efficient cooling in various settings.

Figure 1: Midea MERM17B0ABB 1.7 Cu Ft Mini Fridge (Black)
Video 1: Officiel overview of the Midea 1.7 Cubic Feet Compact Fridge, demonstrating its features and compact design.
3. Opsætning og installation
3.1 Udpakning
- Fjern alle emballagematerialer, inklusive skum og tape.
- Inspect the refrigerator for any damage during transit.
- Ensure all included components, such as the compact fridge and user manual, are present.
3.2 Placering
Choose a location with a stable, level surface away from direct sunlight and heat sources. Allow sufficient space around the unit for proper ventilation.
- Dimensioner: 17.6 cm D x 18.6 cm B x 19.3 cm H.
- Klarering: Allow at least 4 inches (10 cm) of space at the back and sides for air circulation.

Figure 2: The compact dimensions of the Midea mini fridge, suitable for various spaces.

Figur 3: Eksamples of versatile placement options for the compact refrigerator in different rooms.
3.3 Nivellering
The refrigerator must be level for proper operation. Adjust the leveling legs at the bottom of the unit to ensure stability.

Figure 4: Detail showing the adjustable leveling legs for stable placement.
3.4 Installation af vendbar dør
The door can be reversed to open from either the left or right side, offering flexible placement options. Refer to the detailed instructions in the included user manual for the reversal process.

Figure 5: Illustration of the reversible door design, allowing opening from either side.
3.5 Indledende tænding
After placing the refrigerator in its desired location, allow it to stand upright for at least 24 hours before plugging it into a power outlet. This allows the refrigerant to settle, ensuring optimal cooling performance.
4. Betjeningsvejledning
4.1 Temperaturkontrol
The refrigerator features an adjustable thermostat to control the internal temperature. Turn the dial to your desired setting. Higher numbers typically indicate colder temperatures.

Figure 6: The adjustable temperature control dial inside the refrigerator.
4.2 Opbevaring af fødevarer
Utilize the adjustable and removable shelf to customize the interior space for various items. The door also includes a built-in 2-liter bottle storage rack.
- Justerbar hylde: Position the shelf at different heights or remove it entirely to accommodate taller items.
- Dør opbevaring: Ideal for frequently accessed beverages and smaller items, including a dedicated space for 2-liter bottles.
5. Vedligeholdelse
5.1 Rengøring
Regelmæssig rengøring hjælper med at opretholde hygiejne og effektivitet.
- Indre: Unplug the unit. Wash interior surfaces with a solution of mild detergent and warm water. Rinse and dry thoroughly.
- Ydre: Tør ydersiden af med en blød klud og et mildt rengøringsmiddel.
- Dørpakning: Rengør dørpakningen regelmæssigt for at sikre korrekt tætning.
5.2 Optøning
This refrigerator features a manual defrost system. Defrost the unit when frost accumulation on the evaporator reaches approximately 1/4 inch (6 mm) thick.
- Tag stikket ud af køleskabet.
- Remove all food items and place them in another cooling unit.
- Leave the door open to allow frost to melt naturally. Place towels or a shallow pan to collect water.
- Brug ikke skarpe genstande eller varmeapparater til at fjerne rim, da dette kan beskadige kølesystemet.
- Once defrosted, clean and dry the interior before plugging the unit back in.
6. Fejlfinding
Review the following common issues and their solutions before contacting customer service.
| Problem | Mulig årsag | Løsning |
|---|---|---|
| Køleskabet fungerer ikke | Ikke tilsluttet; afbryder udløst; temperaturkontrol indstillet til 'OFF'. | Sørg for, at stikket er sikkert fastgjort; nulstil afbryderen; juster temperaturkontrollen. |
| Temperaturen er ikke kold nok | Temperature control set too warm; door opened too frequently; warm food placed inside; poor ventilation. | Adjust thermostat to a colder setting; minimize door openings; allow hot food to cool before storing; ensure proper clearance around unit. |
| Usædvanlige lyde | Enheden er ikke i vater; genstande vibrerer mod enheden; normale driftslyde. | Adjust leveling legs; ensure nothing is touching the refrigerator; gurgling or humming sounds are normal. |
| Overdreven frostopbygning | Door not sealing properly; door opened too frequently; high humidity. | Check door gasket for damage; minimize door openings; perform manual defrost. |
7. Specifikationer
Detailed technical specifications for the Midea MERM17B0ABB Mini Fridge.
| Feature | Specifikation |
|---|---|
| Modelnummer | MERM17B0ABB |
| Produktmål (D x B x H) | 17.6 cm x 18.6 cm x 19.3 cm |
| Kapacitet | 1.7 Kubikfod |
| Farve | Sort |
| Installationstype | Frit stående |
| Antal døre | 1 |
| Optøningssystem | Manuel |
| Voltage | 115 volt |
| Afkølingsmetode | Kompressor |
| Antal hylder | 1 |
| Justerbar temperaturkontrol | Ja |
| Dørorientering | Vendbar |
| Varens vægt | 29.8 pund |
| Årligt energiforbrug | 246 kilowatttimer |
| Energy Star-certificeret | Ja |
| Kølemiddel | R-600A |

Figure 7: The Midea mini fridge is Energy Star Certified, indicating energy efficiency.
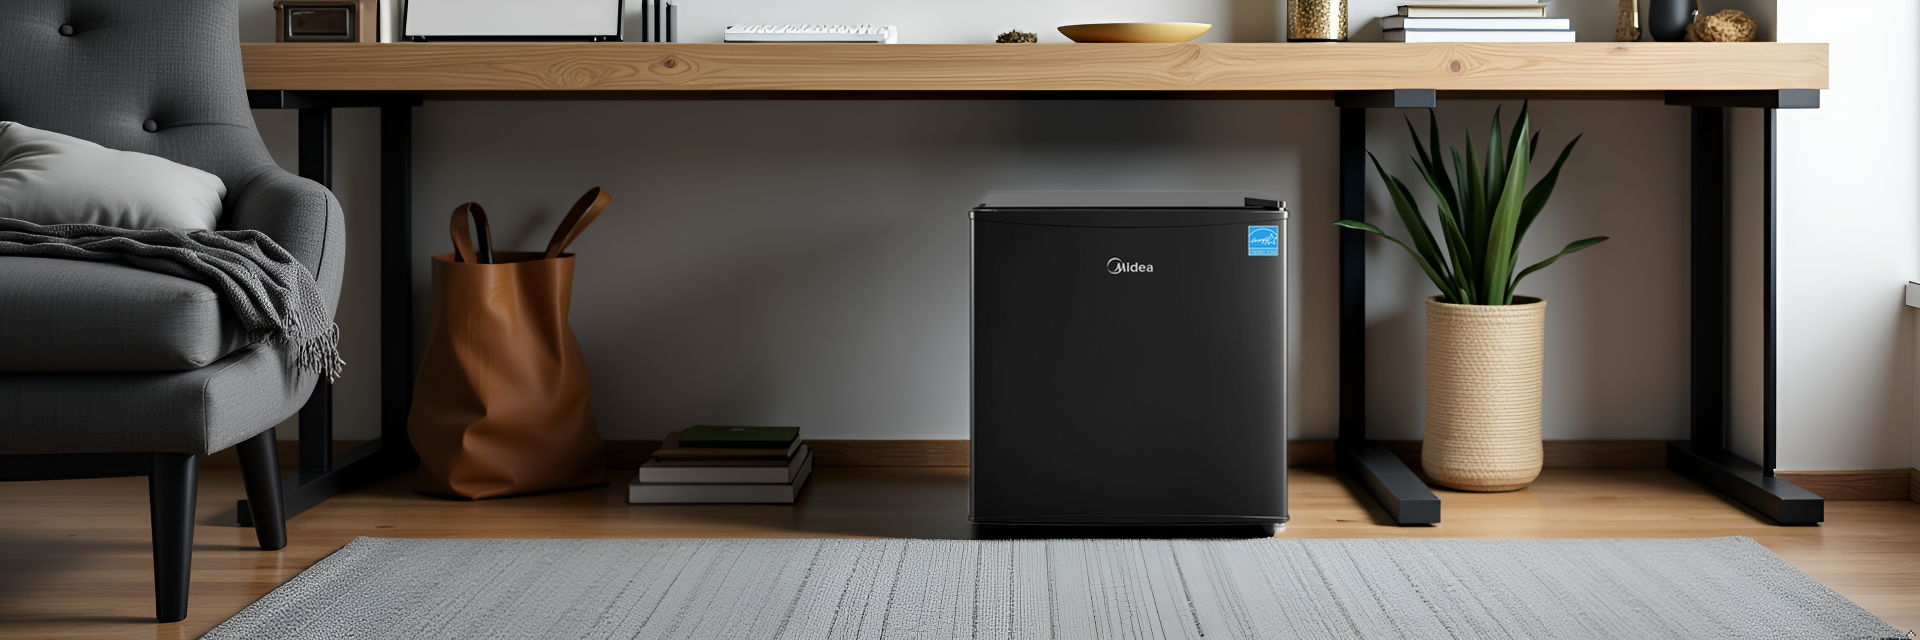
Figure 8: The official EnergyGuide label providing estimated yearly energy cost and electricity use.
8. Garanti og support
This Midea refrigerator comes with a 1 års fabriksgaranti. For warranty claims or technical support, please refer to the contact information provided in the original packaging or visit the official Midea webwebsted.