
1. Sikkerhedsoplysninger
ADVARSEL: Risiko for elektrisk stød
- Before installing this ceiling fan, disconnect the power supply by turning off the circuit breaker.
- Alle elektriske forbindelser skal være i overensstemmelse med lokale og National Electric Code (N.E.C.) standarder og ANSI/NFPA 70.
- Kontakt en kvalificeret elektriker, hvis du ikke er bekendt med korrekte elektriske ledningsforbindelser.
- Undlad at ændre, omplacere eller fjerne ledninger, når intet går galt med produktet.
- Dobbelttjek alle forbindelser og skruer for at være sikker på, at de er stramme og korrekte.
- Kontroller, om forsyningen voltage is correct (120V) by comparing it with the product information.
- To avoid fire, shock, and serious personal injury, please read all instructions carefully.
- Make sure the installation site allows a minimum of 7.5 feet from the blades to the floor.
- Use a conventional on/off switch. Do not use gear switches or dimmer switches.
2. Package Contents (Accessories List)
Please check the contents of your package against the list below to ensure all parts are present before beginning installation.
- Loftsventilatormotorsamling
- 3 Wood Blades
- Downrod (White)
- Baldakin
- Baldakin Cover
- Dekorativt omslag
- Bøjlebeslag
- Remote Control (2 included for 2-pack)
- Monteringsudstyr (skruer, trådmøtrikker osv.)
- Instruktionsmanual

Image: All components of the addlon 52-inch White Wood Blade Ceiling Fan.
3. Opsætning (Installation)
Follow these steps carefully for proper installation. It is recommended to watch the installation video for visual guidance.
- Separate Mounting Bracket: Separate the mounting bracket from the canopy.
- Secure Hanger Bracket: According to your ceiling type, choose the appropriate screws to secure the provided addlon hanger bracket to the ceiling junction box.
- Forbered nedstang: String the decorative cover, canopy cover, and canopy onto the downrod.
- Remove Motor Protection Plates: Carefully remove the 3 motor protection plates from the fan motor assembly.
- Fastgør nedstangen til motoren: Thread the electrical cord through the downrod. Then, plug the pin into the motor, insert the fixing back, and tighten the screws to secure the downrod to the motor.
- Hang Motor Assembly: Hang the downrod and motor assembly to the ceiling bracket. Ensure the downrod ball engages the ridge on the hanger bracket for secure placement.
- Indsæt modtager: Insert the receiver into the bracket for wiring.
- Ledningsforbindelser: Tilslut ledningerne som følger:
- Green Wire: Connect to the Ground wire.
- White Wire: Connect to the Neutral wire.
- Black Wire: Connect to the Live wire.
- Sikker baldakin: Slide up the canopy and tighten the screws, then push the canopy cover upward until it sits flush.
- Installer klinger: Install each blade with 2 screws. Don't forget that spacers are required on all screws for proper alignment and stability.
- Endelig stramning: Install all 3 blades and tighten all 6 screws to ensure the stability of the fan.
Video: Detailed installation guide for the addlon 52-inch Wood Ceiling Fan (No Light).
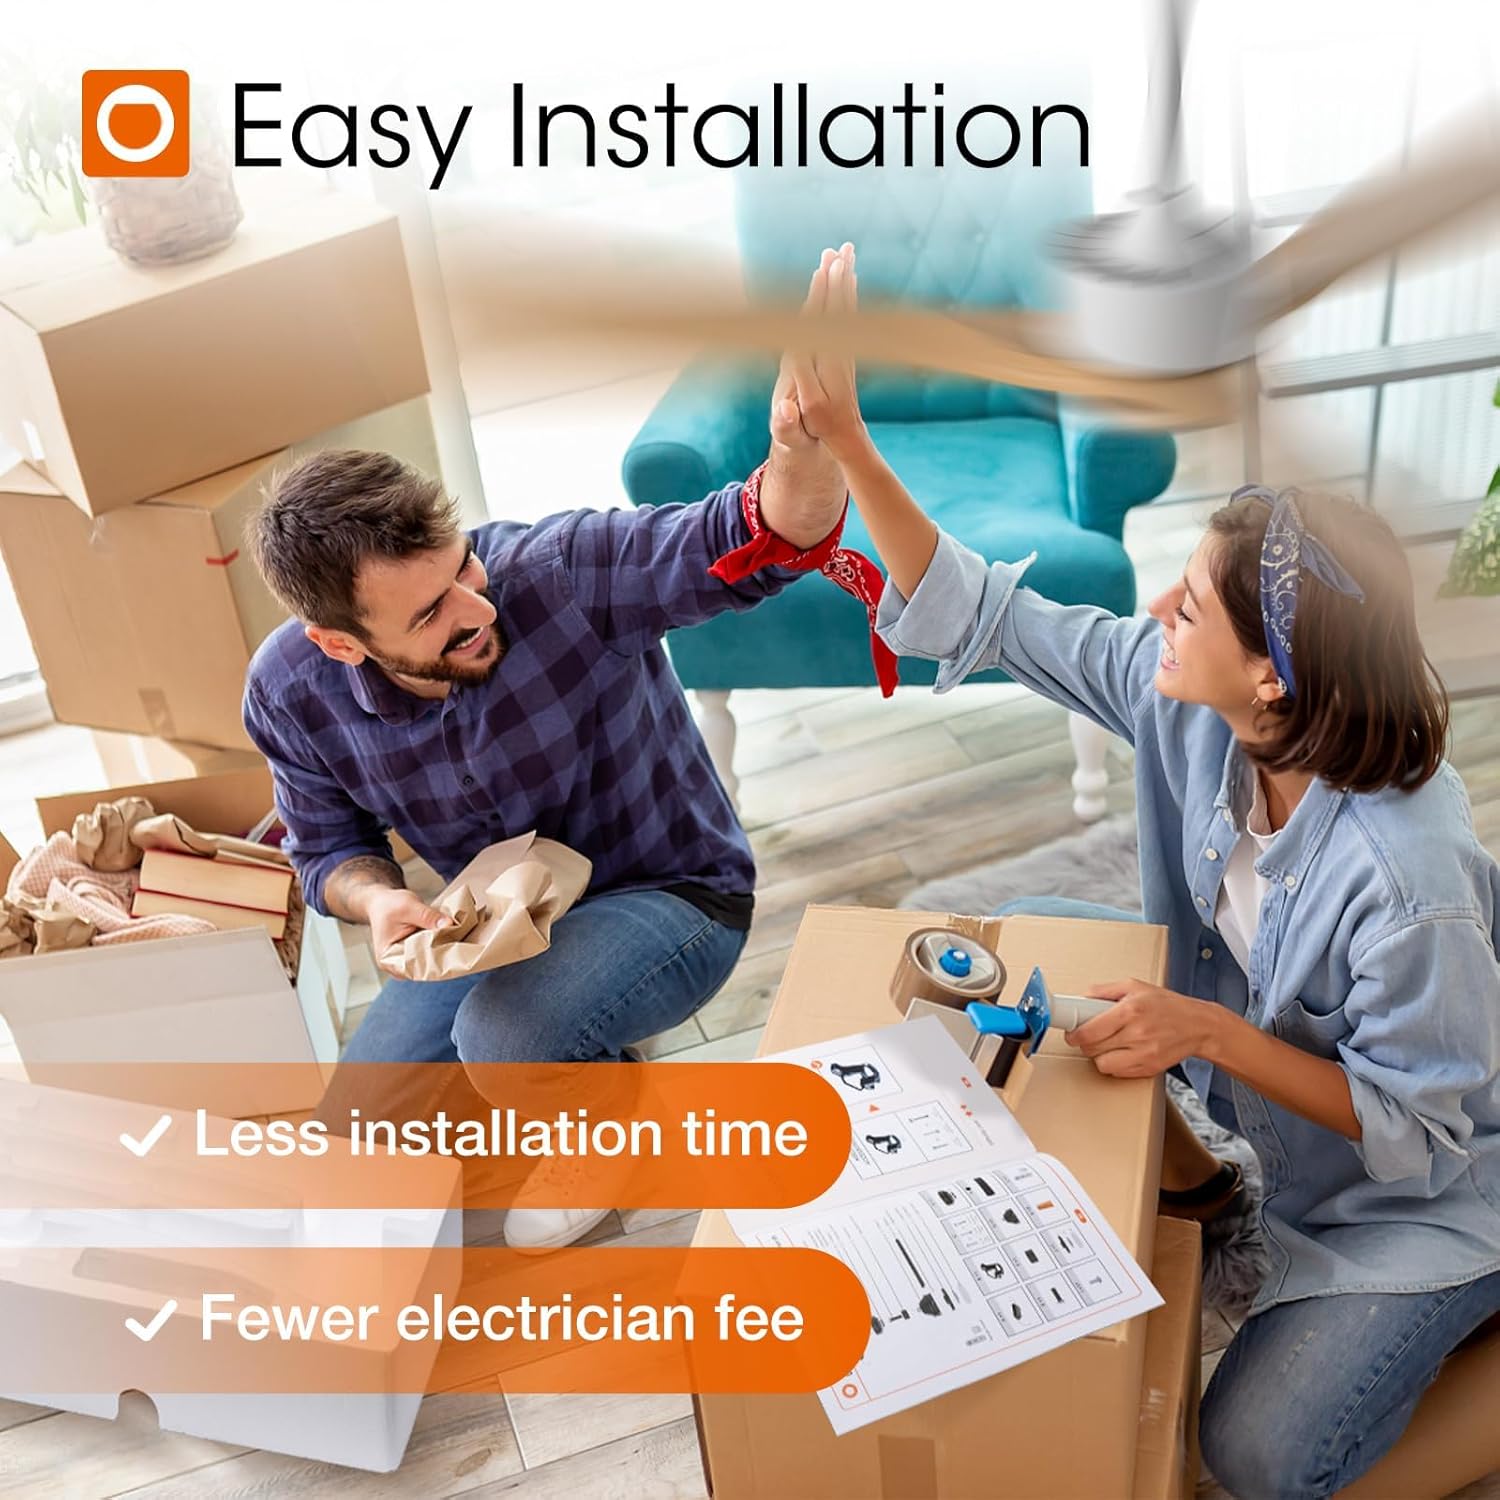
Image: Illustration of the easy installation process, highlighting reduced time and electrician fees.
4. Betjeningsvejledning
Your addlon ceiling fan comes with a remote control for convenient operation of all functions.
- Tænd/sluk: Tryk på tænd/sluk-knappen på fjernbetjeningen for at tænde eller slukke for ventilatoren.
- Blæserhastighed: Adjust the fan speed with 6 levels using the dedicated speed buttons (1-6) on the remote.
- Vendbar DC-motor: Use the reverse button on the remote to change the direction of the fan blades. This feature helps circulate air to keep you cool in summer (forward mode) and warm in winter (reverse mode).
- Timer funktion: Set the fan to automatically turn off after 1, 2, 4, or 8 hours using the timer buttons on the remote.
- Hukommelsesfunktion: The fan has a memory function that will recall the last used speed setting when turned back on.

Image: The remote control allows for easy adjustment of fan speed, direction, and timer settings.
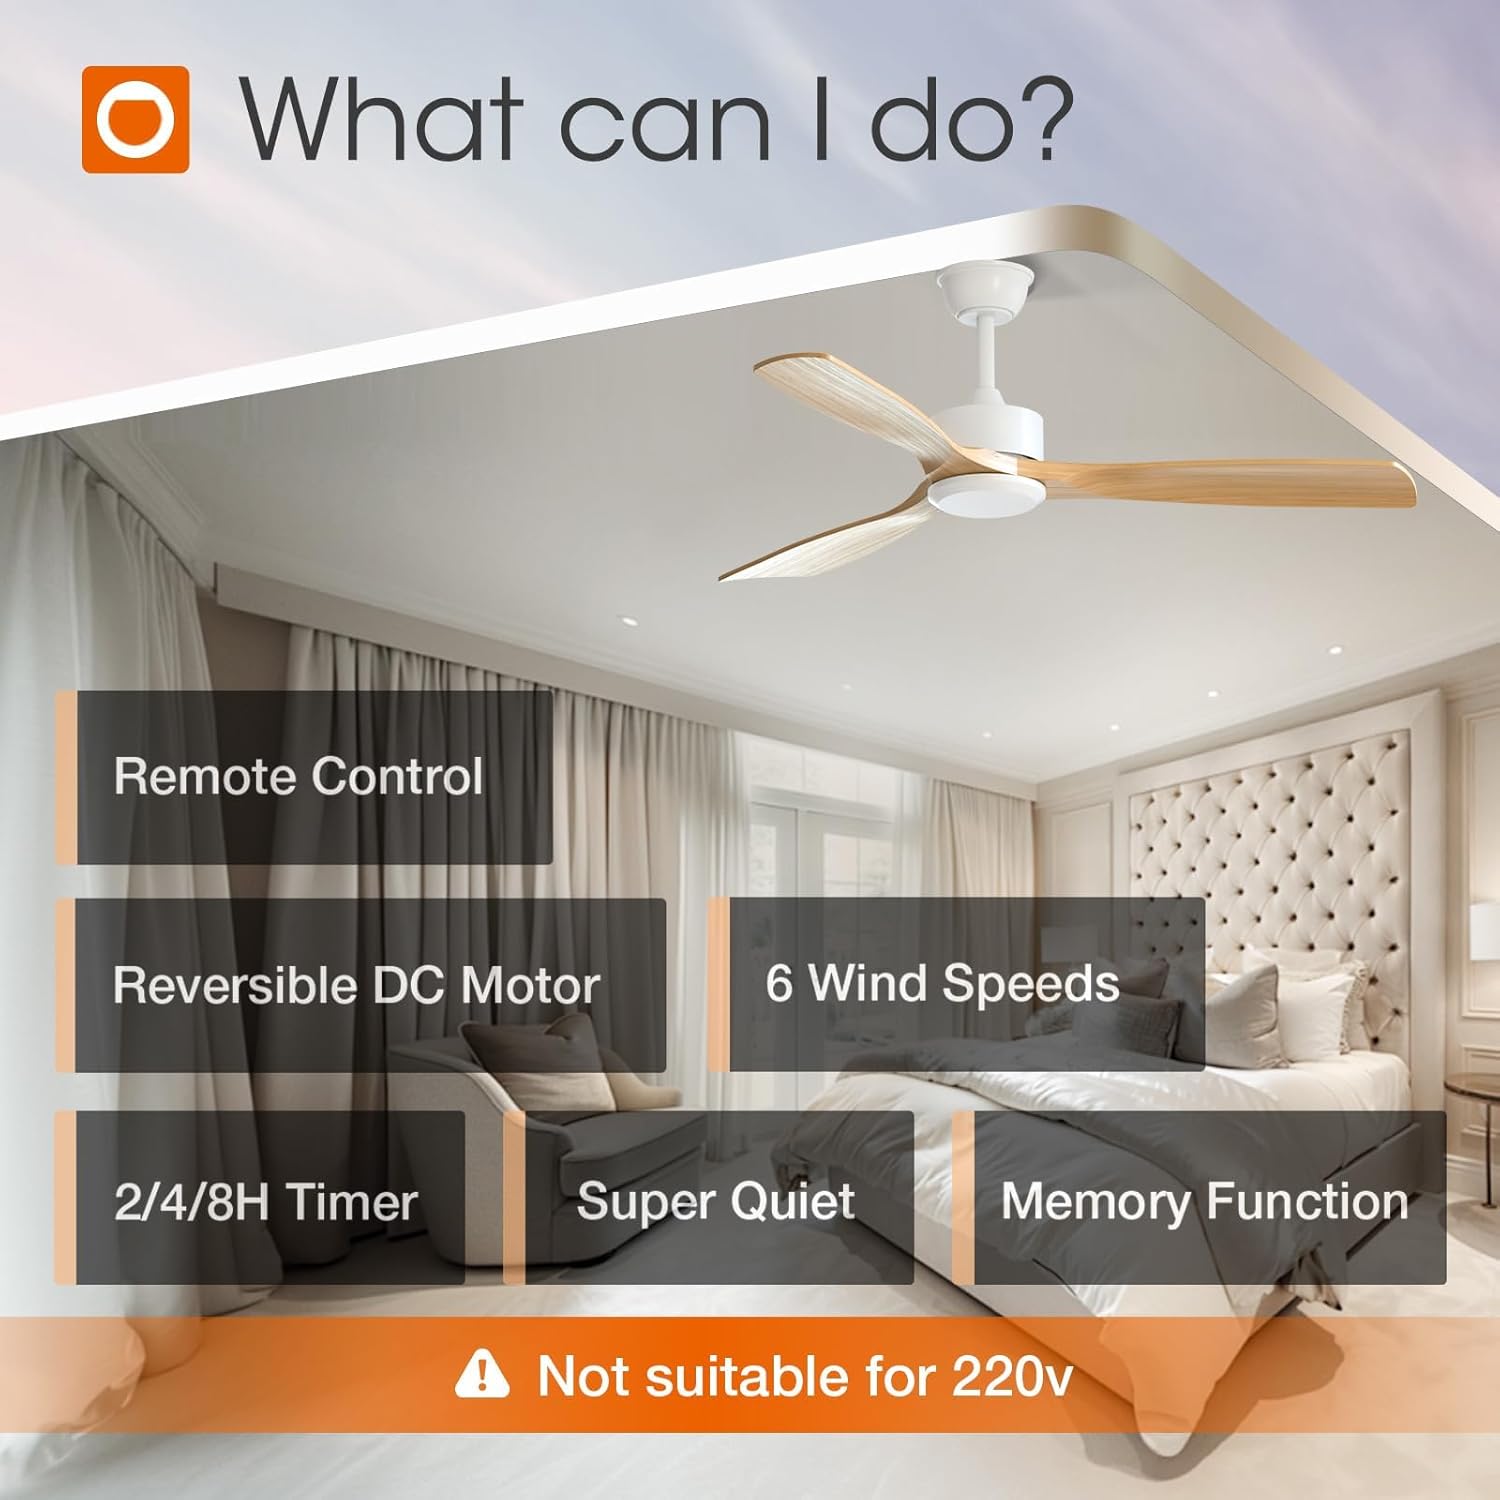
Image: Visual representation of the 6 selectable wind speeds: low comfortable, medium natural, and high cooling wind.

Image: Diagram illustrating the reversible DC motor function for optimal air circulation in both summer and winter.
5. Vedligeholdelse
Regelmæssig vedligeholdelse sikrer optimal ydeevne og levetid for din loftsventilator.
- Rensning: For at rengøre ventilatoren skal du tørre den af med en blød klud.amp klud. Brug ikke slibende rengøringsmidler eller opløsningsmidler. Sørg for, at strømmen er slukket, før rengøring.
- Bladinspektion: Periodically check the fan blades for any dust buildup or damage. Clean the blades gently to maintain balance and airflow.
- Spænd skruer: Over time, screws may loosen. Periodically check and tighten all screws on the motor housing and blade attachments to prevent wobbling and noise.
- Motor smøring: DC-motoren er permanent smurt og kræver ikke yderligere smøring.
6. Fejlfinding
If you encounter any issues with your addlon ceiling fan, refer to the following common troubleshooting steps:
- Ventilatoren starter ikke:
- Check if the power is turned on at the circuit breaker and wall switch.
- Ensure all wire connections are secure and correct as per installation instructions.
- Verify that the remote control batteries are not depleted and are inserted correctly.
- Fan Wobbly:
- Check that all blade screws are tightened securely.
- Ensure the mounting bracket is firmly attached to the ceiling junction box.
- Verify that the downrod ball is properly seated in the hanger bracket.
- Støjende drift:
- Confirm all screws are tight. Loose parts can cause vibration and noise.
- Check for any obstructions in the fan's path.
- Ensure the fan is installed on a flat, stable surface.
- Fjernbetjeningen virker ikke:
- Udskift batterierne i fjernbetjeningen.
- Sørg for, at der ikke er nogen forhindringer mellem fjernbetjeningen og ventilatormodtageren.
- If controlling multiple fans, ensure each remote is paired correctly or that you are using the correct remote for the intended fan.
If the problem persists after trying these steps, please contact addlon customer support.
7. Specifikationer
| Mærke | addlon |
| Modelnummer | KDM52WOO3B03R0-D |
| Farve | White-Downrod Mount |
| Elektrisk ventilator design | Loft Fan |
| Strømkilde | AC |
| Produktdimensioner | 52" D x 52" B x 15.75" H |
| Værelsestype | Bedroom, Dining Room, Home Office, Living Room, Patio |
| Speciel funktion | 6 speed, Quiet Operation, Remote Controlled, Reversible |
| Monteringstype | Ceiling Mount (Downrod) |
| Controller type | Fjernbetjening |
| Antal hastigheder | 6 |
| Støjniveau | 35 decibel |
| Wattage | 50 watt |
| Antal blade | 3 |
| Luftmængde kapacitet | 3288 kubikcentimeter pr. minut |
| Voltage | 120 volt |
| Indendørs udendørs brug | Indendørs, Udendørs |
| Materiale | Træ |
| Specifikation Met | ETL |

Image: Detailed dimensions of the addlon 52-inch ceiling fan and recommended room sizes.
8. Garanti og support
addlon is committed to providing high-quality products and excellent customer service.
- Motorgaranti: We offer up to 120 months (10 years) warranty on the motor.
- Ventilatorgaranti: A 2-year warranty is provided on the rest of the fan components.
- Kundesupport: We offer 24-hour customer support. Please feel free to contact us with any questions you may have during installation or use, and we will be happy to assist you.

Image: After-sales information detailing warranty periods for the fan and motor.