
1. Vigtige sikkerhedsforanstaltninger
Please read all instructions carefully before using your KEENSTAR ICN1580 Nugget Ice Maker. Keep this manual for future reference.
- Sørg for, at apparatet er tilsluttet en korrekt jordet stikkontakt.
- Nedsænk ikke netledningen, stikket eller nogen del af apparatet i vand eller andre væsker.
- Unplug the ice maker from the outlet before cleaning, servicing, or when not in use.
- Keep children away from the ice maker. This appliance is not intended for use by persons with reduced physical, sensory, or mental capabilities, or lack of experience and knowledge, unless they have been given supervision or instruction concerning use of the appliance by a person responsible for their safety.
- Betjen ikke noget apparat med en beskadiget ledning eller stik, eller efter at apparatet ikke fungerer korrekt eller er blevet beskadiget på nogen måde. Kontakt kundeservice for at få hjælp.
- Brug kun drikkevand i ismaskinen.
- Placer ikke ismaskinen i nærheden af varmekilder eller i direkte sollys.
- Sørg for tilstrækkelig ventilation omkring apparatet. Hold mindst 5 cm plads på alle sider.
2. Produktet er slutview
The KEENSTAR ICN1580 is a countertop nugget ice maker designed to produce soft, chewable ice. It features a stainless steel exterior, a touch screen control panel, and a self-cleaning function. With a 2.1-liter water tank, it can produce up to 40 lbs of ice per day.
Nøglefunktioner:
- Produces soft, chewable nugget ice.
- High ice production capacity: up to 40 lbs per 24 hours.
- 2.1L water tank capacity.
- Intuitive touch screen control panel.
- Automatic self-cleaning function.
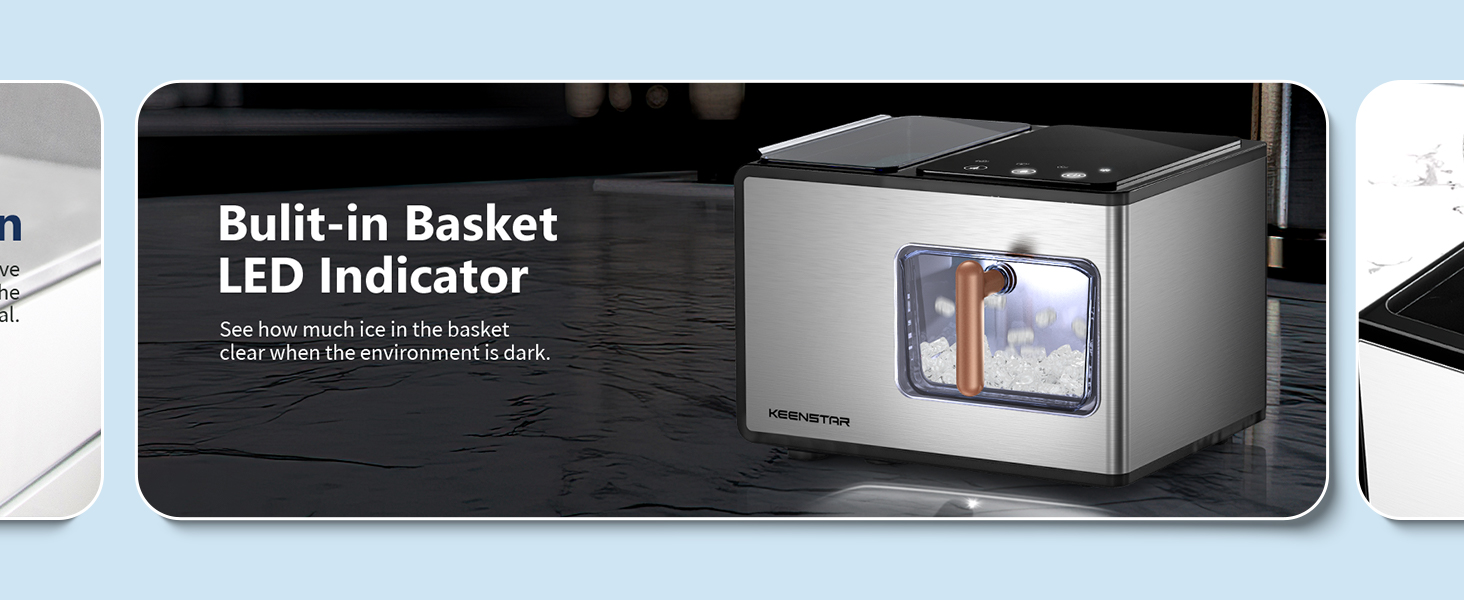
- Ice full and add water indicator lights.
- Removable ice basket for easy ice transfer.
Produktkomponenter:

Figur 2.1: KEENSTAR ICN1580 Nugget Ice Maker with its removable ice basket and scoop. This image shows the overall design and key accessories.
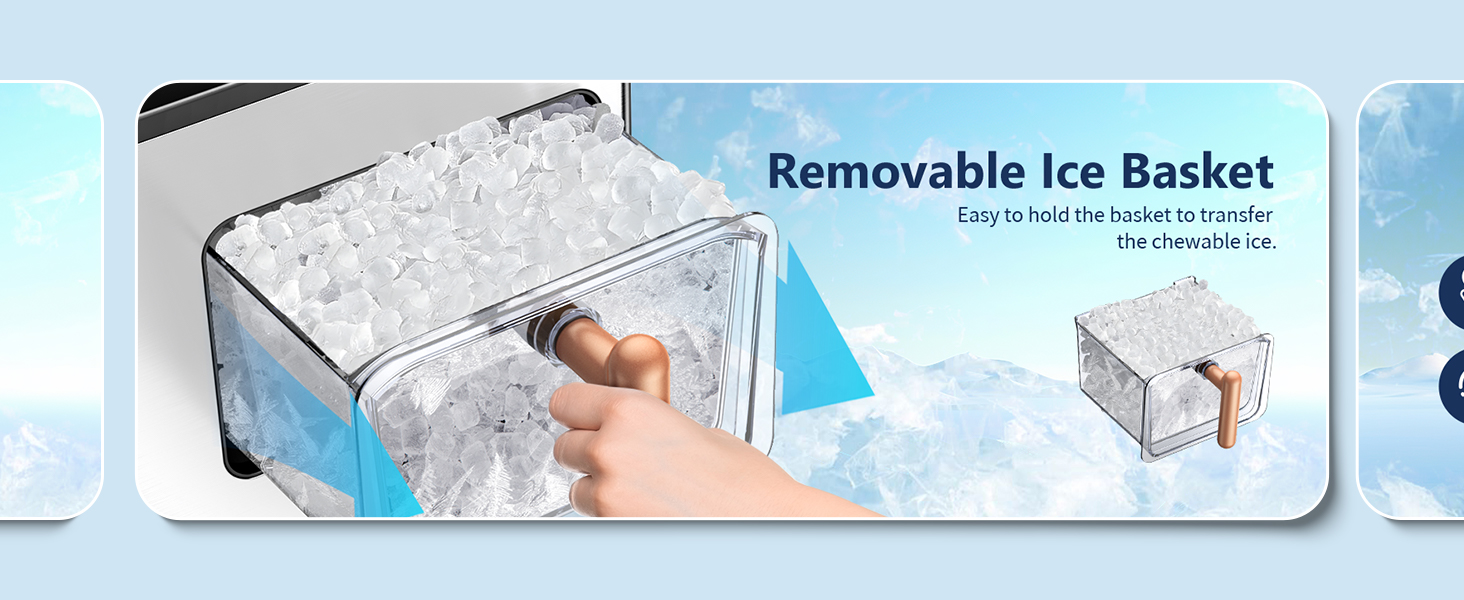
Figur 2.2: Nærbillede view of the removable ice basket, highlighting its design for easy handling and ice transfer.
3. Opsætning
3.1 Udpakning
Carefully remove all packaging materials. Inspect the ice maker for any damage. If any damage is found, do not operate the appliance and contact customer service.
3.2 Placering
- Placer ismaskinen på en flad, stabil og jævn overflade.
- Ensure there is at least 5 inches (12.7 cm) of clear space around the unit for proper ventilation.
- Undgå at placere enheden i nærheden af varmekilder (f.eks. ovne, radiatorer) eller i direkte sollys.
3.3 Indledende rengøring
Before first use, it is recommended to clean the ice maker. Follow these steps:
- Fyld vandbeholderen med drikkevand op til MAX-påfyldningslinjen.
- Press and hold the 'SELFCLEAN' button for more than 3 seconds to activate the self-cleaning cycle.
- Rengøringscyklussen vil køre i cirka 7 minutter.
- Once the cycle is complete, drain the water from the unit using the drainage outlet (refer to Section 5.2 for draining instructions).
- Skyl indersiden med frisk vand og hæld vandet fra igen.
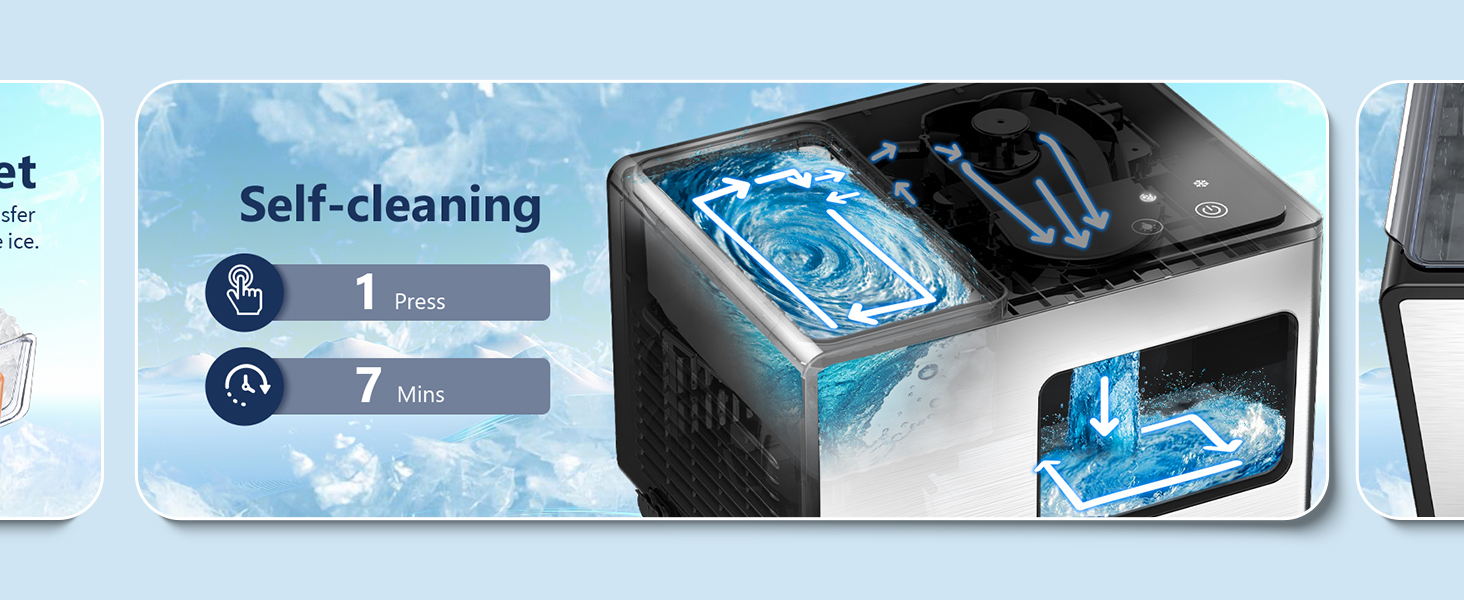
Figur 3.1: Illustration of the automatic self-cleaning process, showing water circulation within the unit.
4. Betjening
4.1 Kontrolpanel
The ice maker features an intelligent touch control panel with indicator lights and operation buttons.

Figur 4.1: The intelligent touch control panel with indicator lights for 'Add Water', 'Ice Full', 'Cleaning', and 'Power', along with buttons for 'Selfclean', 'LED Light', and 'ON/OFF'.
- Indikatorlyszone: Displays status for 'Add Water', 'Ice Full', 'Cleaning', and 'Power'.
- Betjening Berøringszone: Includes 'Selfclean Button', 'LED Light Button', and 'ON/OFF Button'.
4.2 Fremstilling af is
To start making ice, follow these simple steps:
- Ensure the ice maker is plugged into a grounded electrical outlet.
- Åbn det øverste låg, og fyld vandbeholderen med drikkevand op til MAX-mærket. Overfyld ikke.
- Luk toplåget.
- Press the 'ON/OFF' button to turn on the unit. The ice making process will begin automatically.
- The ice maker will produce fresh ice in approximately 12 minutes.

Figur 4.2: The ice maker actively producing nugget ice, with an indication of 12 minutes for fresh ice production.
4.3 Indikatorlys
- Tilføj vand-indikator: A red light will illuminate when the water reservoir needs refilling. Ice production will pause until water is added.
- Is fuld indikator: A red light will illuminate when the ice basket is full. Ice production will pause until ice is removed.
- Strømindikator: A white light indicates the unit is powered on.
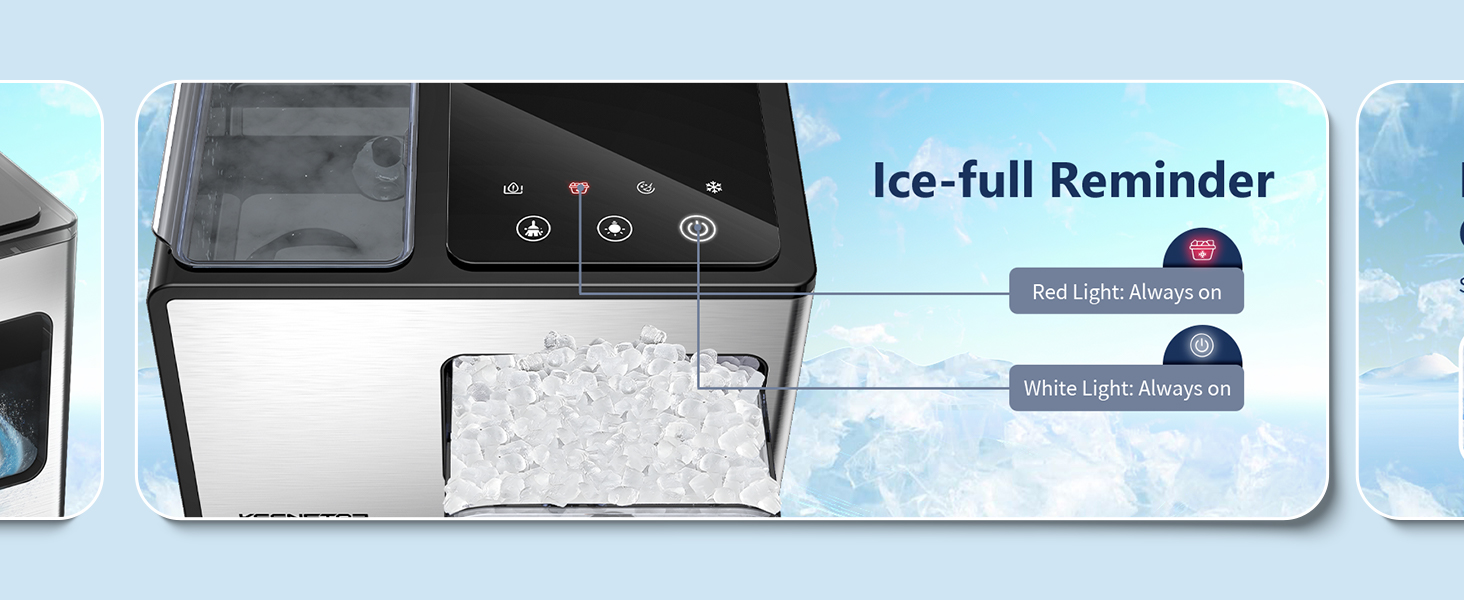
Figur 4.3: The 'Ice Full' indicator light, showing a red light when the ice basket is full.

Figur 4.4: Illustrates the process of refilling the water reservoir, ensuring water does not exceed the maximum fill line.
5. Vedligeholdelse
Regelmæssig vedligeholdelse sikrer optimal ydeevne og levetid for din ismaskine.
5.1 Daglig rengøring
For daily cleaning, use the automatic self-cleaning function:
- Ensure the water reservoir is filled with potable water.
- Press and hold the 'SELFCLEAN' button for more than 3 seconds.
- The cycle will run for 7 minutes.
- After the cycle, drain the water as described in Section 5.2.
5.2 Aftapning af vand
To drain water from the ice maker:
- Tag ismaskinen ud af stikkontakten.
- Locate the drainage outlet at the bottom or side of the unit.
- Place a container under the outlet to collect the water.
- Fjern aftapningsproppen, så vandet kan løbe ud.
- Når alt vandet er løbet ud, skal du sætte aftapningsproppen ordentligt på igen.
Figur 5.1: Shows the drainage outlet located at the back of the ice maker, making it easy to drain water into a sink.
5.3 Descaling (Hard Water Areas)
If you live in an area with hard water, mineral buildup (scale) can affect the ice maker's performance and cause noise. Descale the unit once a week or more often if necessary.
- Stop the machine and allow any internal ice to melt.
- Fjern filterskærmen.
- Run a self-clean cycle with a descaling solution (e.g., a mixture of water and vinegar or a commercial descaling agent suitable for ice makers). Follow the descaling solution manufacturer's instructions.
- Clean the front and back sides of the filter screen.
- Rinse thoroughly by running several self-clean cycles with fresh water.
Figur 5.2: Illustrates how hard water can affect the ice maker and shows the location of the filter screen for cleaning.
6. Fejlfinding
If you encounter issues with your ice maker, refer to the following table for common problems and solutions.
| Problem | Mulig årsag | Løsning |
|---|---|---|
| Ismaskinen producerer ikke is. | No water in reservoir; power issue; ambient temperature too high. | Fill water reservoir; check power connection; ensure unit is in a cool, well-ventilated area. |
| Ice production is slow or ice is too thin. | High ambient temperature; poor ventilation; water quality. | Move unit to a cooler location; ensure proper ventilation; use filtered water. |
| Ismaskinen larmer. | Mineral buildup (scale); unit not level; internal components. | Perform descaling (Section 5.3); ensure unit is on a level surface; contact customer service if noise persists. |
| Indikatoren for 'Tilsæt vand' lyser. | Vandbeholderen er tom. | Fyld vandbeholderen med drikkevand. |
| Indikatoren 'Fuld is' er tændt. | Iskurven er fuld. | Fjern is fra kurven. |
| Ice maker stops mid-cycle. | Ice full sensor triggered; water low sensor triggered; internal malfunction. | Check ice basket and water level; if problem persists, contact customer service. |
7. Specifikationer
Technical specifications for the KEENSTAR ICN1580 Nugget Ice Maker.
| Specifikation | Værdi |
|---|---|
| Mærke | KEENSTAR |
| Modelnavn | ICN1580 |
| Produktdimensioner | 18.5" D x 13.7" B x 11.4" H |
| Kapacitet (vandtank) | 2.1 liter |
| Wattage | 150 watt |
| Voltage | 120 volt |
| Kølemiddel | R600a |
| Isproduktion pr. dag | 40 pund |
| Materiale | Rustfrit stål |
| Varens vægt | 20 pund |
8. Garanti og support
KEENSTAR offers a 30-day money-back guarantee and free replacement within 1 year from the date of purchase. Lifetime after-customer service is also provided.
If you experience any issues or have questions regarding your KEENSTAR ICN1580 Nugget Ice Maker, please contact KEENSTAR customer service for prompt assistance. Refer to your purchase documentation for specific contact details.