CHEREEKI B0FHHKMP1X
CHEREEKI Digital LED Alarm Clock User Manual
Model: B0FHHKMP1X
Indledning
Tak for købetasing the CHEREEKI Digital LED Alarm Clock. This manual provides detailed instructions for setting up and operating your new alarm clock. Please read it thoroughly before use and keep it for future reference.
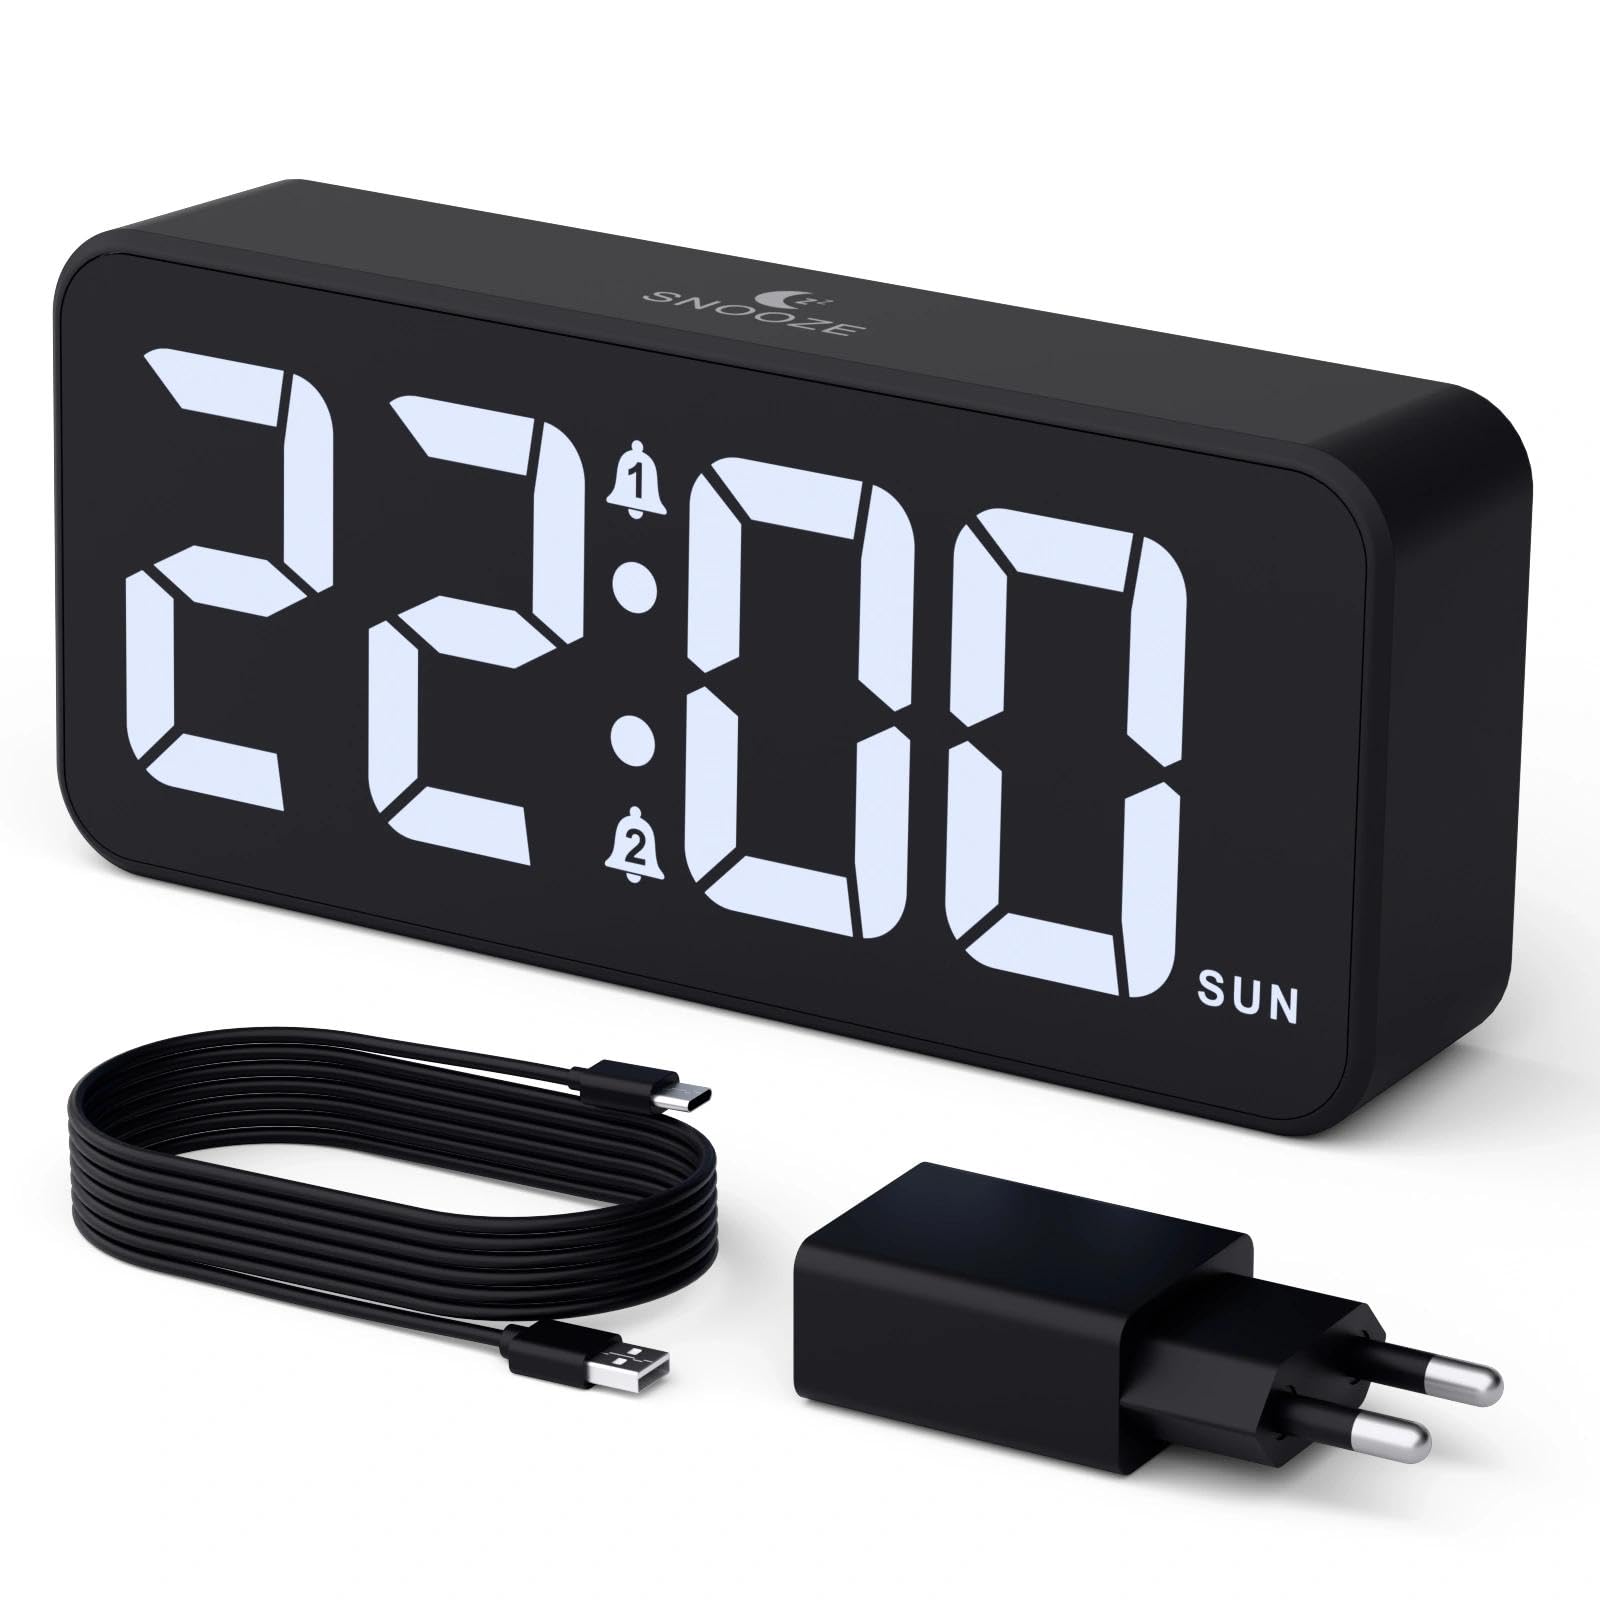
Image: The CHEREEKI Digital LED Alarm Clock, showcasing its large LED display and key features.
Sikkerhedsoplysninger
- Ensure the power adapter and cable are compatible with the device's voltage requirements (5V/1A or 5V/2A).
- Udsæt ikke enheden for vand eller for høj luftfugtighed.
- Undgå at placere enheden i nærheden af varmekilder eller i direkte sollys.
- Forsøg ikke selv at skille enheden ad eller reparere den. Kontakt kundesupport, hvis der opstår problemer.
- Opbevares utilgængeligt for børn.
Pakkens indhold
- CHEREEKI Digital LED Alarm Clock
- Power Adapter (5V/1A or 5V/2A)
- USB-opladerkabel (1.5 m)
- Brugermanual
- CR2032 Backup Battery (pre-installed or included)

Billede: Illustration af de varer, der er inkluderet i produktpakken.
Product Layout and Controls

Image: Rear panel of the alarm clock with labels for all buttons and ports.
- Tidsindstillingsknap: Tryk for at gå ind i tidsindstillingstilstand.
- Alarm 1 knap: Press to set Alarm 1.
- Alarm 2 knap: Press to set Alarm 2.
- Op/Ned knapper: Adjust values during setting.
- Dæmperknap: Rotate to adjust display brightness (0-100%).
- Lydstyrkeknap: Rotate to adjust alarm volume (10 levels).
- USB udgangsport: Til opladning af eksterne enheder.
- Type-C Input Port: For power supply to the alarm clock.
- DST Button: For Daylight Saving Time adjustment.
- Batterirum: Indeholder CR2032 backup-batteriet.
Opsætning
1. Strømtilslutning
The alarm clock operates solely on AC power. Connect the provided USB cable to the Type-C input port on the back of the clock and plug the adapter into a standard wall outlet (5V/1A or 5V/2A). The display will light up.

Image: The alarm clock connected to a power source via its adapter.
2. Backup-batteri
A CR2032 backup battery is included to retain time and alarm settings during power outages. This battery does not power the display or alarm functions; it only preserves memory. Ensure the battery is correctly installed in the compartment on the back of the clock.

Image: Close-up of the backup battery compartment, indicating its purpose to retain settings during power loss.
Betjeningsvejledning
Indstilling af tid
- Press the "TIME SET" button. The hour digits will flash.
- Brug knapperne "OP" eller "NED" til at justere timetallet.
- Press "TIME SET" again to confirm the hour and move to minute setting. The minute digits will flash.
- Brug knapperne "OP" eller "NED" til at justere minutterne.
- Press "TIME SET" once more to confirm the minutes and exit time setting mode.
Indstilling af alarmer (Alarm 1 og Alarm 2)
This clock supports two independent alarms with three scheduling options.
- Press the "ALARM 1" or "ALARM 2" button. The alarm hour digits will flash.
- Use the "UP" or "DOWN" buttons to adjust the alarm hour.
- Press the respective alarm button again to confirm the hour and move to minute setting. The minute digits will flash.
- Use the "UP" or "DOWN" buttons to adjust the alarm minutes.
- Tryk på alarmknappen igen for at vælge alarmplanen:
- Hverdage: mandag til fredag
- Weekender: Lørdag til søndag
- Daglig: mandag til søndag
- Press the alarm button once more to confirm the schedule and exit alarm setting mode.
- To enable/disable an alarm, press the "ALARM 1" or "ALARM 2" button briefly outside of setting mode. An alarm icon will appear/disappear on the display.

Image: The alarm clock demonstrating dual alarm settings with various scheduling options.
Snooze funktion
When the alarm sounds, touch the top of the clock to activate the 5-minute snooze function. The alarm will temporarily stop and sound again after 5 minutes. To turn off the alarm completely, press any other button on the back of the clock.

Image: A user activating the snooze function by touching the top of the alarm clock.
Justering af displayets lysstyrke
Rotate the "DIMMER" knob on the back of the clock to adjust the display brightness from 0% (off) to 100% (maximum brightness). This allows for comfortable viewunder alle lysforhold.

Image: Visual representation of the adjustable brightness feature and the dimmer knob.
Justering af alarmvolumen
Rotate the "VOLUME" knob on the back of the clock to select one of the 10 available alarm volume levels. Choose a volume that suits your preference.

Image: The volume control knob and a visual scale indicating adjustable volume levels.
12/24 timers format
To switch between 12-hour and 24-hour time formats, press and hold the "TIME SET" button for a few seconds until the format changes. In 12-hour format, "AM" or "PM" indicators will be displayed.

Image: The alarm clock showing both 12-hour and 24-hour time display options.
USB-opladningsport
The USB-A output port on the back of the clock allows you to charge other devices, such as smartphones or tablets. Simply connect your device's charging cable to this port.

Image: The alarm clock charging a smartphone via its integrated USB port.
Sommertid (DST)
To adjust for Daylight Saving Time, press the "DST" button on the back of the clock. This will advance or set back the time by one hour. Press it again to revert.
Opretholdelse
- Rengør urets overflade med en blød, tør klud. Brug ikke slibende rengøringsmidler eller opløsningsmidler.
- Hold enheden fri for støv og snavs.
- If the backup battery needs replacement, use a CR2032 coin cell battery. Ensure correct polarity.
Fejlfinding
| Problem | Mulig årsag | Løsning |
|---|---|---|
| Display er slukket. | Not connected to power; Dimmer set to 0%. | Ensure the clock is plugged into a working power outlet. Rotate the Dimmer knob to increase brightness. |
| Alarmen lyder ikke. | Alarm not activated; Volume set to minimum. | Press the ALARM 1/2 button to activate the alarm (icon should appear). Rotate the Volume knob to increase volume. |
| Indstillinger mistet efter strømafbrydelsetage. | Backupbatteriet er dødt eller mangler. | Udskift CR2032-backupbatteriet. |
| USB-opladning virker ikke. | Clock not powered; Device cable faulty. | Ensure the alarm clock is powered. Try a different USB cable or device. |
Specifikationer
- Mærke: CHEREEKI
- Model: B0FHHKMP1X
- Farve: Sort
- Skærmtype: Digital LED
- Materiale: Acrylonitril Butadien Styren (ABS)
- Produktdimensioner: 14.5 x 3.81 x 6.5 cm (5.7 x 1.5 x 2.5 tommer)
- Varens vægt: 230 gram (0.5 lbs)
- Strømkilde: Wired Electric (5V/1A or 5V/2A adapter)
- Backup batteri: CR2032 (kun til hukommelsesbevaring)
- Særlige funktioner: Adjustable Brightness, Dual Alarm, Snooze, USB Charging Port, 12/24H Format, Adjustable Volume, Day of Week Display
Garanti og support
This CHEREEKI Digital LED Alarm Clock comes with a Livstidsgaranti. For any product inquiries, technical support, or warranty claims, please contact CHEREEKI customer service through the retailer where you purchased the product or visit the official CHEREEKI webwebsted for kontaktoplysninger.
Gem venligst din købsbevis af garantihensyn.
Ask a question about this manual
Ask about setup, troubleshooting, compatibility, parts, safety, or missing instructions. Manuals+ will review the question and use this page’s manual context to help answer it.