Indledning
This manual provides instructions for the assembly, operation, and maintenance of your Keter Signature Square Planter, Model 262603. This planter features a durable wood-look resin construction, a self-watering system with a concealed water reservoir, and an integrated drainage system, suitable for both indoor and outdoor environments.
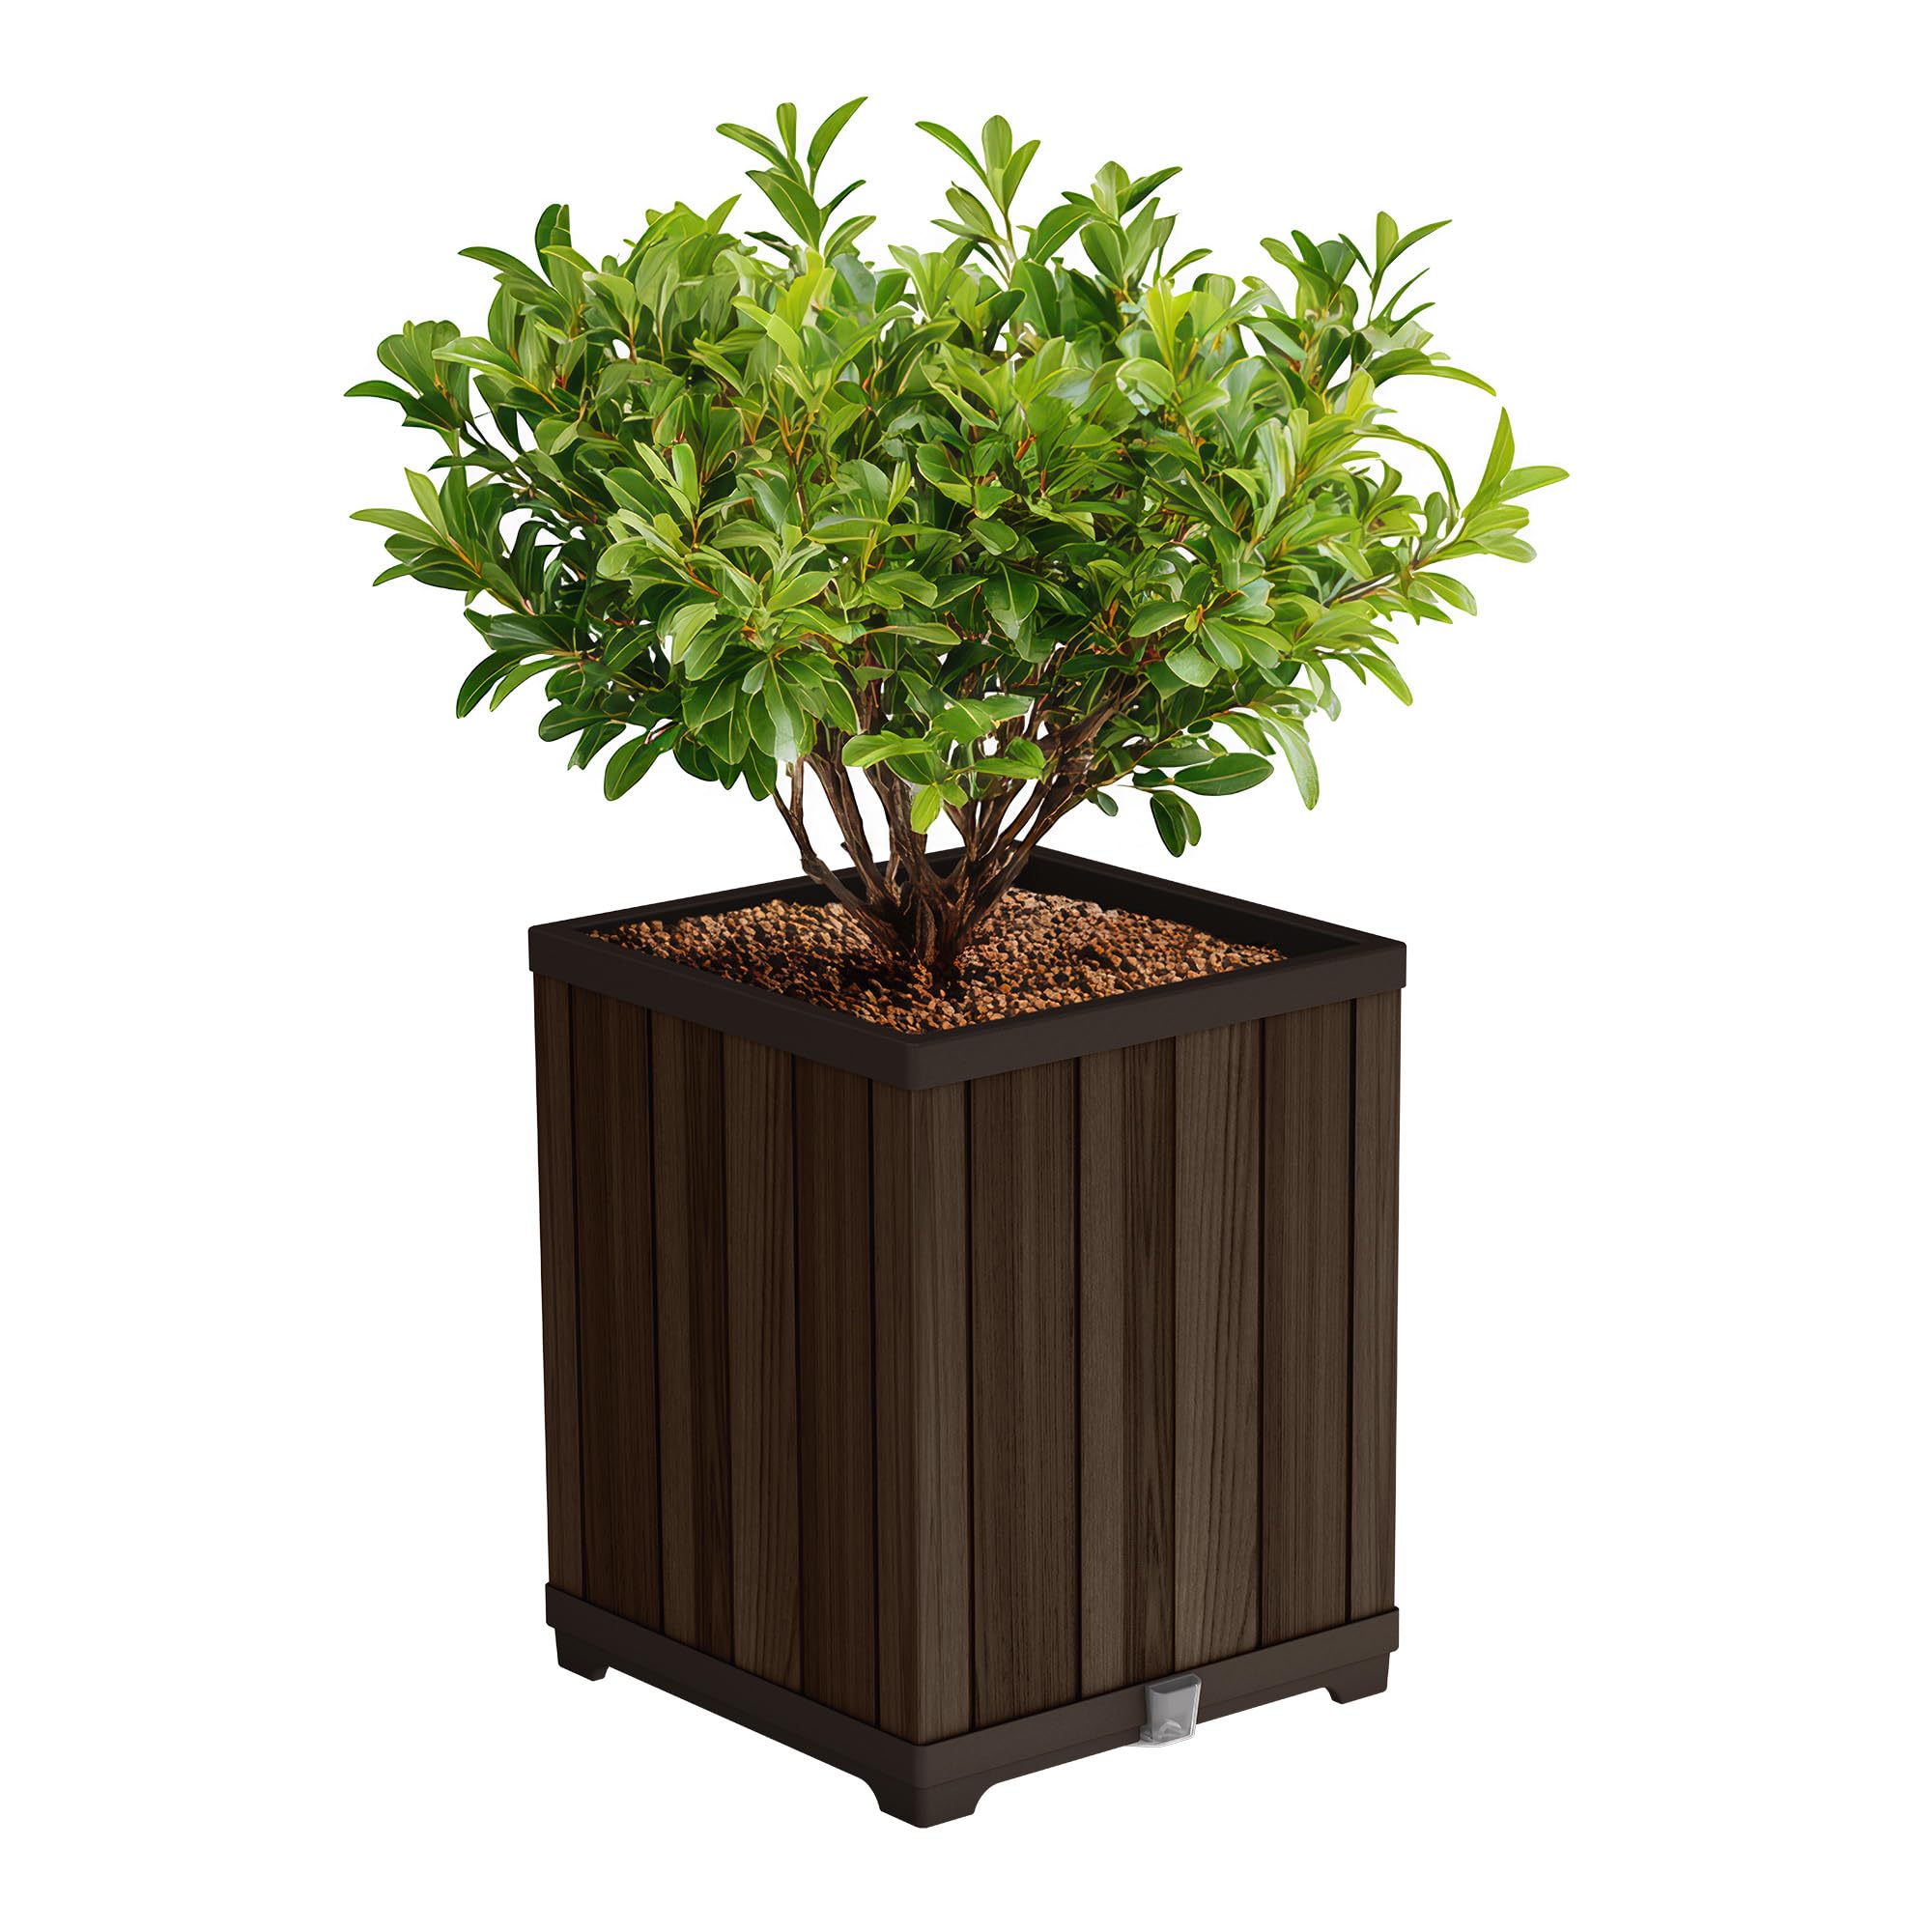
Image: The Keter Signature Square Planter, showcasing its rosewood wood-look finish and square design.
Sikkerhedsoplysninger
- Ensure the planter is placed on a stable, level surface to prevent tipping.
- When moving the planter, especially when filled with soil and plants, exercise caution due to its weight.
- Hold små dele væk fra børn under montering.
- Do not overload the planter beyond its stated capacity of 20 gallons of soil or 163 lbs total weight.
Pakkens indhold
Kontroller, at alle komponenter er til stede, før monteringen påbegyndes:
- Bundpanel
- Sidepaneler (4)
- Topramme
- Water Reservoir Insert
- Drainage Cup
- Monteringsvejledning
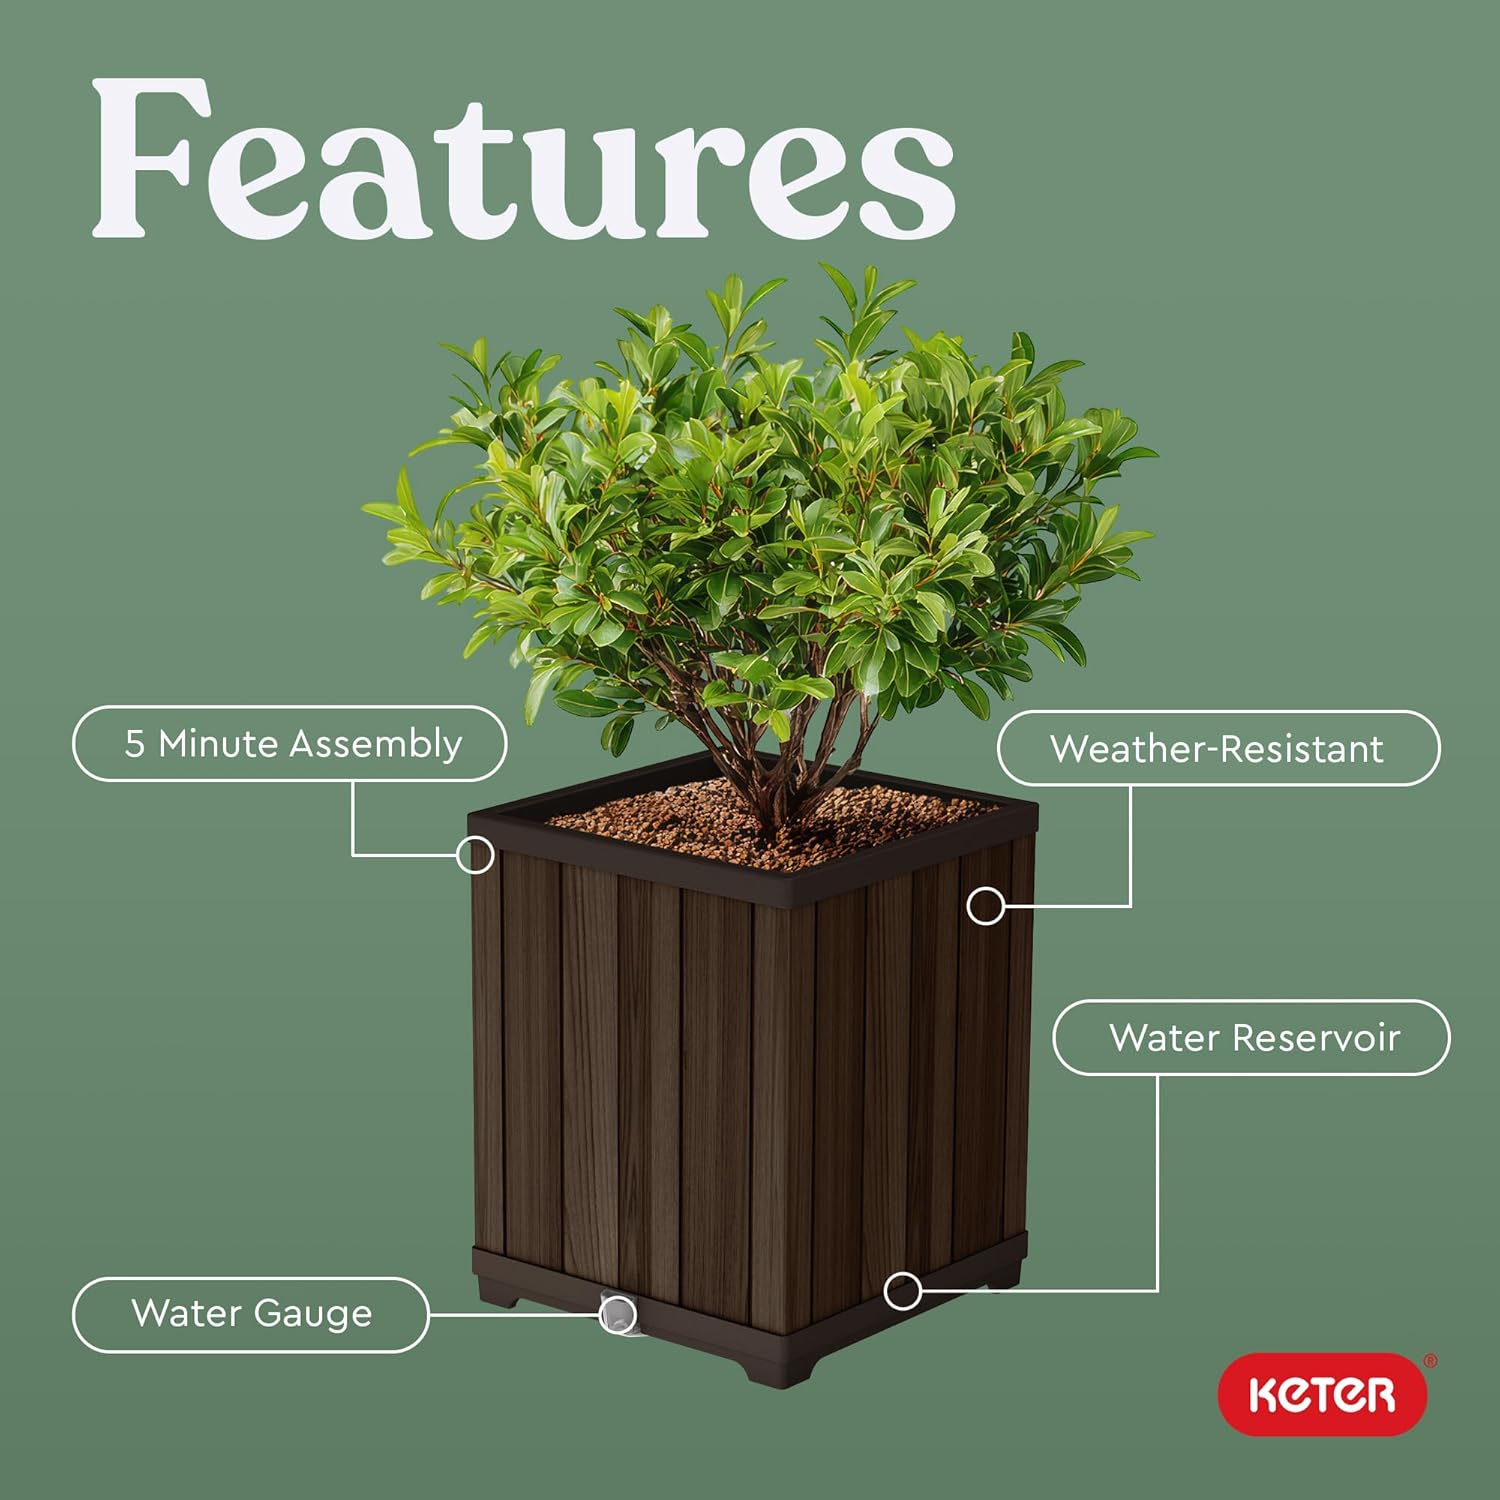
Image: Diagram illustrating the main features of the Keter Signature Planter, including the water reservoir and water gauge.
Opsætning og montering
Assembly is designed to be quick and straightforward, typically taking less than 5 minutes.
- Assemble the Planter Body: Place the base panel on a flat surface. Align the side panels with the grooves on the base and snap them into place, forming the square shape. Ensure all panels are securely interlocked.
- Attach the Top Frame: Once the side panels are assembled, place the top frame over the assembled sides and press down firmly until it clicks into place. This secures the structure.
- Install Water Reservoir and Drainage: Insert the water reservoir grid into the top of the planter. This grid sits above the concealed water reservoir at the bottom. Locate the drainage hole at the base of the planter and insert the clear drainage cup. This cup allows you to monitor and manage the water level in the reservoir.
Video: This video demonstrates the quick assembly process of the Keter Signature Planter, showing how the side panels and top frame connect to the base, and the installation of the water reservoir and drainage cup. The assembly sequence is visible from approximately 0:04 to 0:25.
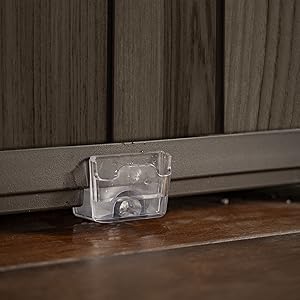
Billede: Et nærbillede view of the clear drainage cup, which allows for monitoring and managing the water level in the planter's reservoir.
Betjeningsvejledning
- Prepare for Planting: If using the planter outdoors, you may choose to drill additional drainage holes in the bottom of the main planter body (not the reservoir) if excessive drainage is desired beyond the integrated system. For indoor use, ensure the drainage cup is properly installed to catch excess water.
- Add Soil and Plants: Fill the planter with your desired potting mix. Plant your flowers or greenery, ensuring their roots are positioned above the water reservoir grid.
- Indledende vanding: Water your plants thoroughly from the top. Excess water will drain into the concealed reservoir below the grid. The drainage cup will indicate when the reservoir is full or needs draining.
- Overvåg vandstanden: The integrated water level indicator (visible through the drainage cup) helps maintain optimal moisture. Replenish water when the indicator shows low levels. This system helps prevent root decay and overwatering by providing water from below as needed.

Image: A cutaway diagram illustrating the integrated watering system, showing the concealed water reservoir and how water is supplied to the plant roots.
Opretholdelse
- Rensning: Clean the planter periodically with a mild soap and water solution. Avoid abrasive cleaners that could damage the resin finish.
- Vejrbestandighed: The resin material is designed to be weather-resistant, standing strong against sun, rain, and cold without cracking or fading. No special winterization is typically required for the planter itself, though plants may need protection based on local climate.
- Drainage Cup: Regularly check and empty the drainage cup as needed to prevent stagnant water, especially for indoor use.

Image: The Keter planter shown outdoors, illustrating its ability to withstand various weather conditions, being UV-resistant and water-resistant.
Fejlfinding
- Vand løber ikke ud: Ensure the drainage cup is correctly installed and not blocked. For outdoor use, verify that the optional drainage holes (if drilled) are clear.
- Planter appears unstable: Confirm all side panels and the top frame are securely snapped into place. Ensure the planter is on a flat, level surface.
- Water reservoir not filling: Ensure water is being applied to the soil surface and allowed to percolate down to the reservoir. Check for any blockages in the reservoir grid.
Specifikationer
| Modelnummer | 262603 |
| Dimensioner (B x D x H) | 18" x 18" x 21.6" |
| Jordens kapacitet | 20 gallons |
| Materiale | Holdbar harpiks |
| Farve | Palisander |
| Særlige funktioner | Drainage Hole, Fade Resistant, Rot Resistant, Rust Resistant, UV Resistant, Weather Resistant, Water Reservoir |
| UPC | 731161064418 |

Image: A visual representation of the Keter Signature Planter's dimensions: 18 inches wide, 18 inches deep, and 21.6 inches tall, with a 20-gallon capacity.
Garantioplysninger
Keter products are manufactured to high-quality standards. For specific warranty details regarding your Signature Square Planter, please refer to the warranty card included with your purchase or visit the official Keter webwebsted.
Kundesupport
If you have any questions, require assistance with assembly, or need to report a missing or damaged part, please contact Keter customer service. Contact information can typically be found on the Keter webwebstedet eller på produktemballagen.
Online support: www.keter.com