
1. Introduktion
Thank you for choosing the EZVIZ CB8 Pro 4K Solar Camera. This manual provides essential information for the safe and effective use of your device, including setup, operation, maintenance, and troubleshooting. Please read this manual thoroughly before using the product and retain it for future reference.
2. Pakkens indhold
Sørg for, at alle nedenstående varer er til stede i din pakke. Hvis der mangler eller er beskadigede varer, bedes du kontakte din forhandler.
- EZVIZ CB8 Pro 4K Camera
- 5W solpanel
- Monteringsskabelon
- Skruesæt
- Power Adapter (for initial charging)
- USB kabel
- Hurtig startvejledning
- Instruktionsmanual (dette dokument)
3. Produktet er slutview
The EZVIZ CB8 Pro 4K Solar Camera is a wireless outdoor security camera designed for comprehensive surveillance. It features 4K resolution, a 360° pan-and-tilt design, color night vision, human and vehicle detection, auto-tracking, two-way audio, and a built-in sound and light siren. The included 5W solar panel ensures continuous power for its 10400mAh battery.
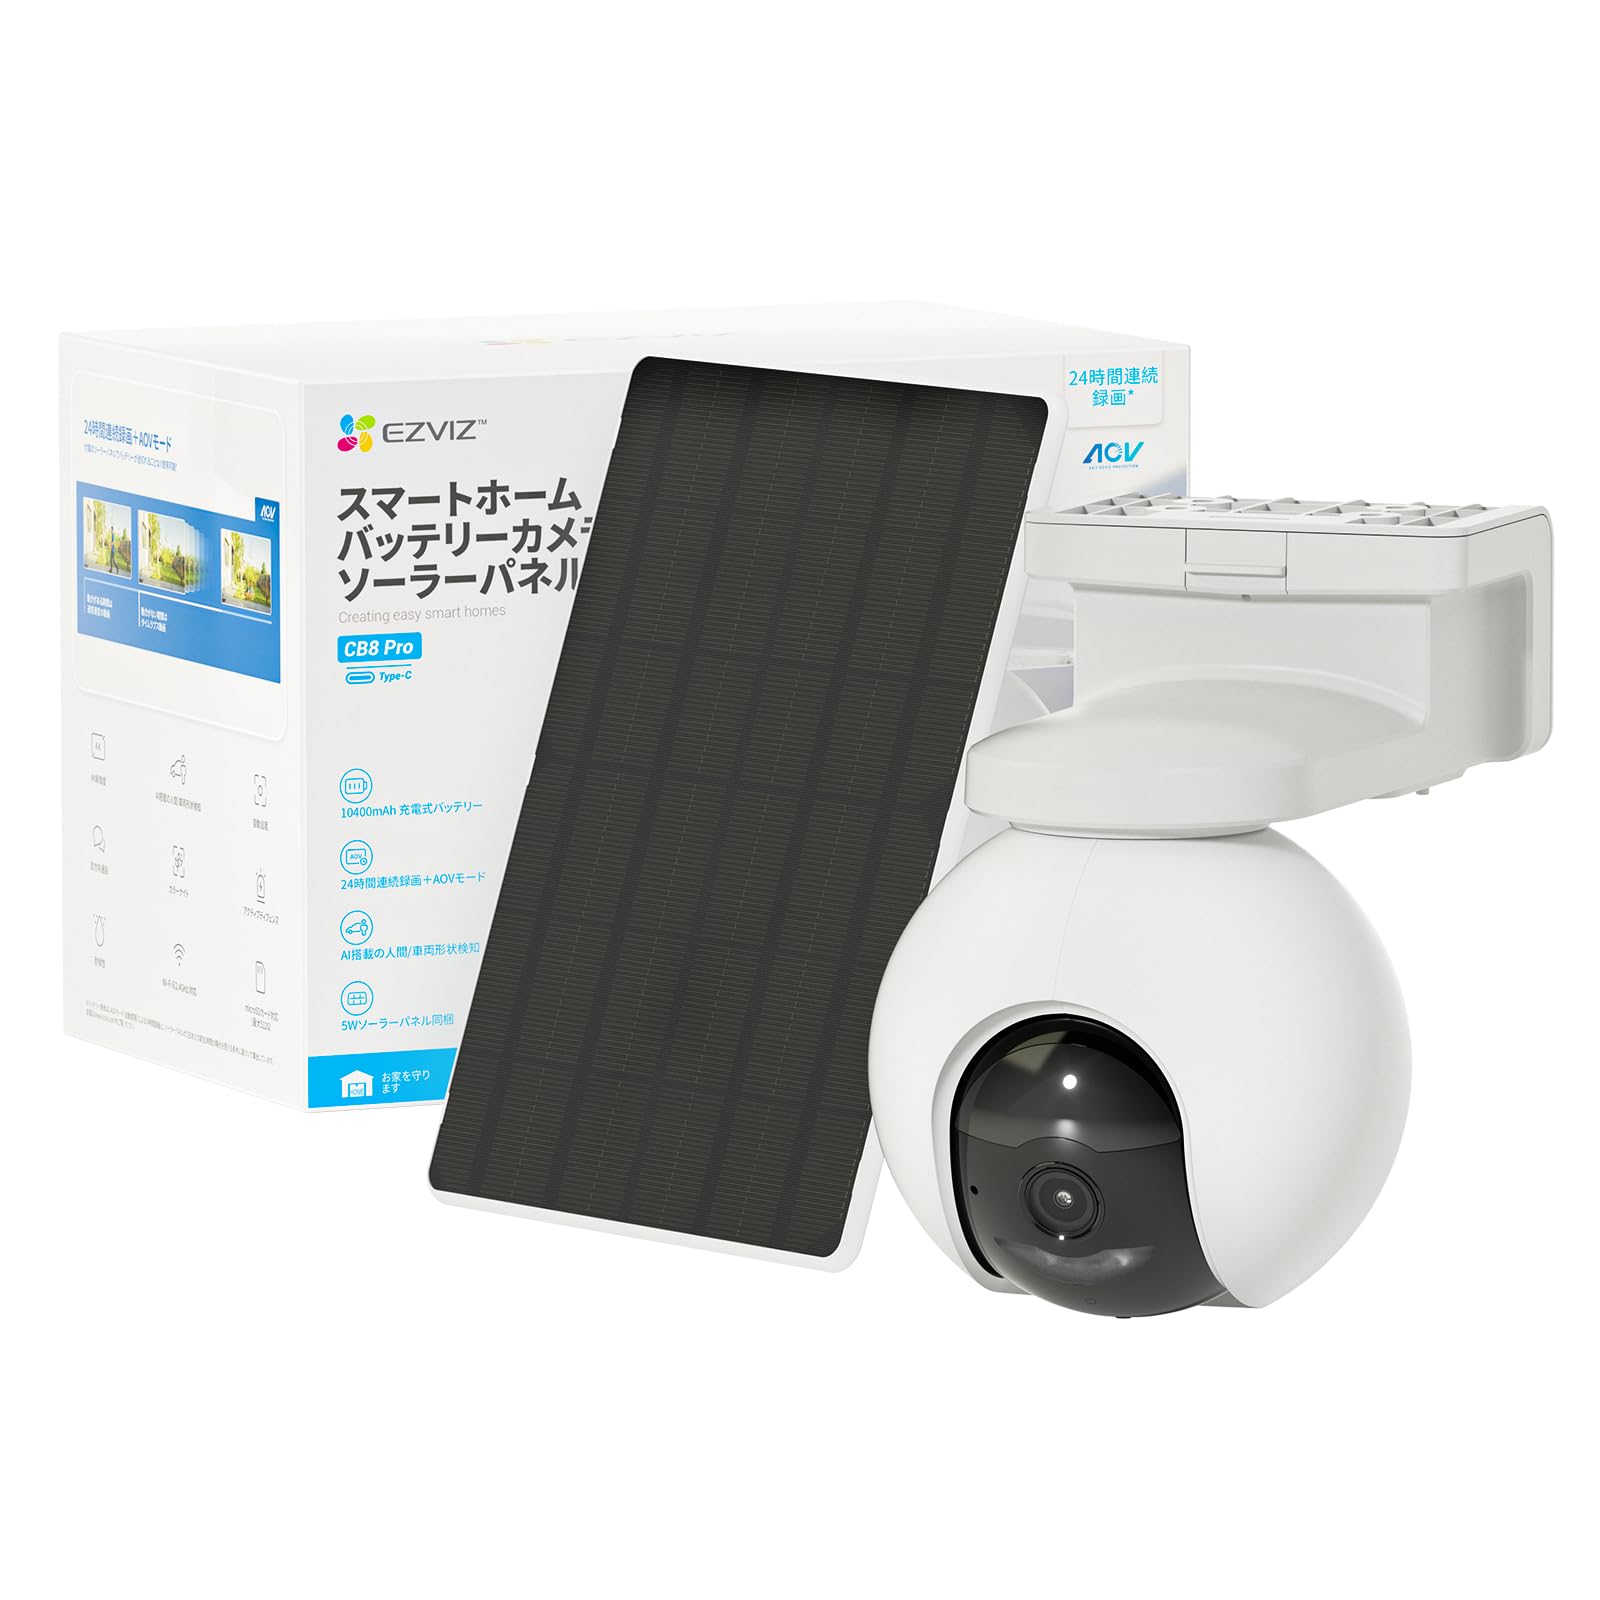
Image: EZVIZ CB8 Pro 4K Solar Camera and its accompanying 5W solar panel, illustrating the complete kit for outdoor surveillance.
Nøglefunktioner:
- 4K videoopløsning: Giver klar og detaljeret videofootage.
- 360° panorering og vipning: Tilbyder et bredt felt af view med fjernbetjening.
- Farve Night Vision: Forbedret synlighed under forhold med svagt lys.
- Detektion af mennesker og køretøjer: Intelligent algorithms reduce false alarms.
- Automatisk sporing: Follows detected subjects within its field of view.
- Tovejs lyd: Giver mulighed for kommunikation via kameraet.
- Sound & Light Siren: Deters intruders with an audible alarm and flashing light.
- 100% ledningsfri: Easy installation without power cables.
- 5W Solar Panel: Provides continuous charging for the built-in 10400mAh battery.
- IP66 Vejrbestandig: Designet til udendørs brug under forskellige vejrforhold.
4. Opsætning
4.1 Indledende opladning
Before installation, fully charge the camera using the provided power adapter and USB cable. Connect the USB cable to the camera's charging port and the adapter to a power outlet. The charging indicator will show the charging status.
4.2 EZVIZ App Installation and Account Setup
- Download the EZVIZ app from the App Store (iOS) or Google Play Store (Android).
- Open the app and create an EZVIZ account if you don't have one, or log in to your existing account.
- Tap the '+' icon on the app's home screen to add a new device.
- Scan QR-koden, der findes på kameraet eller dets emballage.
- Follow the in-app instructions to connect the camera to your Wi-Fi network. Ensure your Wi-Fi signal is strong at the installation location.
4.3 Montering af kamera og solpanel
The camera and solar panel are designed for wall mounting. Choose a location that provides optimal surveillance coverage and receives ampsollys til solpanelet.
- Vælg en placering: Identify a suitable mounting spot, ideally 2-3 meters (7-10 feet) above the ground, with a clear view and good Wi-Fi signal. Ensure the solar panel can receive direct sunlight for several hours daily.
- Bore huller: Use the provided mounting template to mark and drill pilot holes for the camera and solar panel brackets.
- Sikre beslag: Attach the mounting brackets to the wall using the screws and wall anchors provided.
- Tilslut kamera og solpanel: Mount the camera onto its bracket and adjust its angle. Attach the solar panel to its bracket and connect its cable to the camera's charging port.
- Endelige justeringer: Brug EZVIZ-appen til at view the live feed and make final adjustments to the camera's angle for optimal coverage.
5. Betjening af kameraet
5.1 Live View og afspilning
Få adgang til EZVIZ-appen for at view the live feed from your camera. You can also review optaget footage stored on the microSD card (if installed) or in the EZVIZ CloudPlay service (subscription required).
5.2 Pan, Tilt, Zoom (PTZ) Control
I live view interface of the EZVIZ app, use the directional controls to pan (rotate horizontally) and tilt (rotate vertically) the camera lens. The 360° pan and tilt functionality allows you to cover a wide area.
5.3 Nattesynstilstande
Kameraet tilbyder flere muligheder for nattesyn:
- Farvetilstand: Provides full-color video even in low light.
- Infrarød tilstand: Standard black-and-white night vision.
- Smart nattesyn: Automatically switches from black-and-white to full color upon motion detection.
You can select your preferred mode in the camera settings within the EZVIZ app.
5.4 Human & Vehicle Detection and Auto-Tracking
The camera uses advanced algorithms to distinguish between humans, vehicles, and other moving objects, reducing false alarms. When a human or vehicle is detected, the camera can automatically track its movement across the monitored area. Enable these features in the EZVIZ app's detection settings.
5.5 Tovejslyd
Use the microphone and speaker built into the camera to communicate with visitors or deter intruders. Tap the microphone icon in the live view to speak, and listen through the camera's speaker.
5.6 AOV (Always on Video) Mode
The AOV mode enables continuous recording by capturing images at preset time intervals and compiling them into a time-lapse video. When activity is detected, it switches to normal speed video. Note that AOV mode requires an SD card for storage and is not supported for cloud storage.
5.7 Lokal lagring (MicroSD-kort)
The camera supports a microSD card up to 512 GB (sold separately) for local video storage. Insert the microSD card into the designated slot on the camera. This allows for recording without a monthly subscription fee. You can access recorded footage directly from the EZVIZ app.
6. Vedligeholdelse
6.1 Rengøring af kameraet
Regularly clean the camera lens and solar panel with a soft, dry cloth to ensure optimal performance. Avoid using harsh chemicals or abrasive materials that could damage the surfaces.
6.2 Pleje af batterier
The camera's 10400mAh battery is designed for long life. Ensure the solar panel is positioned to receive maximum sunlight to maintain battery charge. In prolonged periods of low sunlight, you may need to manually charge the camera using the power adapter.
7. Fejlfinding
| Problem | Mulig årsag | Løsning |
|---|---|---|
| Kamera offline i appen | Weak Wi-Fi signal, camera battery low, network issue | Check Wi-Fi signal strength, ensure solar panel is charging, restart camera and router. |
| Dårlig videokvalitet | Dirty lens, low bandwidth, poor lighting | Clean the lens, ensure stable internet connection, adjust camera position for better lighting. |
| Bevægelsesdetektion virker ikke | Detection settings incorrect, obstructions | Verify detection settings in the app, clear any obstructions in the camera's view. |
| Solpanelet oplader ikke | Insufficient sunlight, panel dirty, cable disconnected | Relocate panel for more sun, clean panel, check cable connection. |
8. Specifikationer
| Feature | Detalje |
|---|---|
| Mærke | EZVIZ |
| Modelnavn | CB8 Pro Kit |
| Videooptagelsesopløsning | 4K |
| Effektiv stillopløsning | 4 MP |
| Indendørs/Udendørs brug | Udendørs |
| Forbindelsesprotokol | Wi-Fi |
| Særlige funktioner | 2 Way Audio, Built In Light, HD Resolution, Night Vision, PTZ Technology |
| Monteringstype | Vægmontering |
| Vandtæt vurdering | IP66 |
| Voltage | 5 volt (DC) |
| Wattage | 10 watt |
| Batterier påkrævet | Yes (Built-in 10400mAh) |
| Videooptagelsesformat | MPEG-4 |
| Emnedimensioner | 18.3 x 11.6 x 16.6 centimeter |
| Varens vægt | 803 gram |
9. Garanti og support
Your EZVIZ CB8 Pro 4K Solar Camera is covered by a limited warranty provided by the manufacturer. Please refer to the warranty card included in your package or visit the official EZVIZ webhjemmeside for detaljerede garantivilkår.
For technical support, product inquiries, or service requests, please contact EZVIZ customer support through their official website or the contact information provided in your product documentation. Ensure you have your product model number (CB8 PRO 4K Kit) and serial number ready when contacting support.


