
1. Opsætning
Follow these steps to prepare your Gevi Professional Barista Coffee Machine for first use.
1.1 Udpakning og inspektion
Carefully remove all components from the packaging. Inspect the machine for any signs of damage during transit. Retain packaging for future transport or service needs. Ensure all accessories listed in the packing list are present.
1.2 Placering
Place the coffee machine on a stable, level, and heat-resistant surface. Ensure there is adequate space around the machine for ventilation, especially at the back and sides. Keep it away from direct sunlight, heat sources, and areas with high humidity. The power outlet should be easily accessible.
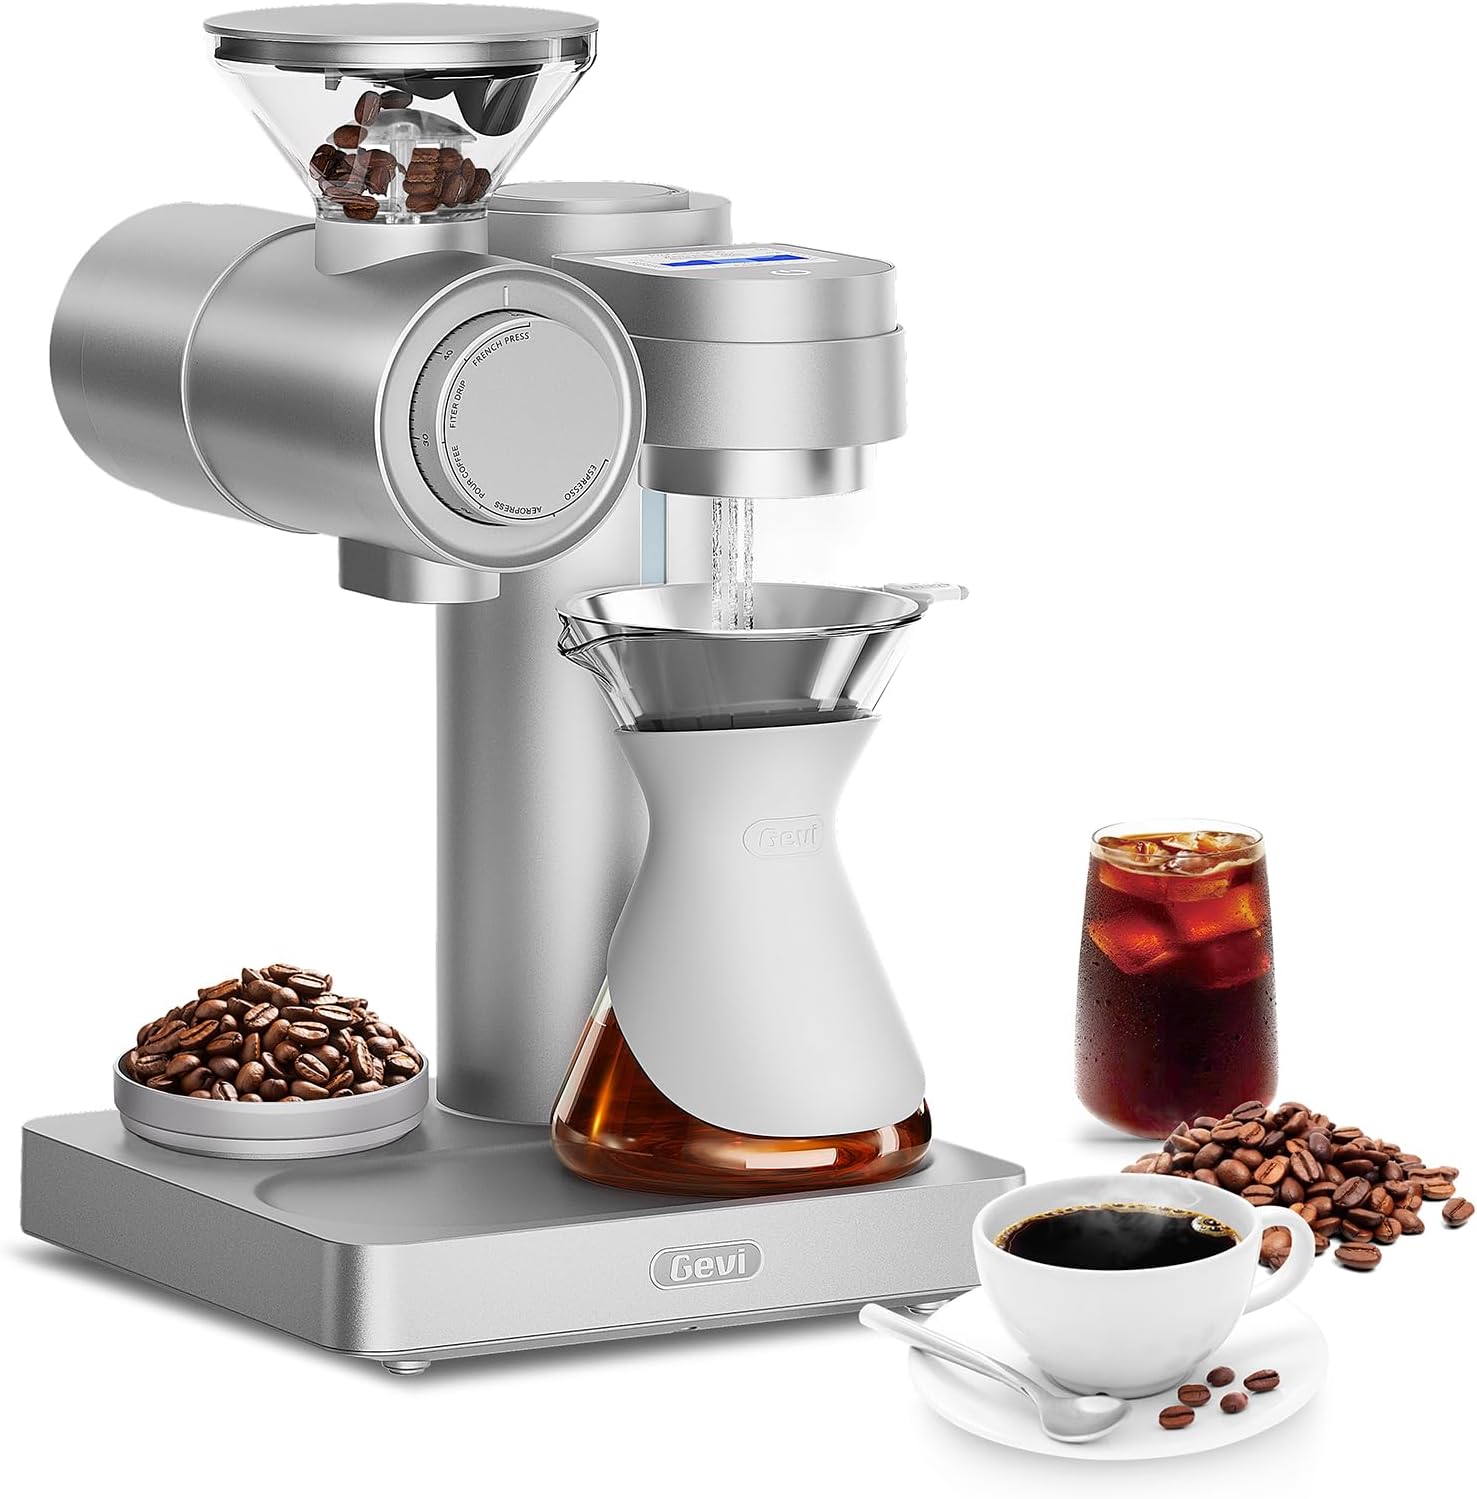
Figur 1: The Gevi Professional Barista Coffee Machine. This image displays the front view of the machine, highlighting the control panel, portafilter, and steam wand. The water tank is typically located at the back or side.
1.3 Forberedelse af vandtank
- Fjern vandtanken fra bagsiden af maskinen.
- Skyl vandtanken grundigt med rent vand.
- Fill the water tank with fresh, cold, filtered water up to the MAX line indicated. Do not overfill.
- Securely place the water tank back into its position on the machine.
1.4 Indledende rengøringscyklus
Before brewing coffee, perform an initial cleaning cycle to flush out any manufacturing residues.
- Sørg for, at vandtanken er fyldt.
- Placer en stor beholder under bryggeenheden og damprøret.
- Power on the machine. Allow it to heat up until the indicator light signals readiness.
- Run a cycle of hot water through the brew group without coffee.
- Open the steam valve to dispense hot water through the steam wand for 30-60 seconds.
- Gentag denne proces 2-3 gange.
2. Betjeningsvejledning
This section details the steps for brewing espresso and steaming milk with your Gevi coffee machine.
2.1 Tænd/sluk
Tryk på Magt button located on the front panel. The machine will begin to heat up. Wait for the indicator light to turn solid, signifying it has reached the optimal brewing temperature.
2.2 Coffee Preparation (Espresso)
- Slibning: Use freshly roasted coffee beans and grind them to a fine consistency suitable for espresso.
- Dosering: Fill the portafilter basket with the appropriate amount of ground coffee (e.g., 7-8g for a single shot, 14-16g for a double shot).
- Tamping: Bruges klamper to press the coffee grounds firmly and evenly into the portafilter basket. Ensure the surface is level.
- Locking Portafilter: Sæt portafilteret i bryggeenheden, og drej det fast til højre, indtil det er låst ordentligt.
2.3 Brygning af espresso
- Placer din(e) espressokop(per) på drypbakken direkte under portafilterets tuder.
- Tryk på Enkelt skud or Dobbelt skud button. The machine will begin pre-infusion, followed by brewing.
- The brewing process will stop automatically. For manual control, press the button again to stop.
- Remove the portafilter, discard the spent coffee grounds (puck), and rinse the portafilter.
2.4 Dampning af mælk
- Ensure the machine is at steaming temperature (steam indicator light solid).
- Fill a stainless steel milk pitcher with cold milk, typically to just below the spout.
- Sænk spidsen af dampdysen lige under mælkens overflade.
- Drej på Dampkontrolknap to activate steam.
- Lower the pitcher slightly to introduce air for frothing, then submerge the tip deeper to heat the milk.
- Continue until the milk reaches the desired temperature (around 140-150°F / 60-65°C) and texture.
- Turn off the steam control knob. Immediately wipe the steam wand with a damp klud for at forhindre mælkerester i at tørre ind.
2.5 Udlevering af varmt vand
Sådan tapper du varmt vand til te eller Americanos:
- Placer en kop under damprøret.
- Drej på Dampkontrolknap to the hot water position (if available, otherwise use the steam function briefly).
- Hæld den ønskede mængde varmt vand ud.
- Close the knob.
3. Vedligeholdelse
Regular cleaning and maintenance ensure optimal performance and longevity of your Gevi coffee machine.
3.1 Daglig rengøring
- Portafilter og filterkurve: Efter hver brug skal du fjerne portafilteret, kassere kaffegrums, og skylle portafilteret og filterkurven under varmt vand.
- Dampstang: Tør dampdysen af med en tynd advarsel umiddelbart efter dampning af mælk.amp klud. Slip en lille smule damp ud for at fjerne eventuelle interne mælkerester.
- Drypbakke: Tøm og skyl drypbakken dagligt, eller når indikatoren flyder.
- Ydre: Tør maskinens ydre af med en blød, damp klæde. Brug ikke slibende rengøringsmidler.
3.2 Ugentlig rengøring
- Vandtank: Remove, wash with mild detergent, rinse thoroughly, and refill with fresh water.
- Bryggeenhed: Use a brew group brush to clean any coffee grounds from the shower screen and gasket. Perform a backflush if your machine supports it (refer to specific instructions for backflushing).
3.3 Afkalkning
Descaling removes mineral buildup from the machine's internal components, which can affect performance and taste. The frequency depends on water hardness and usage, typically every 2-3 months.
- Empty the water tank and fill it with a descaling solution mixed according to the descaler manufacturer's instructions.
- Placer en stor beholder under bryggeenheden og damprøret.
- Run the descaling solution through the brew group and steam wand until the tank is empty.
- Skyl vandtanken grundigt og fyld den op med frisk vand.
- Run several cycles of fresh water through the machine to flush out any remaining descaling solution.
Forsigtighed: Only use descaling solutions specifically designed for coffee machines. Do not use vinegar, as it can damage internal components.
4. Fejlfinding
Se dette afsnit for løsninger på almindelige problemer, du kan støde på.
| Problem | Mulig årsag | Løsning |
|---|---|---|
| Maskinen tænder ikke. | Ikke tilsluttet; problem med stikkontakt; hovedafbryder slukket. | Kontroller netledningens tilslutning; test stikkontakten med et andet apparat; sørg for, at hovedafbryderen er tændt. |
| No water dispensing from brew group. | Water tank empty or not seated correctly; pump airlock; machine not primed. | Fill water tank and ensure it's seated; run hot water through steam wand to prime pump; descale if necessary. |
| Espressoen brygger for langsomt eller slet ikke. | Kaffemalet for fint; kaffe tamped too hard; brew group clogged; machine needs descaling. | Use a coarser grind; reduce tamping pressure; clean brew group; descale the machine. |
| Espresso brews too quickly, weak coffee. | Kaffemalet er for grovkornet; ikke nok kaffe; kaffen er for grov.amped for let. | Use a finer grind; increase coffee dose; tamp mere fast. |
| Ingen damp fra damprøret. | Machine not at steaming temperature; steam wand clogged; water tank empty. | Wait for steam indicator light; clean steam wand tip with a pin; fill water tank. |
If the problem persists after attempting these solutions, please contact Gevi Customer Support.
5. Specifikationer
Key technical specifications for the Gevi Professional Barista Coffee Machine Model GESCMA705-U.
- Modelnummer: GESCMA705-U
- Produktdimensioner: 10 x 10.3 x 17 tommer (længde x bredde x højde)
- Varens vægt: 23 pund
- UPC: 767791888858
- Power/Voltage: Refer to the product label on the machine for specific electrical requirements.
6. Garanti og support
Gevi provides a limited warranty for this product. Please register your product to activate your warranty and receive important updates.
6.1 Begrænset garanti
This Gevi Professional Barista Coffee Machine (Model GESCMA705-U) is covered by a manufacturer's limited warranty against defects in materials and workmanship for a period of one (1) year from the original date of purchase. This warranty does not cover damage caused by misuse, neglect, accident, alteration, or unauthorized repair. Proof of purchase is required for warranty claims.
6.2 Kundesupport
For technical assistance, warranty claims, or general inquiries, please contact Gevi Customer Support:
- Webwebsted: www.gevi.com (Please visit our website for FAQs, product registration, and support resources.)
- E-mail: support@gevi.com
- Telefon: 1-800-XXX-XXXX (Availability may vary by region. Please check the website for local contact numbers.)
When contacting support, please have your product model number (GESCMA705-U) and proof of purchase readily available.